Wearable and Soft Interactions
Exploring different ways to create soft buttons
High Five Glove
A glove that lights up an LED when you high five someone

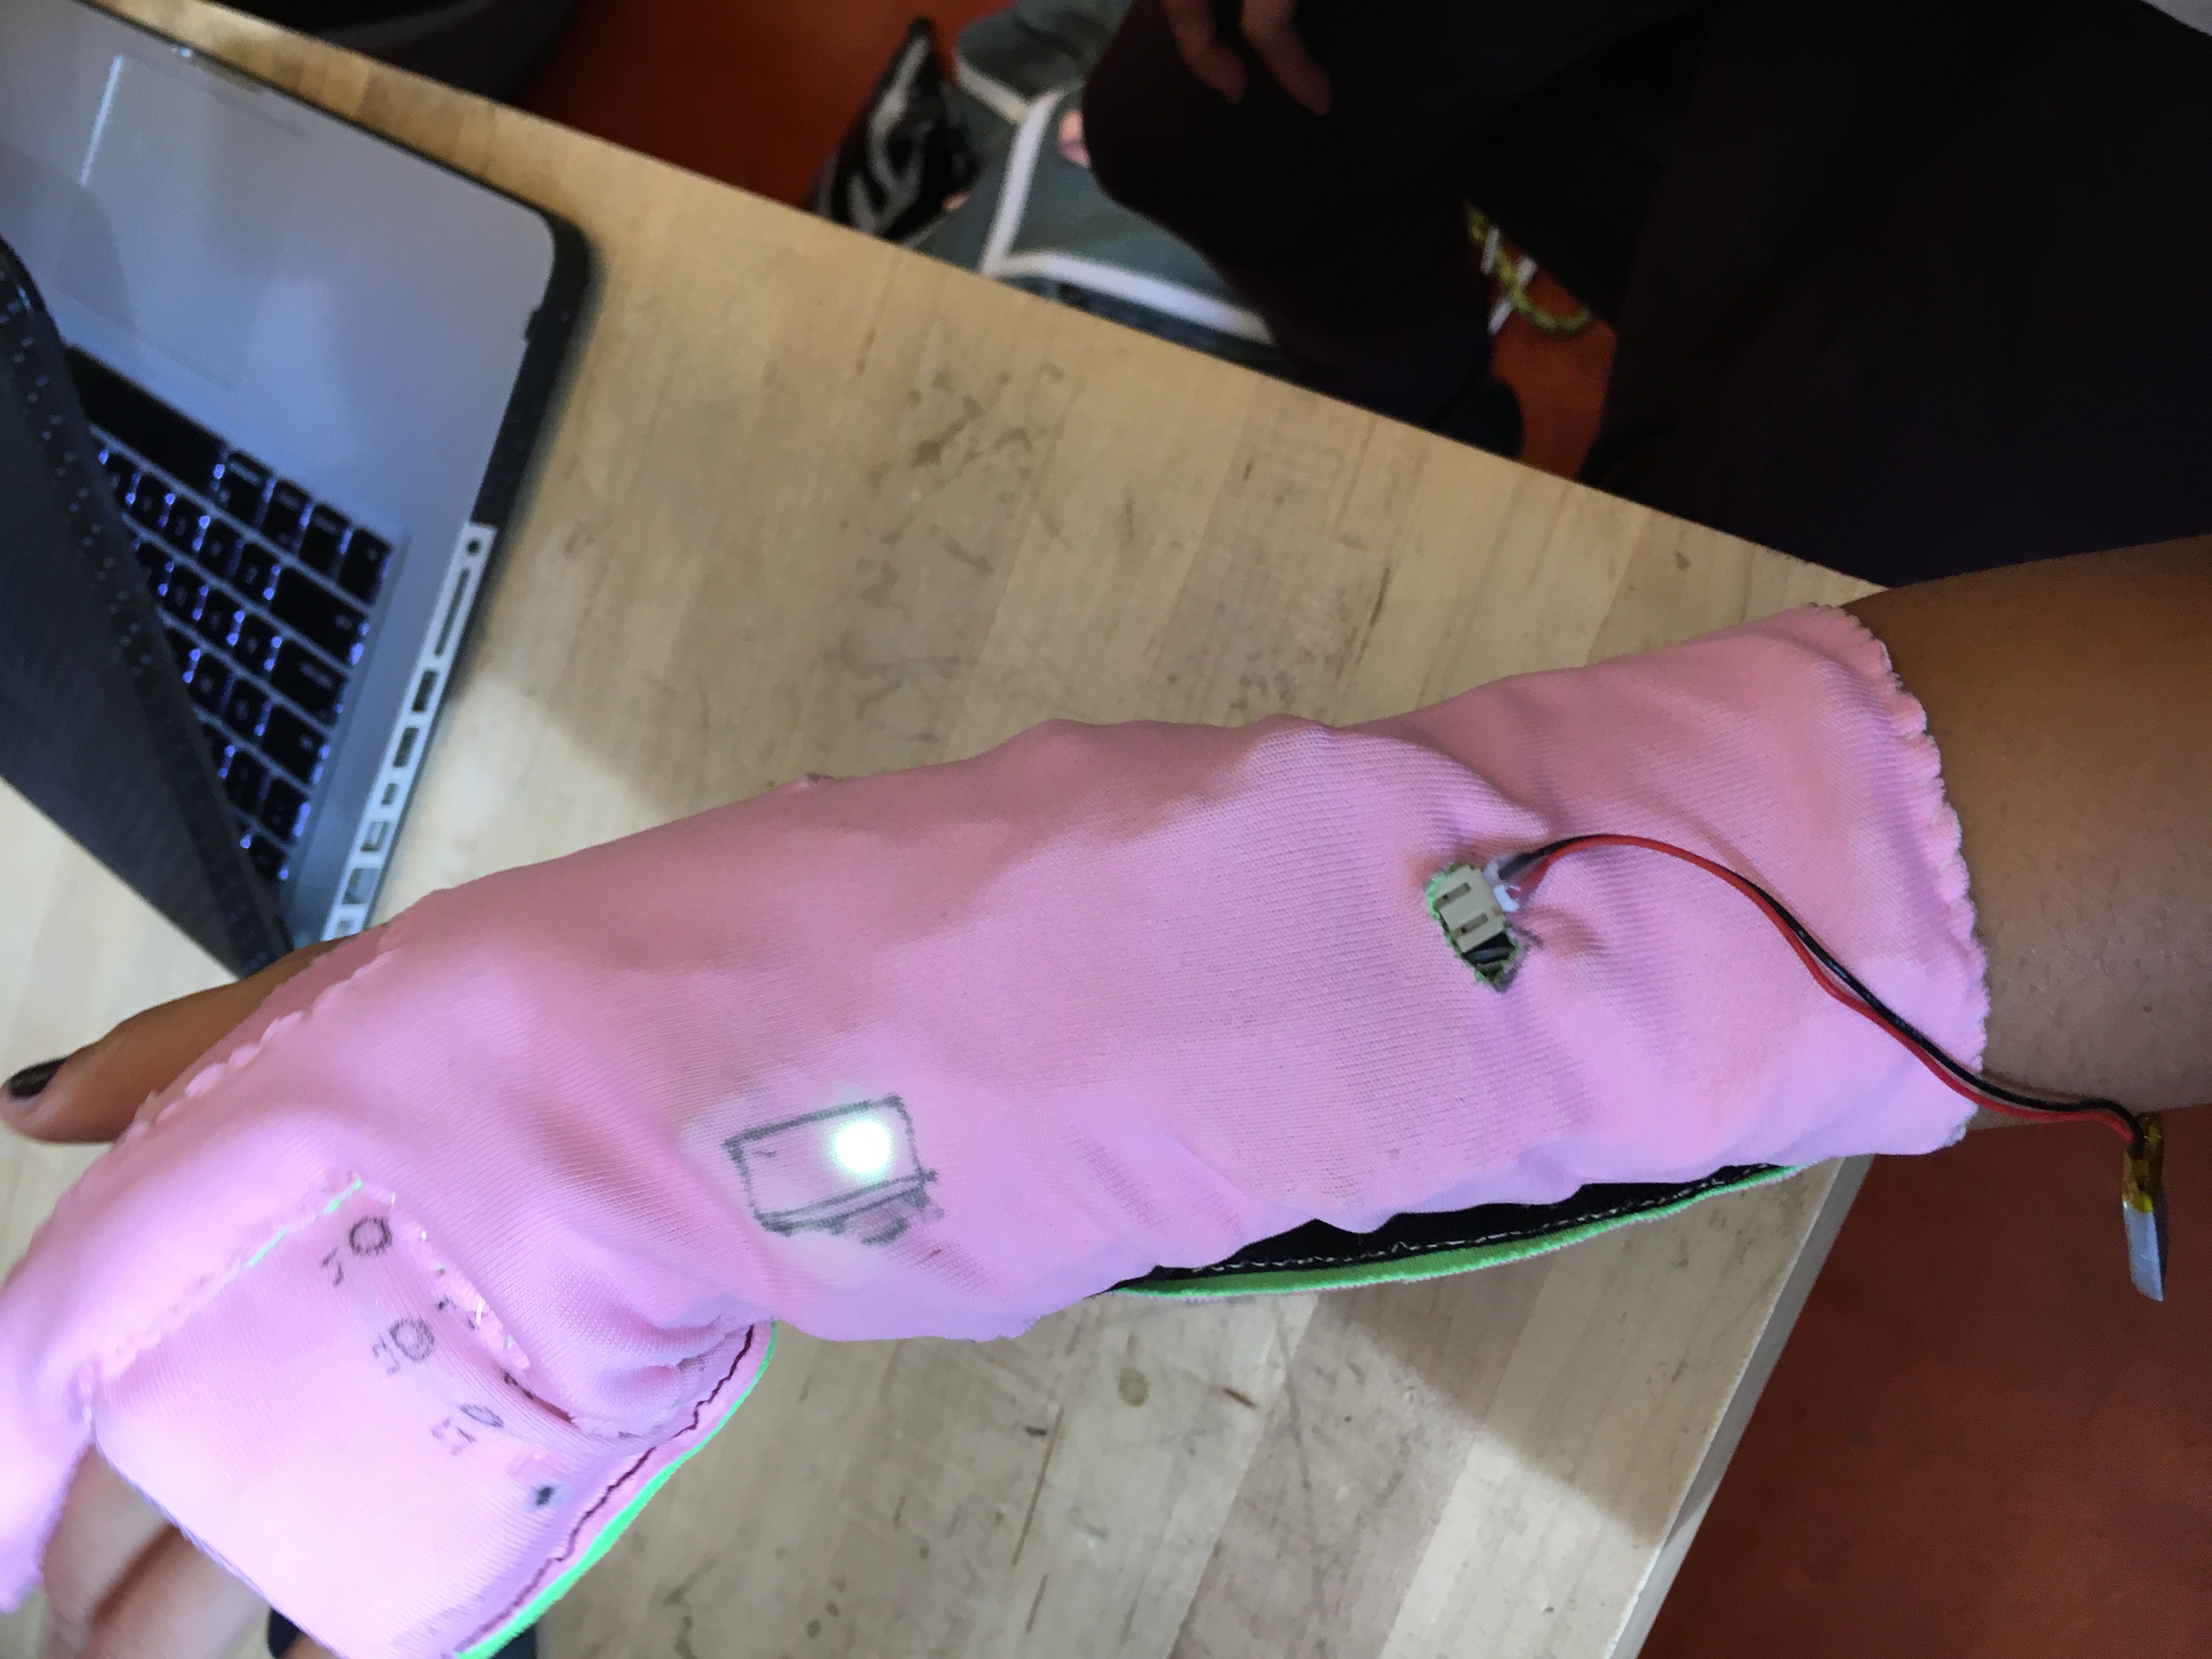
I wanted to make sure that the sensor on the glove was in an area that would easily make contact and therefore placed it on the raised part of your palm. The sensor was about 2 inches in diameter and was powered by an Arduino lilypad
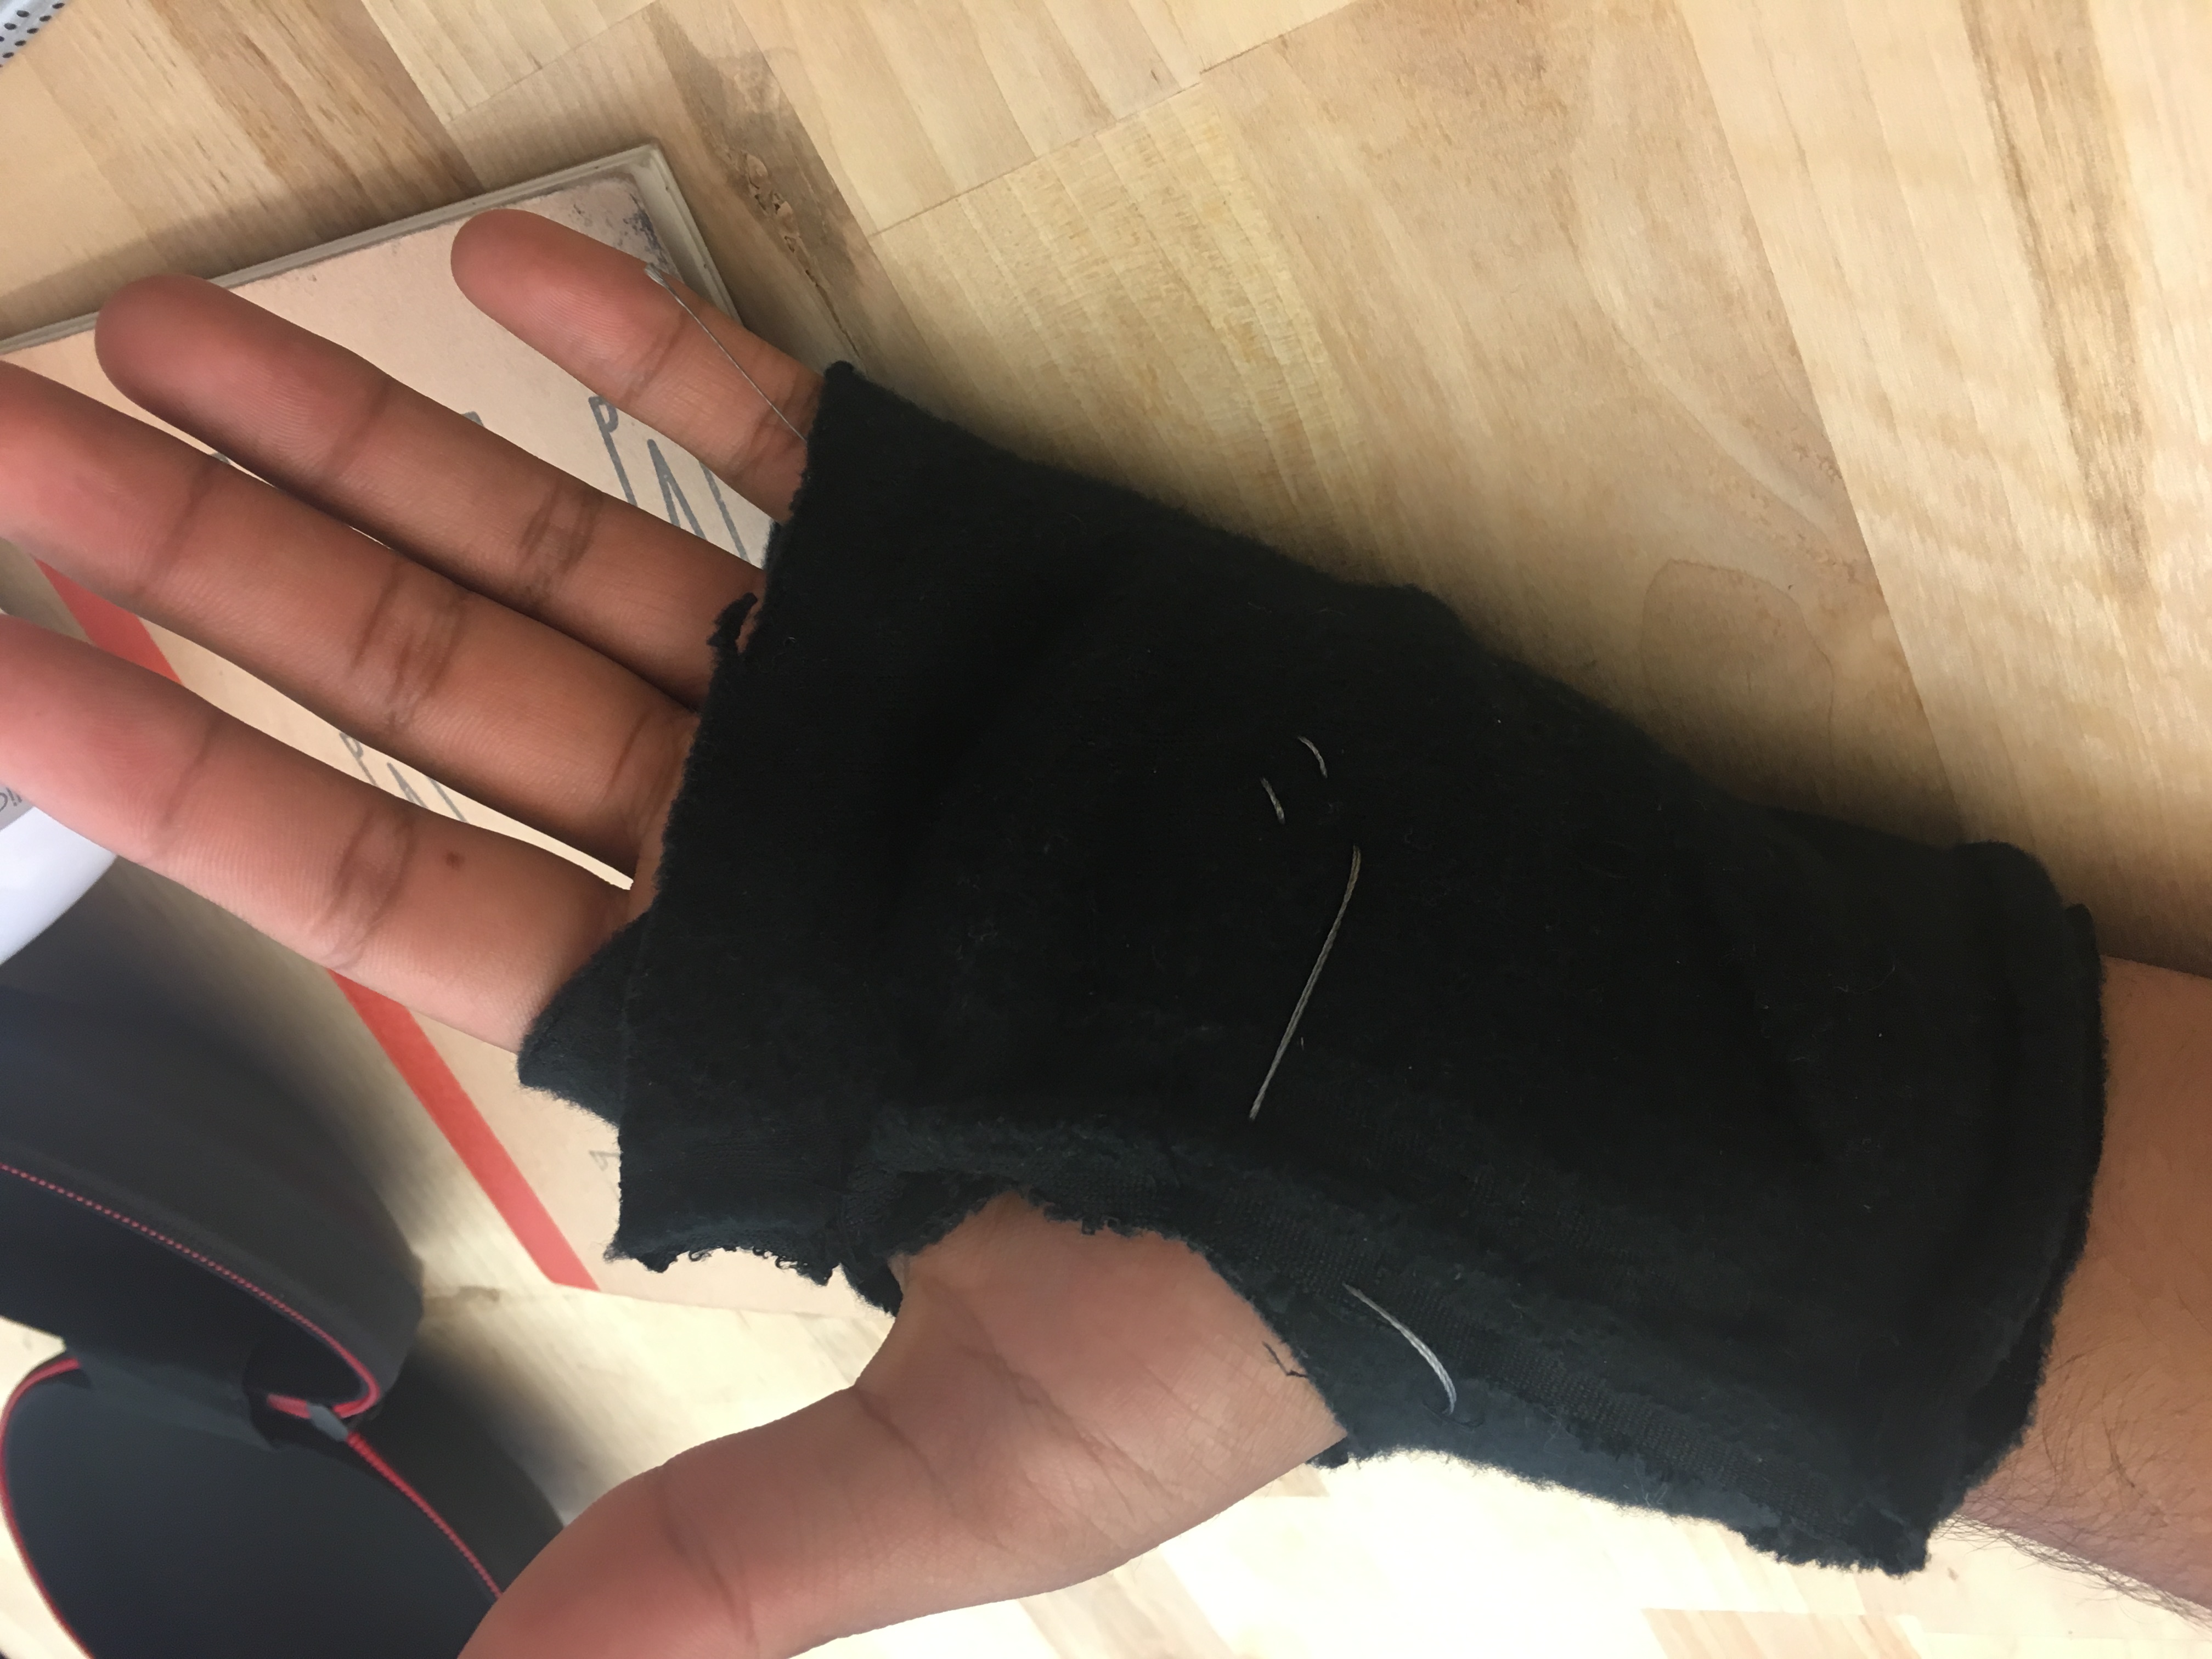
When high-fiving someone this LED on the back of the glove would light up. Upon user testing, I found that the amount of pressure needed to light this LED was too little so I had to create a thicker spacer for the sensor to accurately pick up on high-fives.
Our First Prototype
Hello! We are Team JUB (Jamie, Uriel, Brodie) this is our first prototype sent out to Sara this is the process of making the glove. To see the instructions click here
To see more pictures, click here
To see the instructions we sent to her, click here
___________________________________
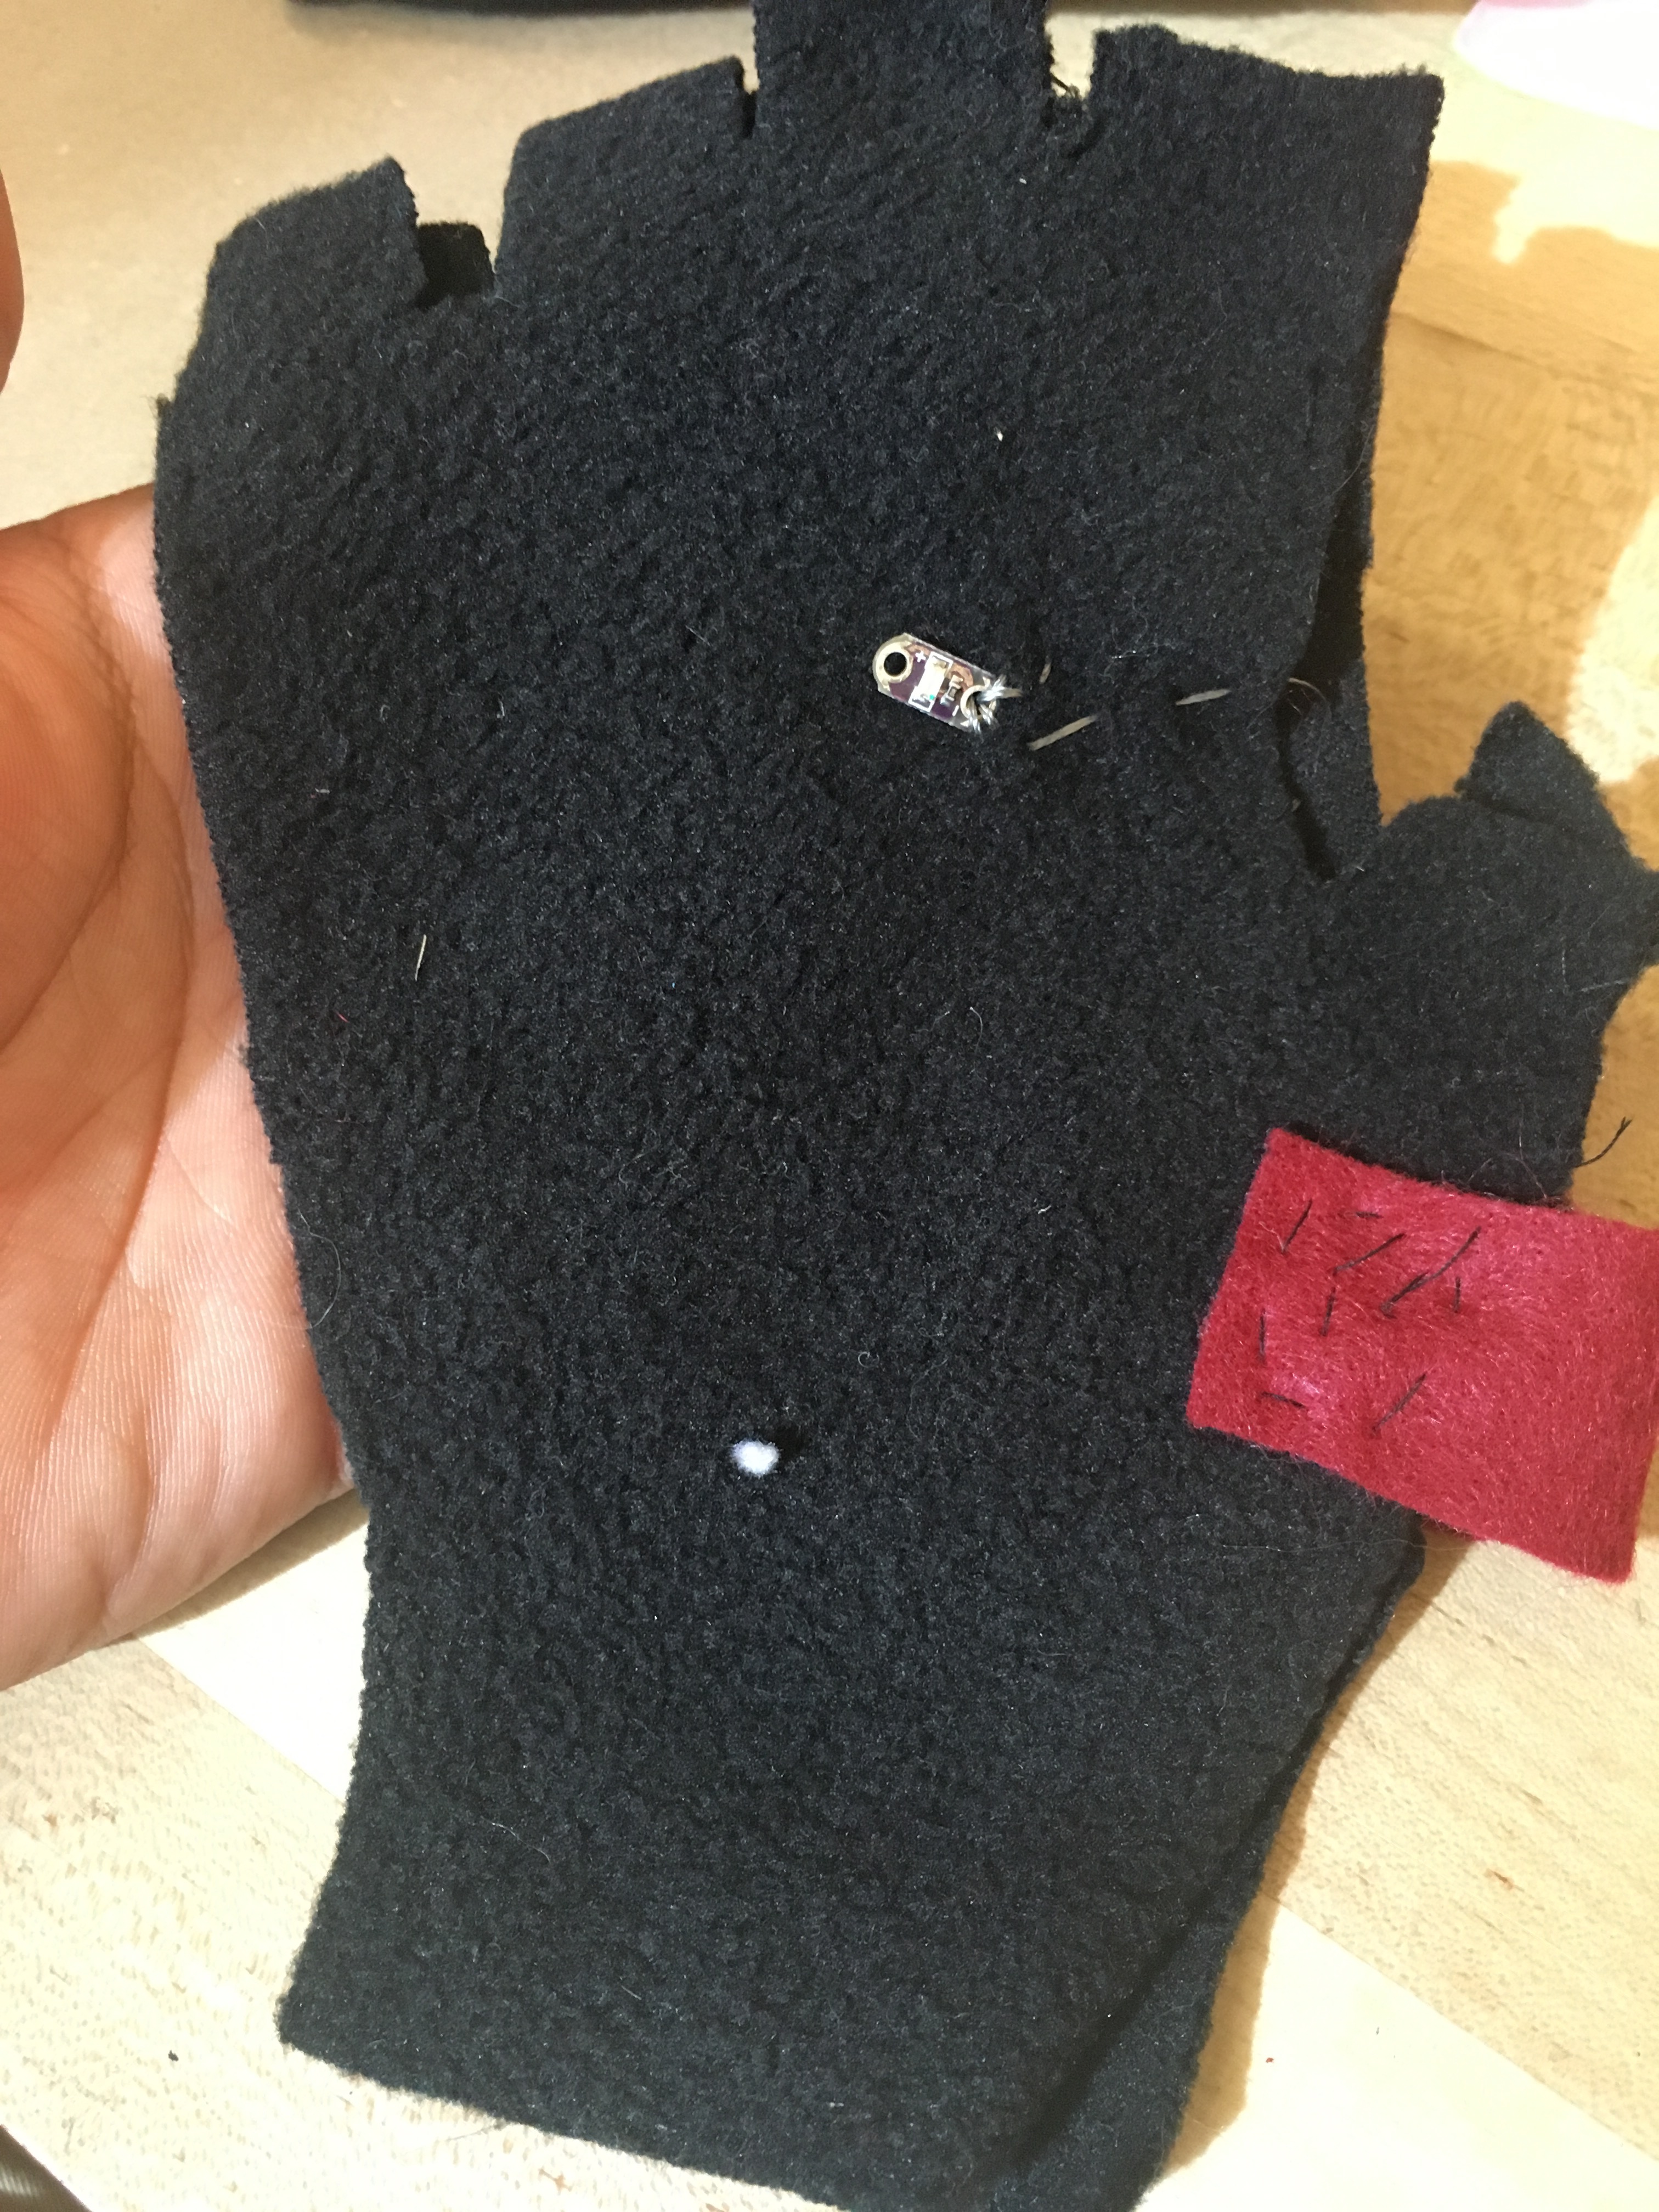
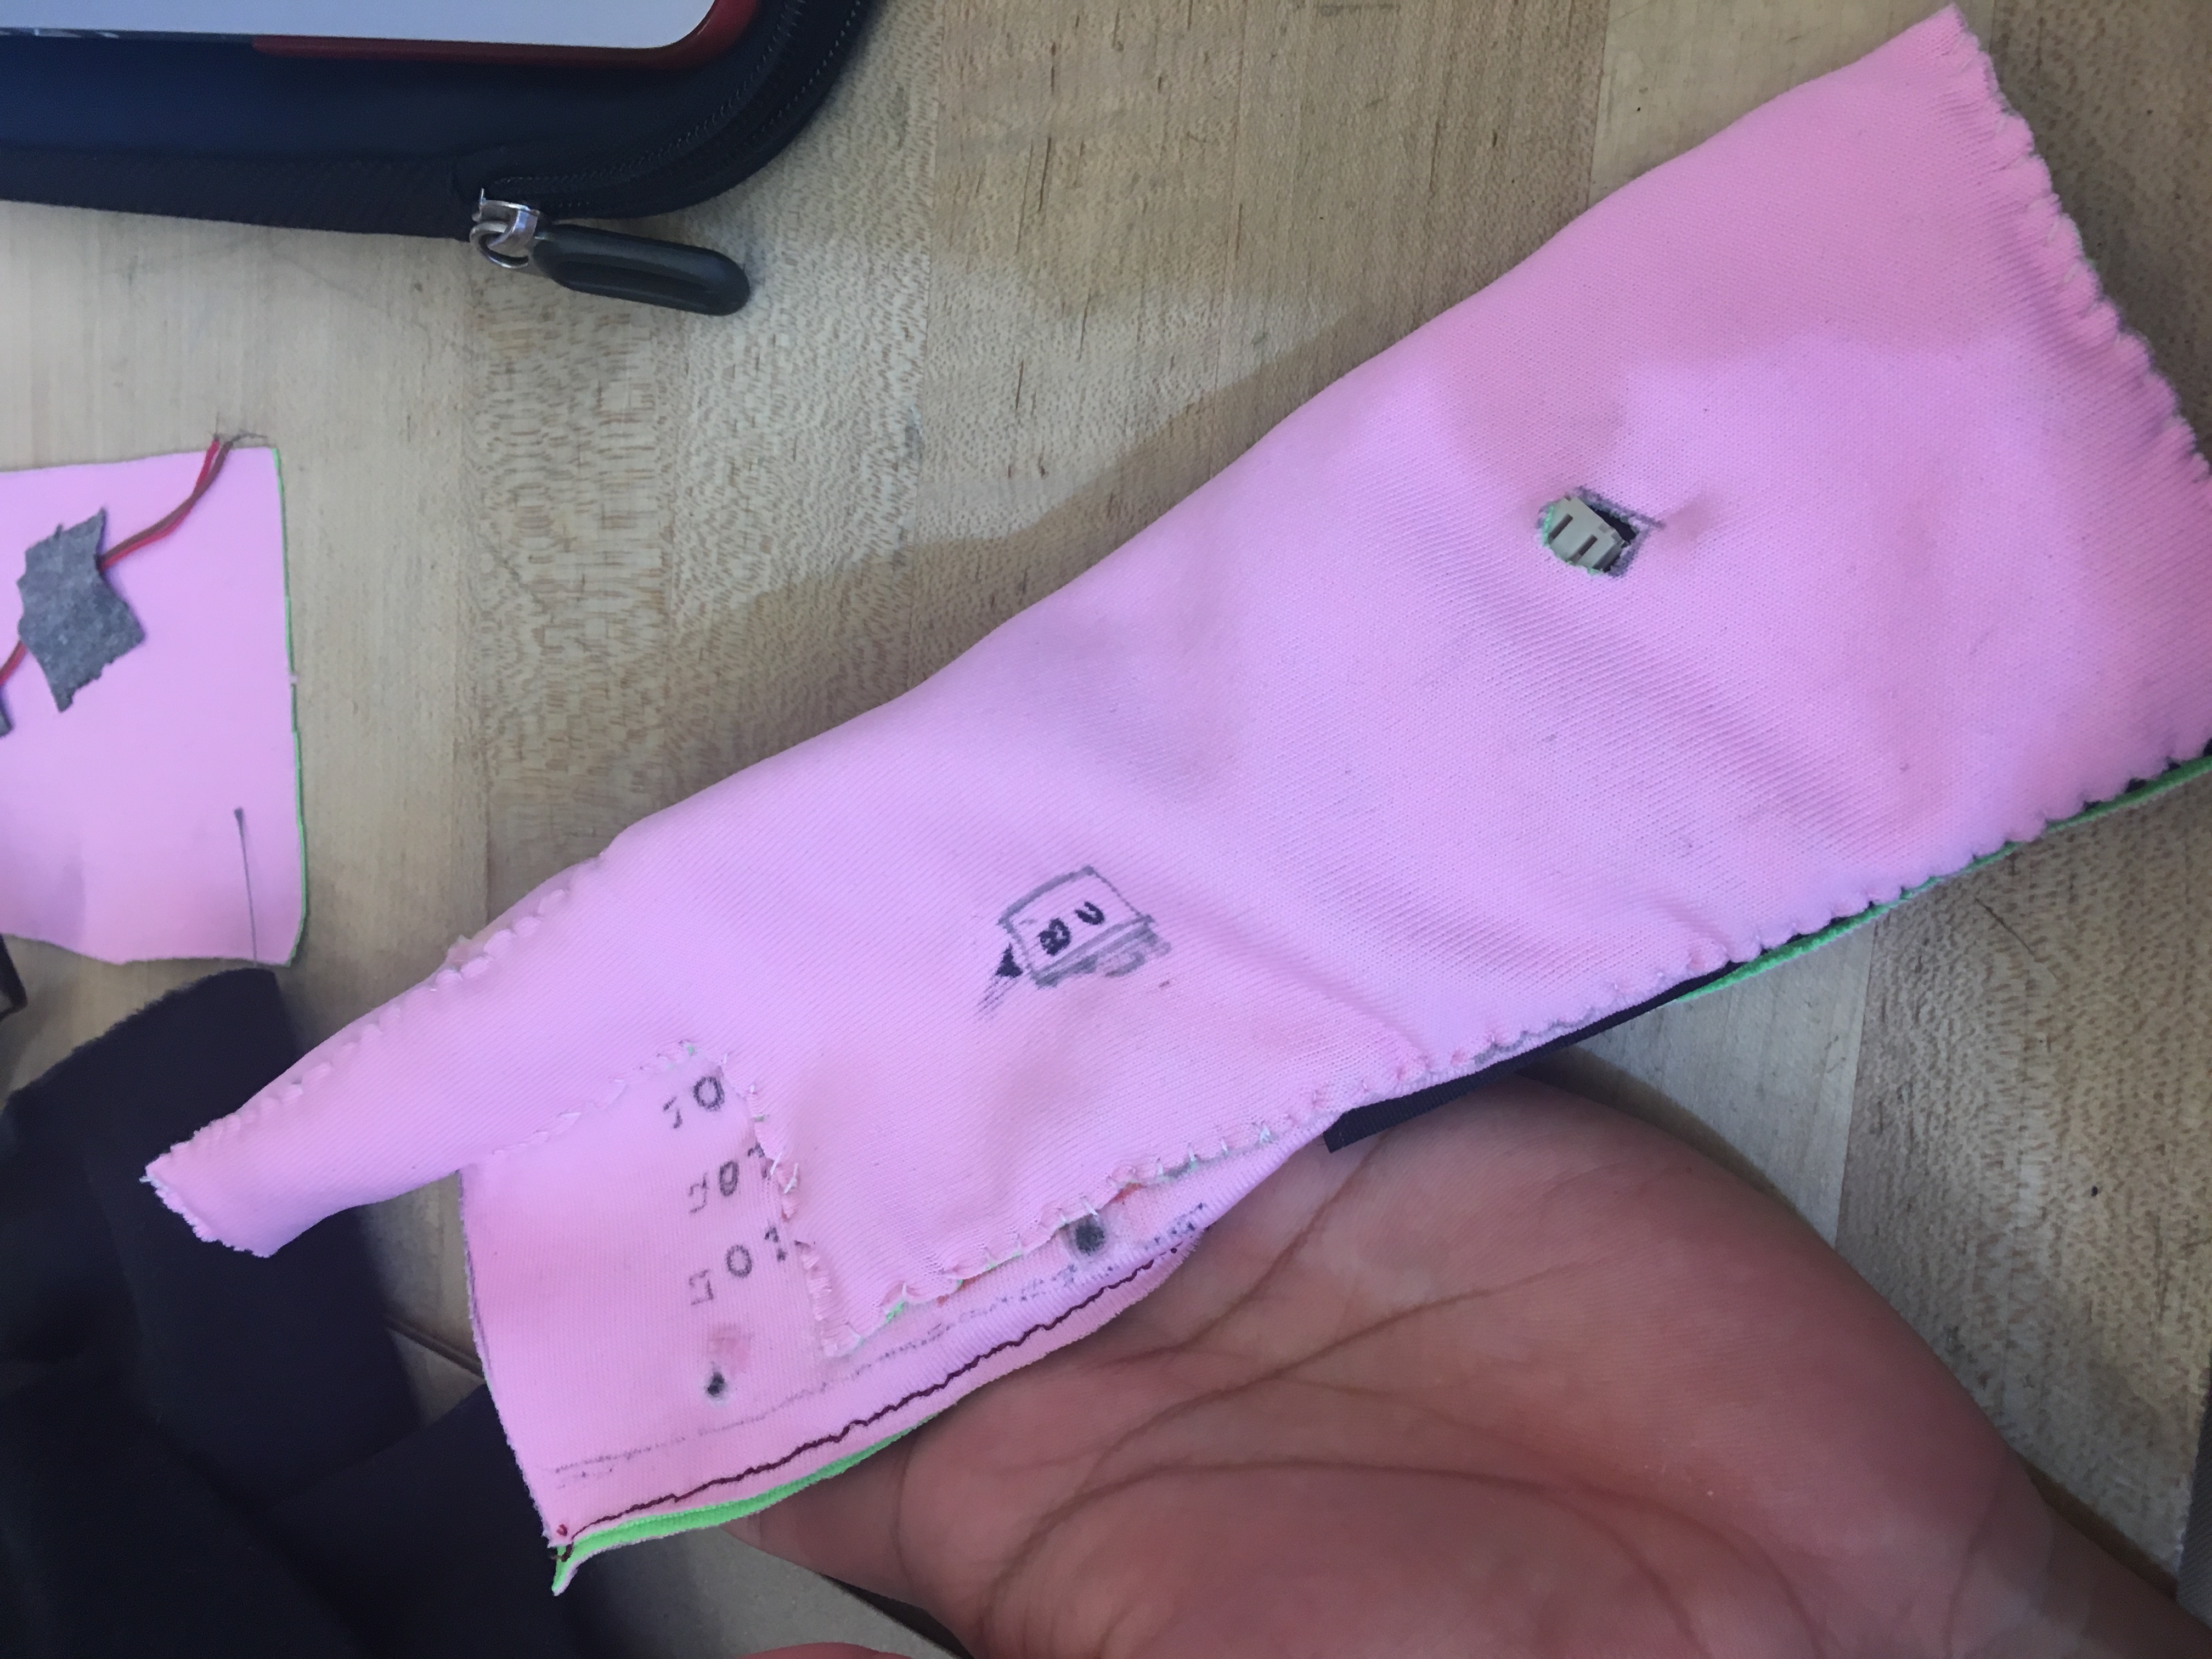
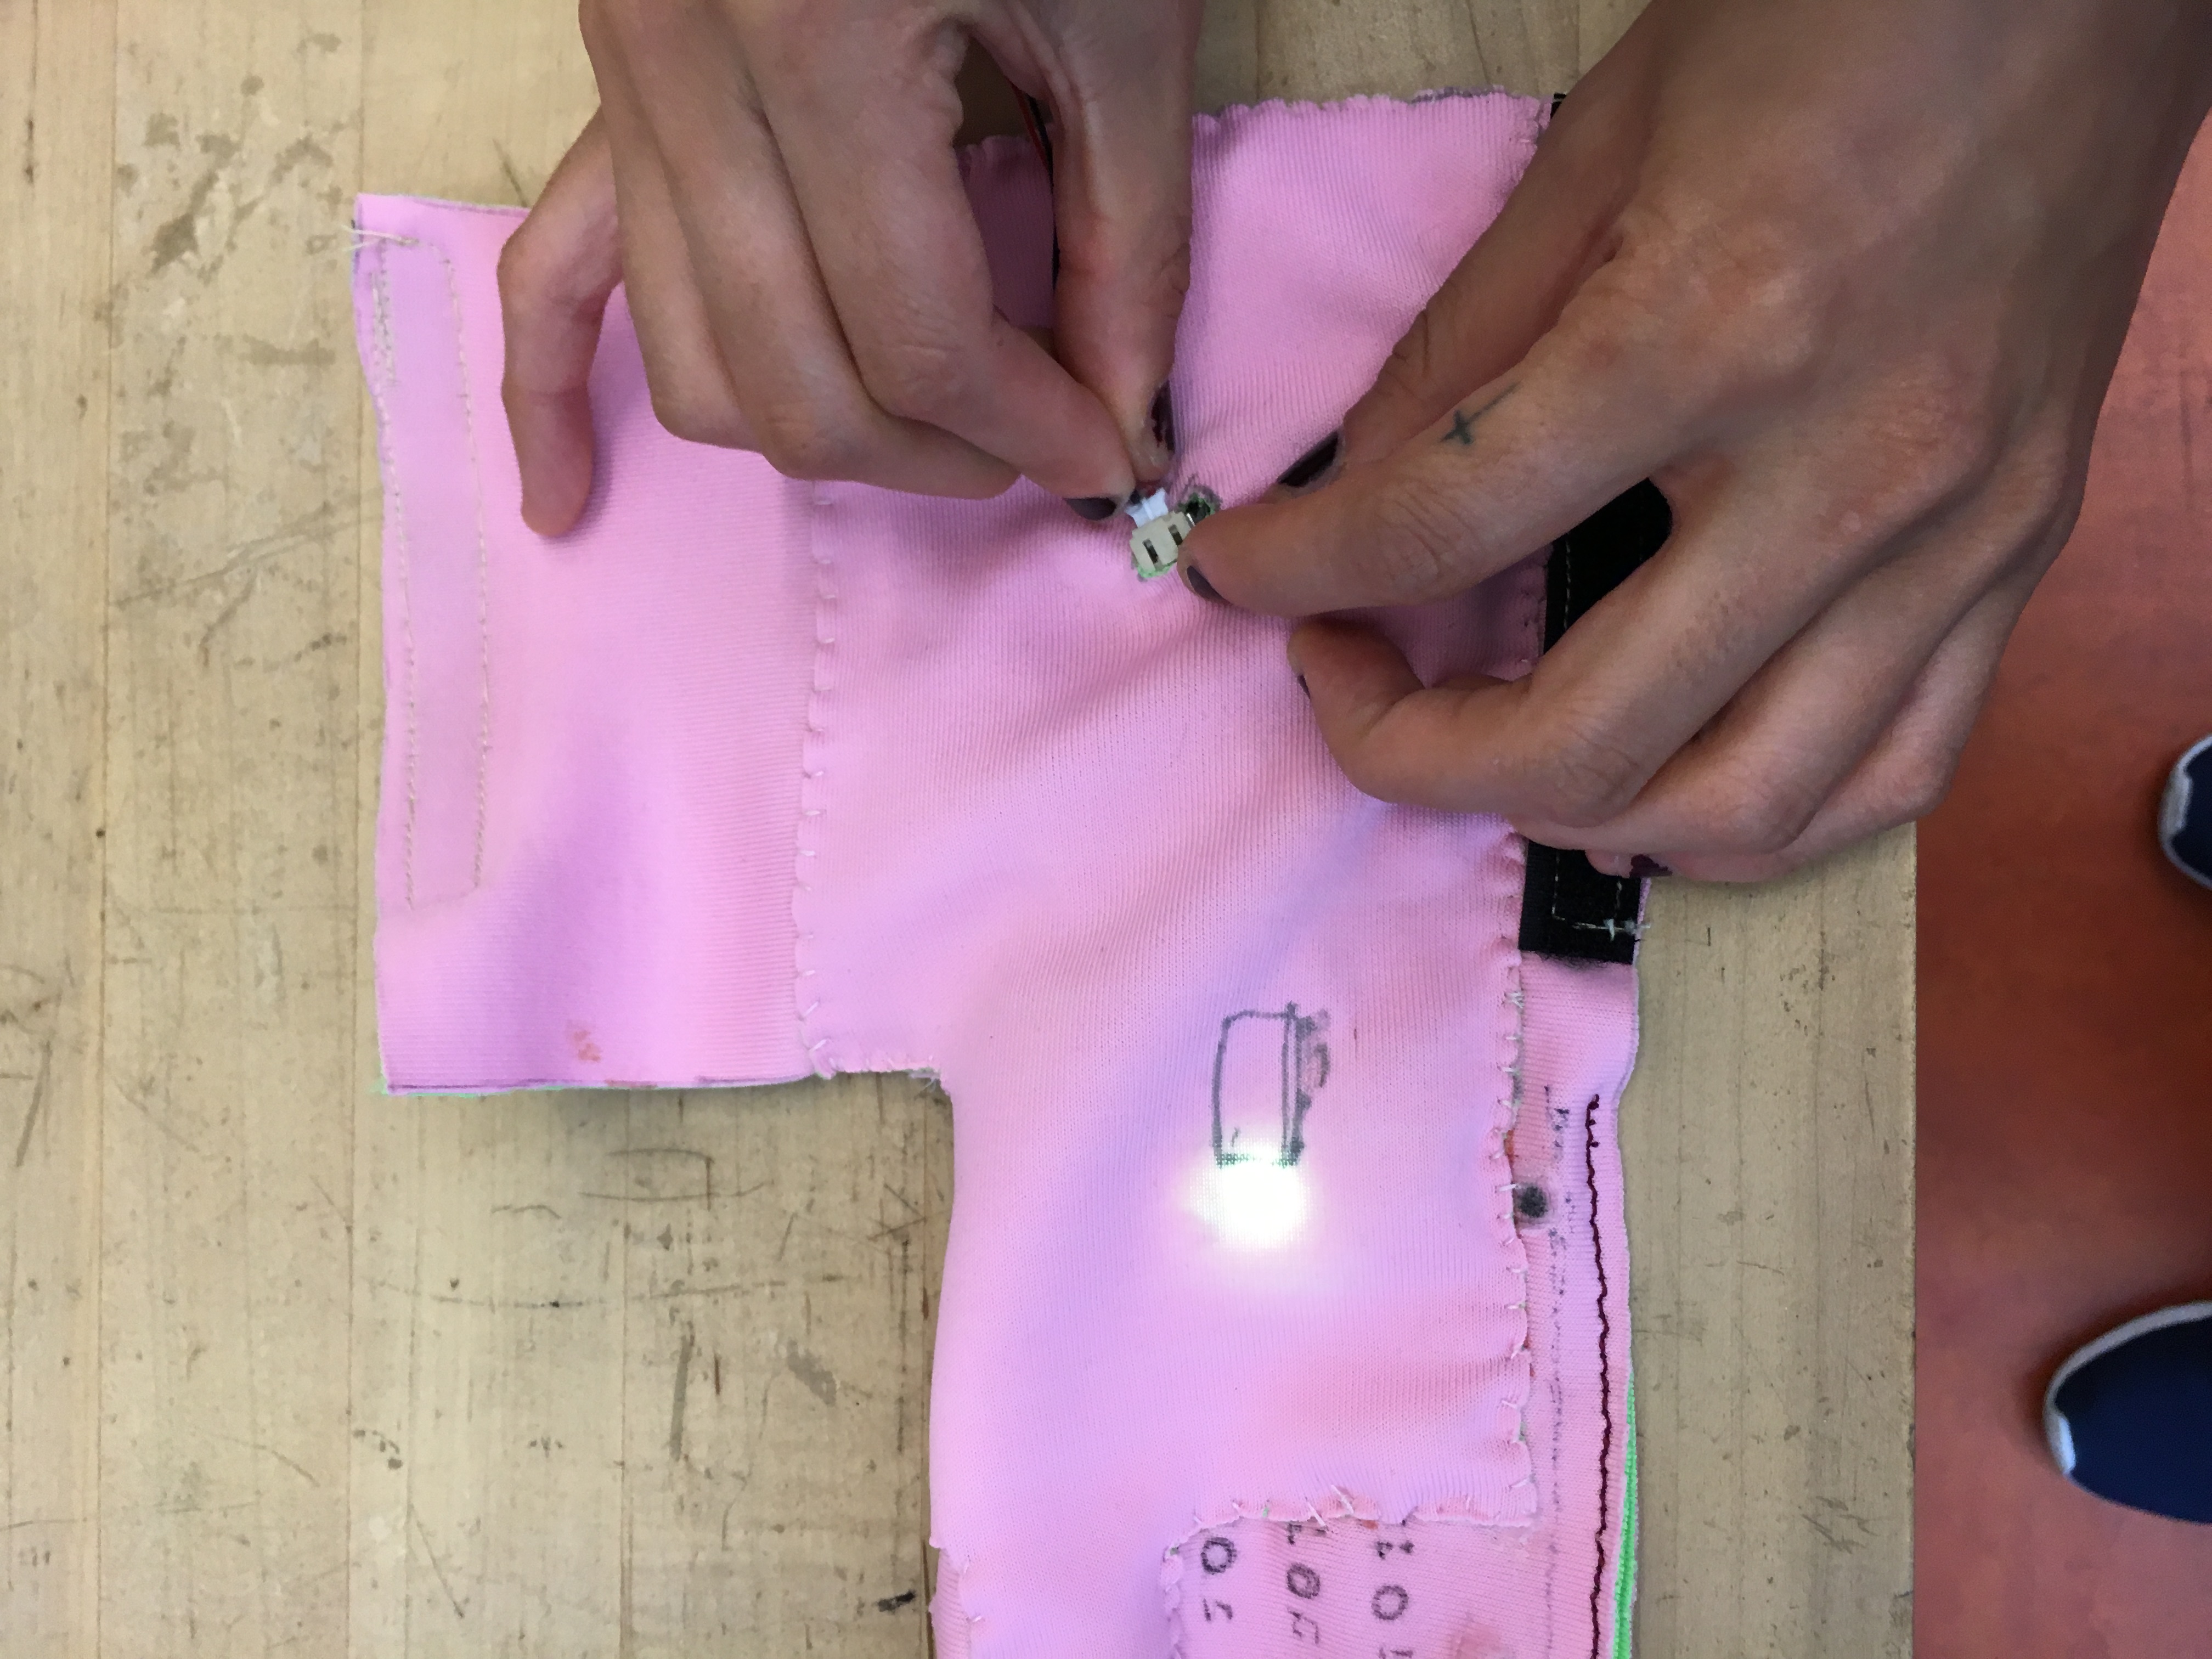
After figuring out what material we wanted to use we started crafting and assembling the components together. For the glove material, we wanted something soft, flexible, but durable. For our first prototype, we didn’t worry too much about aesthetics but rather more on functionality. On the fabric, we started drawing out a diagram of where we want our connections to be. We decided to use 3 flex sensors placed on the index finger, one on the left side of the hand, and one on the right side. Using LED’s we are trying to learn how much flexibility Sara really does have with her wrists or fingers. The LED’s will light up if Sara moves her wrist/fingers in a certain way and we’ll know by how much depending on the different Led’s that light up.
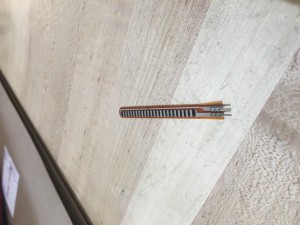
Our trusty flex sensors that will help us collect data
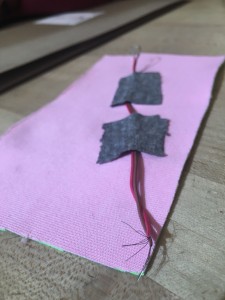
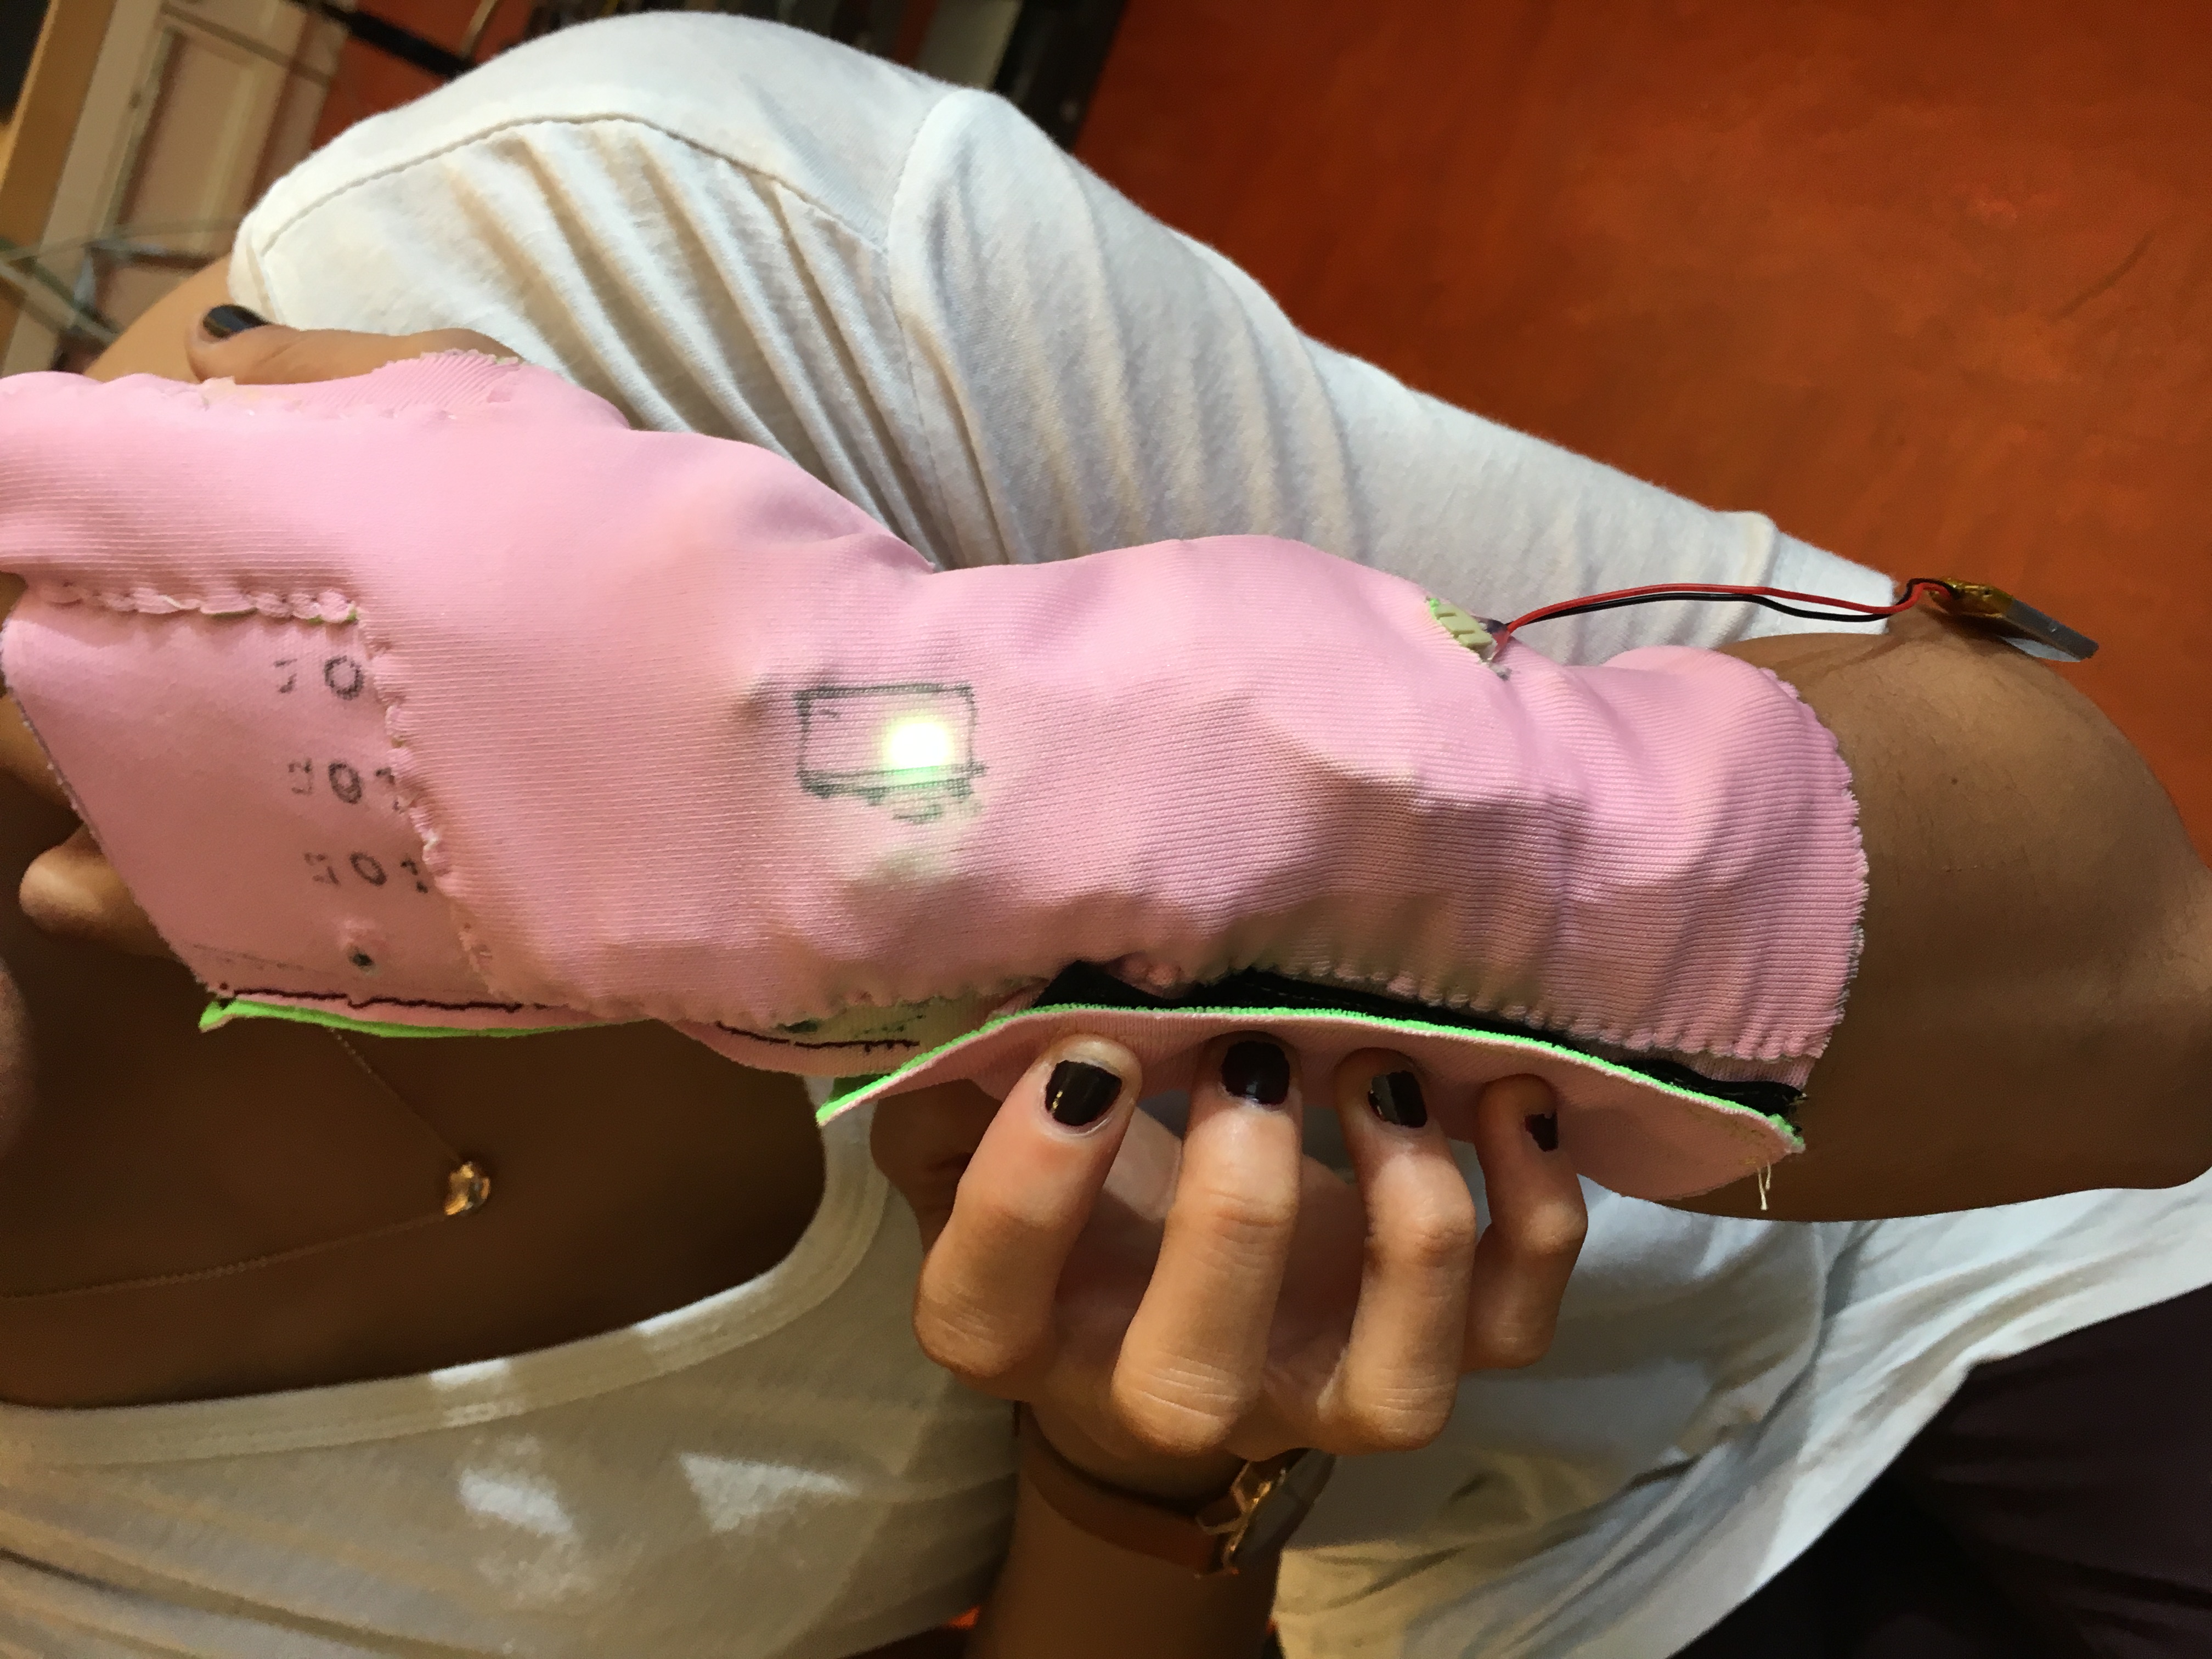
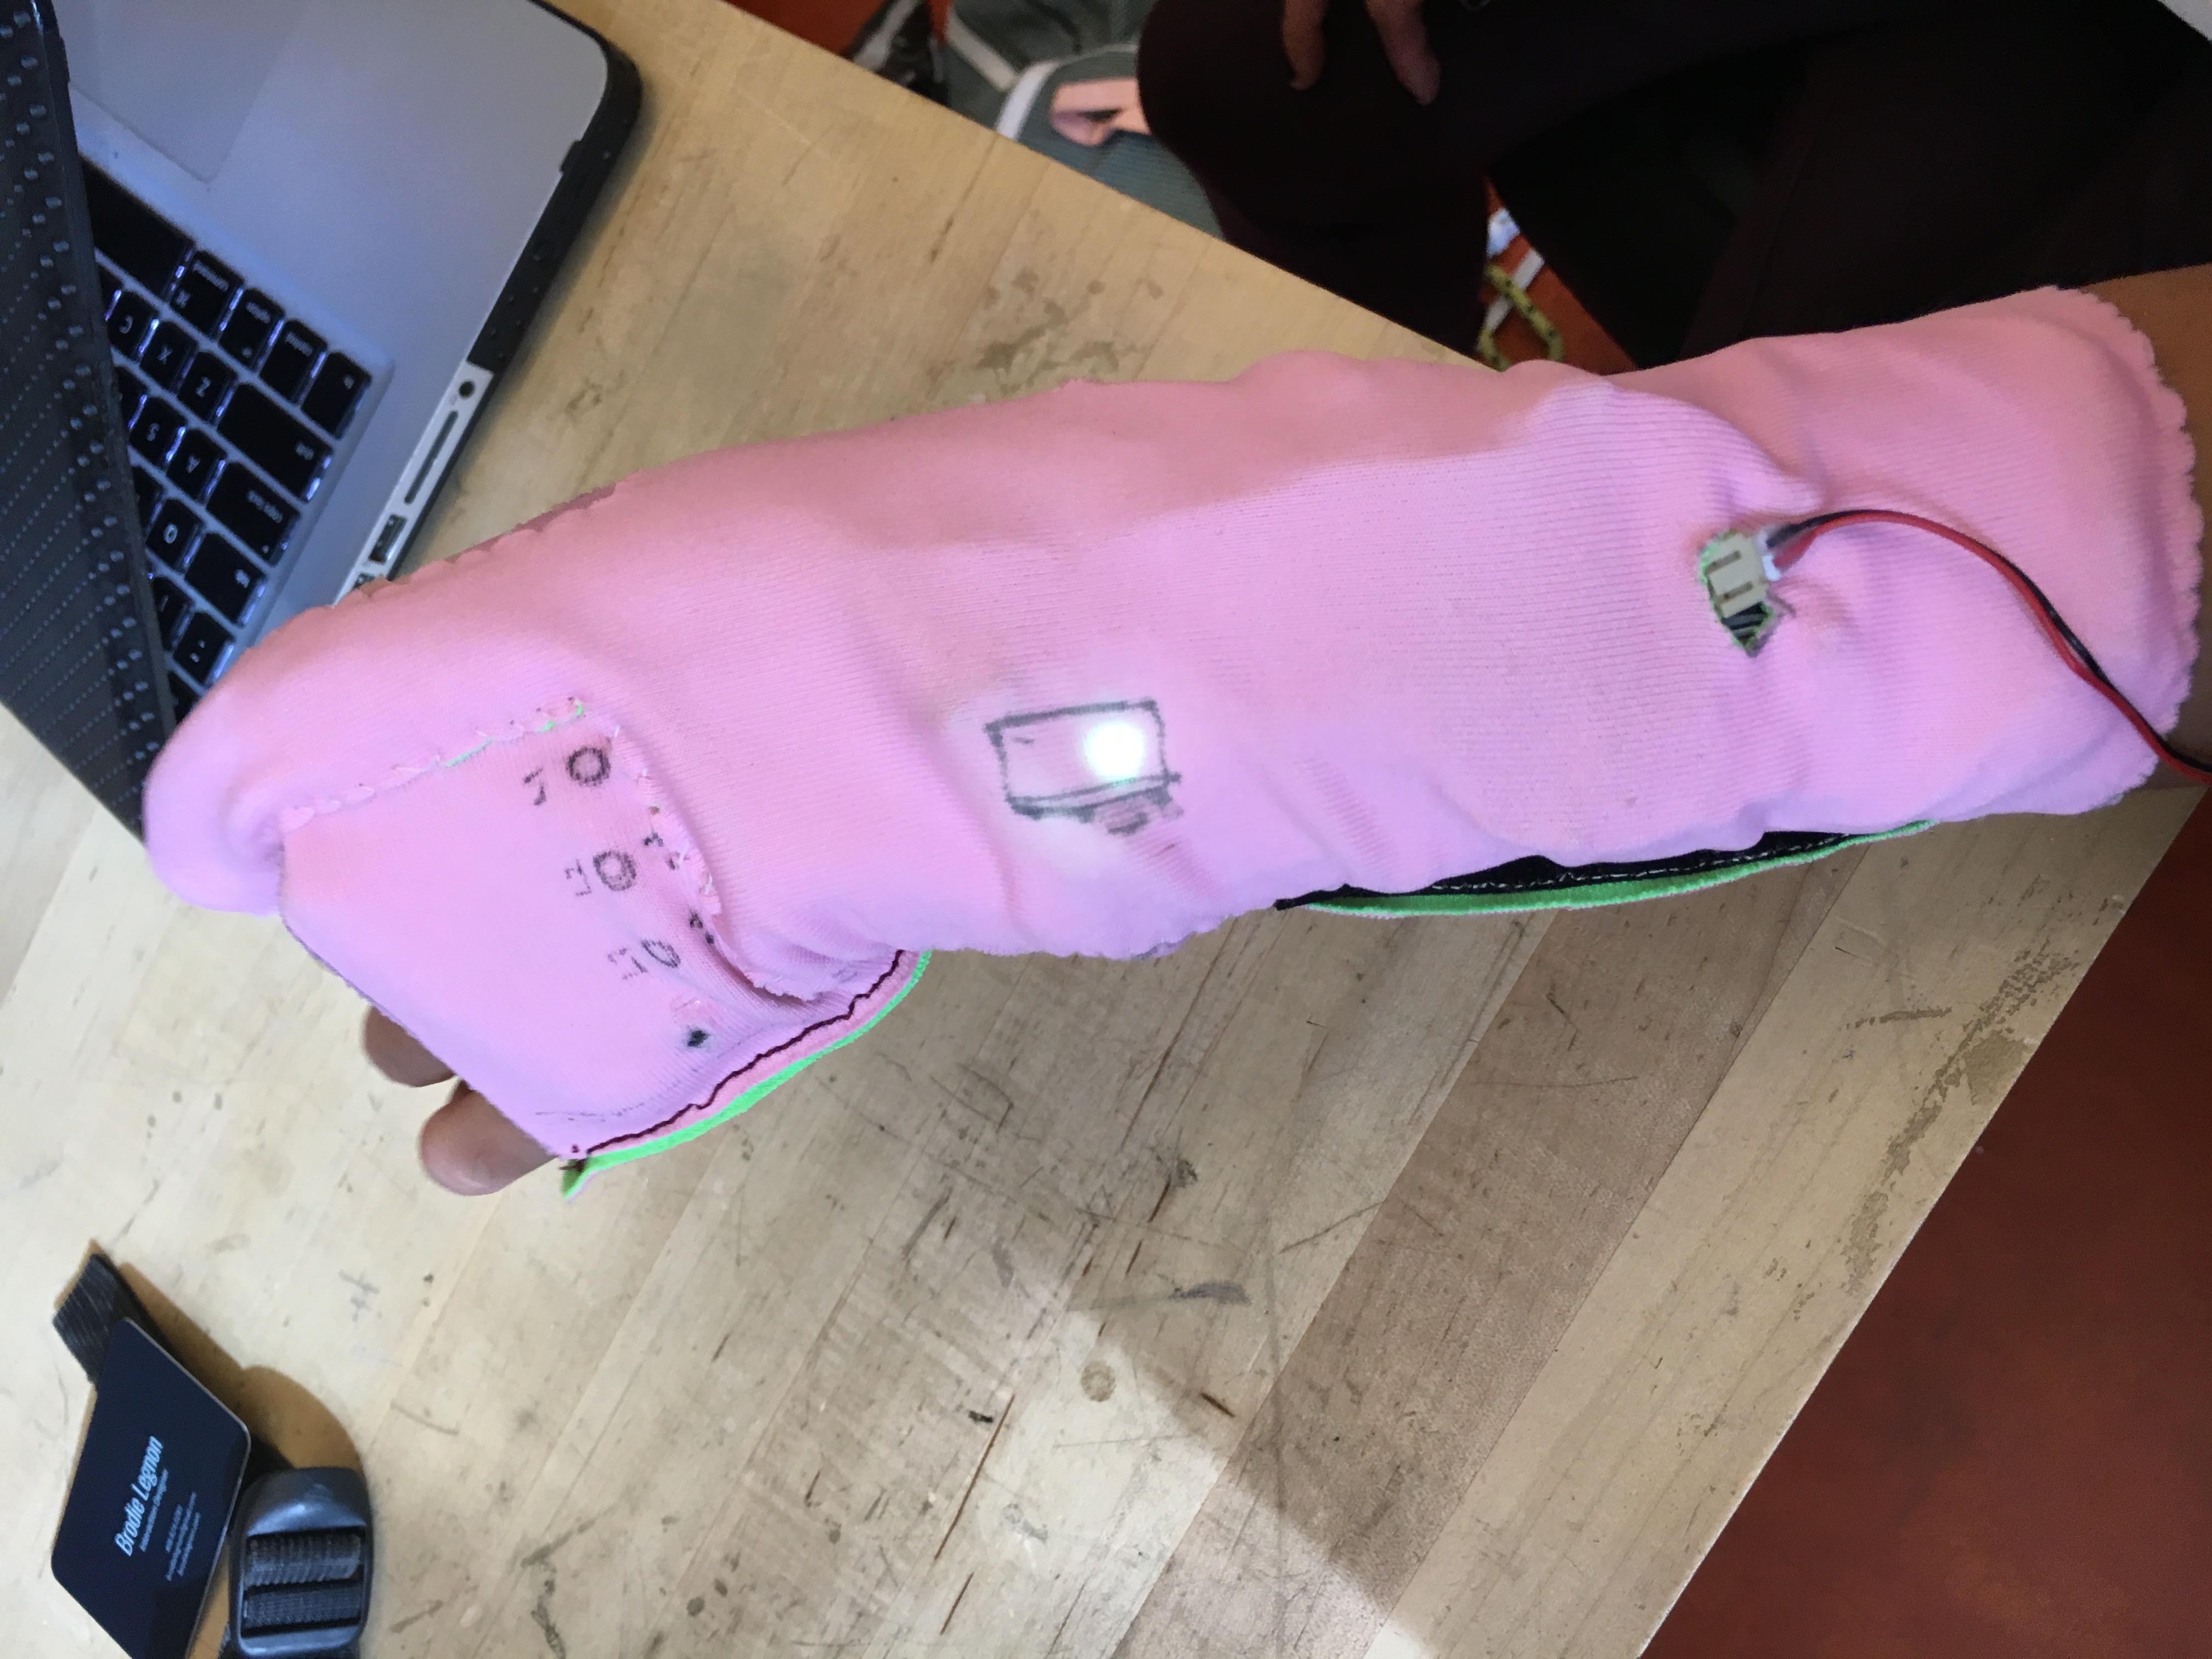
Lara showed us how to use heat and bond in order to properly insulate our glove wires. We were originally thinking about sewing on the circuit but due to some time constraints, we ended up using ribbon wire

Instructable Link
Dynamic Textile
I created a dynamic textile using thermochromic ink.
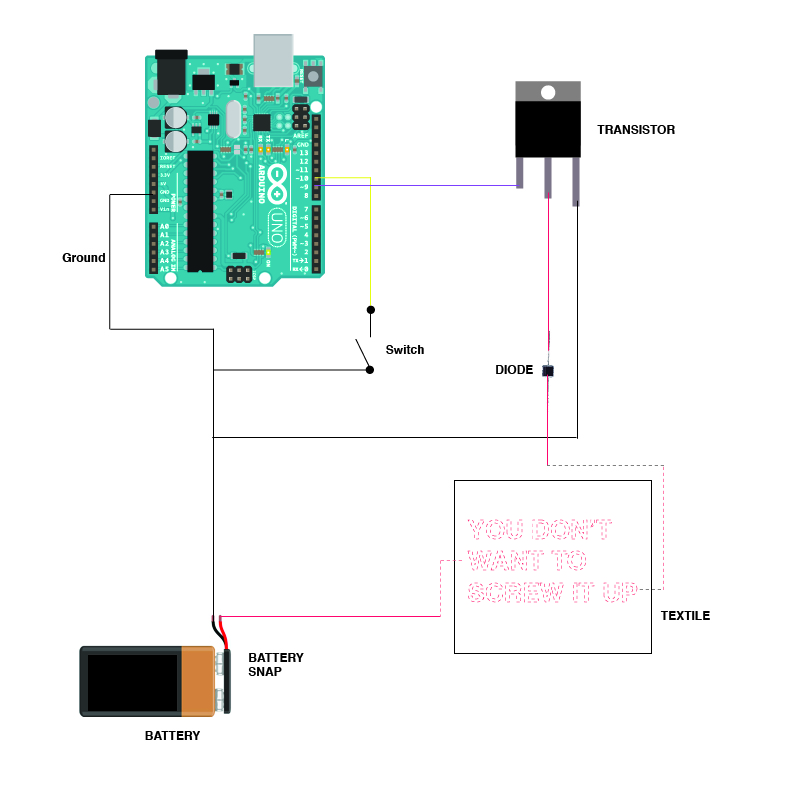
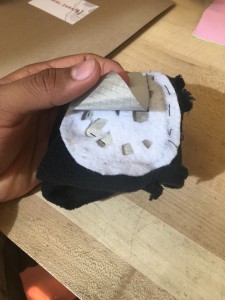
I soldered all the components onto a perf board then stitched it onto the textile.I hid the connections behind the first layer in order to keep it clean.
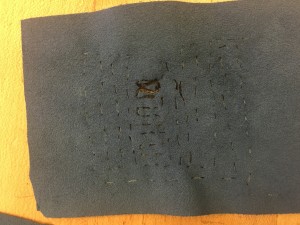
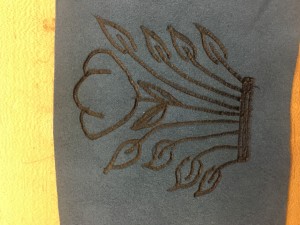
I was very interested in experimenting with different ways to create patterns using electricity to melt/burn a pattern into various mediums. Below is my first experiment. I stitched a maze-like pattern into a piece of suede. As you can see, what actually burned were the stitches that were very close together(burning at 28.1V). This helped inform the next experiment.

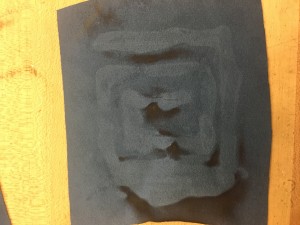
Because the closer tighter stitching from my first prototype burned easiest, I created another pattern with tighter stitching and tested it out. As you can see, what burned easiest was whatever was in a straight line, but when it began turning, it wouldn’t burn as easy.
I then began to create small swatches with very tight stitching and no turns. Interestingly enough when running only 5v’s of current through this small swatch it was completely burned off. I then lowered the voltage to about 3.5v’s and it burned the pattern into the material nicely.
This is the desired effect I was going for:
Unfortunately, it looked more like this:
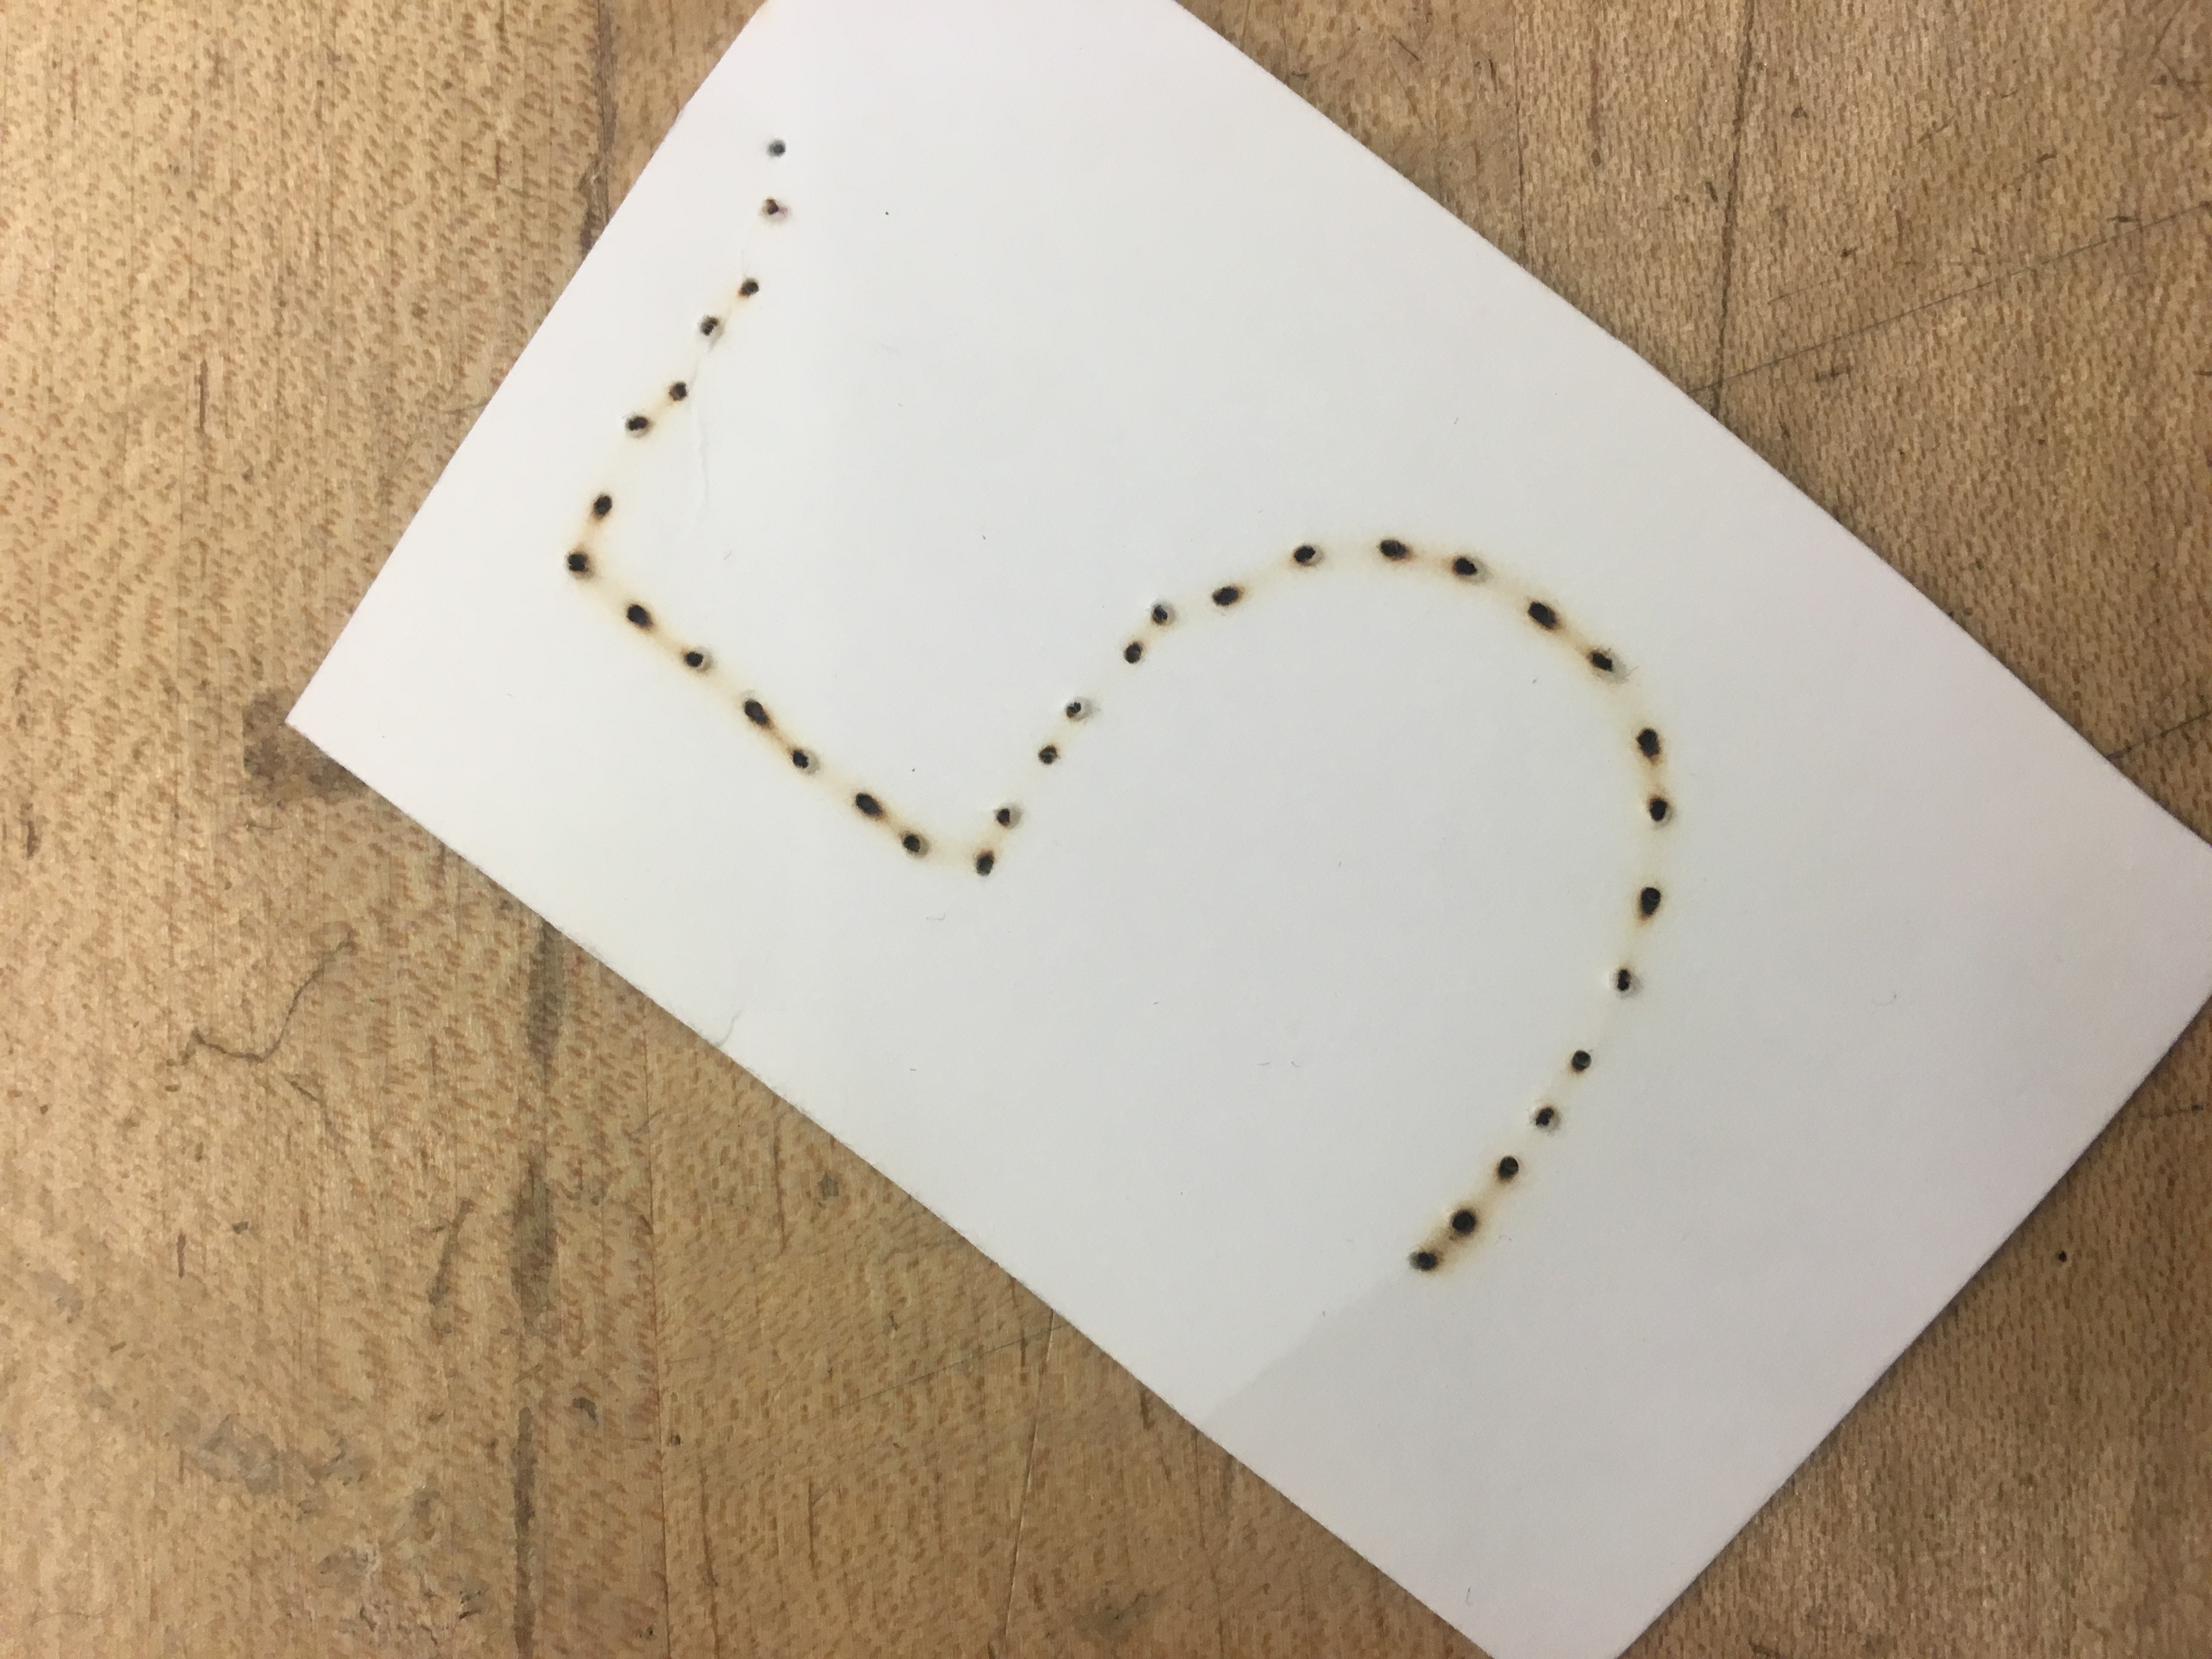
I also experimented with burning paper, I created a pattern and slowly increased the voltage (surprisingly to 9.18V’s) to attain the desired effect.
Although I didn’t quite reach my desired burn effect, this experimentation process was extremely fun and engaging. Check out the video below of me burning things!
Second Glove Prototype
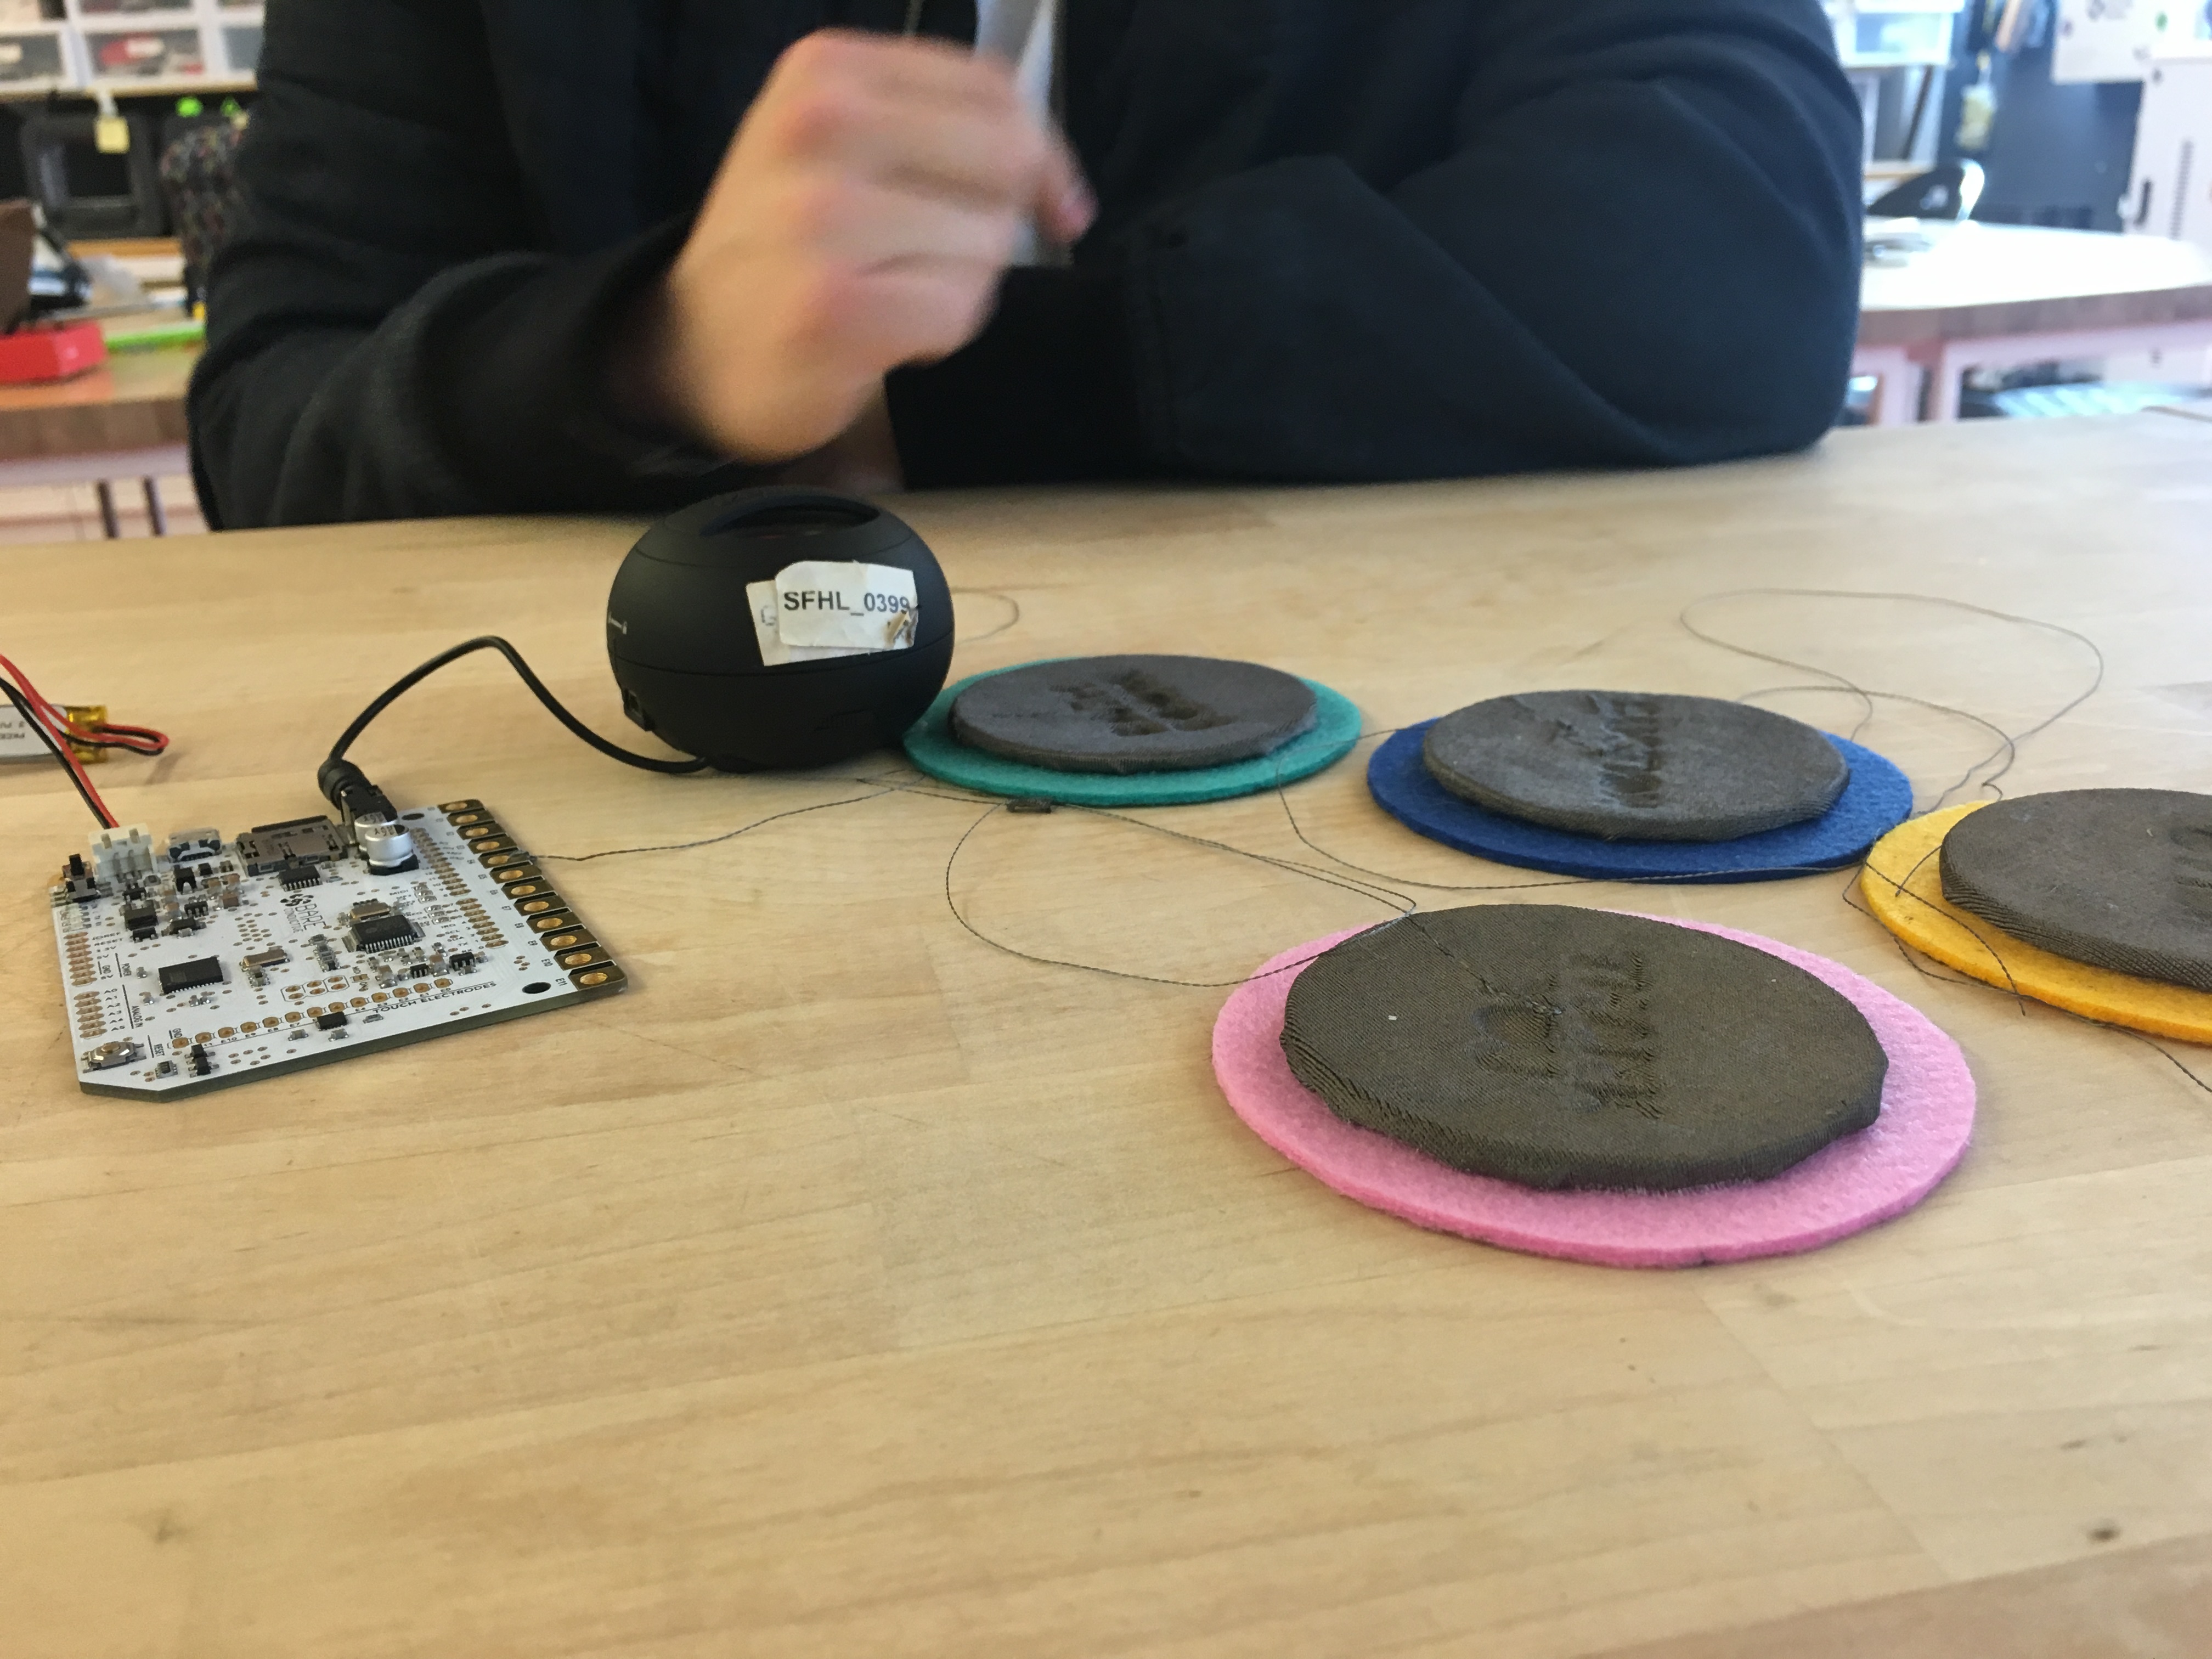
Based on our last prototype we wanted to get an understanding of how mobile Sara’s movements are so we can start designing for those touch-points. We took a step back from the glove and decided to create a touch board for Sara to use. Our goal is to help Sara communicate. In this prototype, we want to see if Sara can identify these buttons (that say certain phrases like “suction” or “hello”) and then touch it.
Instructions for 2nd prototype
- Turn on and plug in battery and speaker. ( Watch video on how to)
- Ask Sara if she can try touching the buttons
- Please feel free to move around the buttons to make it more comfortable/easier for Sara to touch
How to Turn on Speaker and Battery
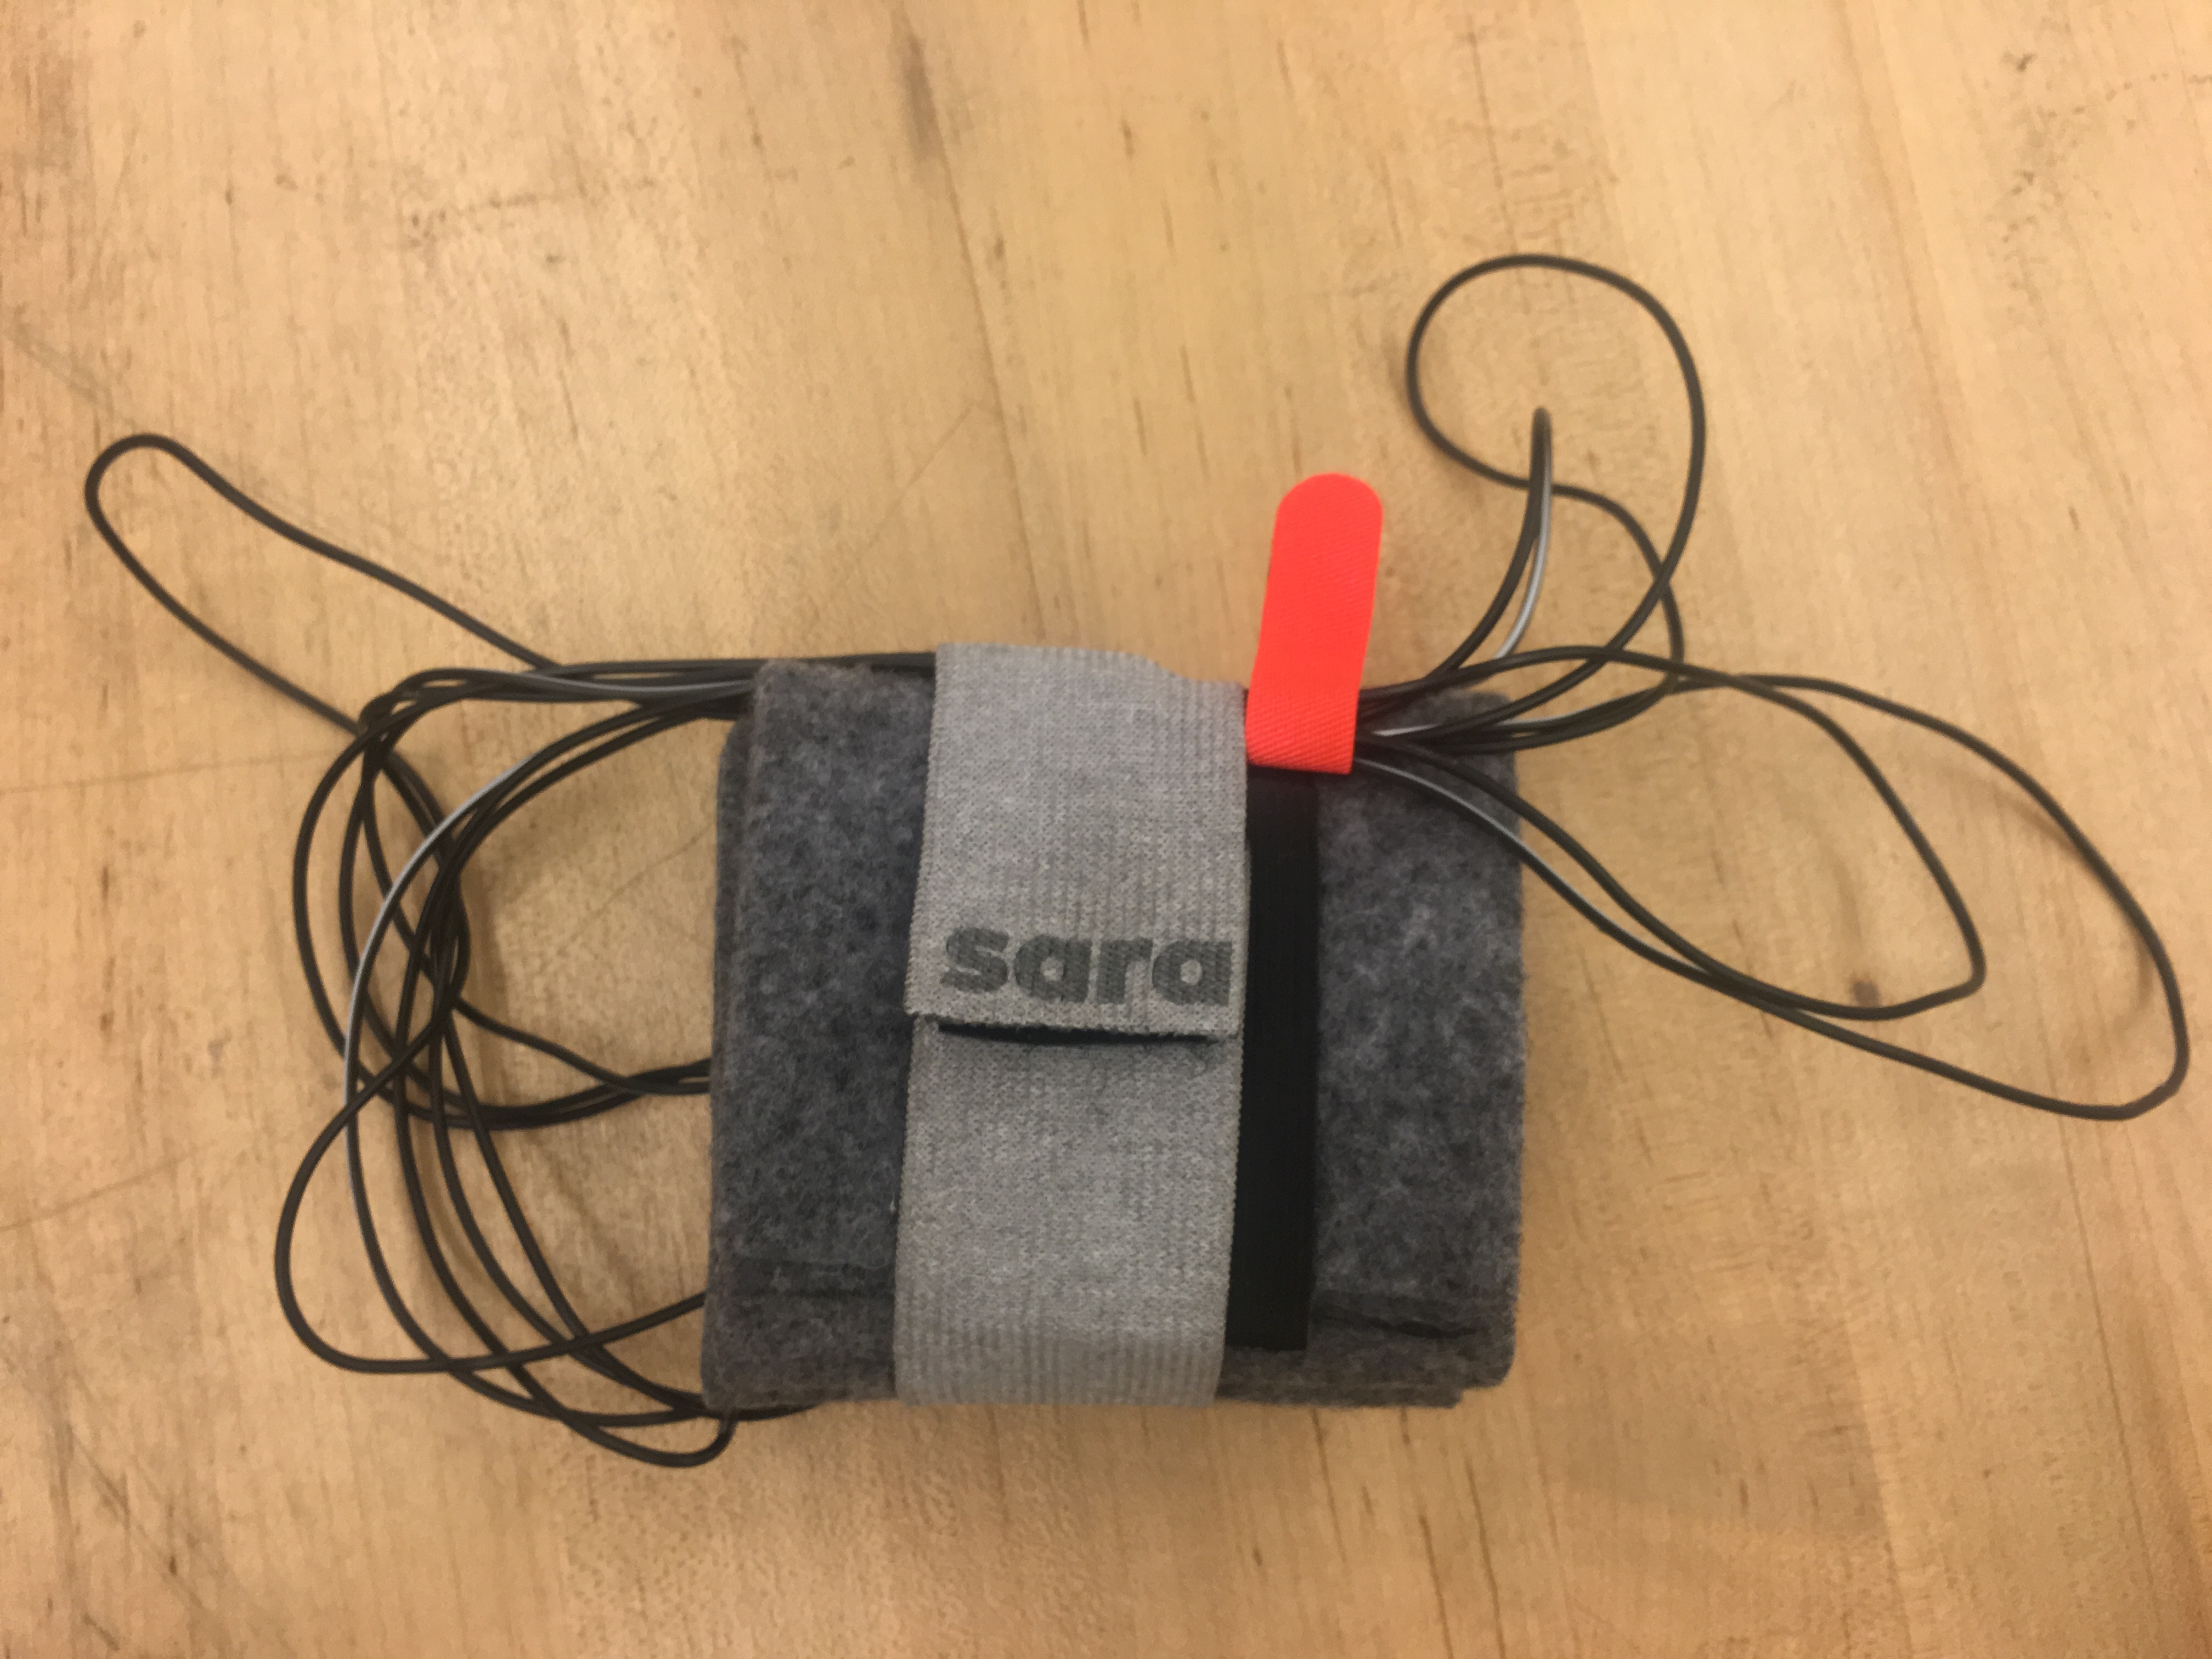
We have also added another part of our prototype that we want to see Sara try.
We designed this platform to have movable modules in order to make it easier for Sara customize.
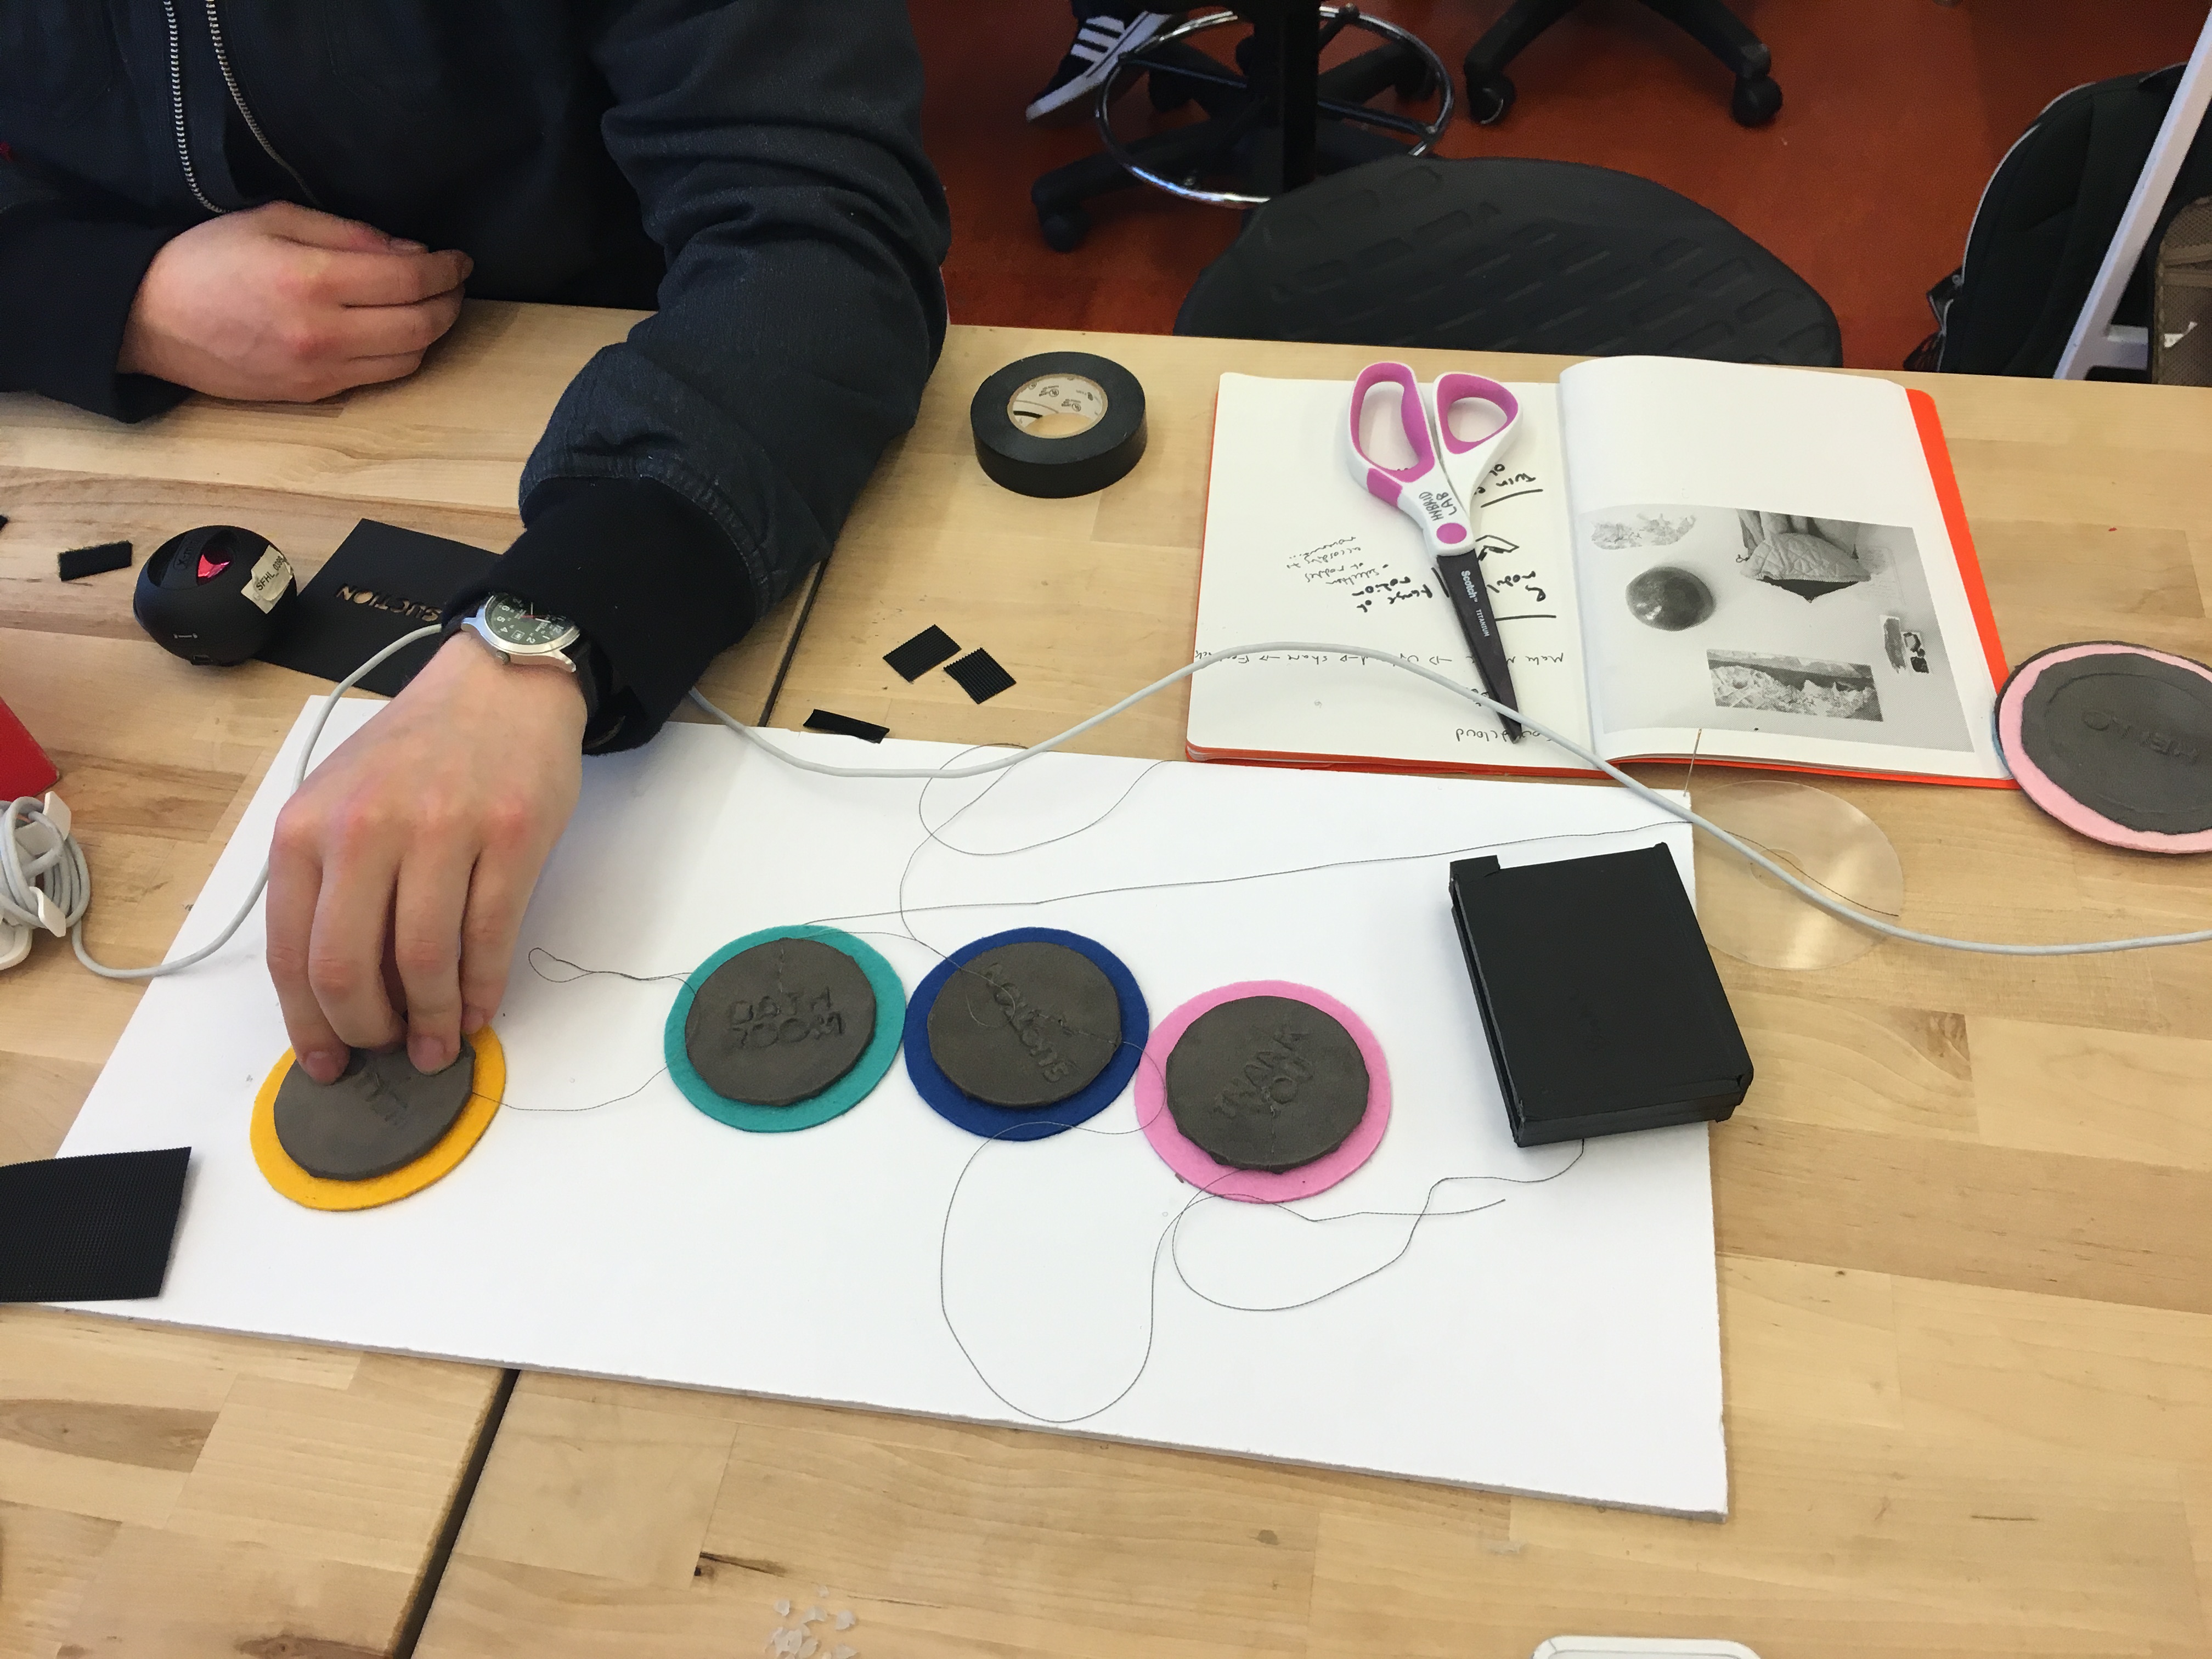
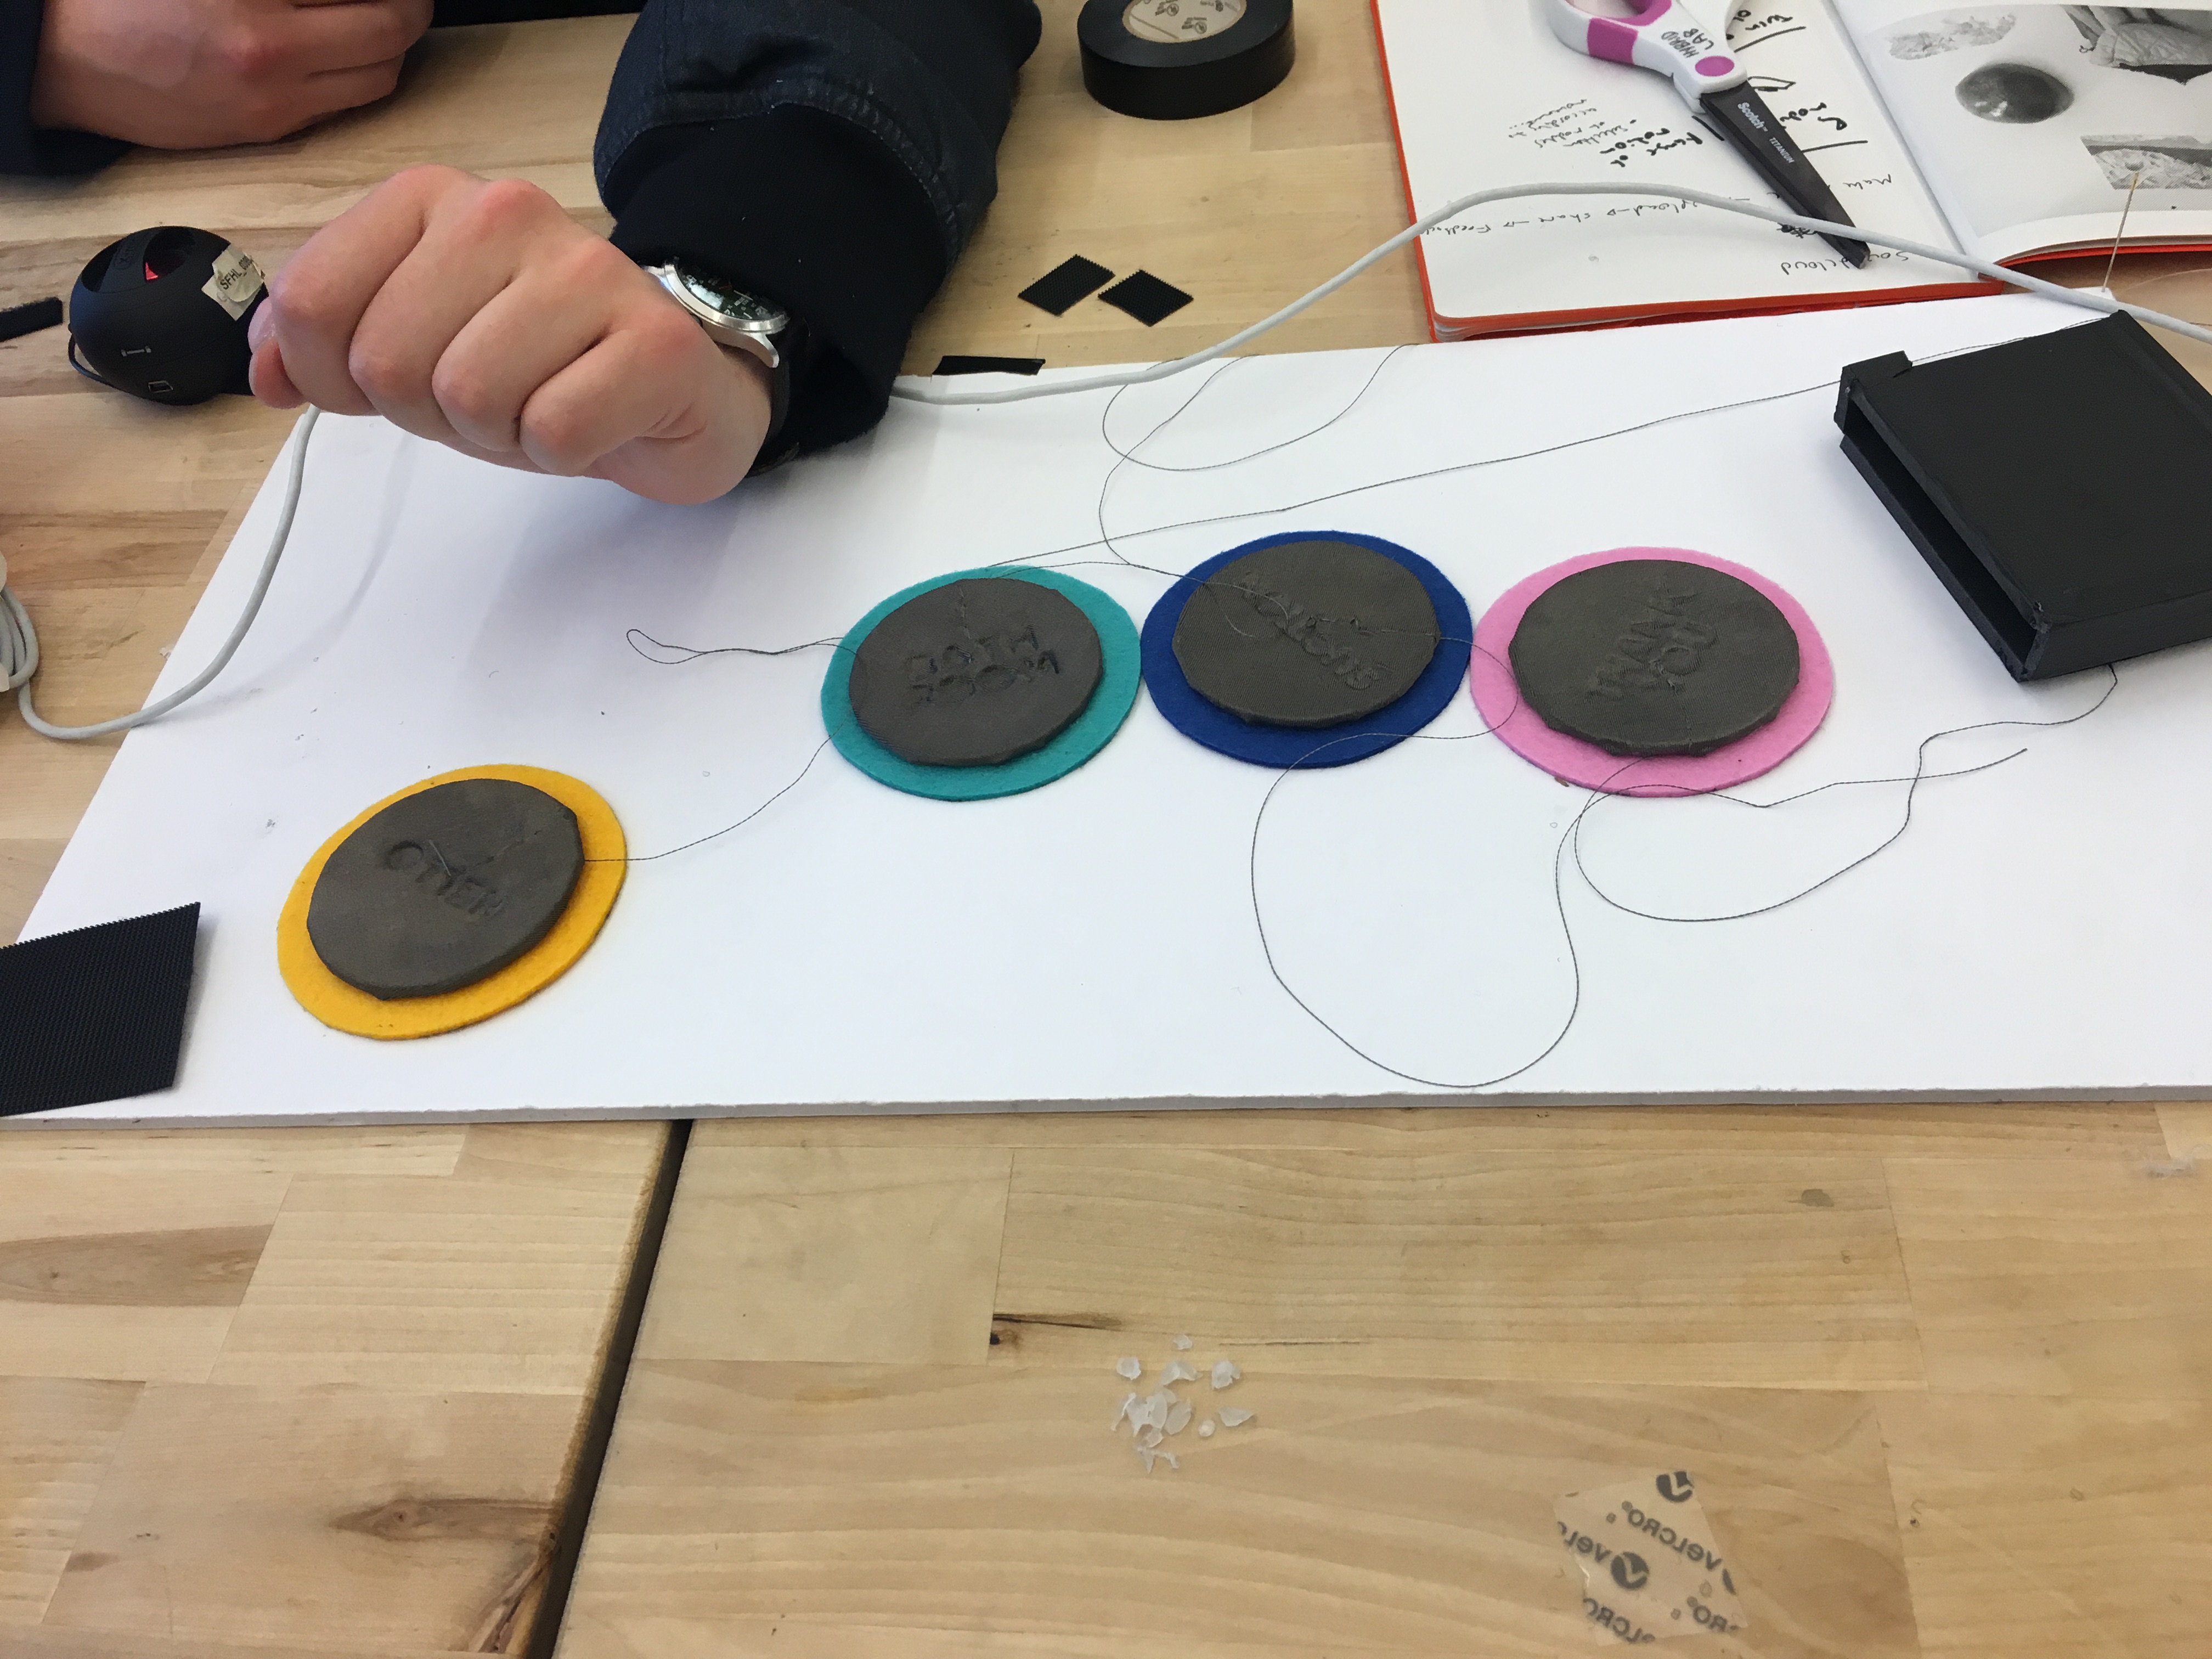
Each one of these modules triggers something different. We have them set up to say “thank you”, “hello”, “suction”, and “bathroom”

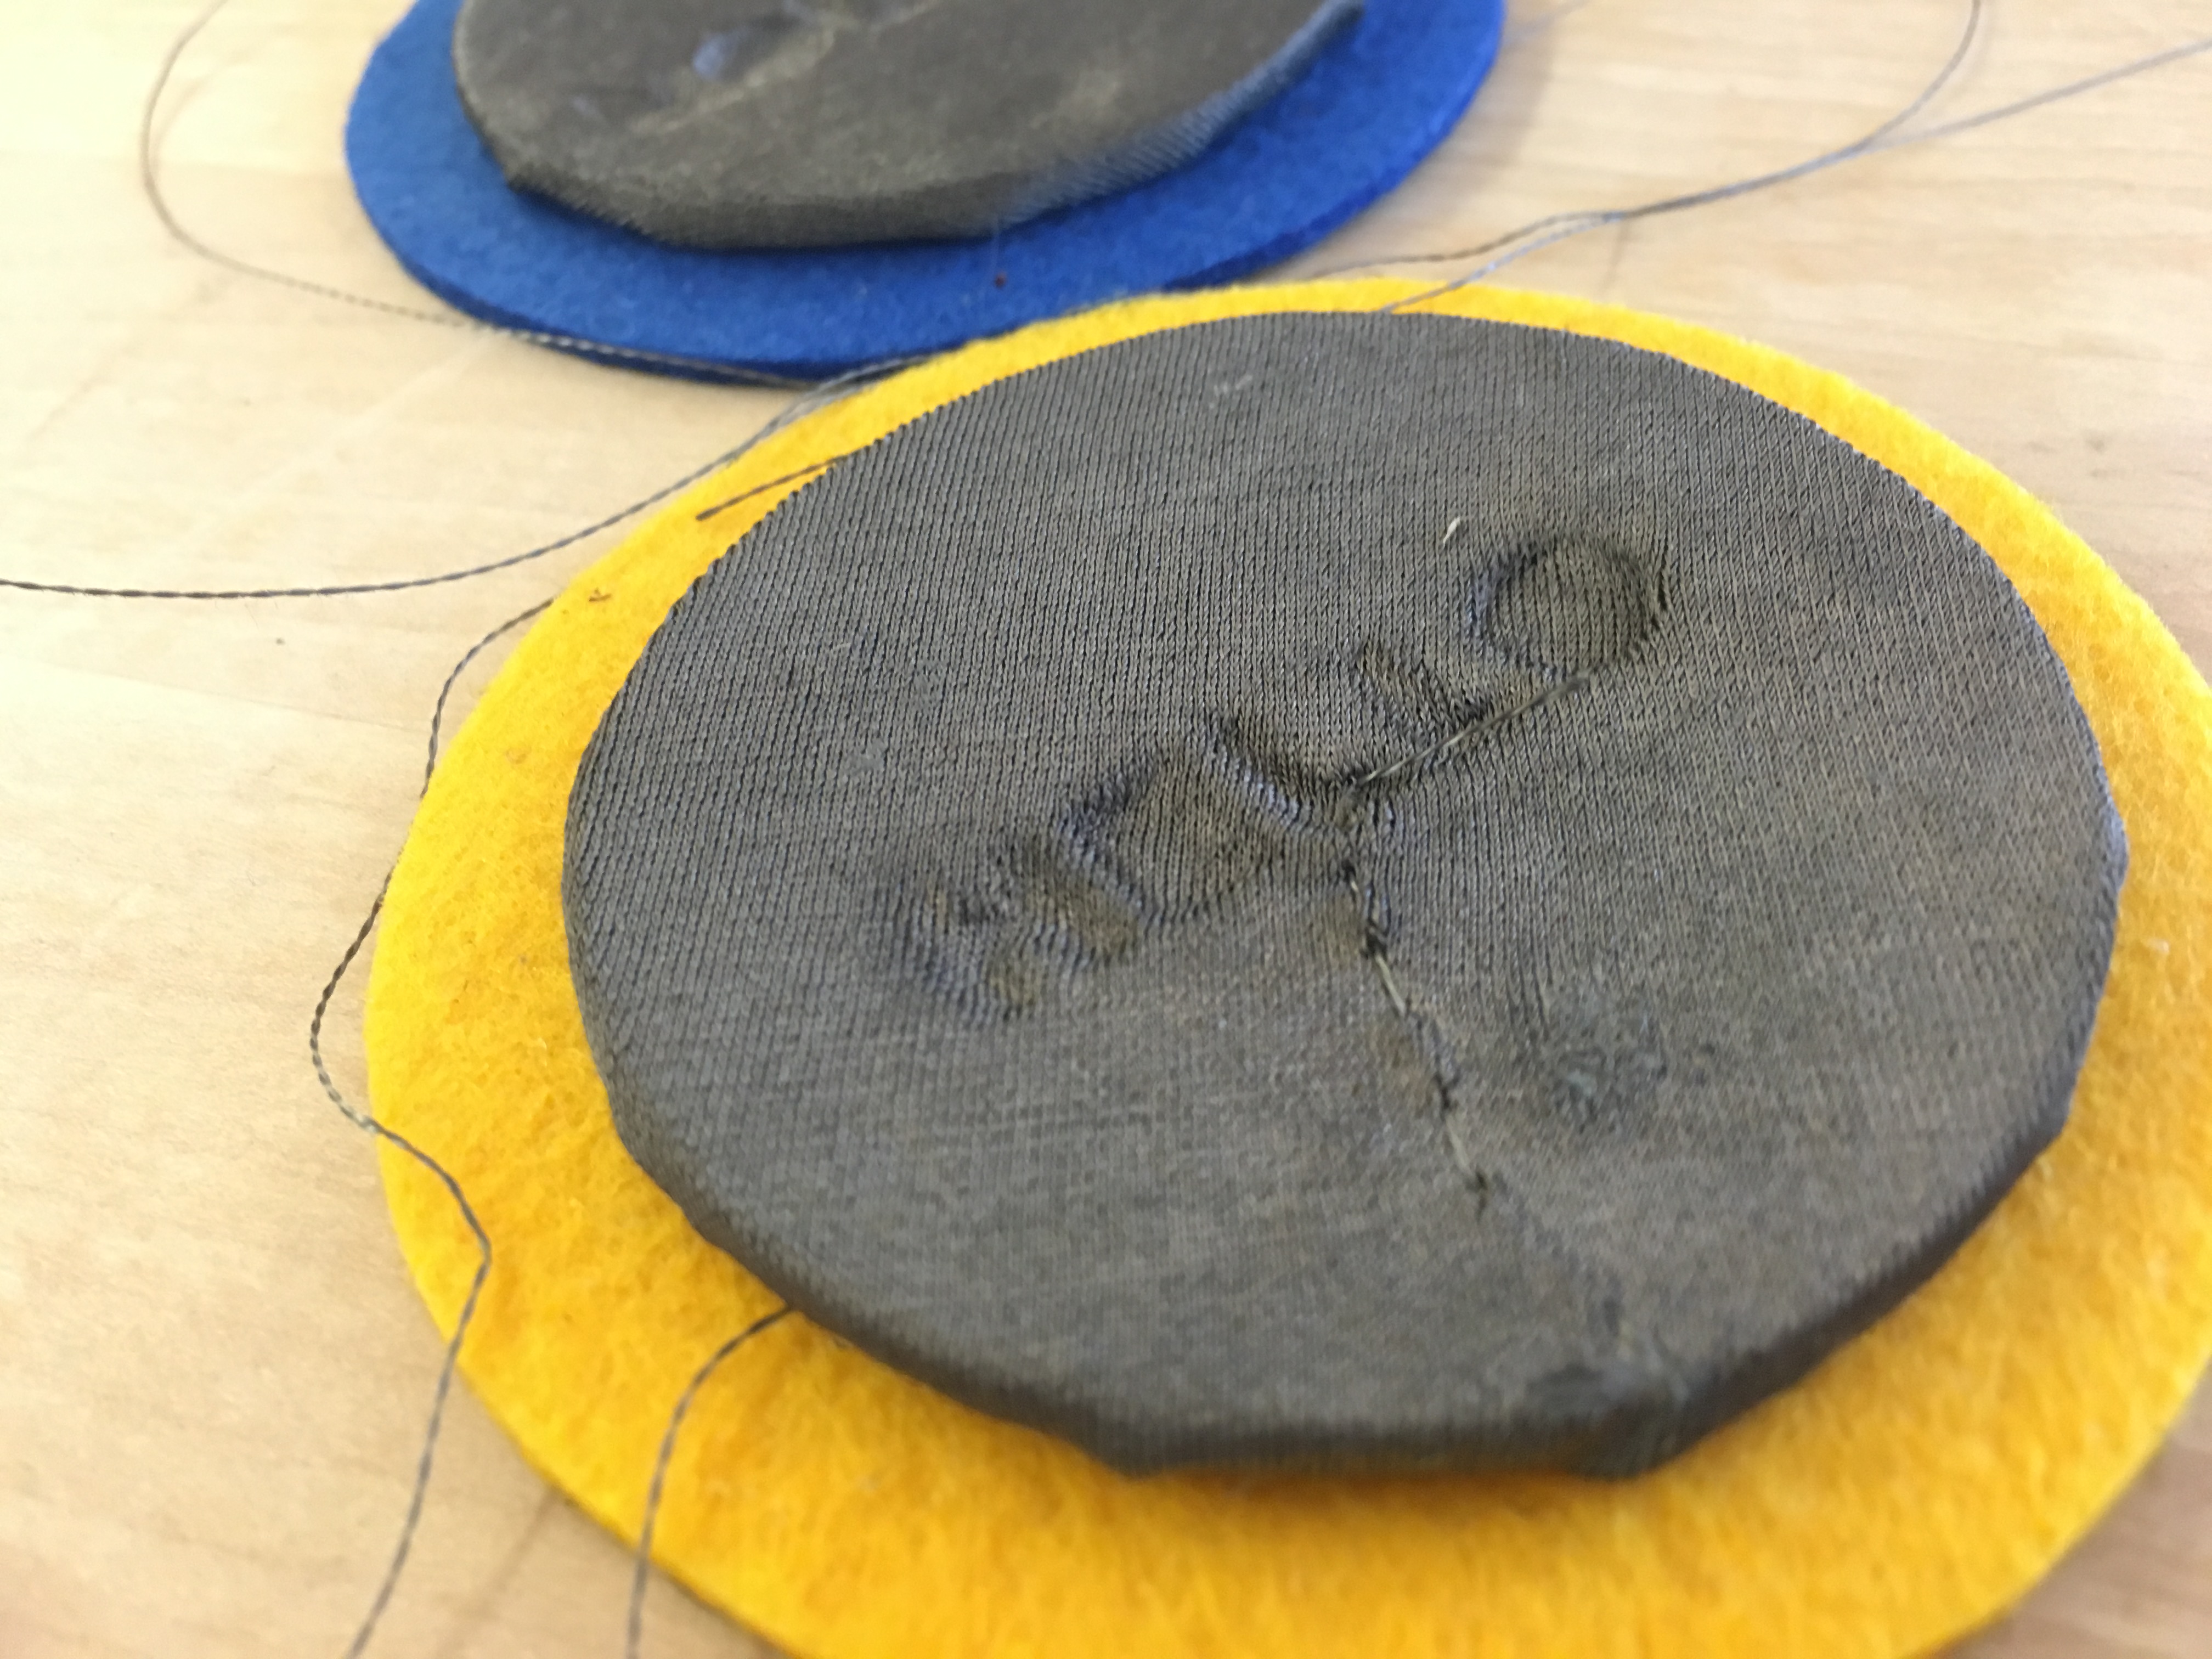
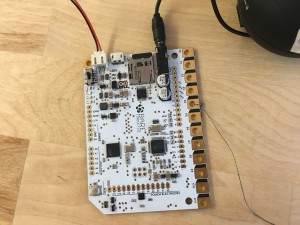
Our equipment is powered by a Bare Conductive board that allows us to add sounds to an SD card and uses these soft buttons as a switch. The output is then transferred to a speaker (which you can also connect directly to the conductive bare board).
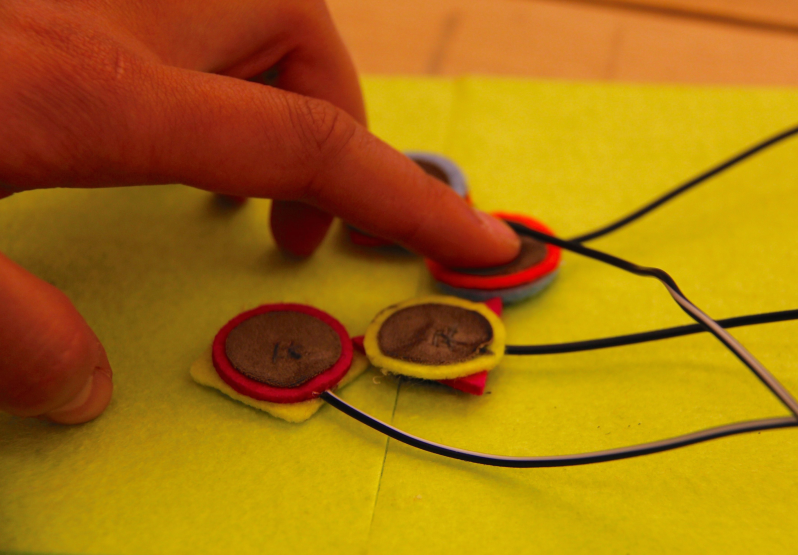
Prototype 3
We decided to iterate on our second prototype. We kept the modular aspect of our second prototype but wanted to make the modules much smaller in order to allow Sara to press them with her fingers. We also wanted to make it very portable.