Key : 🔹 discussion 🔸 lecture ⚡ demo/activity 🍕 lunch
🔸 Dynamic Surfaces
🔹 Chat with Cortney
🔹 Review videos, discuss and record observations
🍕 lunch
⚡ Heating elements made from conductive thread
- different kinds of thread
- heating element circuit
- what’s a transistor?
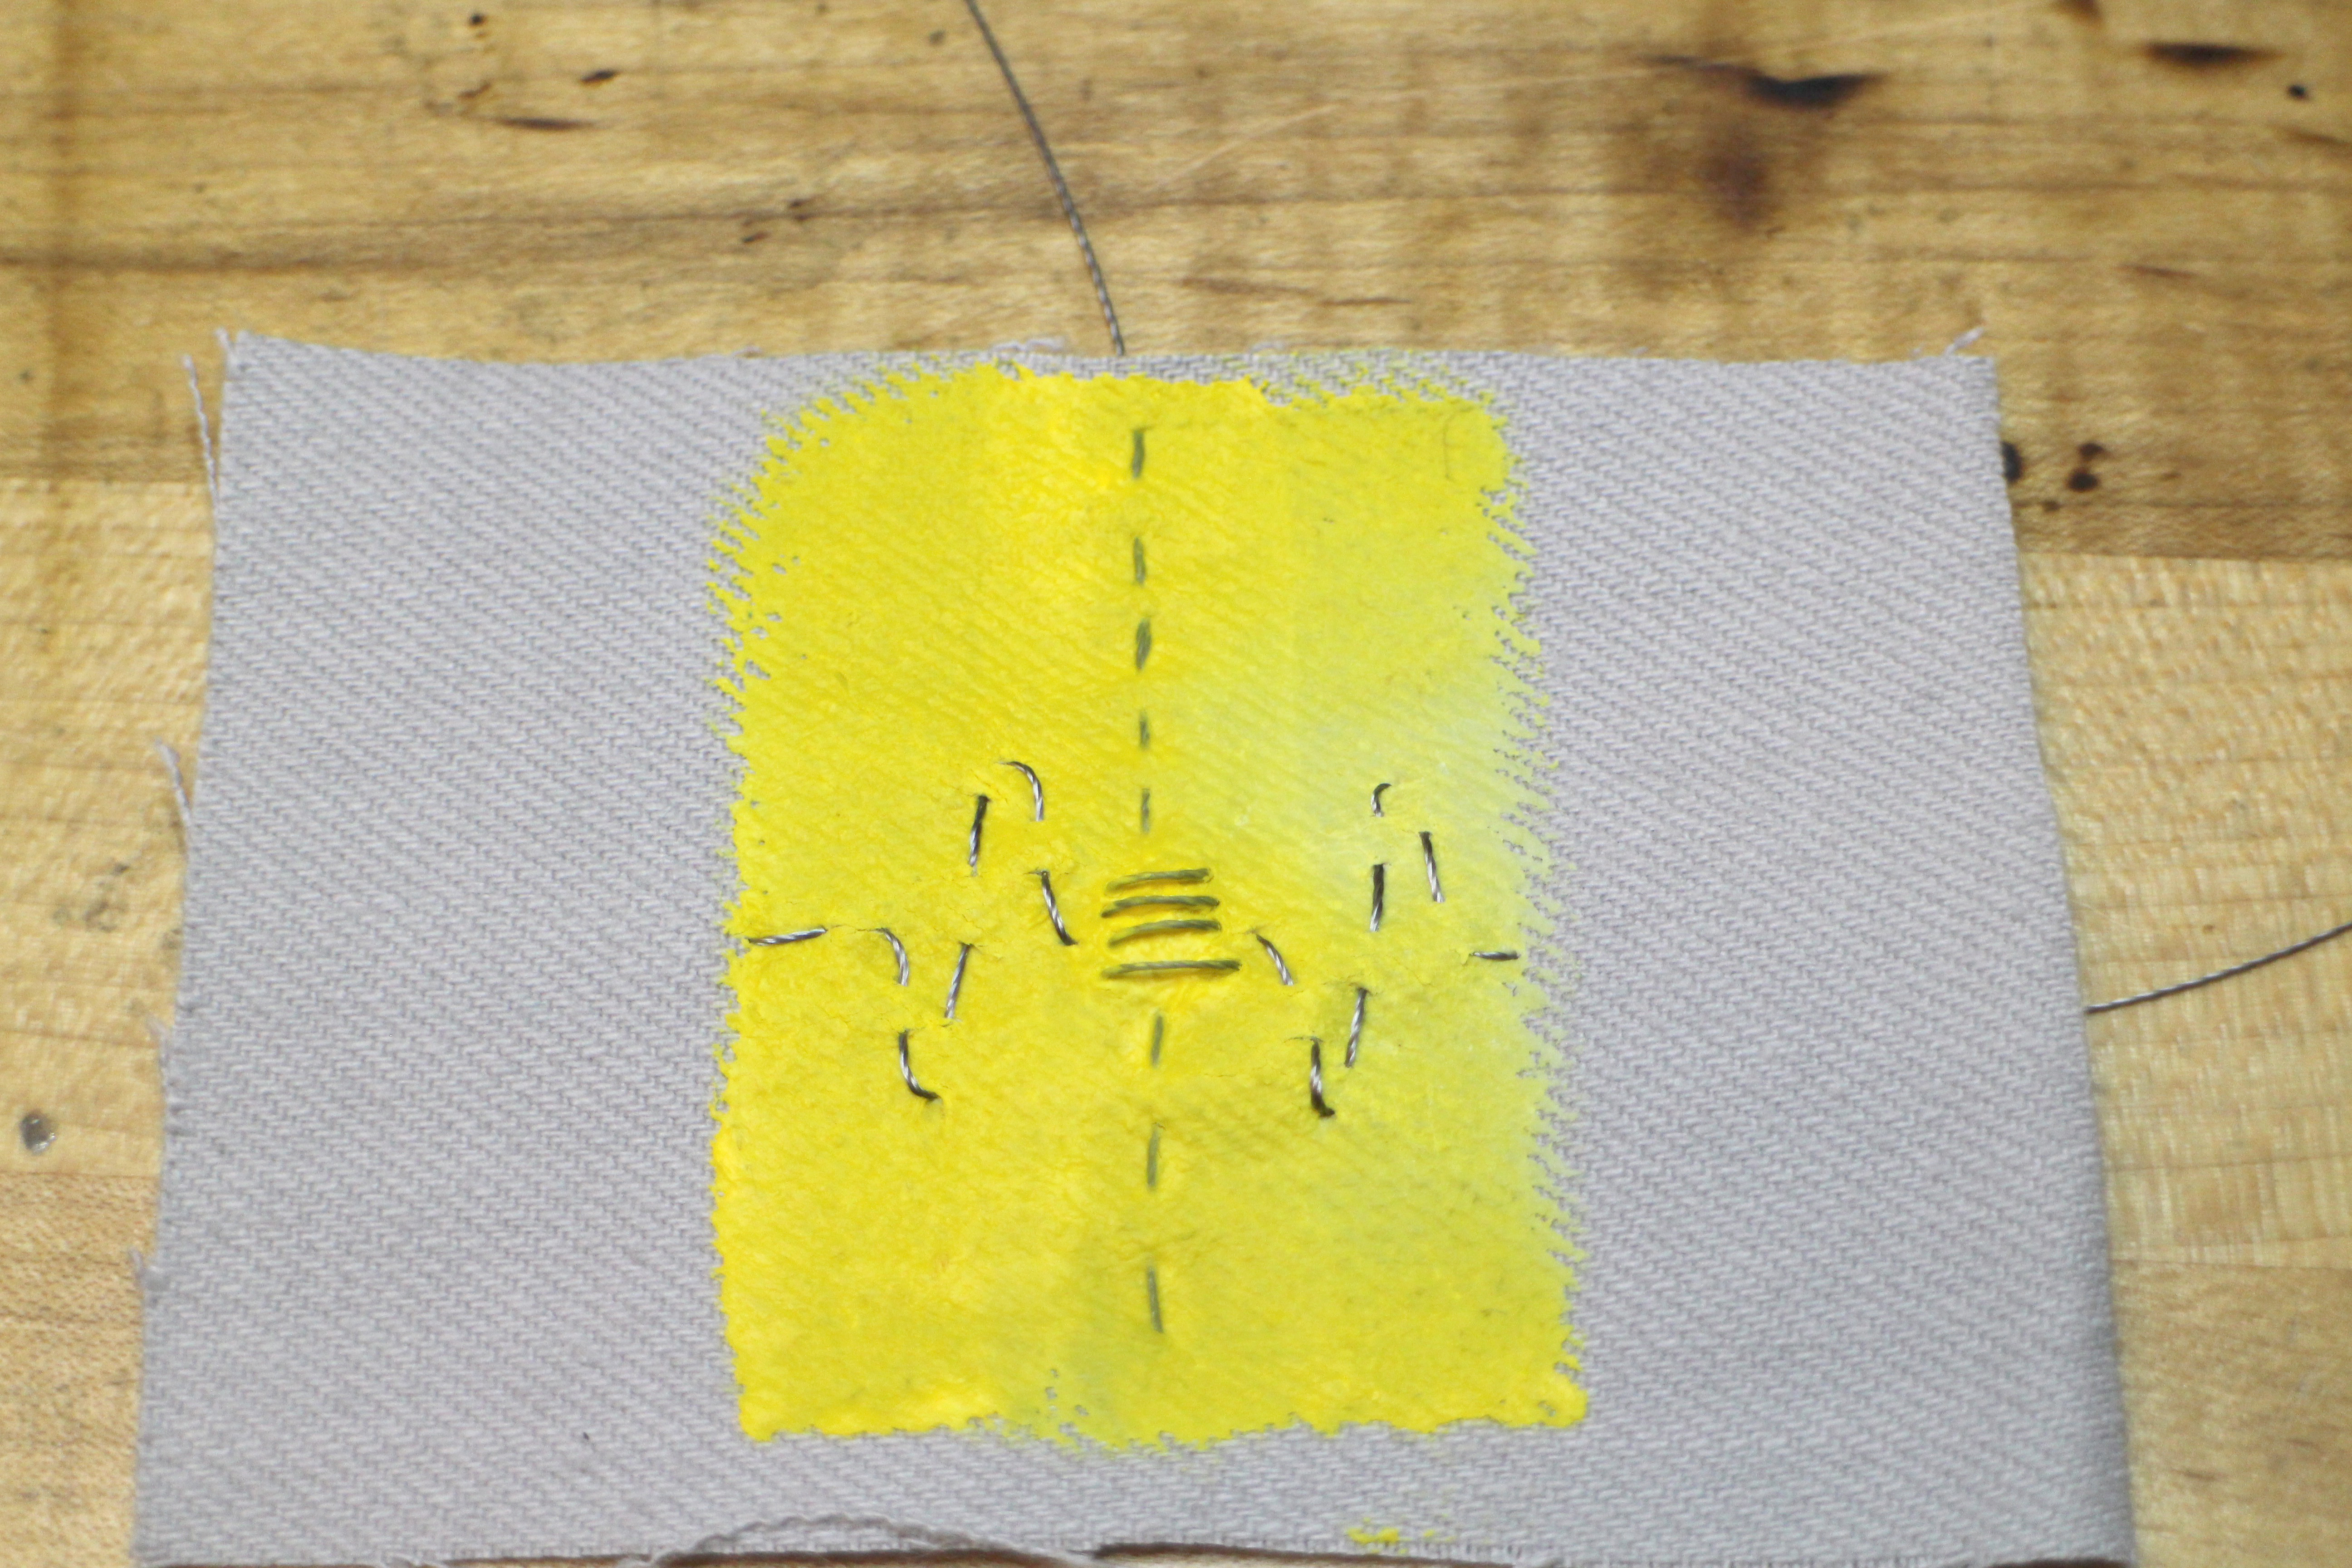
Using Conductive Thread as a Heating Element
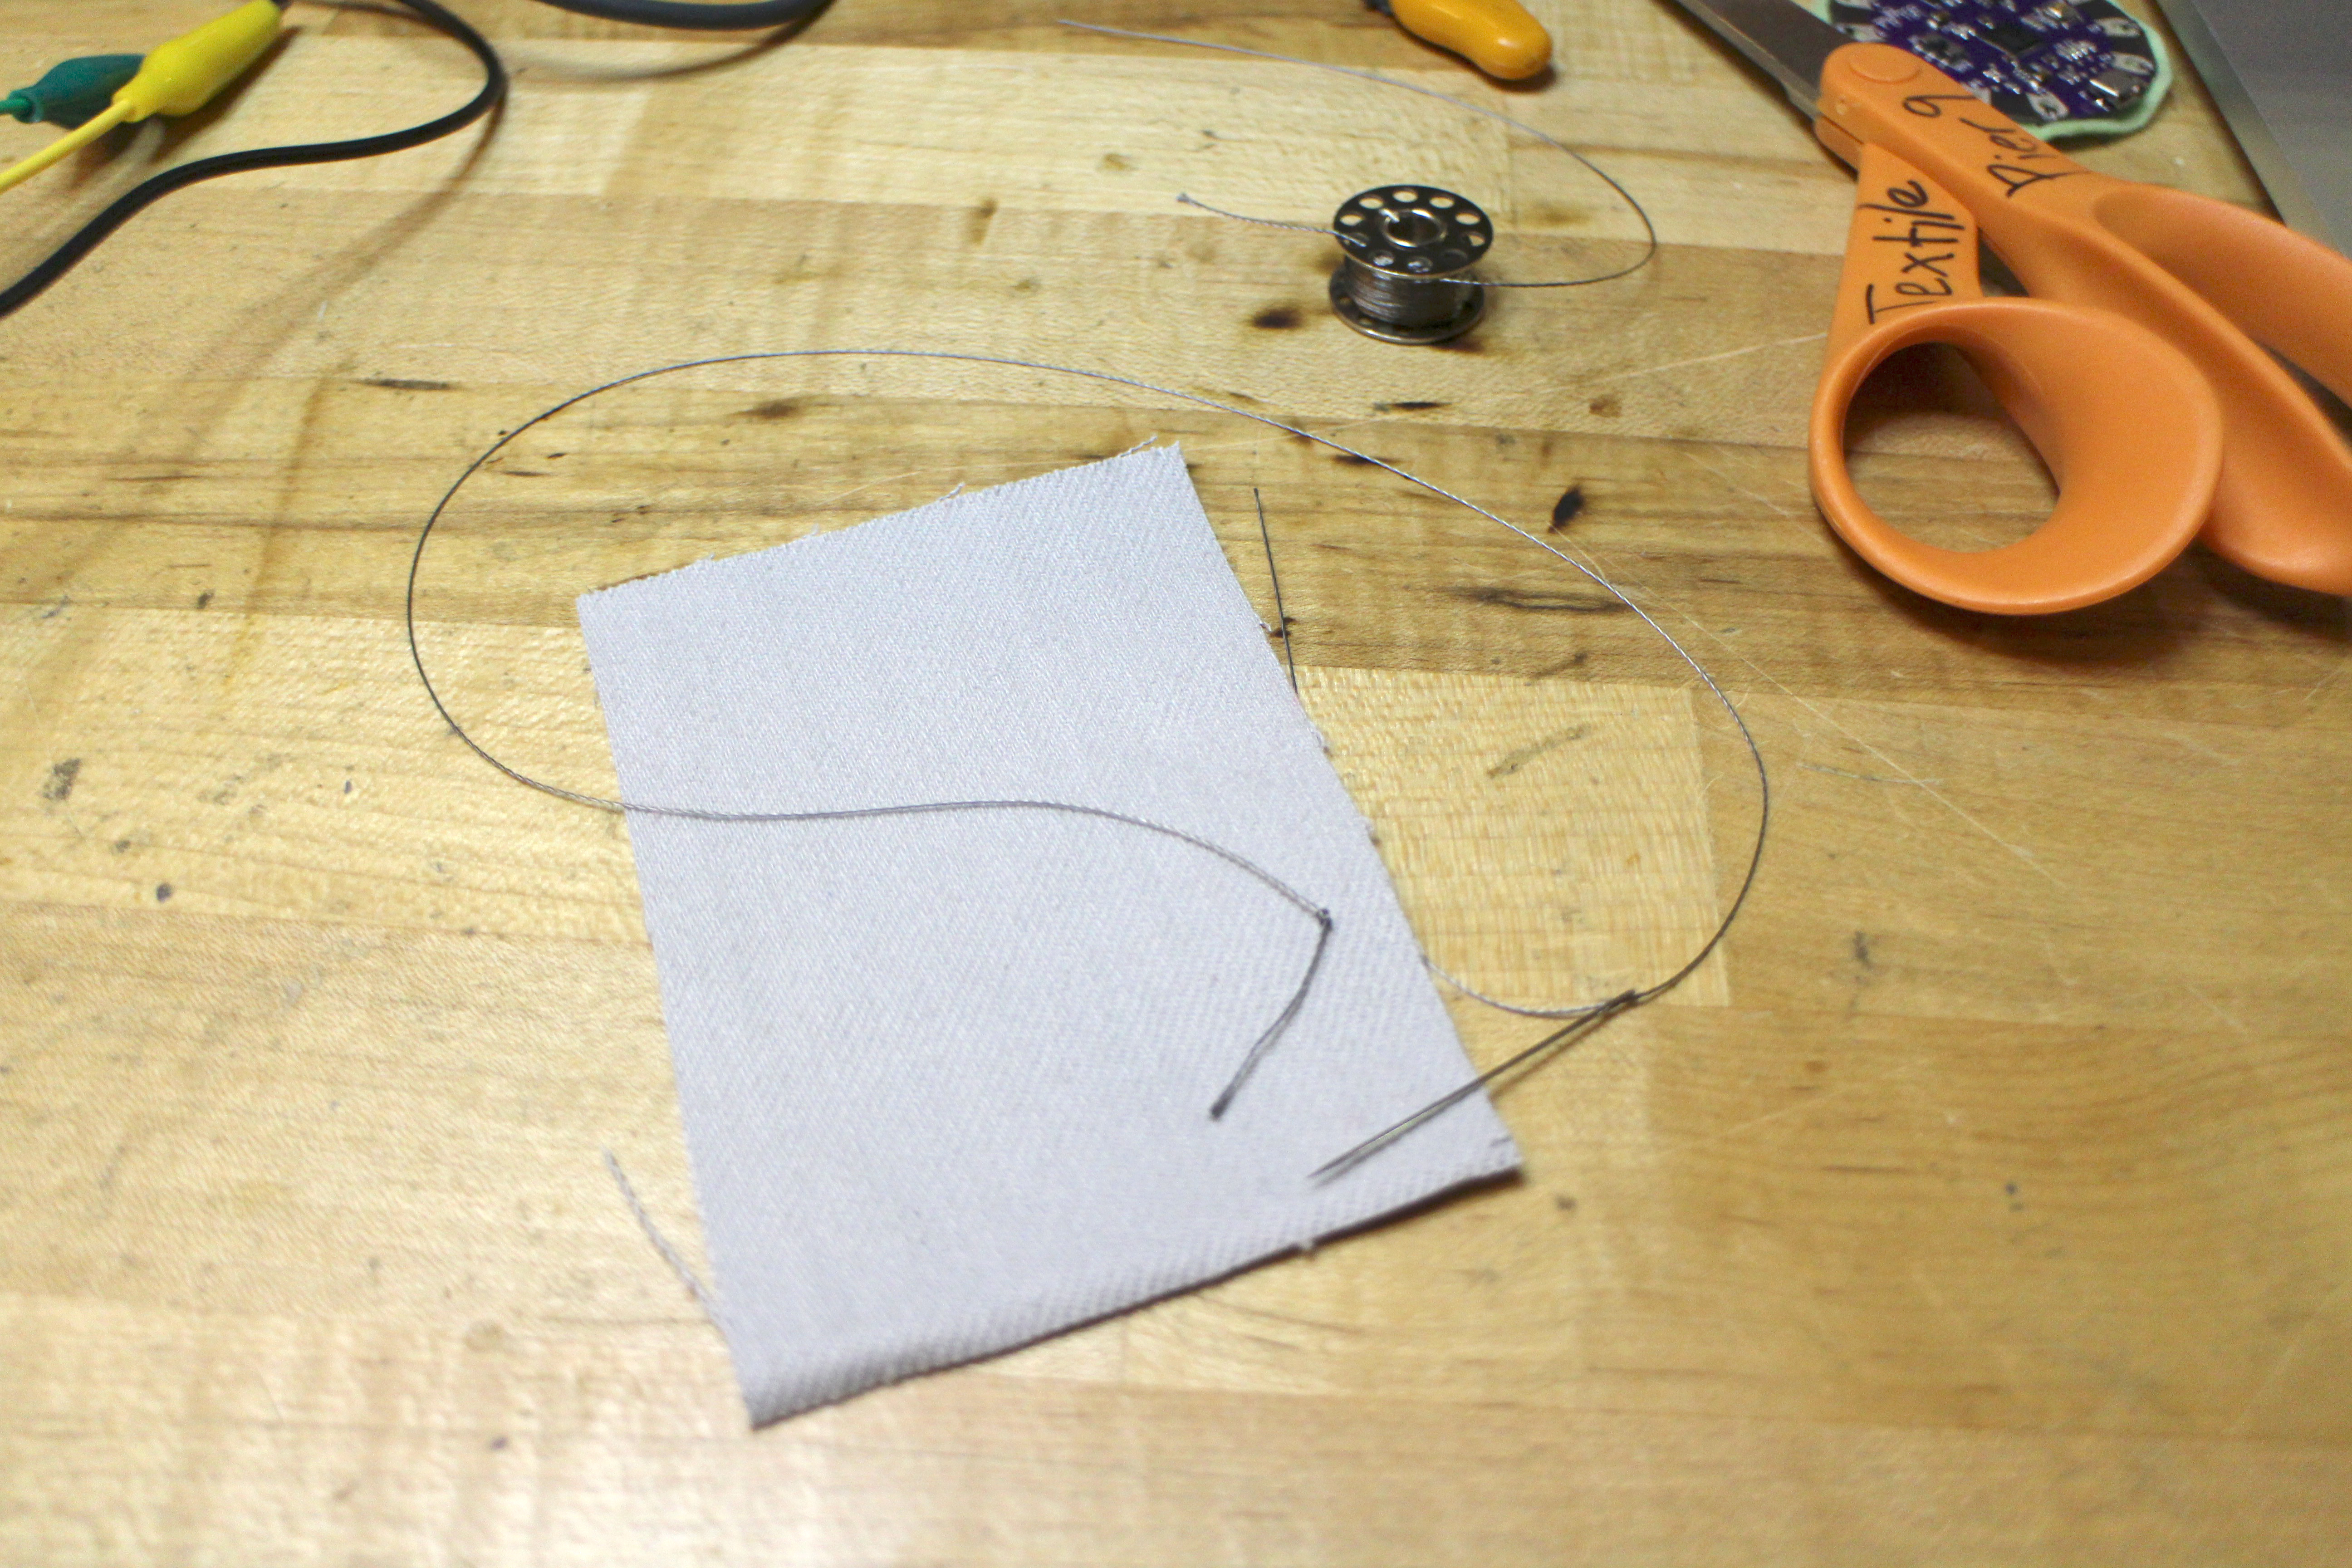
Thread some conductive thread and knot the end.
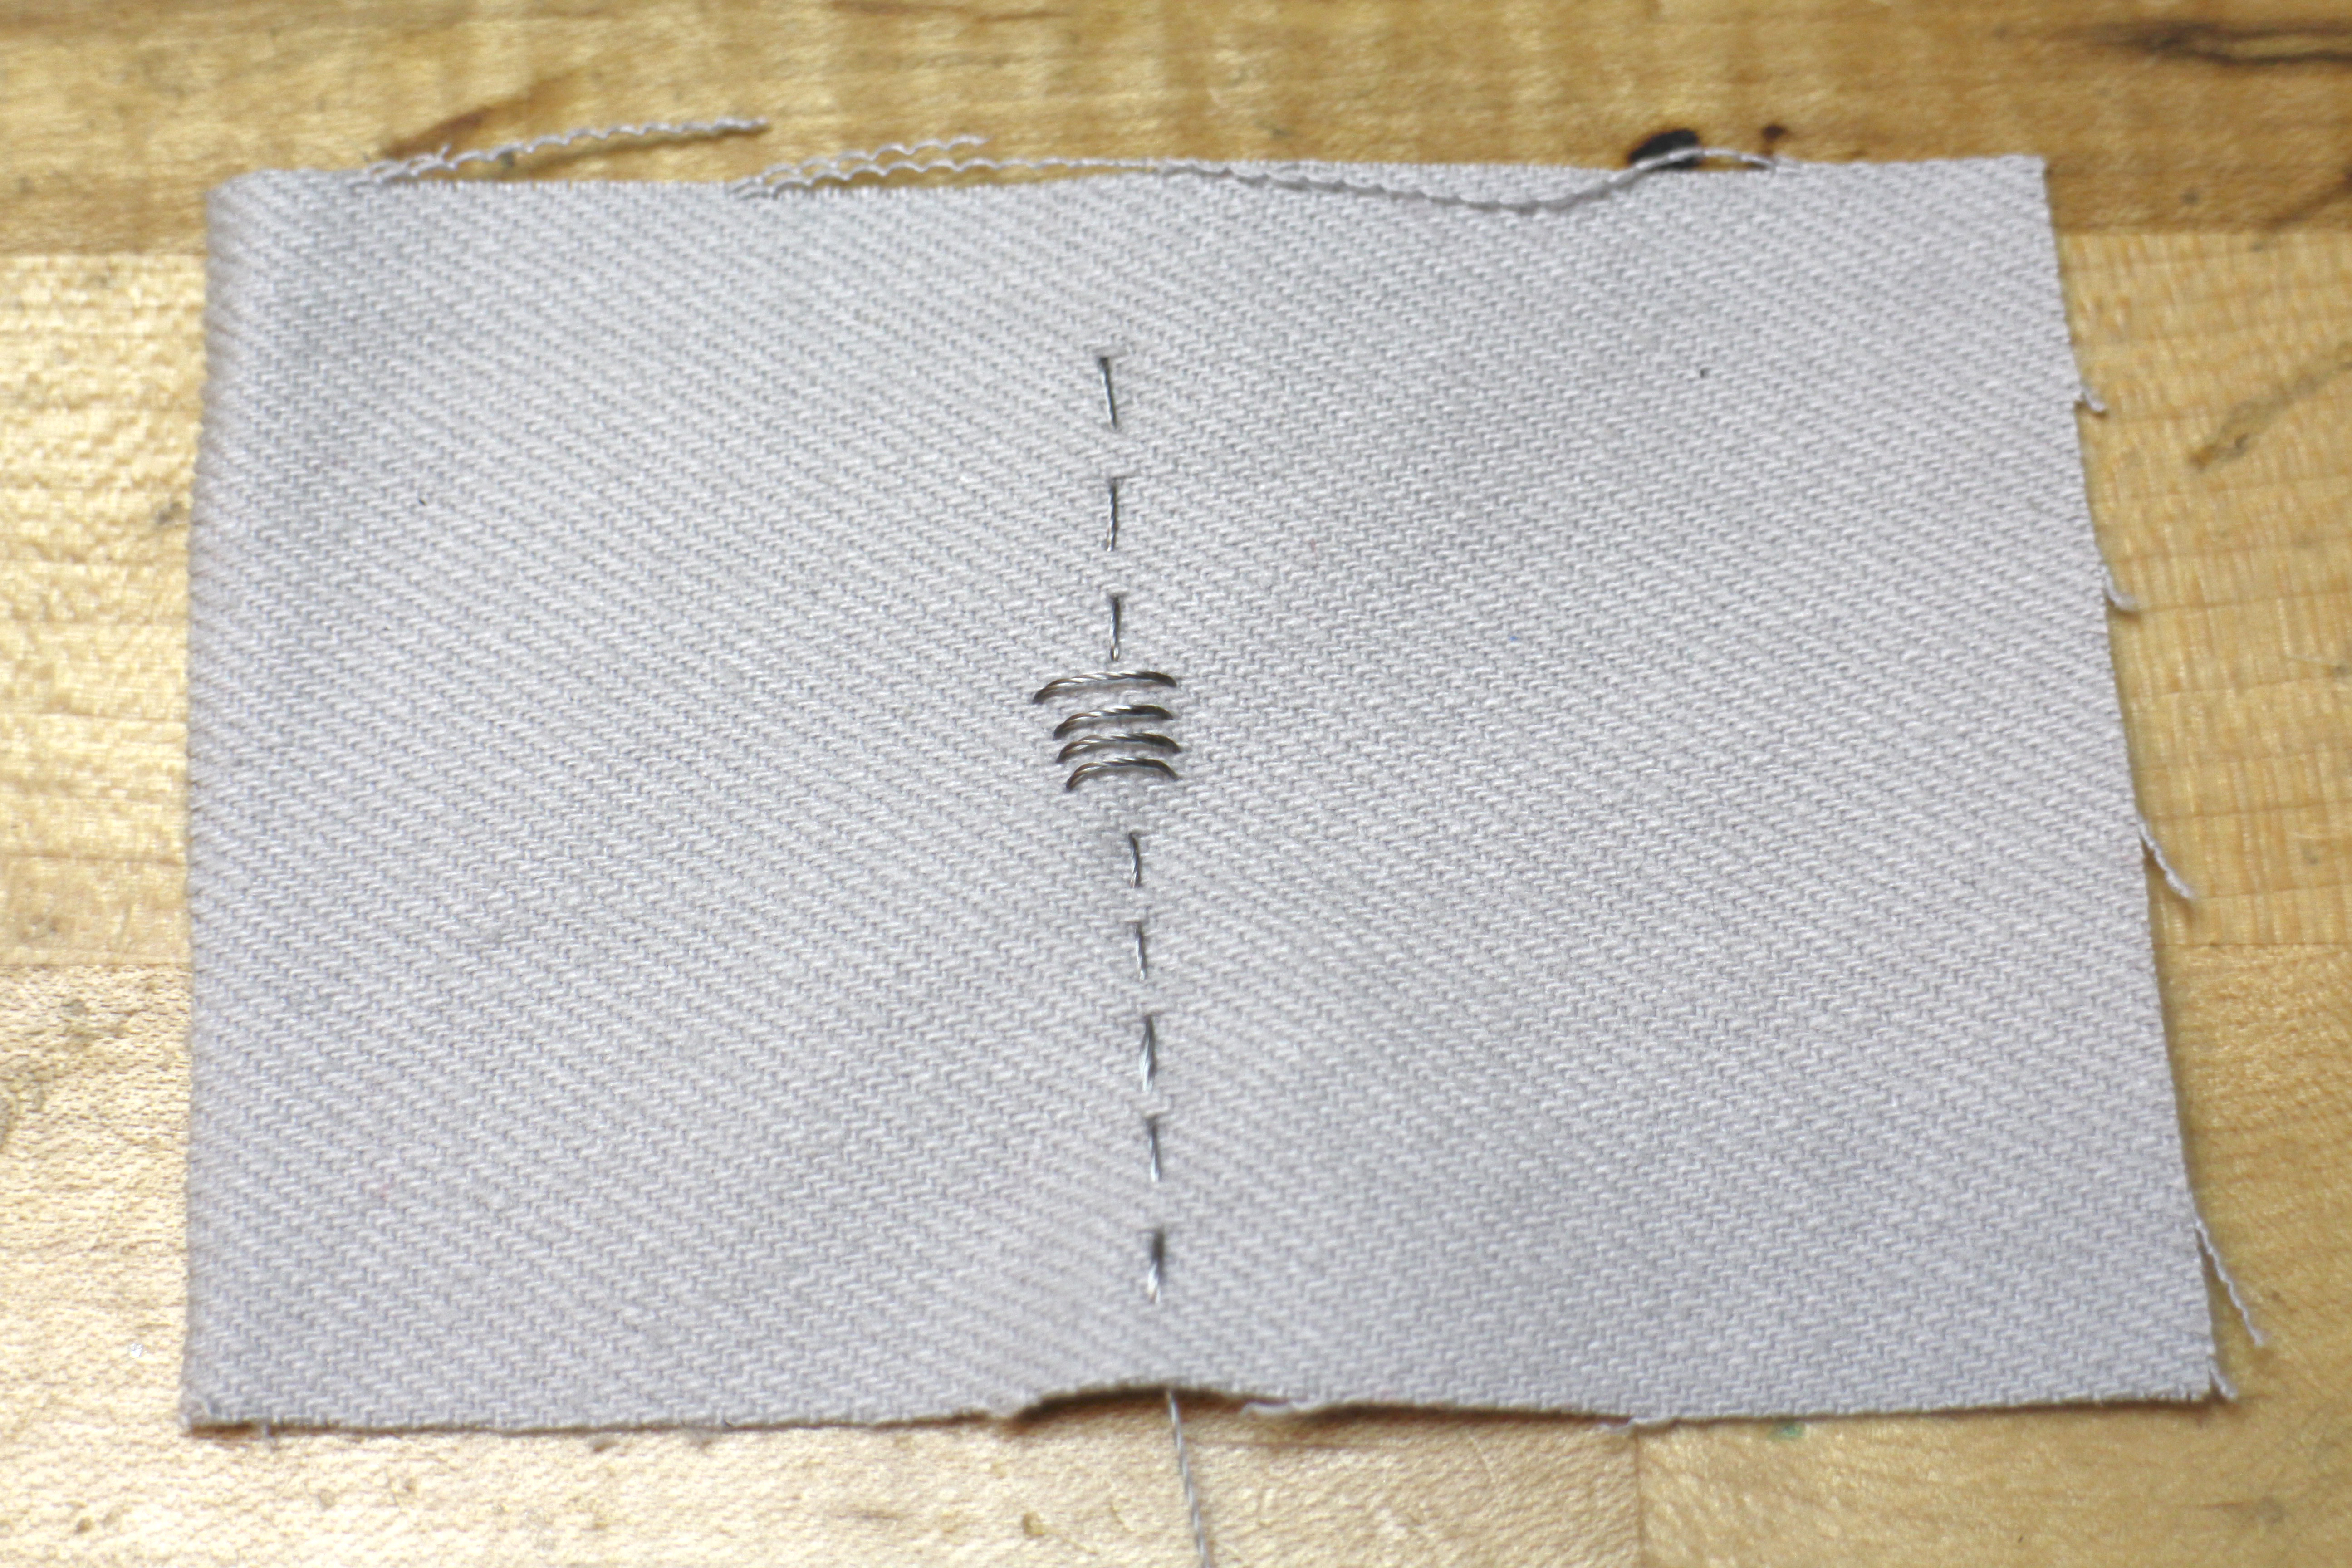
Stitch a design.
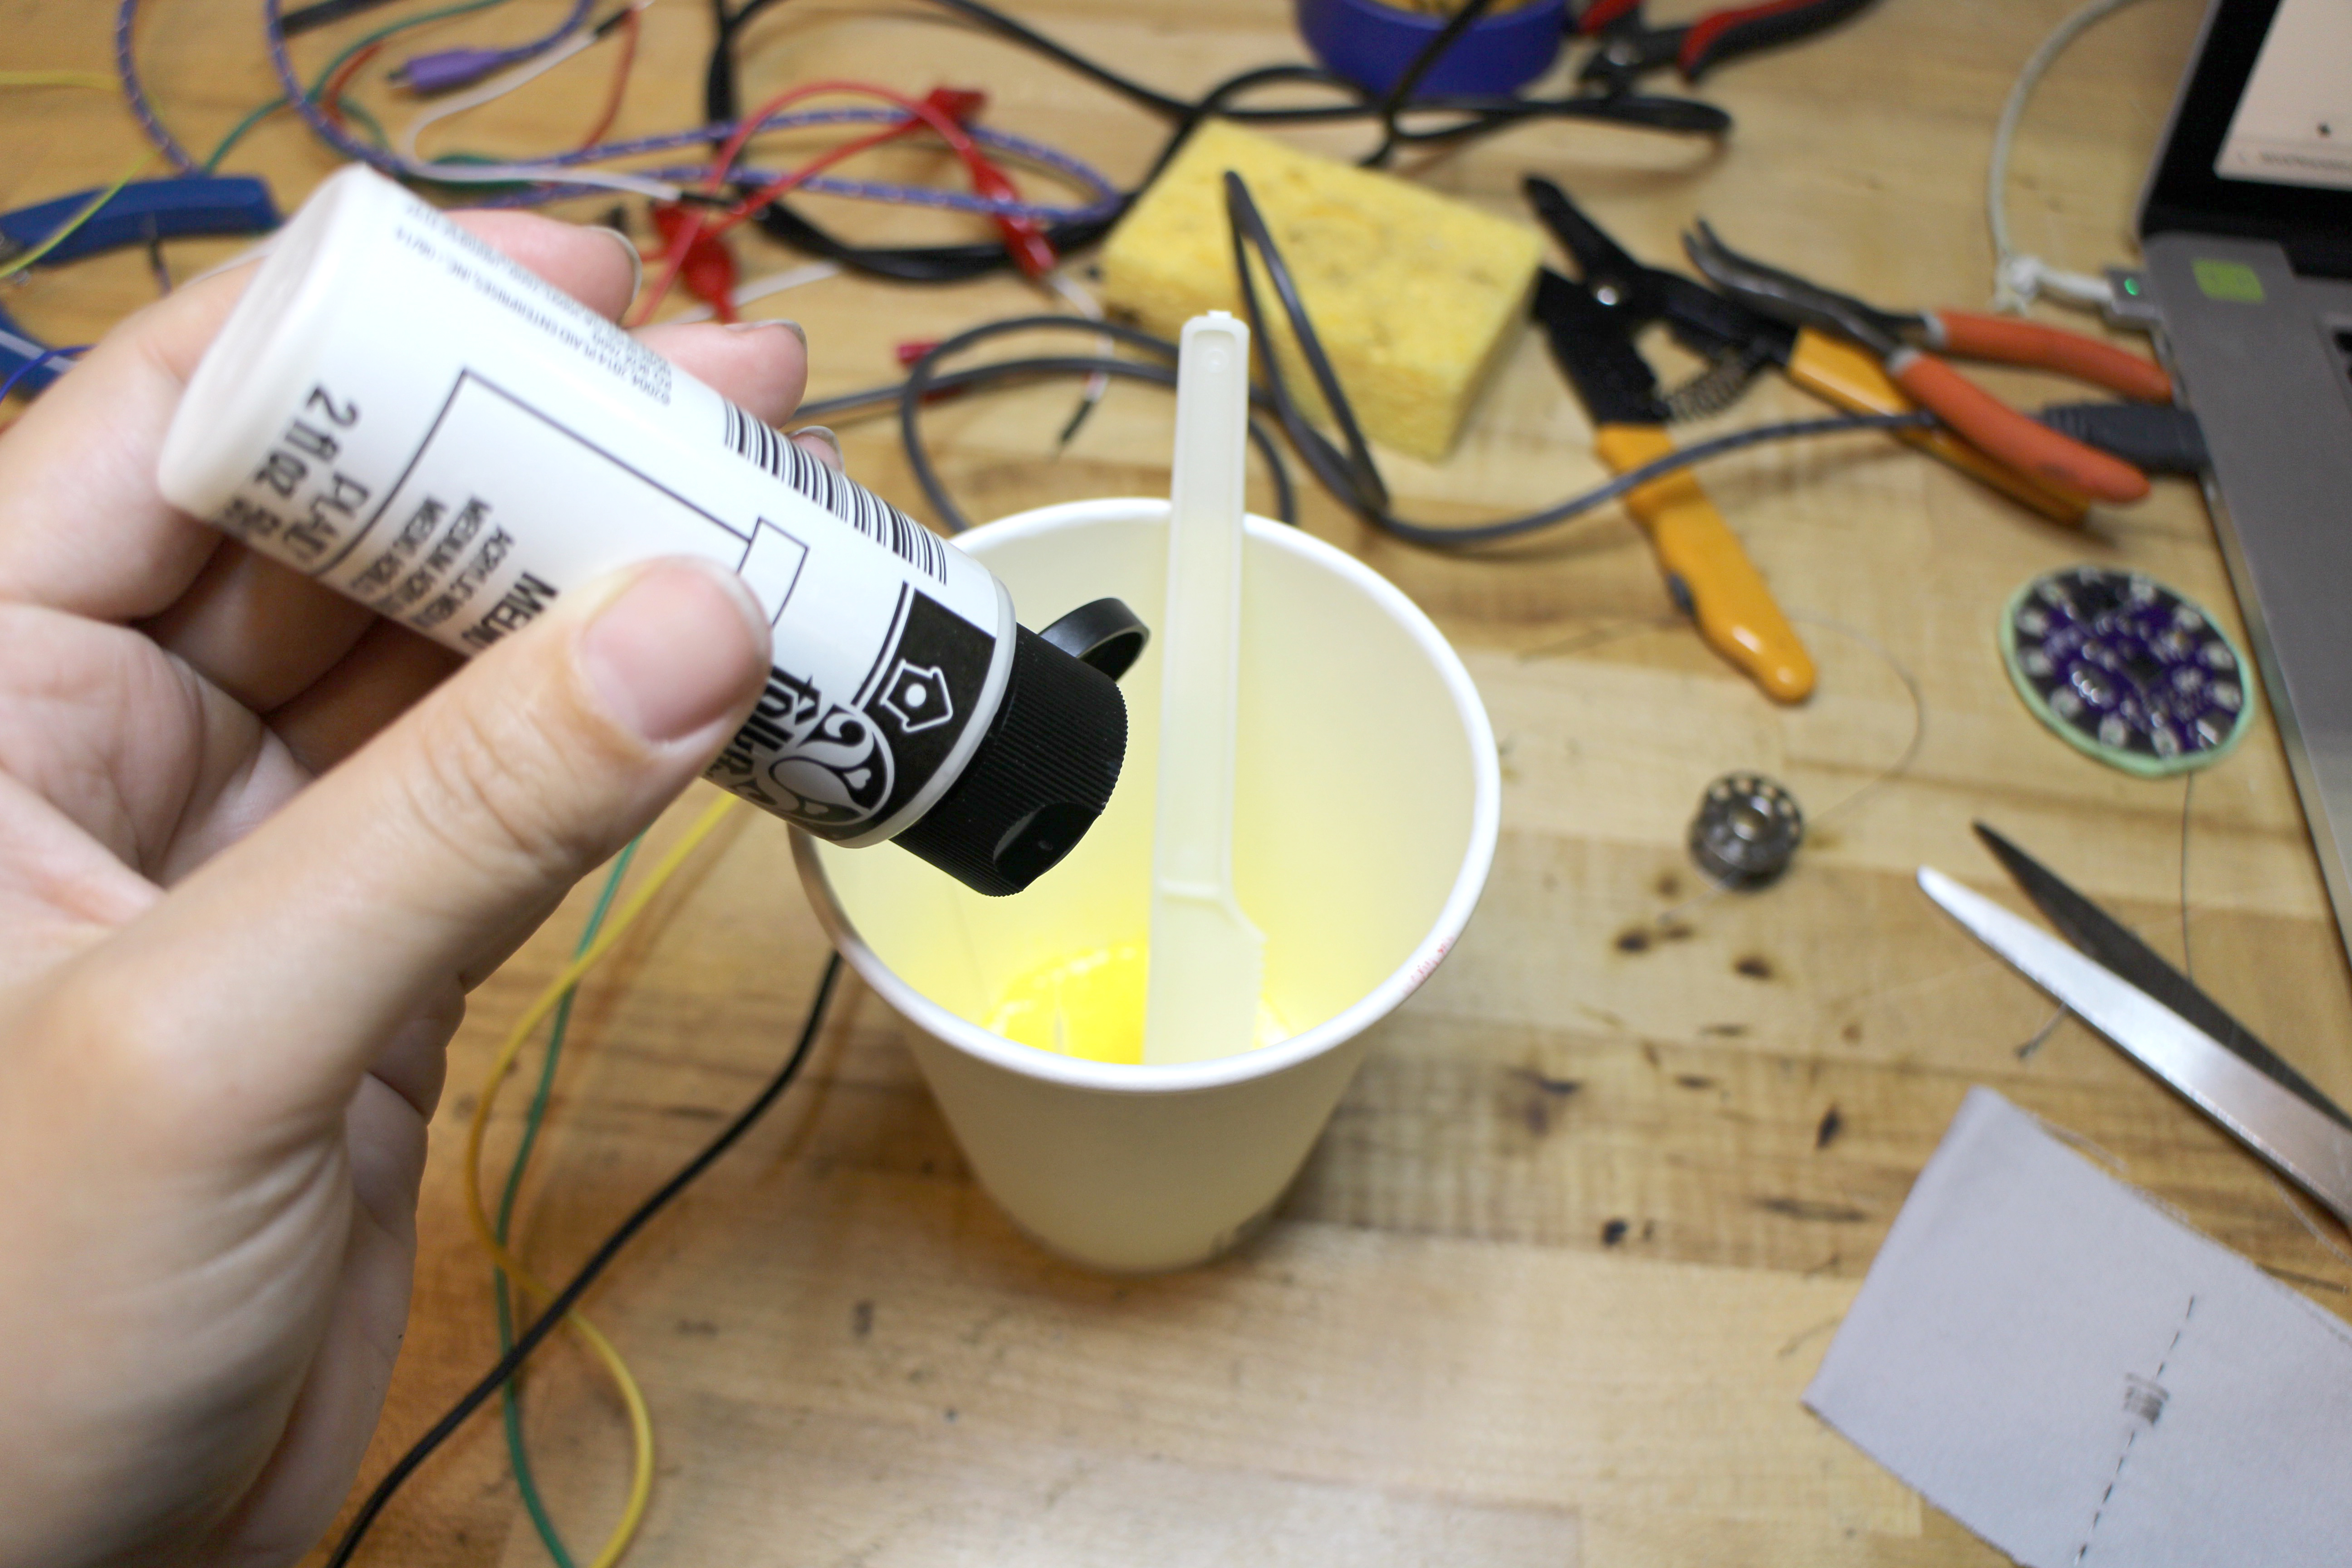
Grab some fabric paint medium and thermochromic pigments.
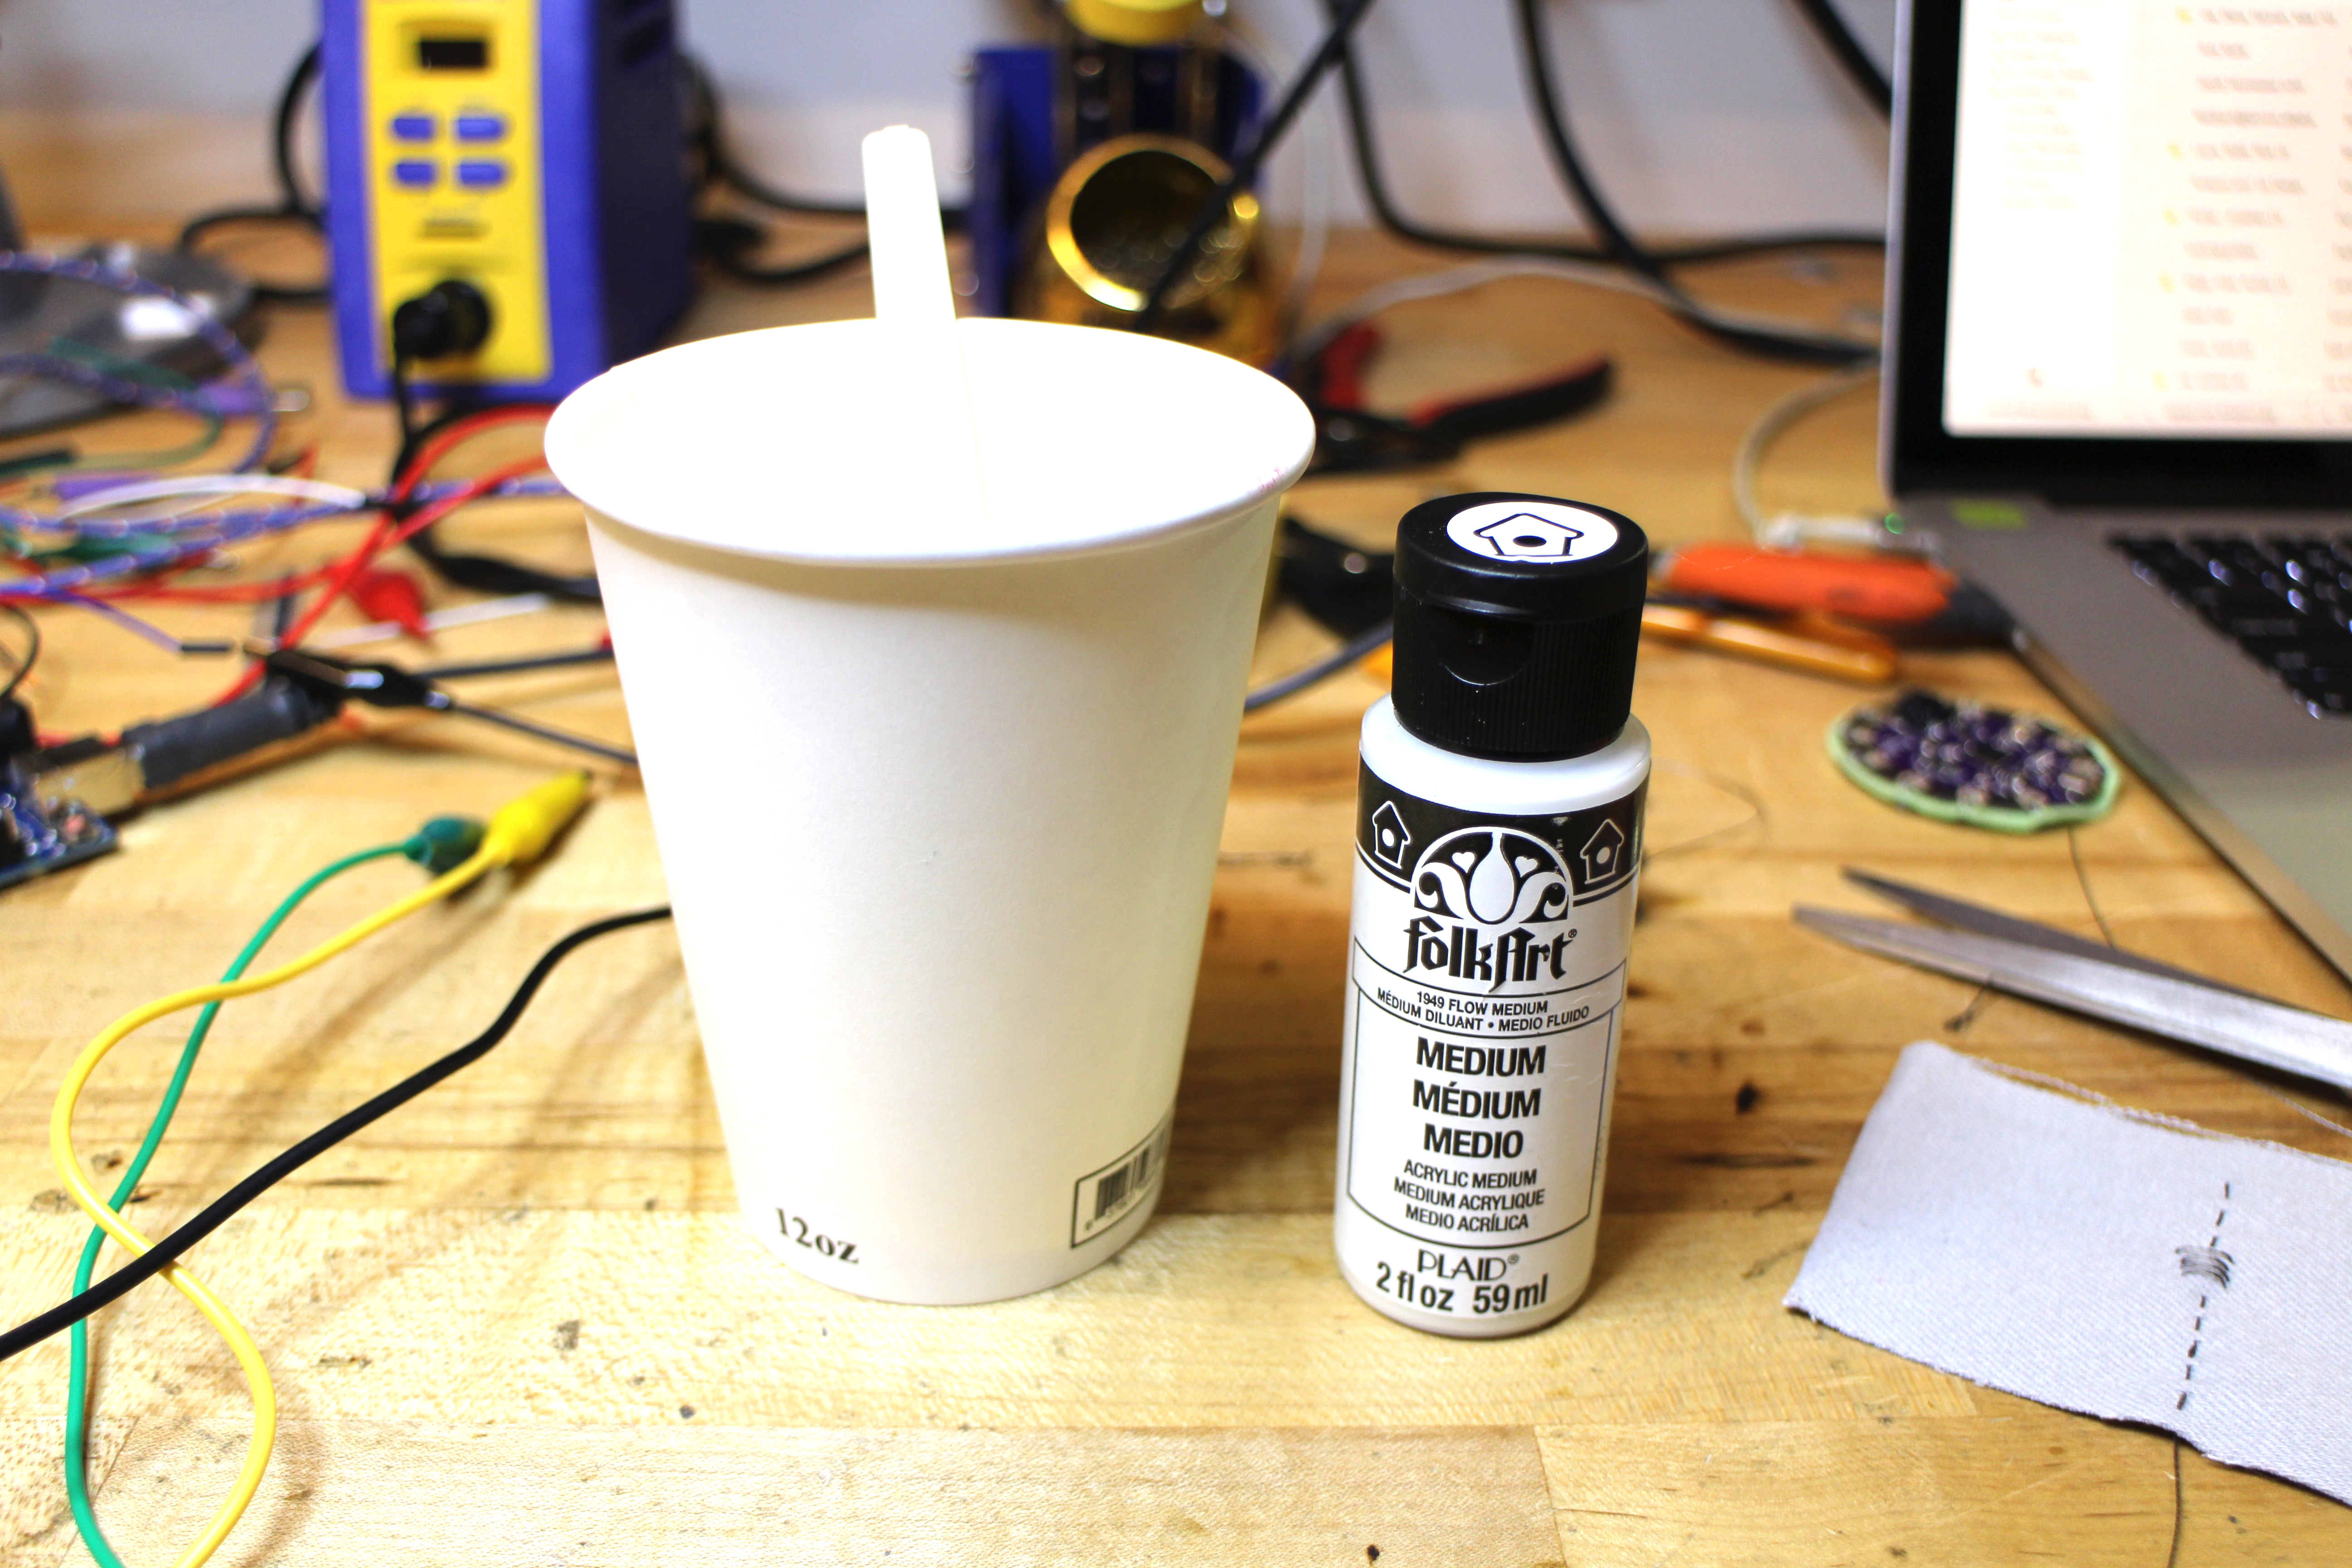
Mix it up in a cup.
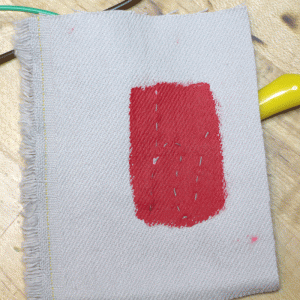
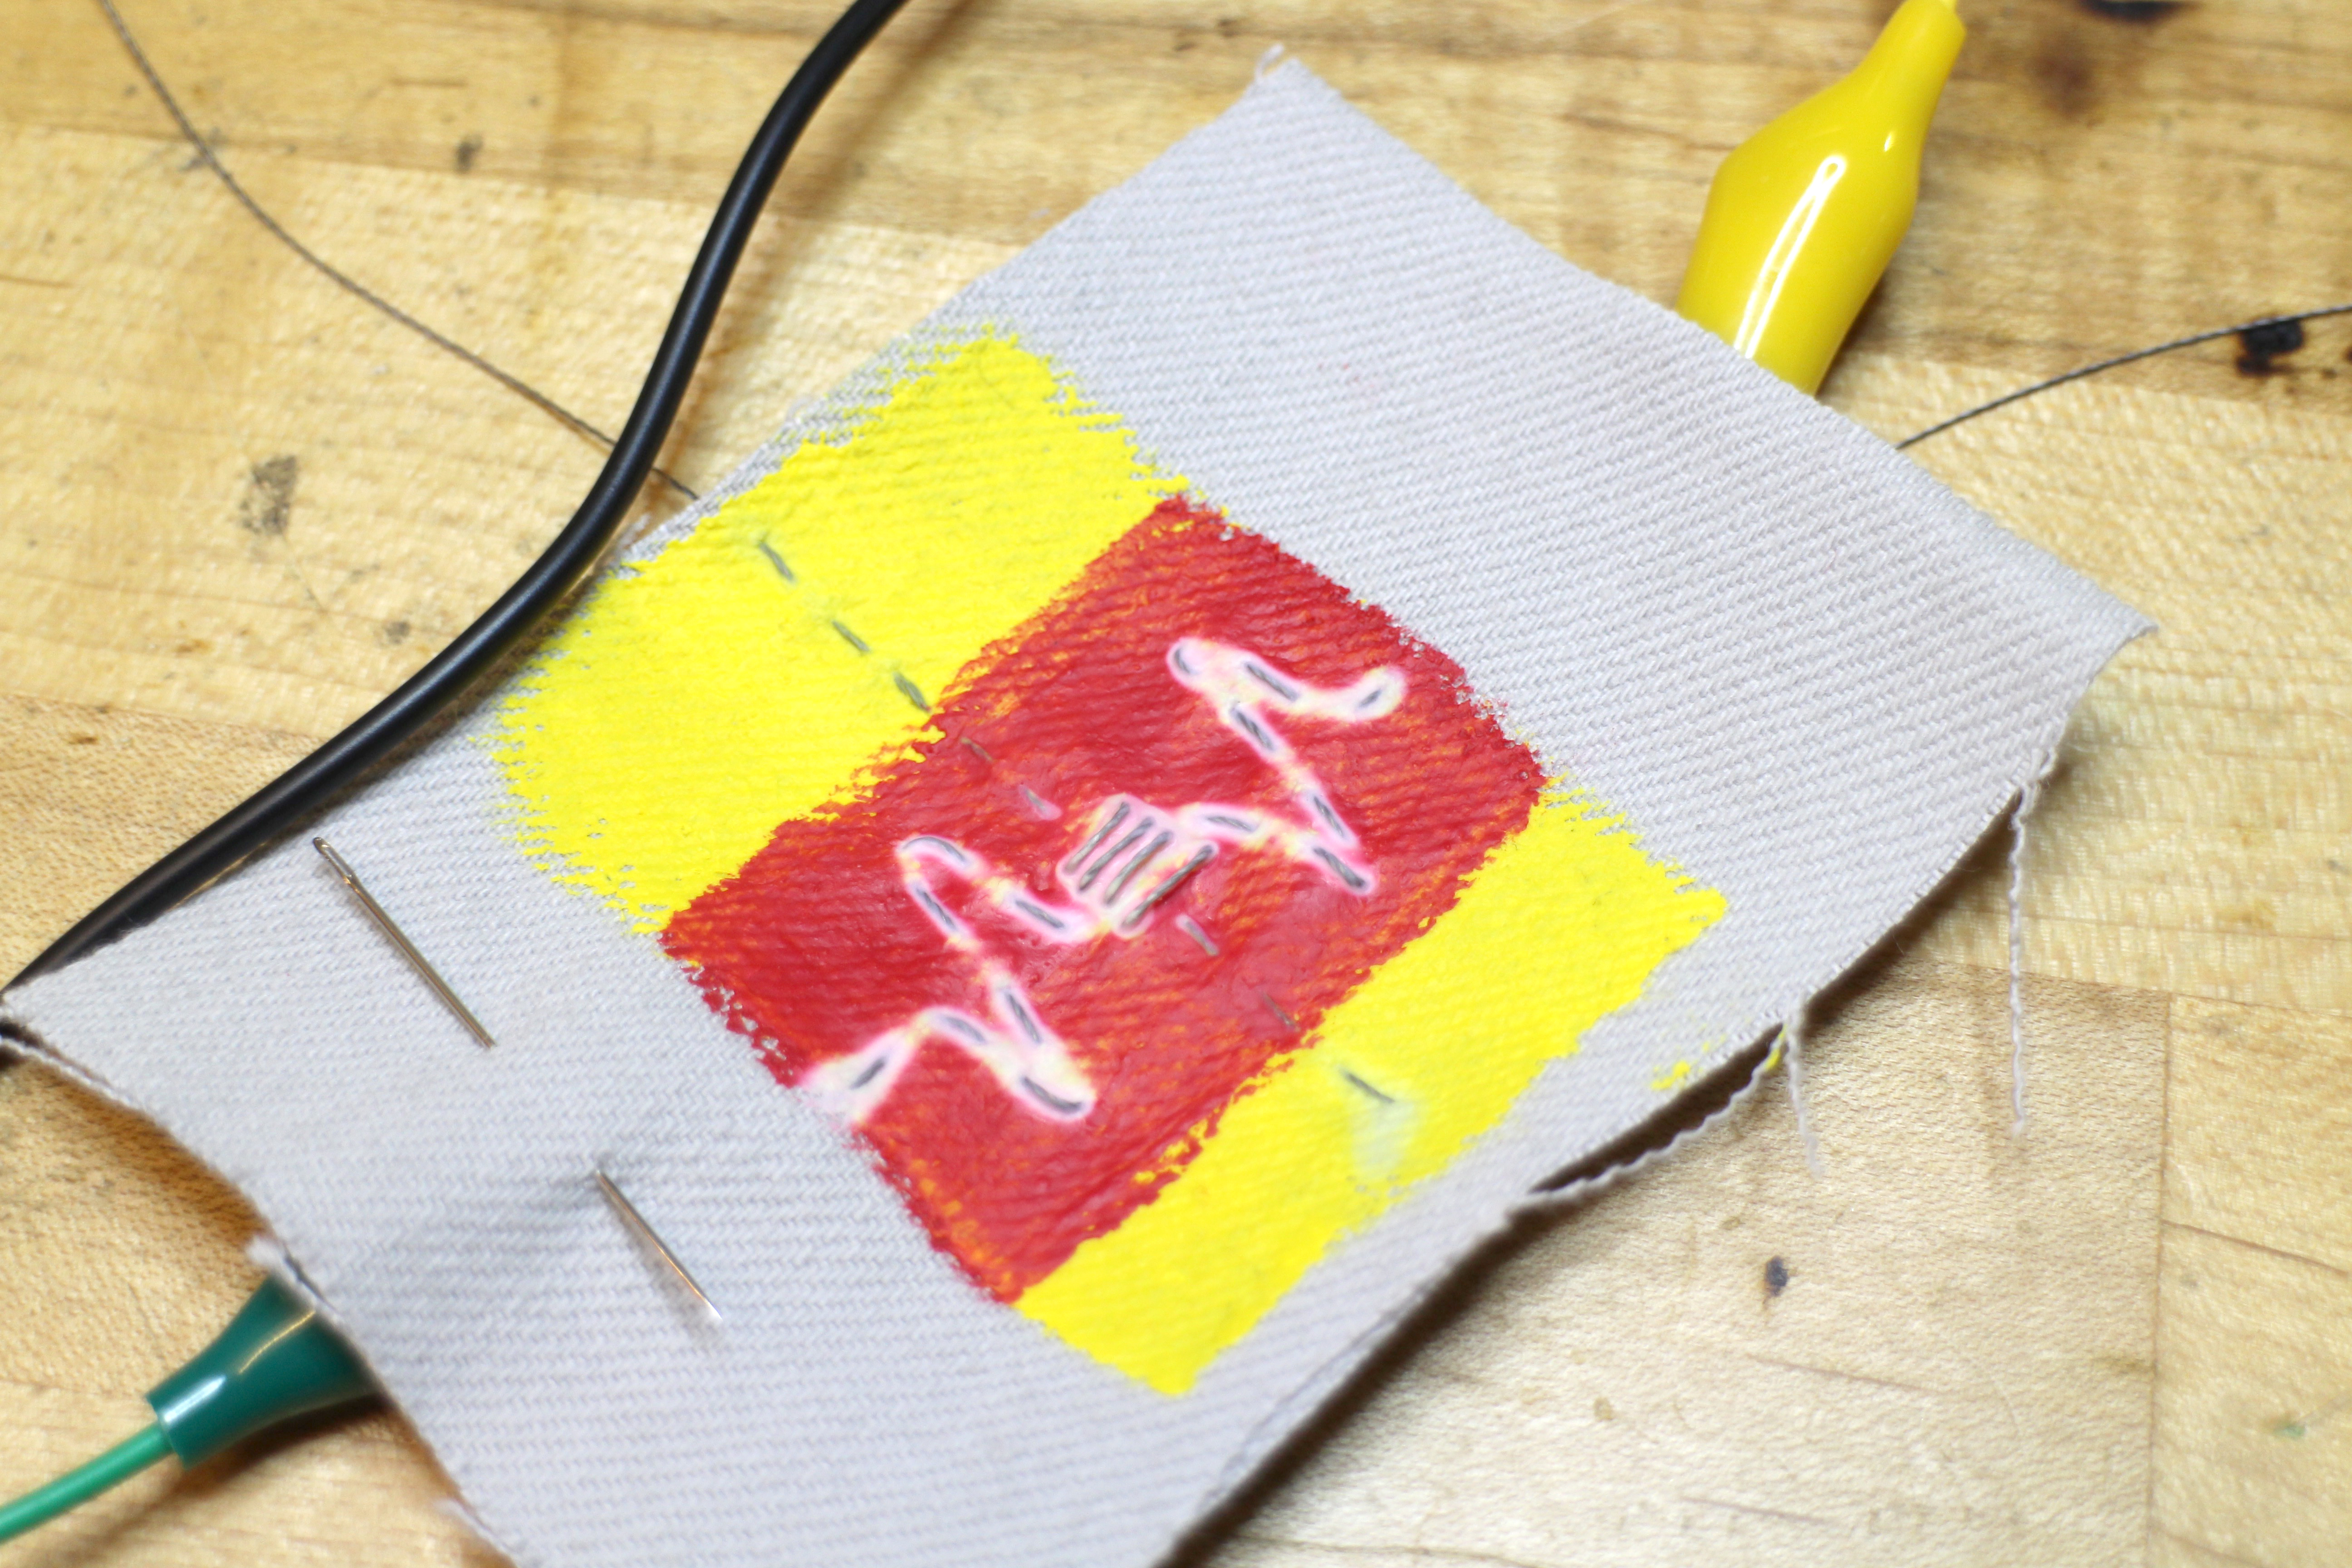
Paint over your design. The medium will determine how opaque, thick, etc. the end result will be.
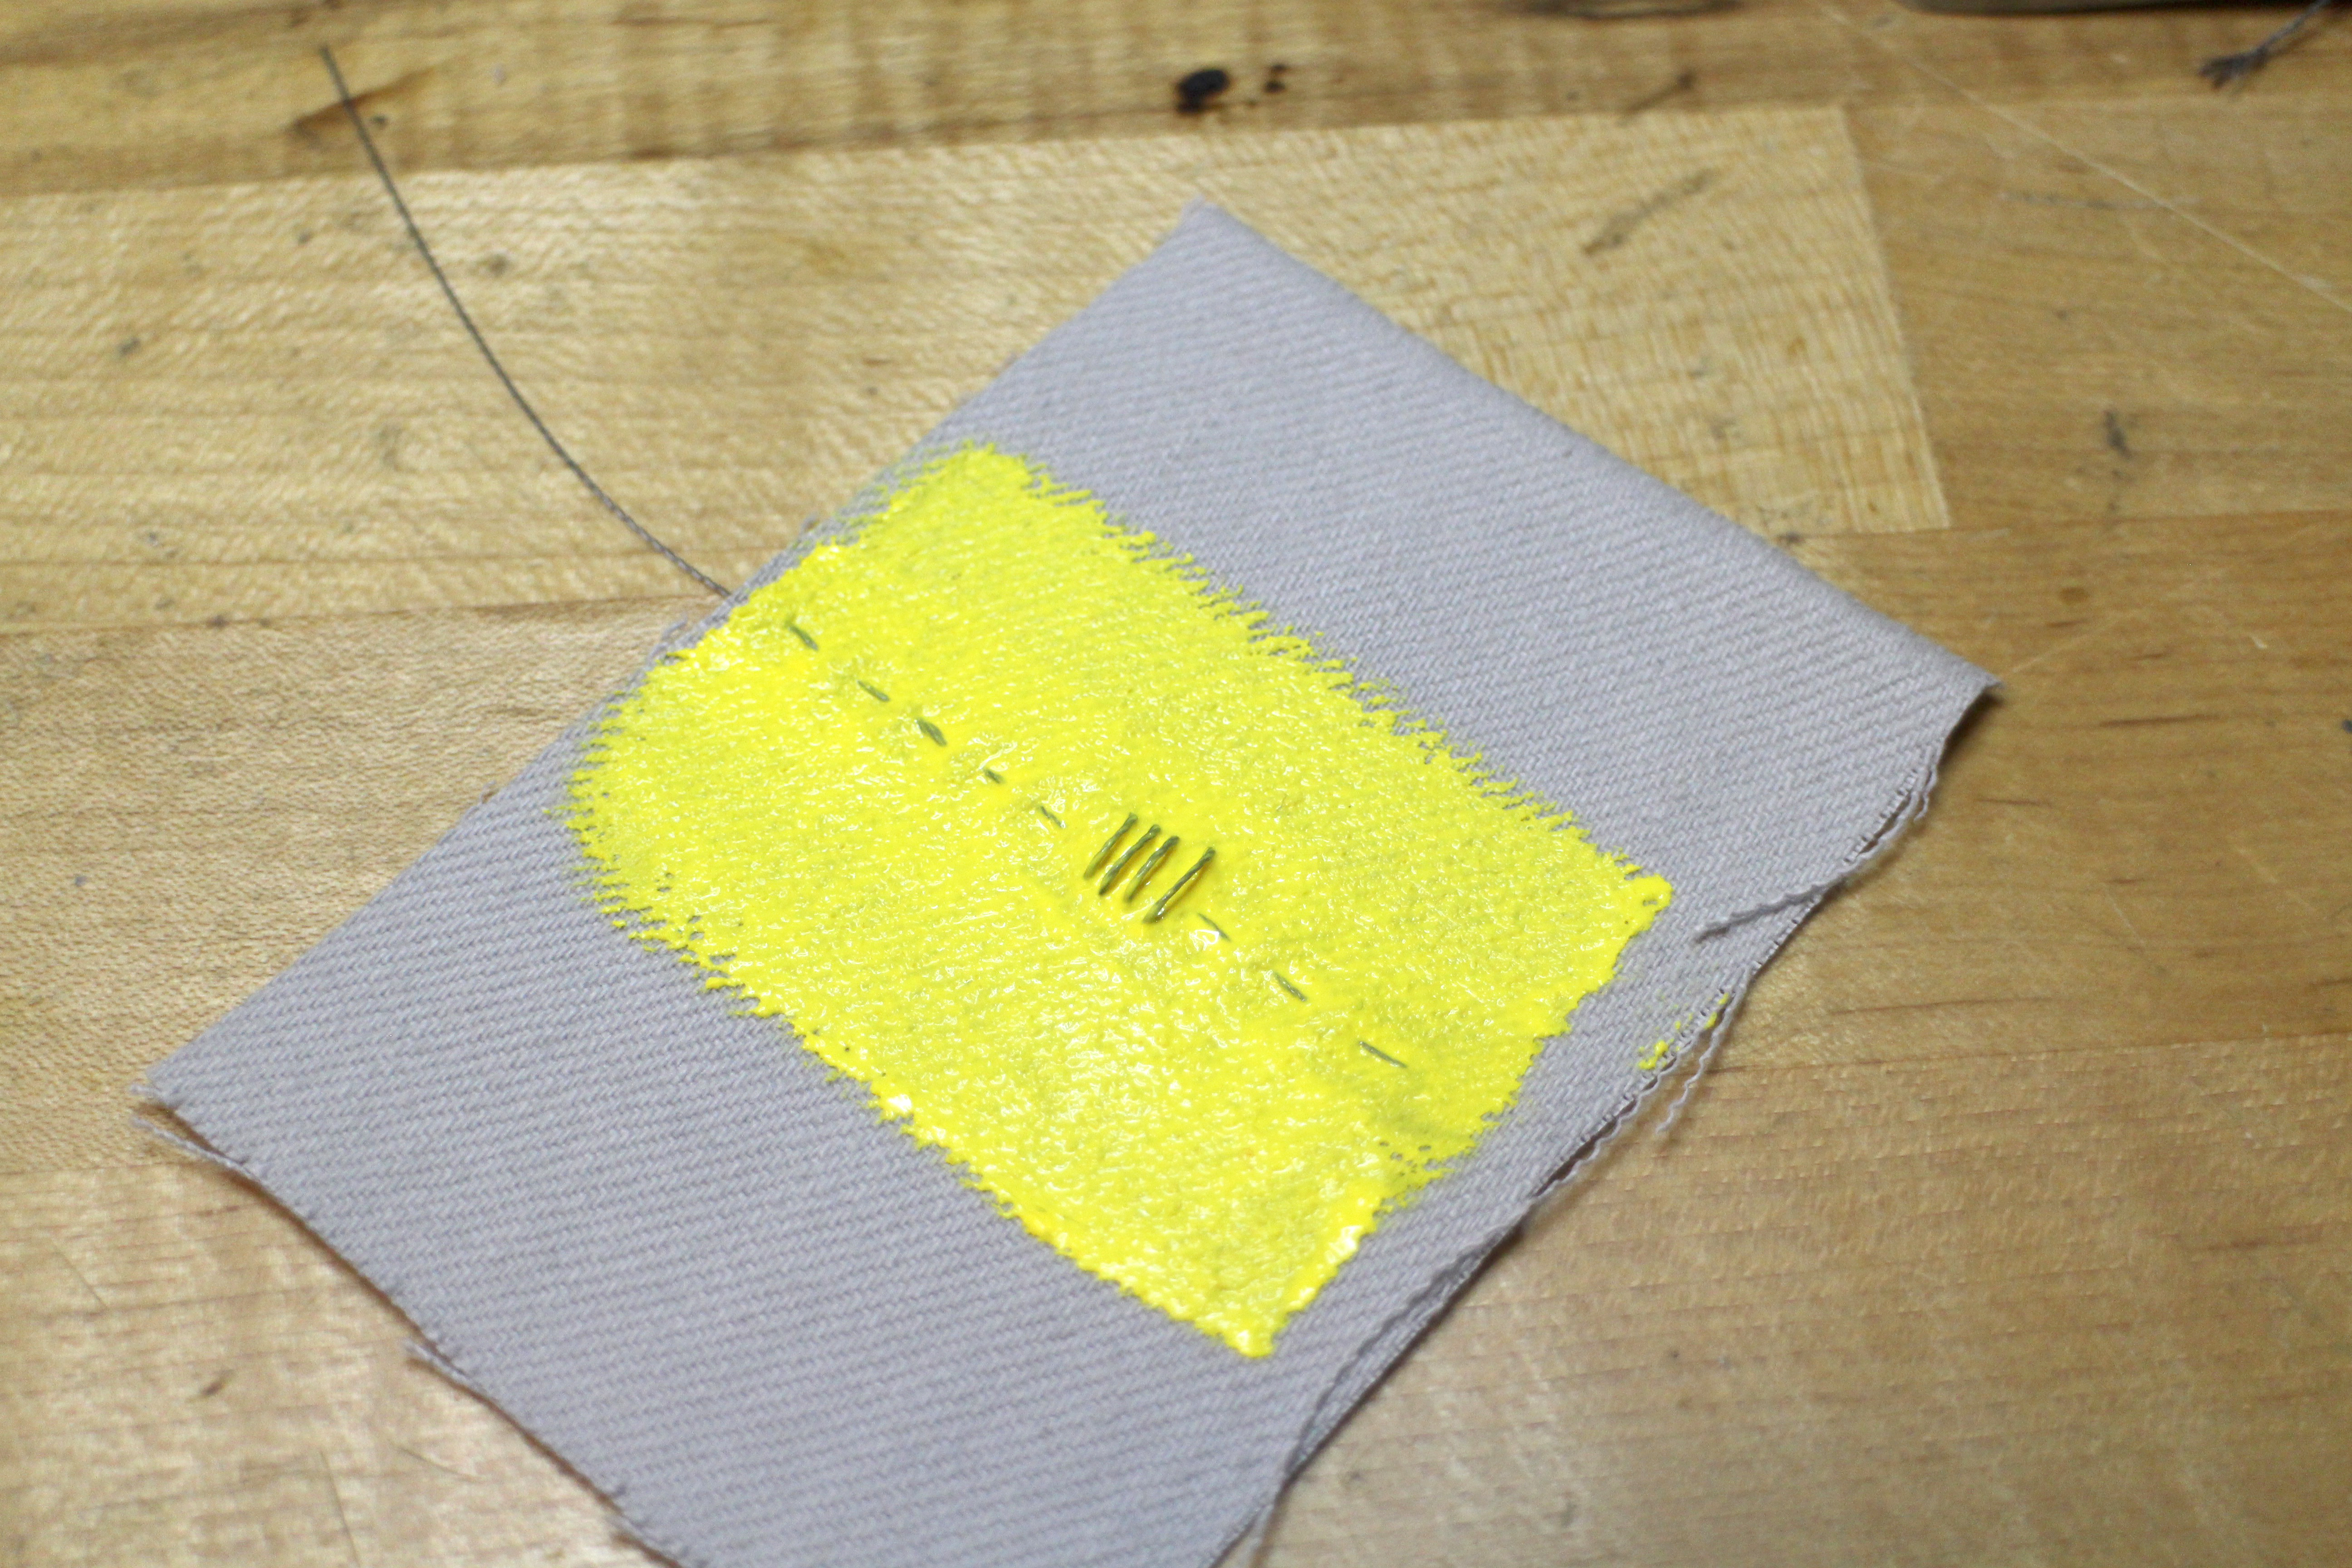
Let it dry, use a hairdryer or carefully use a heat gun to quickly dry it.
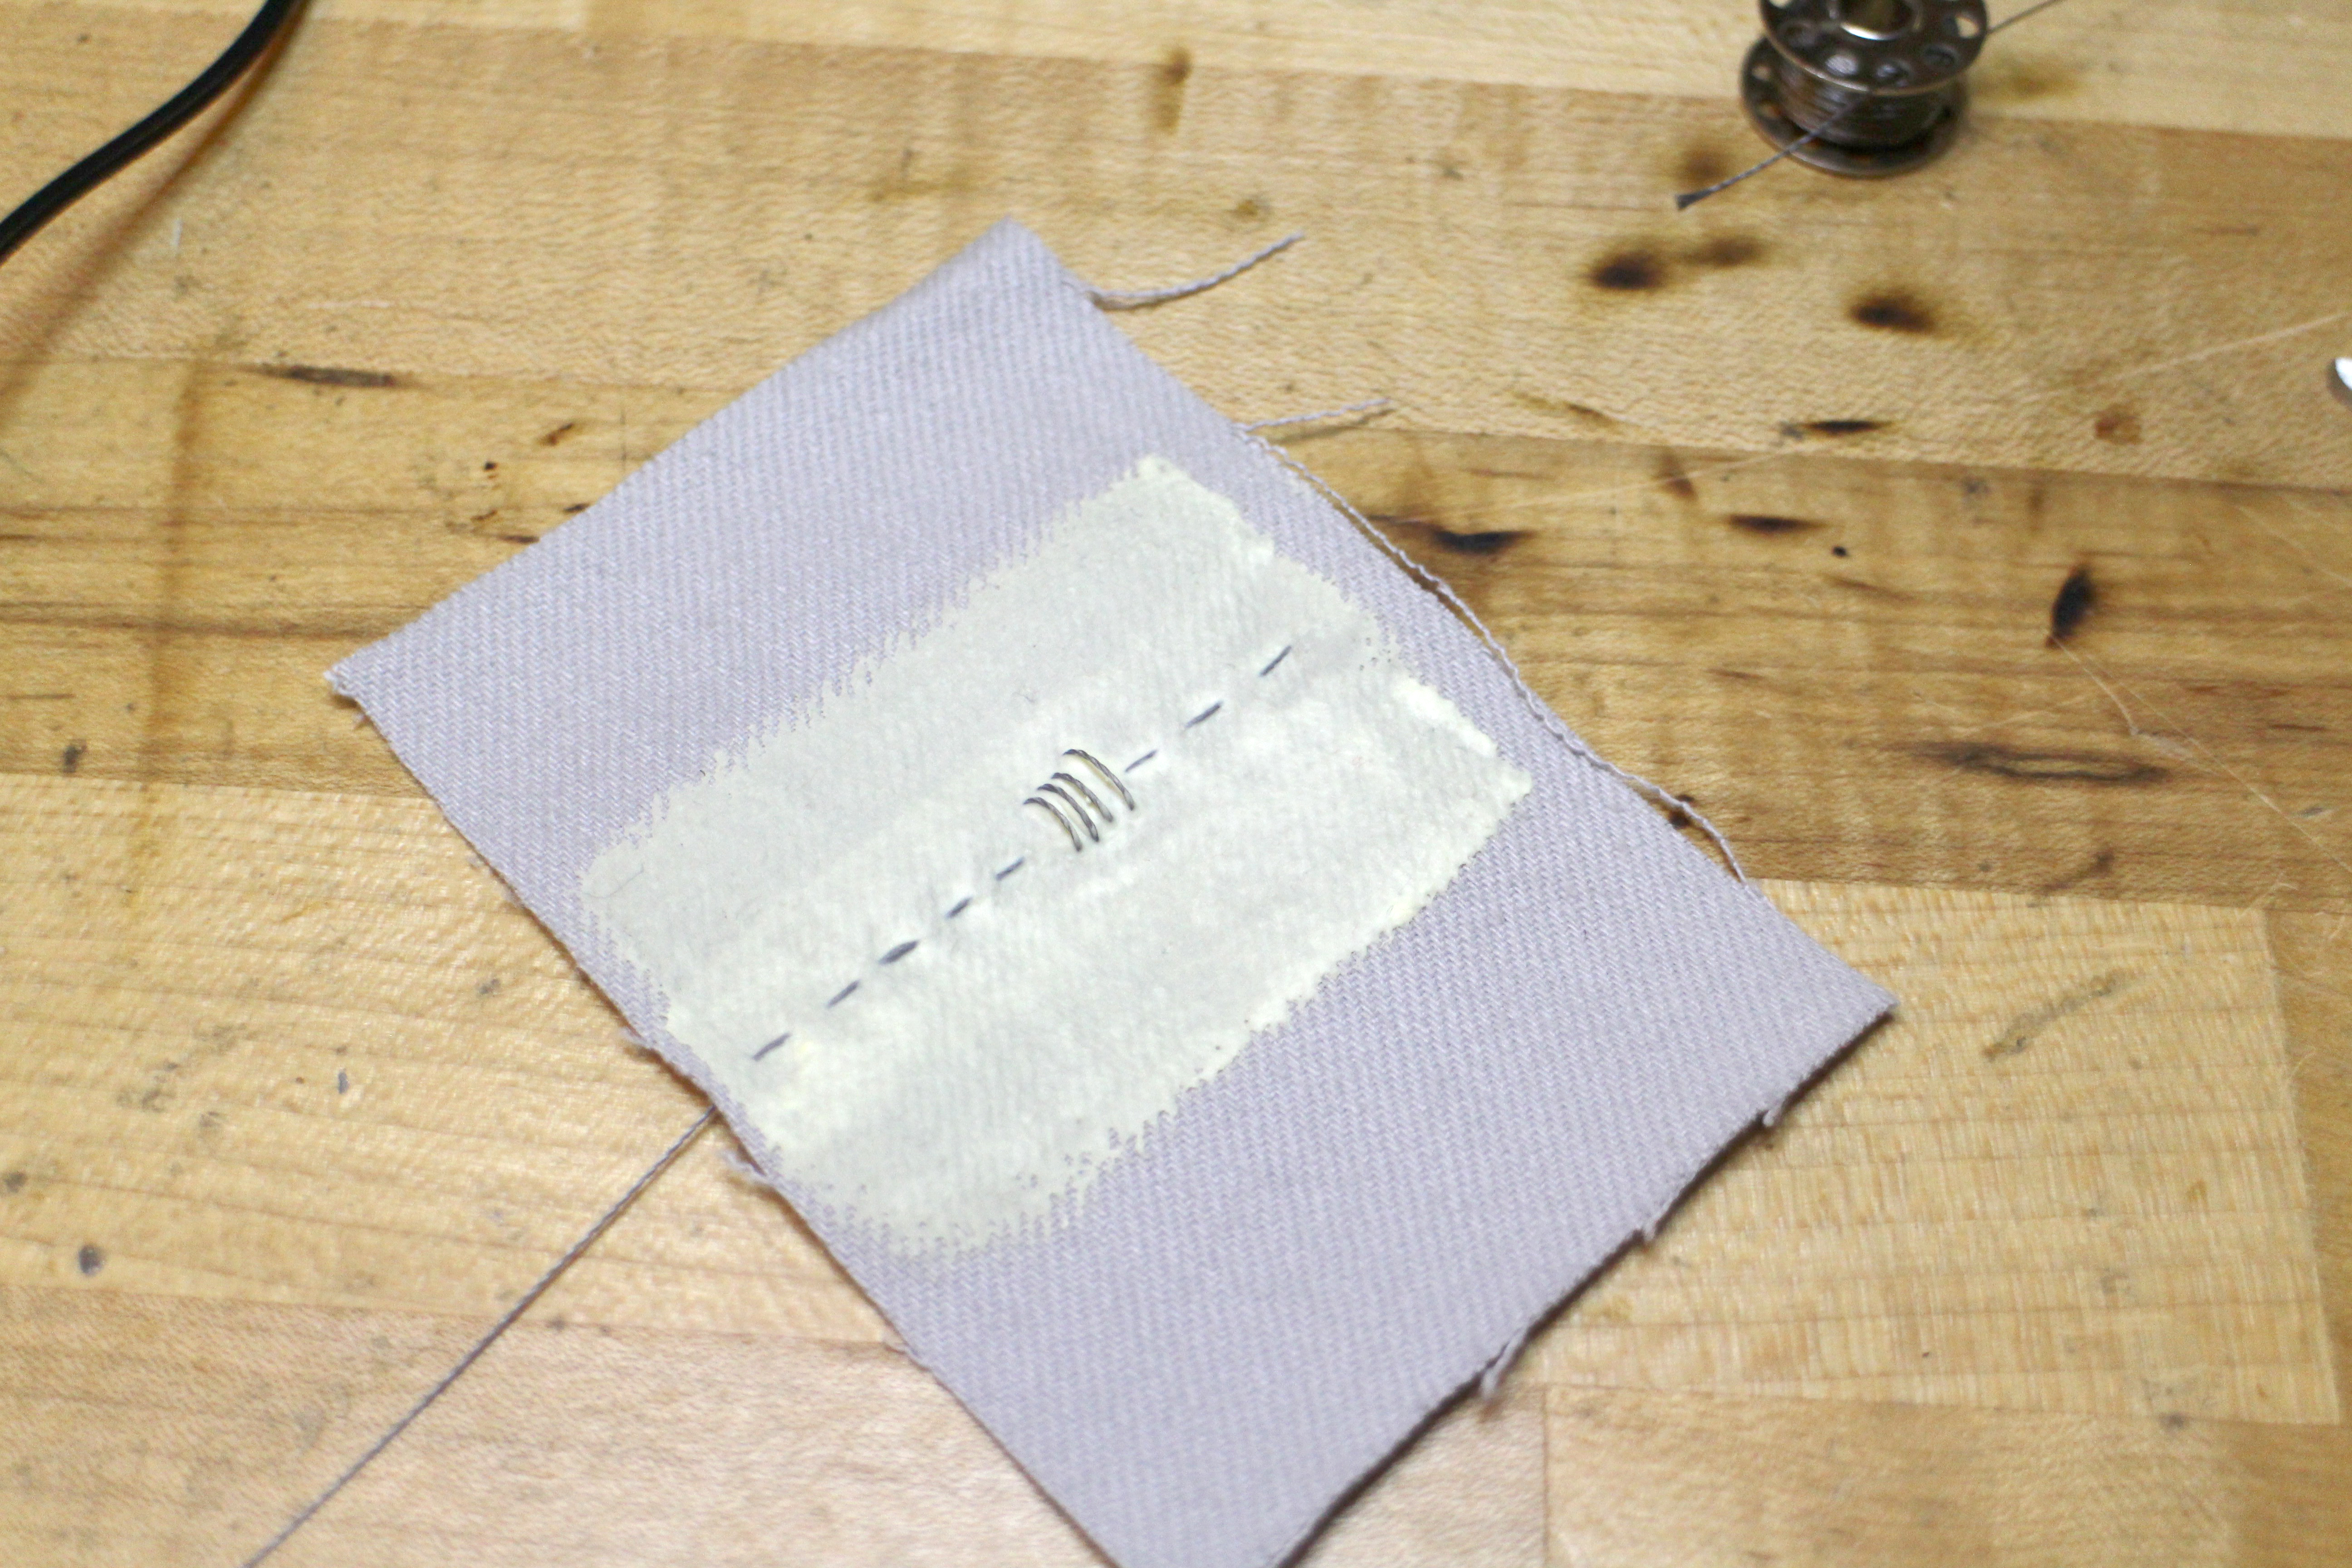
Stitch a second design, you can layer multiple designs to reveal different colors beneath the top layers.
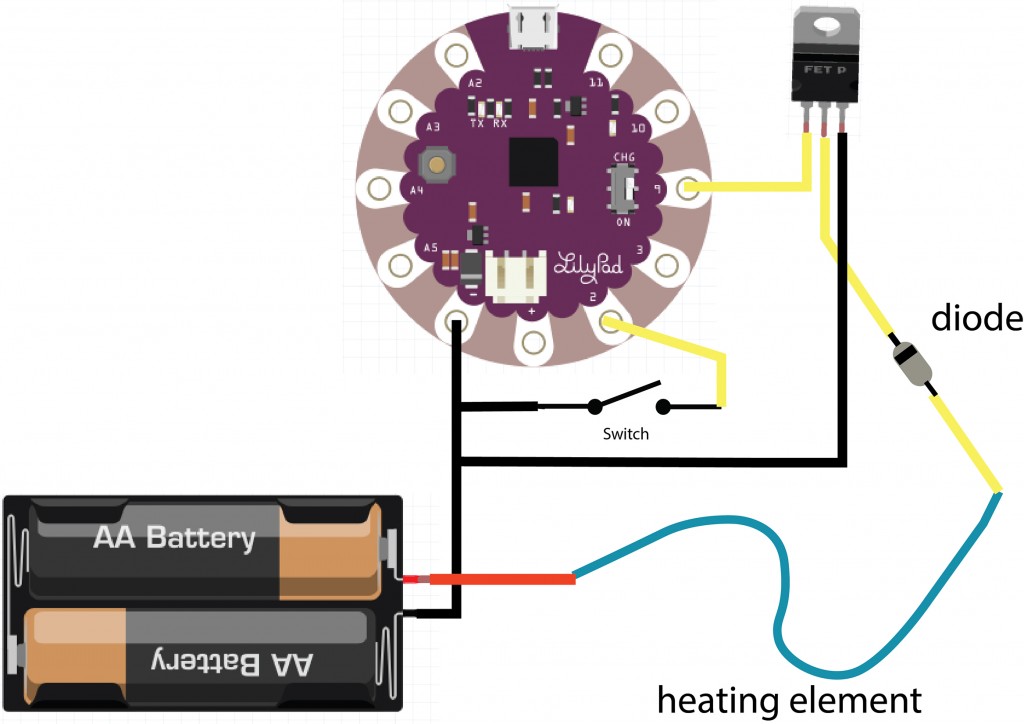
Heating Element Circuit
1 x TIP120 transistor
1 x heating element with thermochromic print design
1 x breadboard or perf board
1 x switch
1 x microcontroller
1 x battery source (3.7 LiPo or 2 AAs)
alligator leads
Hook up the circuit as pictured.
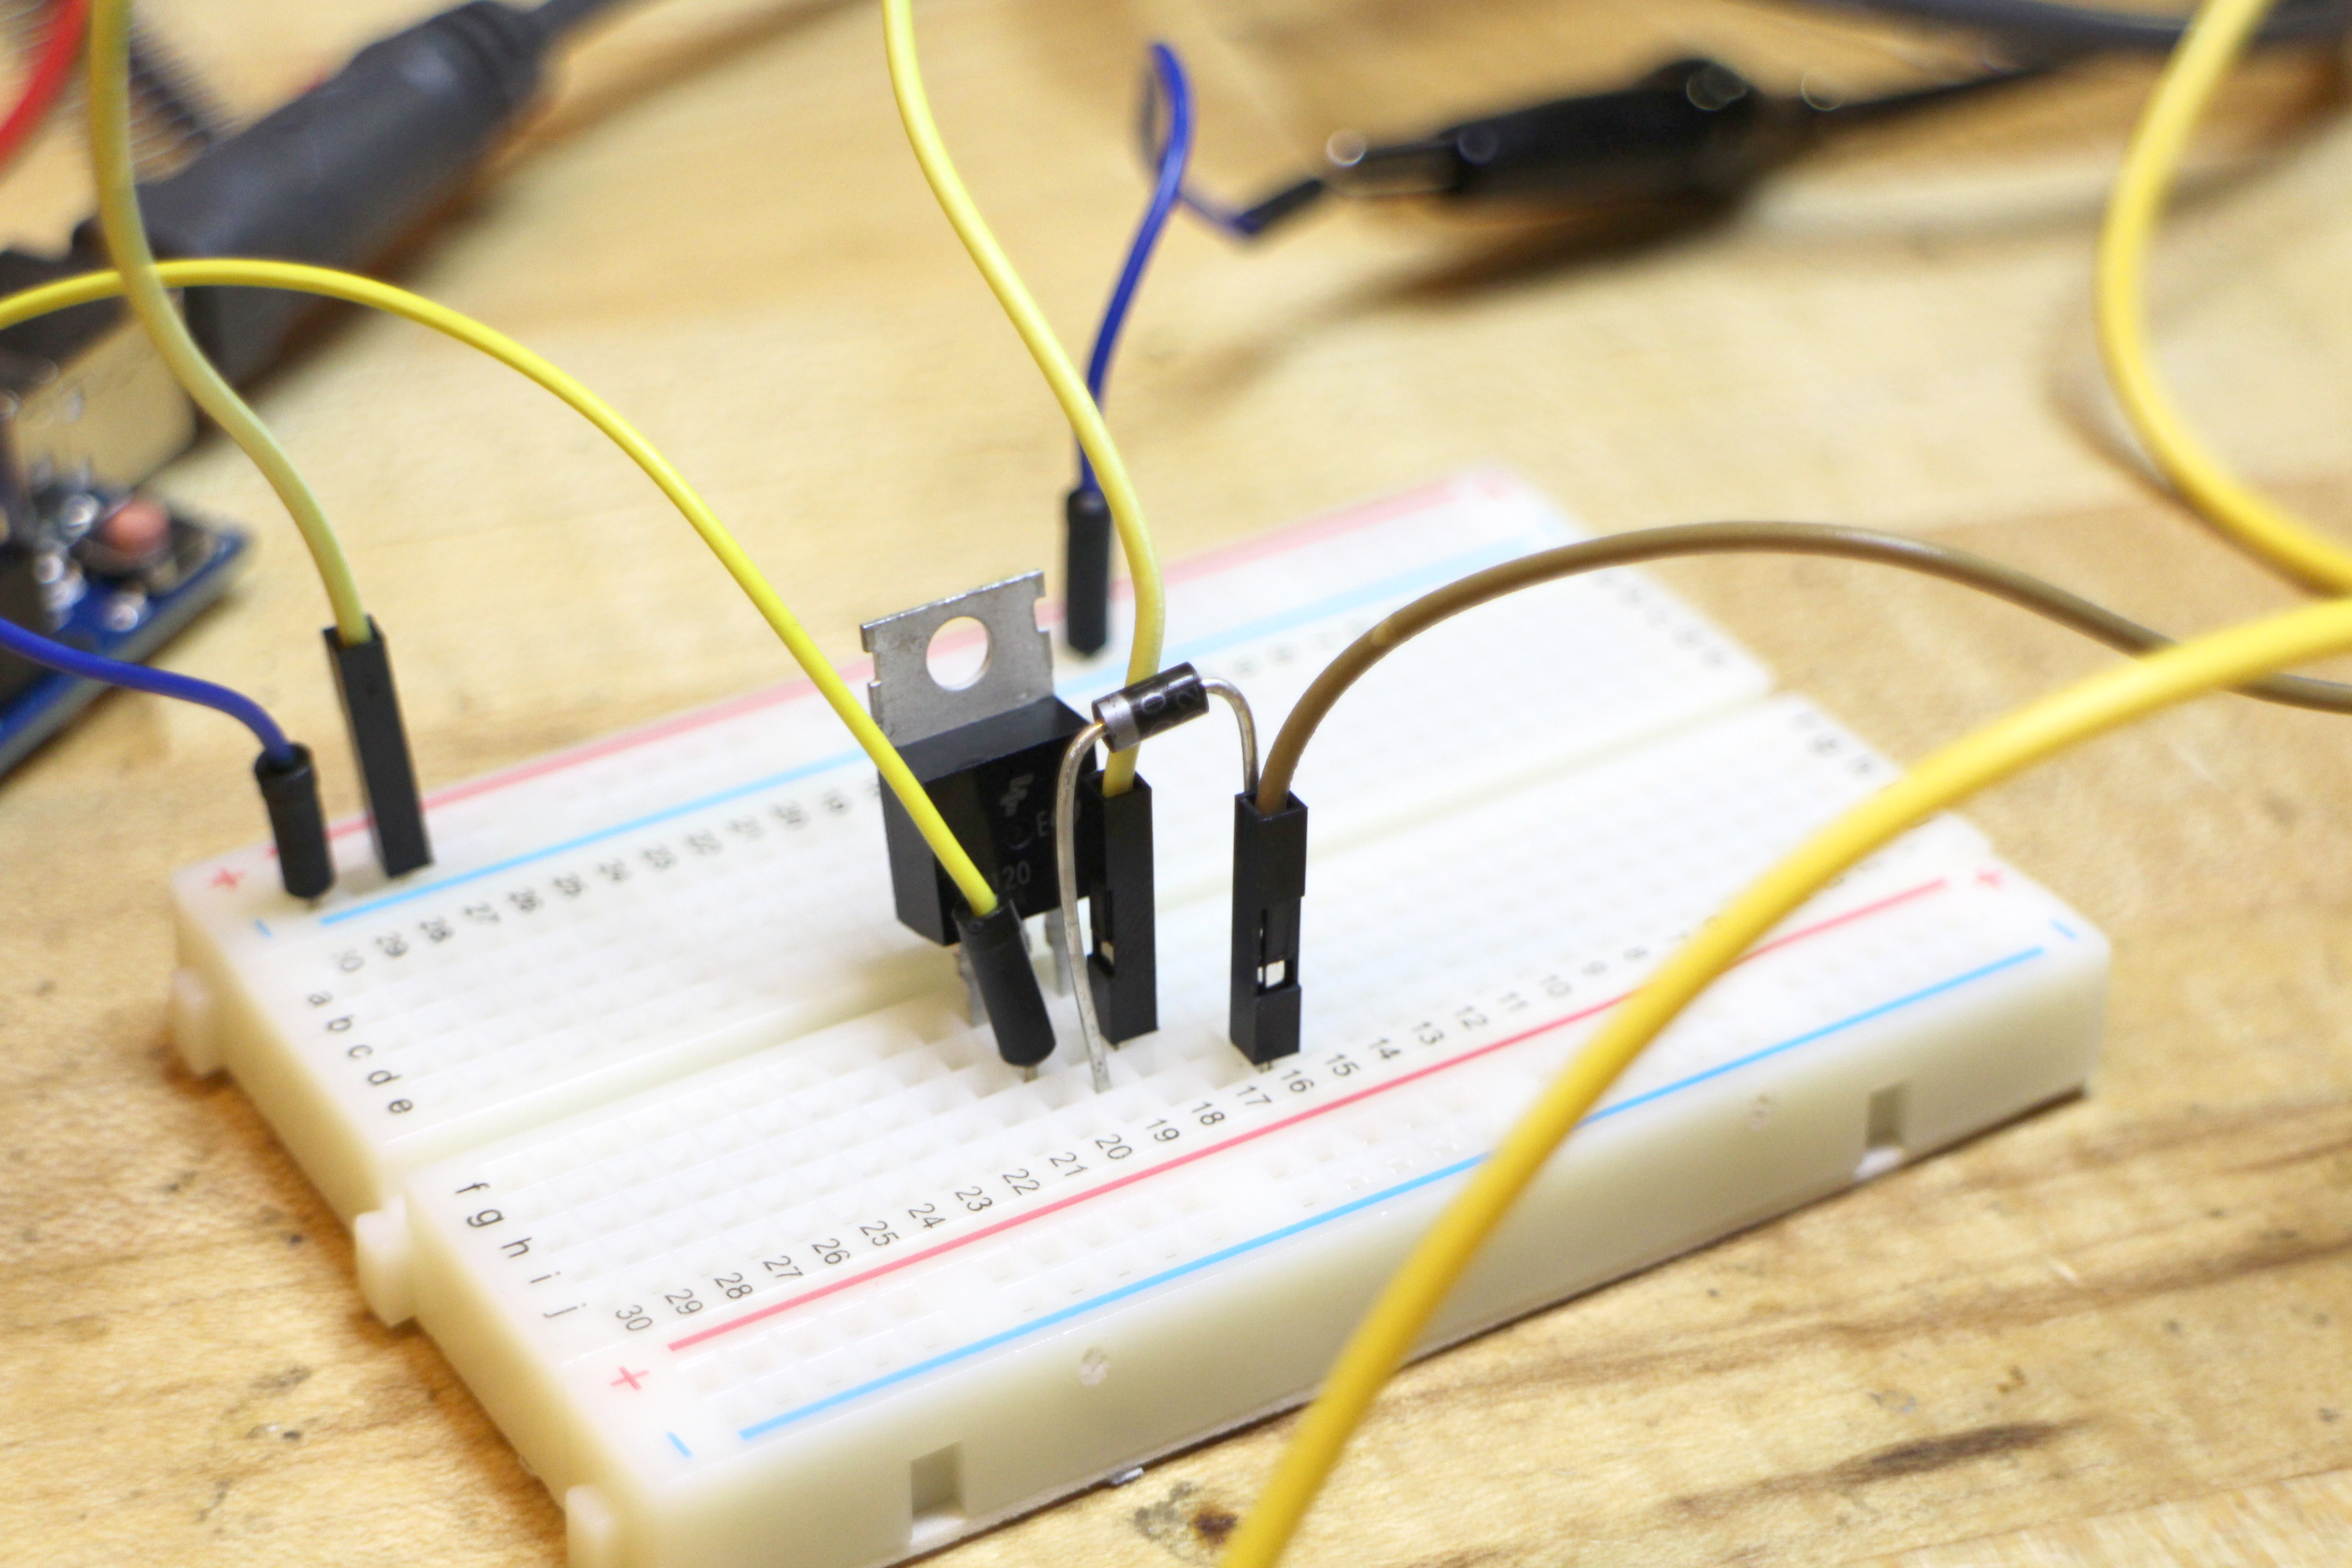
Use a breadboard for the transistor if you need.
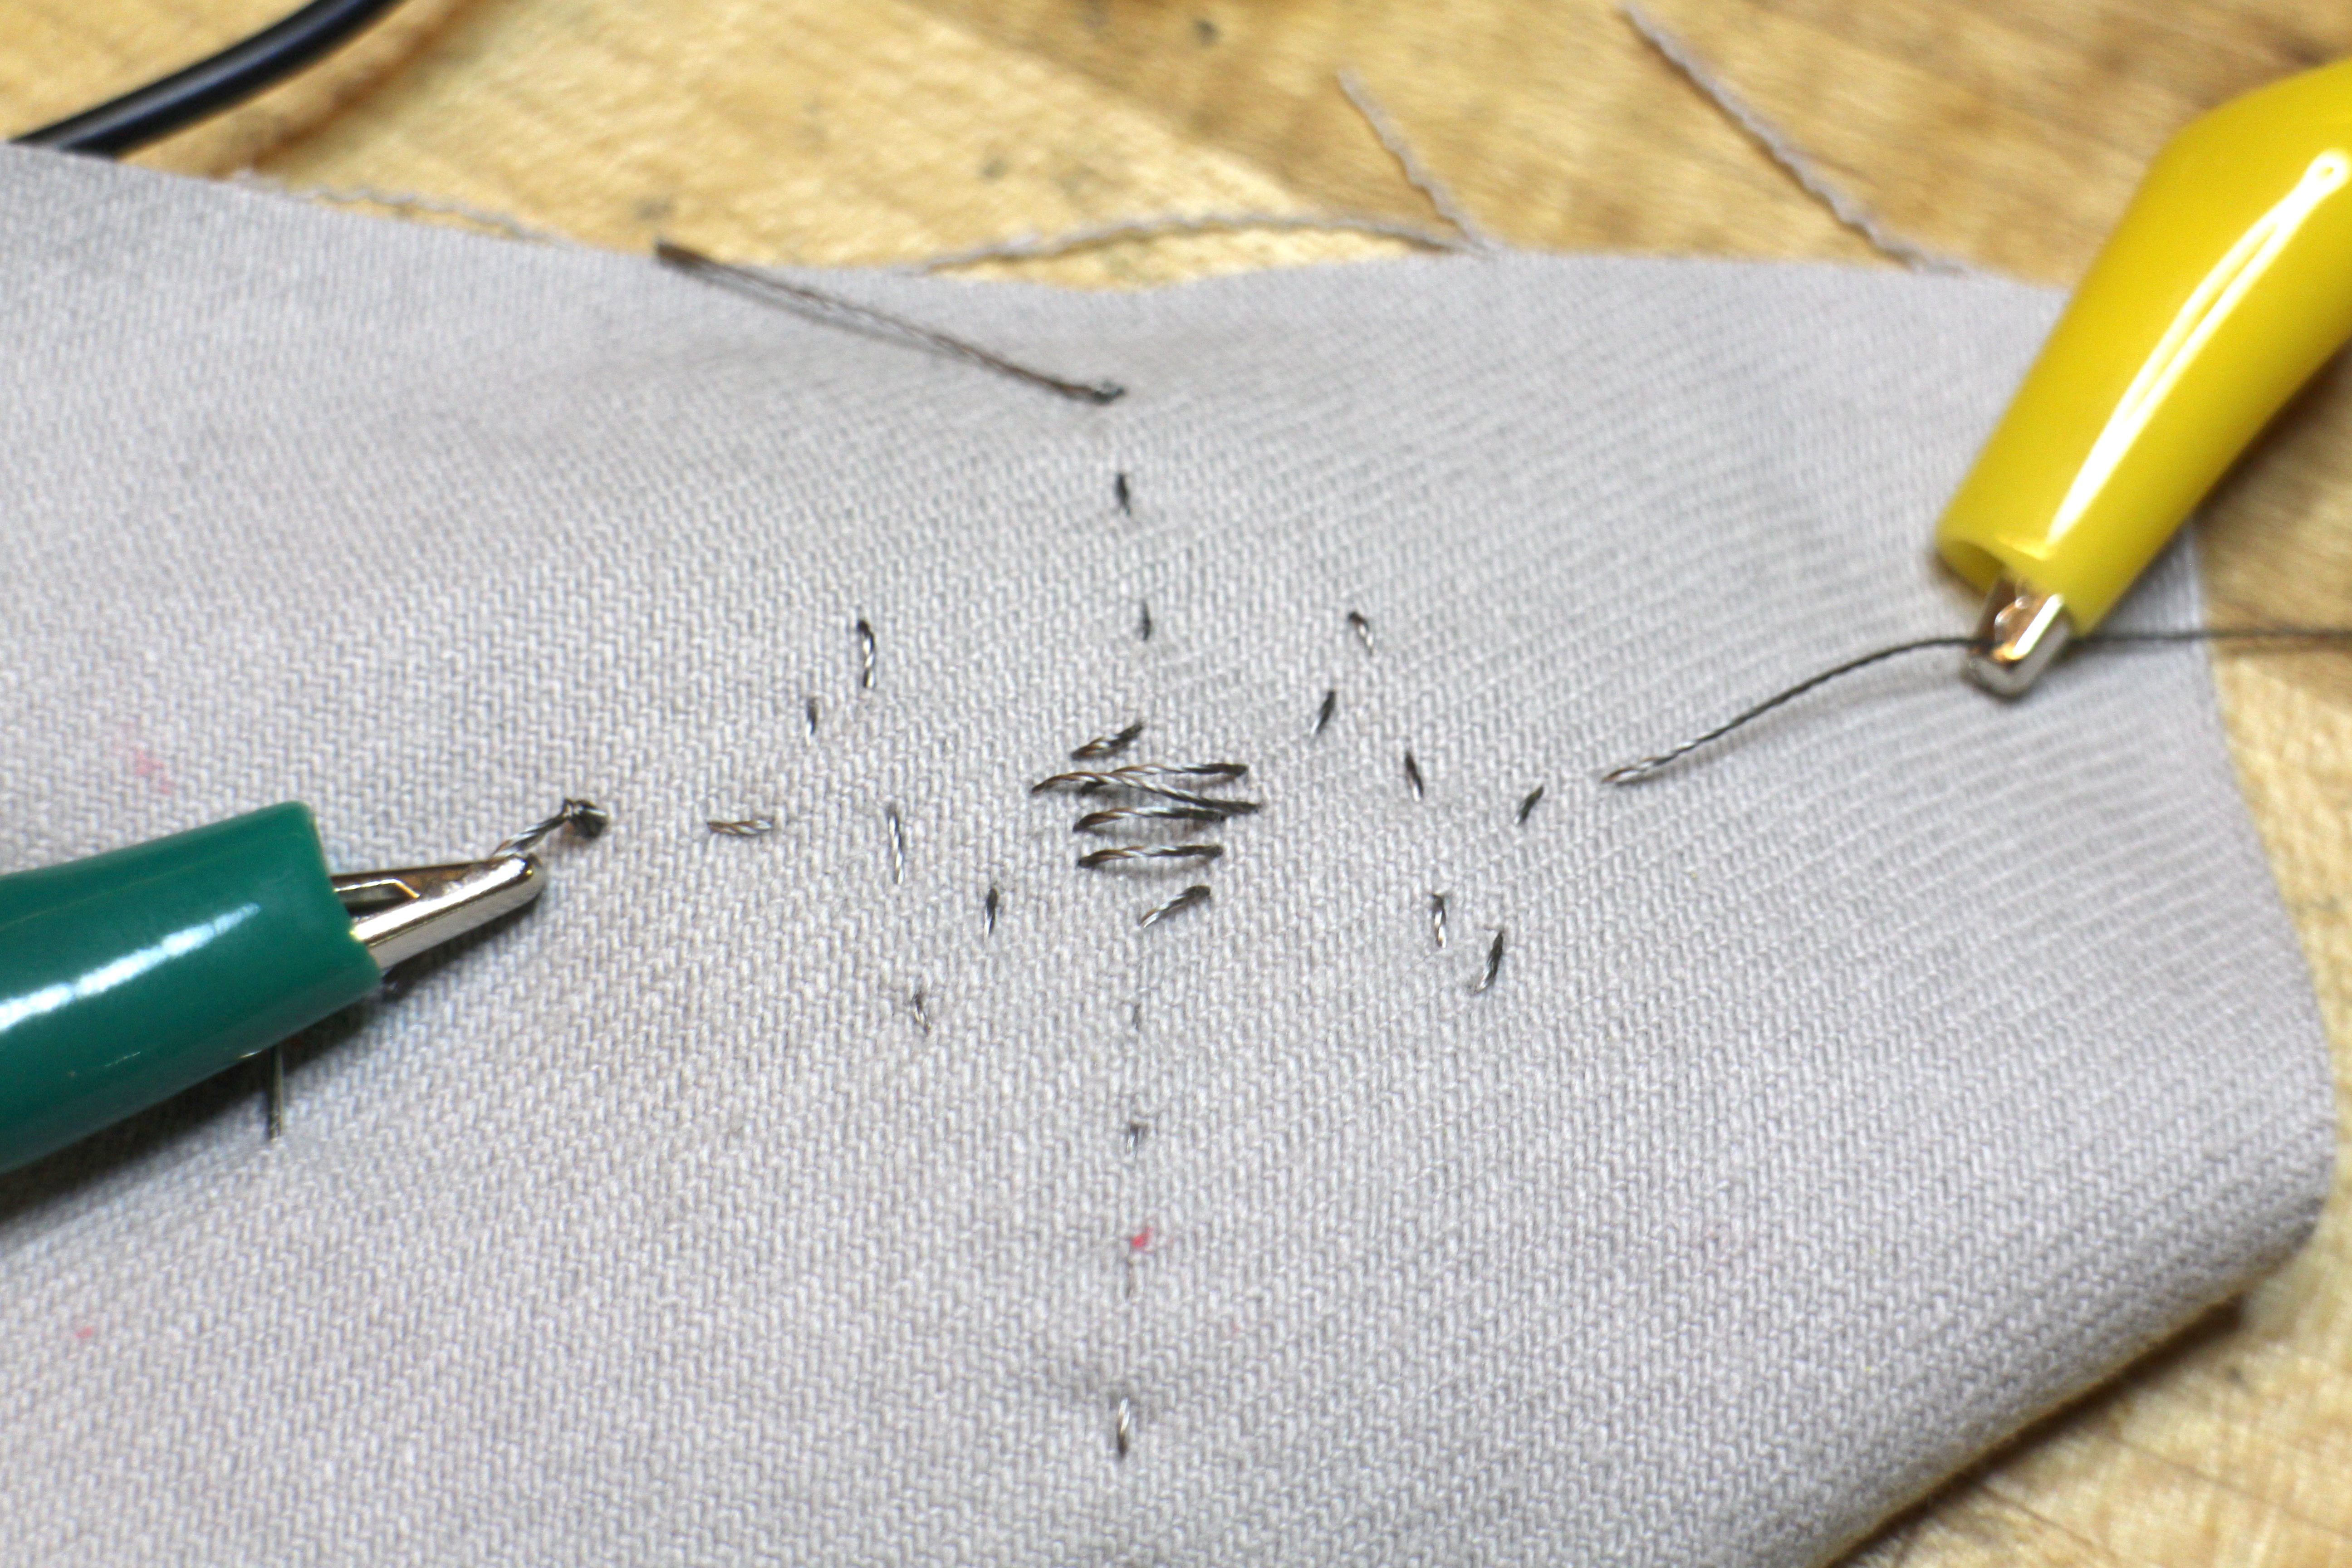
Use alligator leads to connect to your heating element.
Code for Heating Element Circuit
Copy and paste below code, change pin number if necessary. Alter this final code to meet the requirements for the Dynamic Textile assignment.
|
1 2 3 4 5 6 7 8 9 10 11 12 13 14 15 16 17 18 19 20 21 22 23 24 25 26 27 28 29 30 31 |
/* ThermoPaint Heating Element Gives power to heating element on pin 9 when switch is pushed This example code is in the public domain. */ int buttonPin = 2; int heatEl = 9; // the setup routine runs once when you press reset: void setup() { // initialize the digital pin as an output. pinMode(heatEl, OUTPUT); pinMode(buttonPin, INPUT_PULLUP); Serial.begin(9600); } // the loop routine runs over and over again forever: void loop() { int buttonState = digitalRead(buttonPin); if (buttonState == LOW){ digitalWrite(heatEl, HIGH); // turn the LED on (HIGH is the voltage level) } else { digitalWrite(heatEl, LOW); } Serial.println(buttonState); } |
