
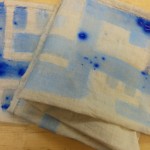
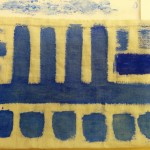
For this assignment I made a textile that was painted with thermochromic paint, which is made by using pigment that goes colorless at a specified temperature. Since I designed my item to be worn close to the body, I had to find a pigment that was on the upper range of the activation temperature scale. After some research I found a few colors that activate at 96F and ordered those from Karlsson Robotics, via Amazon. The blue color exhibited by far the best color depth/change, so that’s the thermochromic pigment I used.
I knew I wanted to go big on this project, so my finished textile is about 1′ x 4′. I initially thought I’d make a dress and paint it, but then I realized that a removable panel was a wiser decision, given the technical issues, desire to insulate heat/current from the wearer and the additional need to wash a dress, which could damage electronics. The fabric was folded in half to form a sort of envelope, with the back panel being used as an insulating panel to protect the wearer, as well as to protect the electronics. I sewed cotton denim pouches/envelopes for the components and batteries, which are placed in between the two layers of the outer textile.
I also knew I wanted to create a pattern, since this technique is a kind of “modern batik.” I was originally going to make a dress and paint most of it blue, after which I’d run heating element wires crisscrossed through it in a plaid pattern. This ended up being impractical due to distance, conductivity, difficulty of connections, and heat transfer issues. So I decided on a far simpler design with the 2 heating elements starting and terminating in pairs.
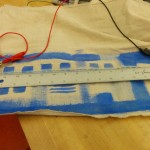
I wanted to test the capabilities of what was possible using this technique, so I used a long, straight conductive thread as a heating element, as well as a mostly straight element with some zig-zags. I went with a straight-shot method of long running stitches because I wanted minimal heat to be lost via overstitching/overlap. Surprisingly, I was able to get good heat transfer over a 2-3′ length of wire using a 9 volt battery.
I used 3-ply conductive stainless steel thread (vs. 2-ply), because I wanted something that could cary a heavy heat load (thicker is better), and I used sturdy, well-washed cotton muslin, which I knew would not melt and might be able to stand up to high heat without burning.
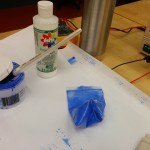
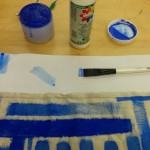
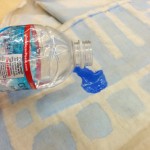
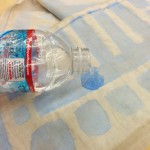
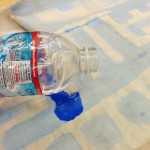
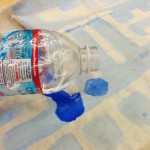
Photographs of my paint mixing (thermochromic paint and fabric medium) and texting process. I dried the wet, recently painted pigment out with a heat gun, which is why it looks so pale here, and I poured wanter on to reactivate it, since the water cooled it off more rapidly than allowing it to simply return to room temperature.

I stitched one long, straight heat circuit, after which I spent some time using a switching power supply to test appropriate voltages and how much distance the heat could cover with a given amount of energy—without the fabric catching on fire. 9V was a little hot, but the effect was very dramatic.

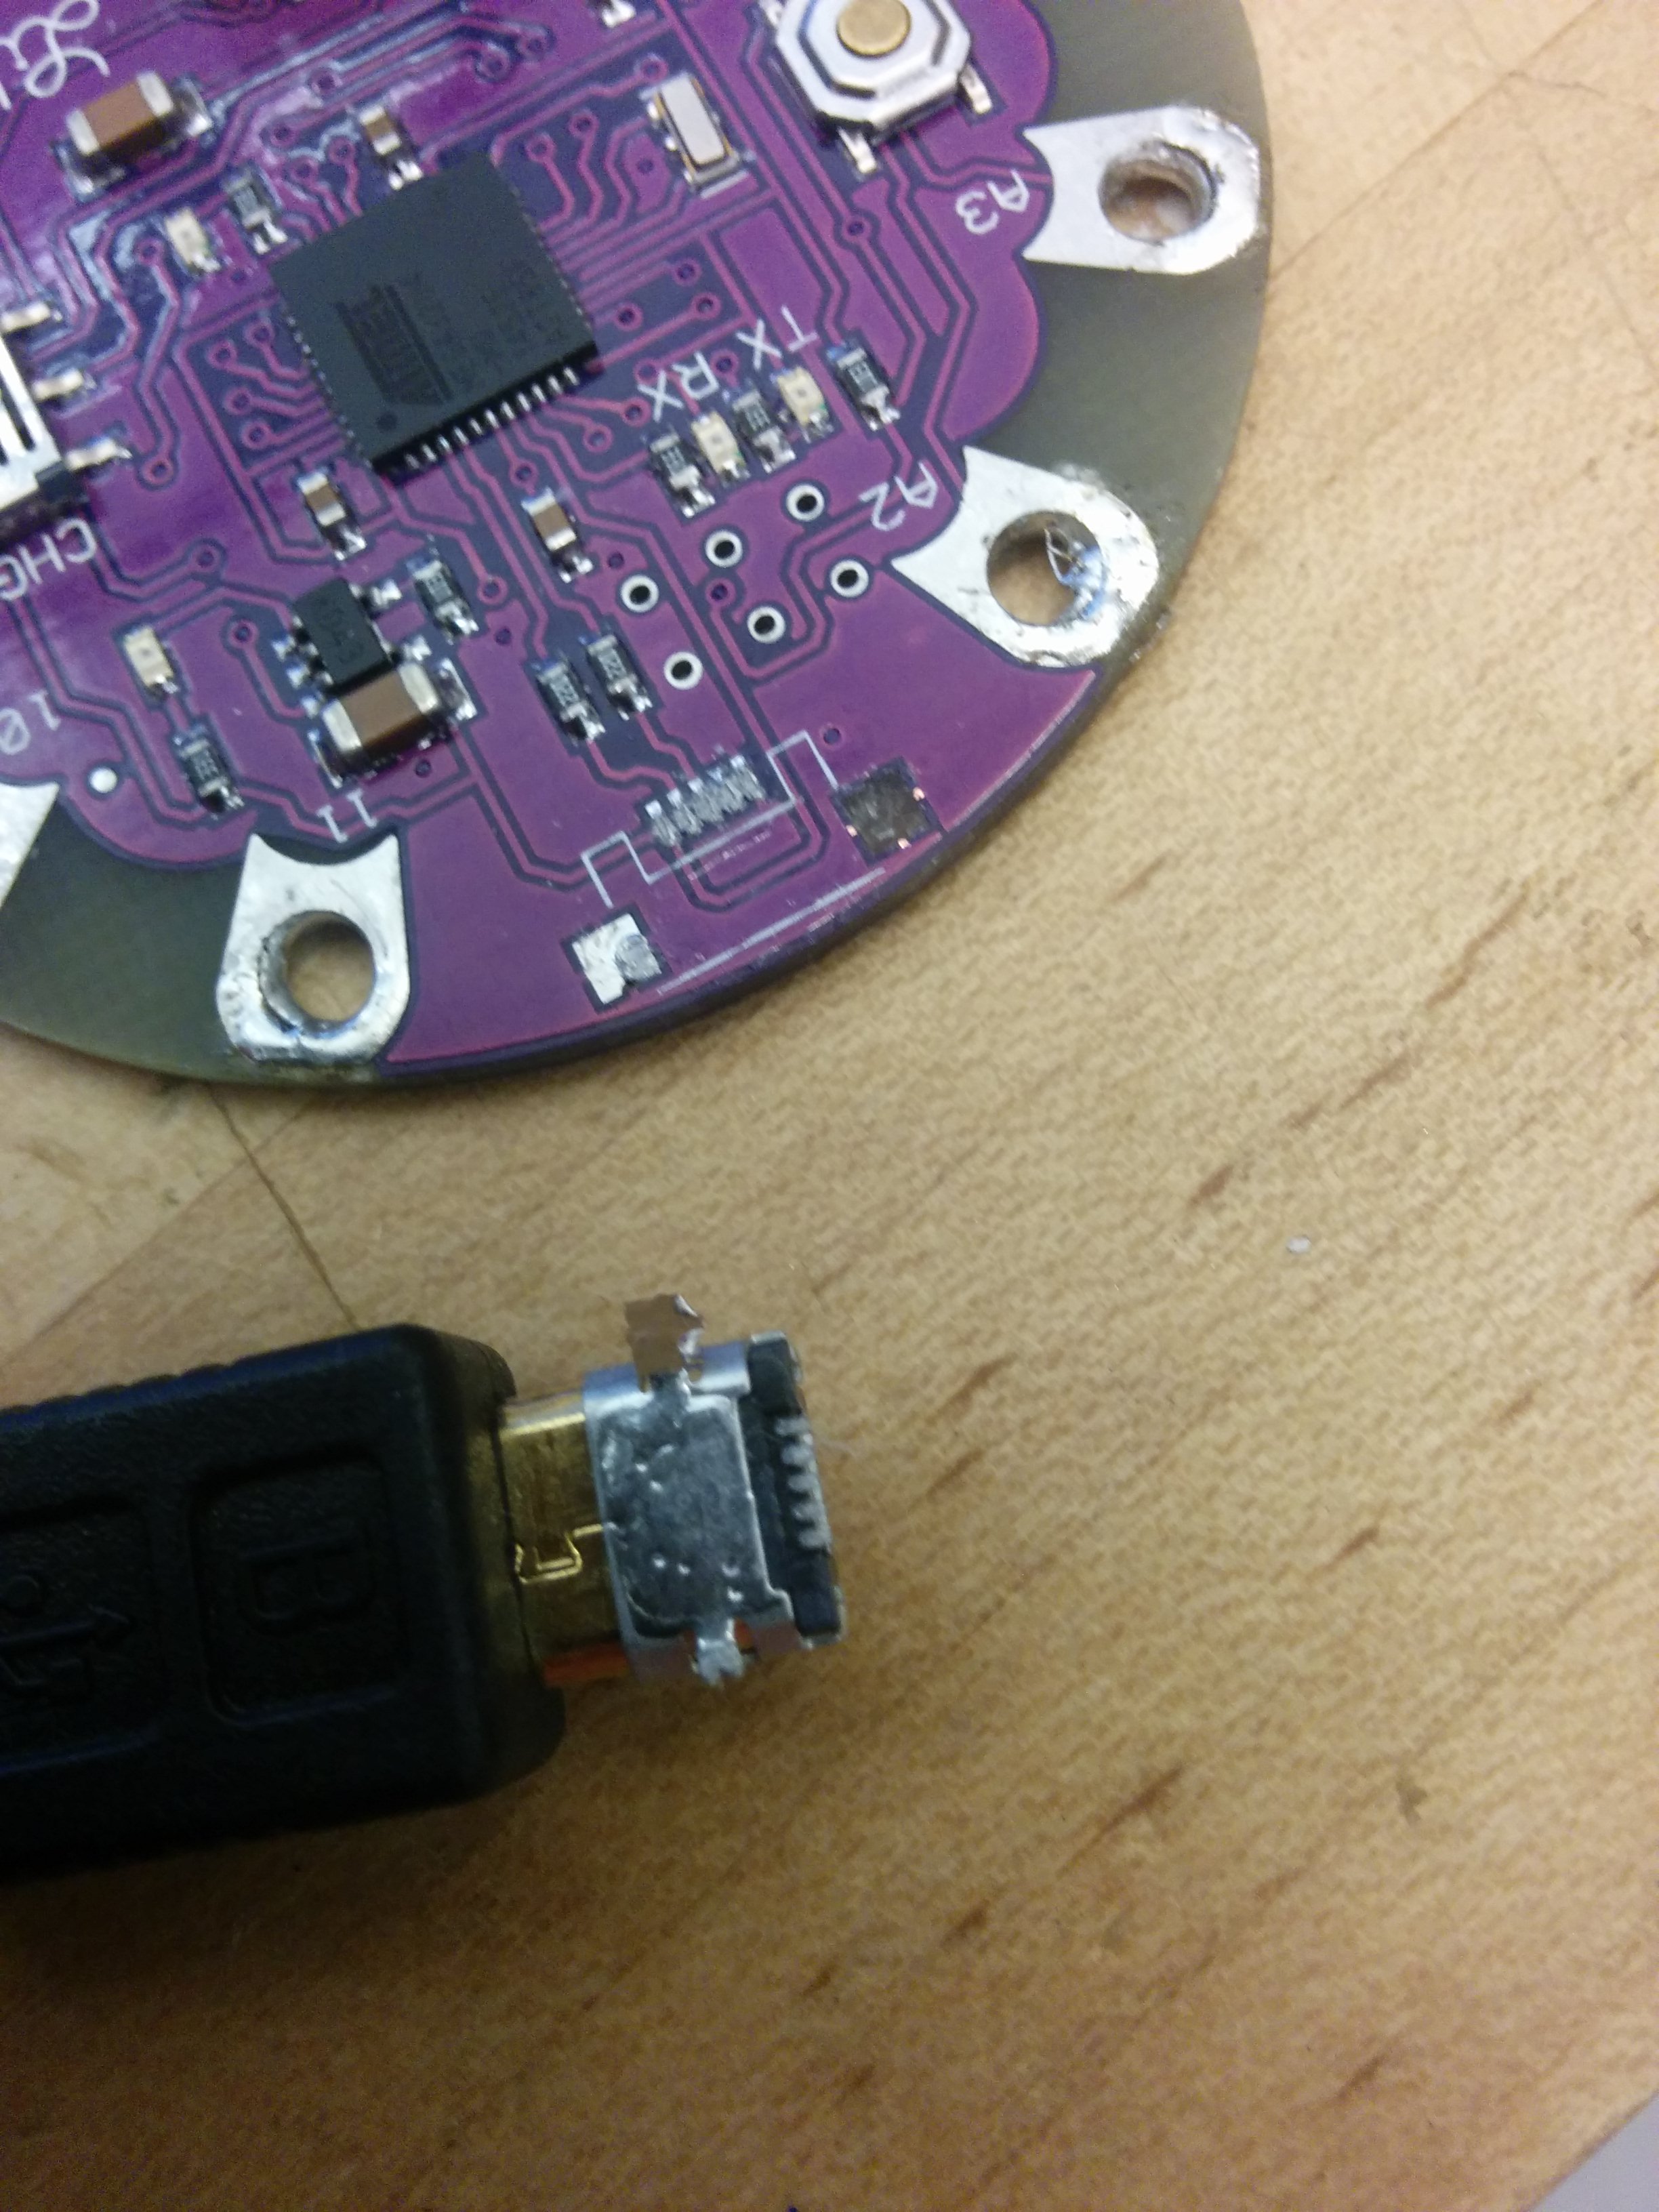
Then I started to create the other components and test the batteries. I had started creating my circuit with a trusted, previously reliable Lilypad and had just begun sewing when the Lilypad failed. After a quick test, I pulled it off of the micr0-USB cord, and unfortunately the connector broke! I tried gluing and soldering it back on, but failed. Other classmates had the same issue with Sparkfun Lilypads, and mine was from China via Amazon, so apparently this is a widespread problem. I hope that they will attach the micro-USB port more firmly to future Lilypads, as the present method of connection is weak and prone to failure.

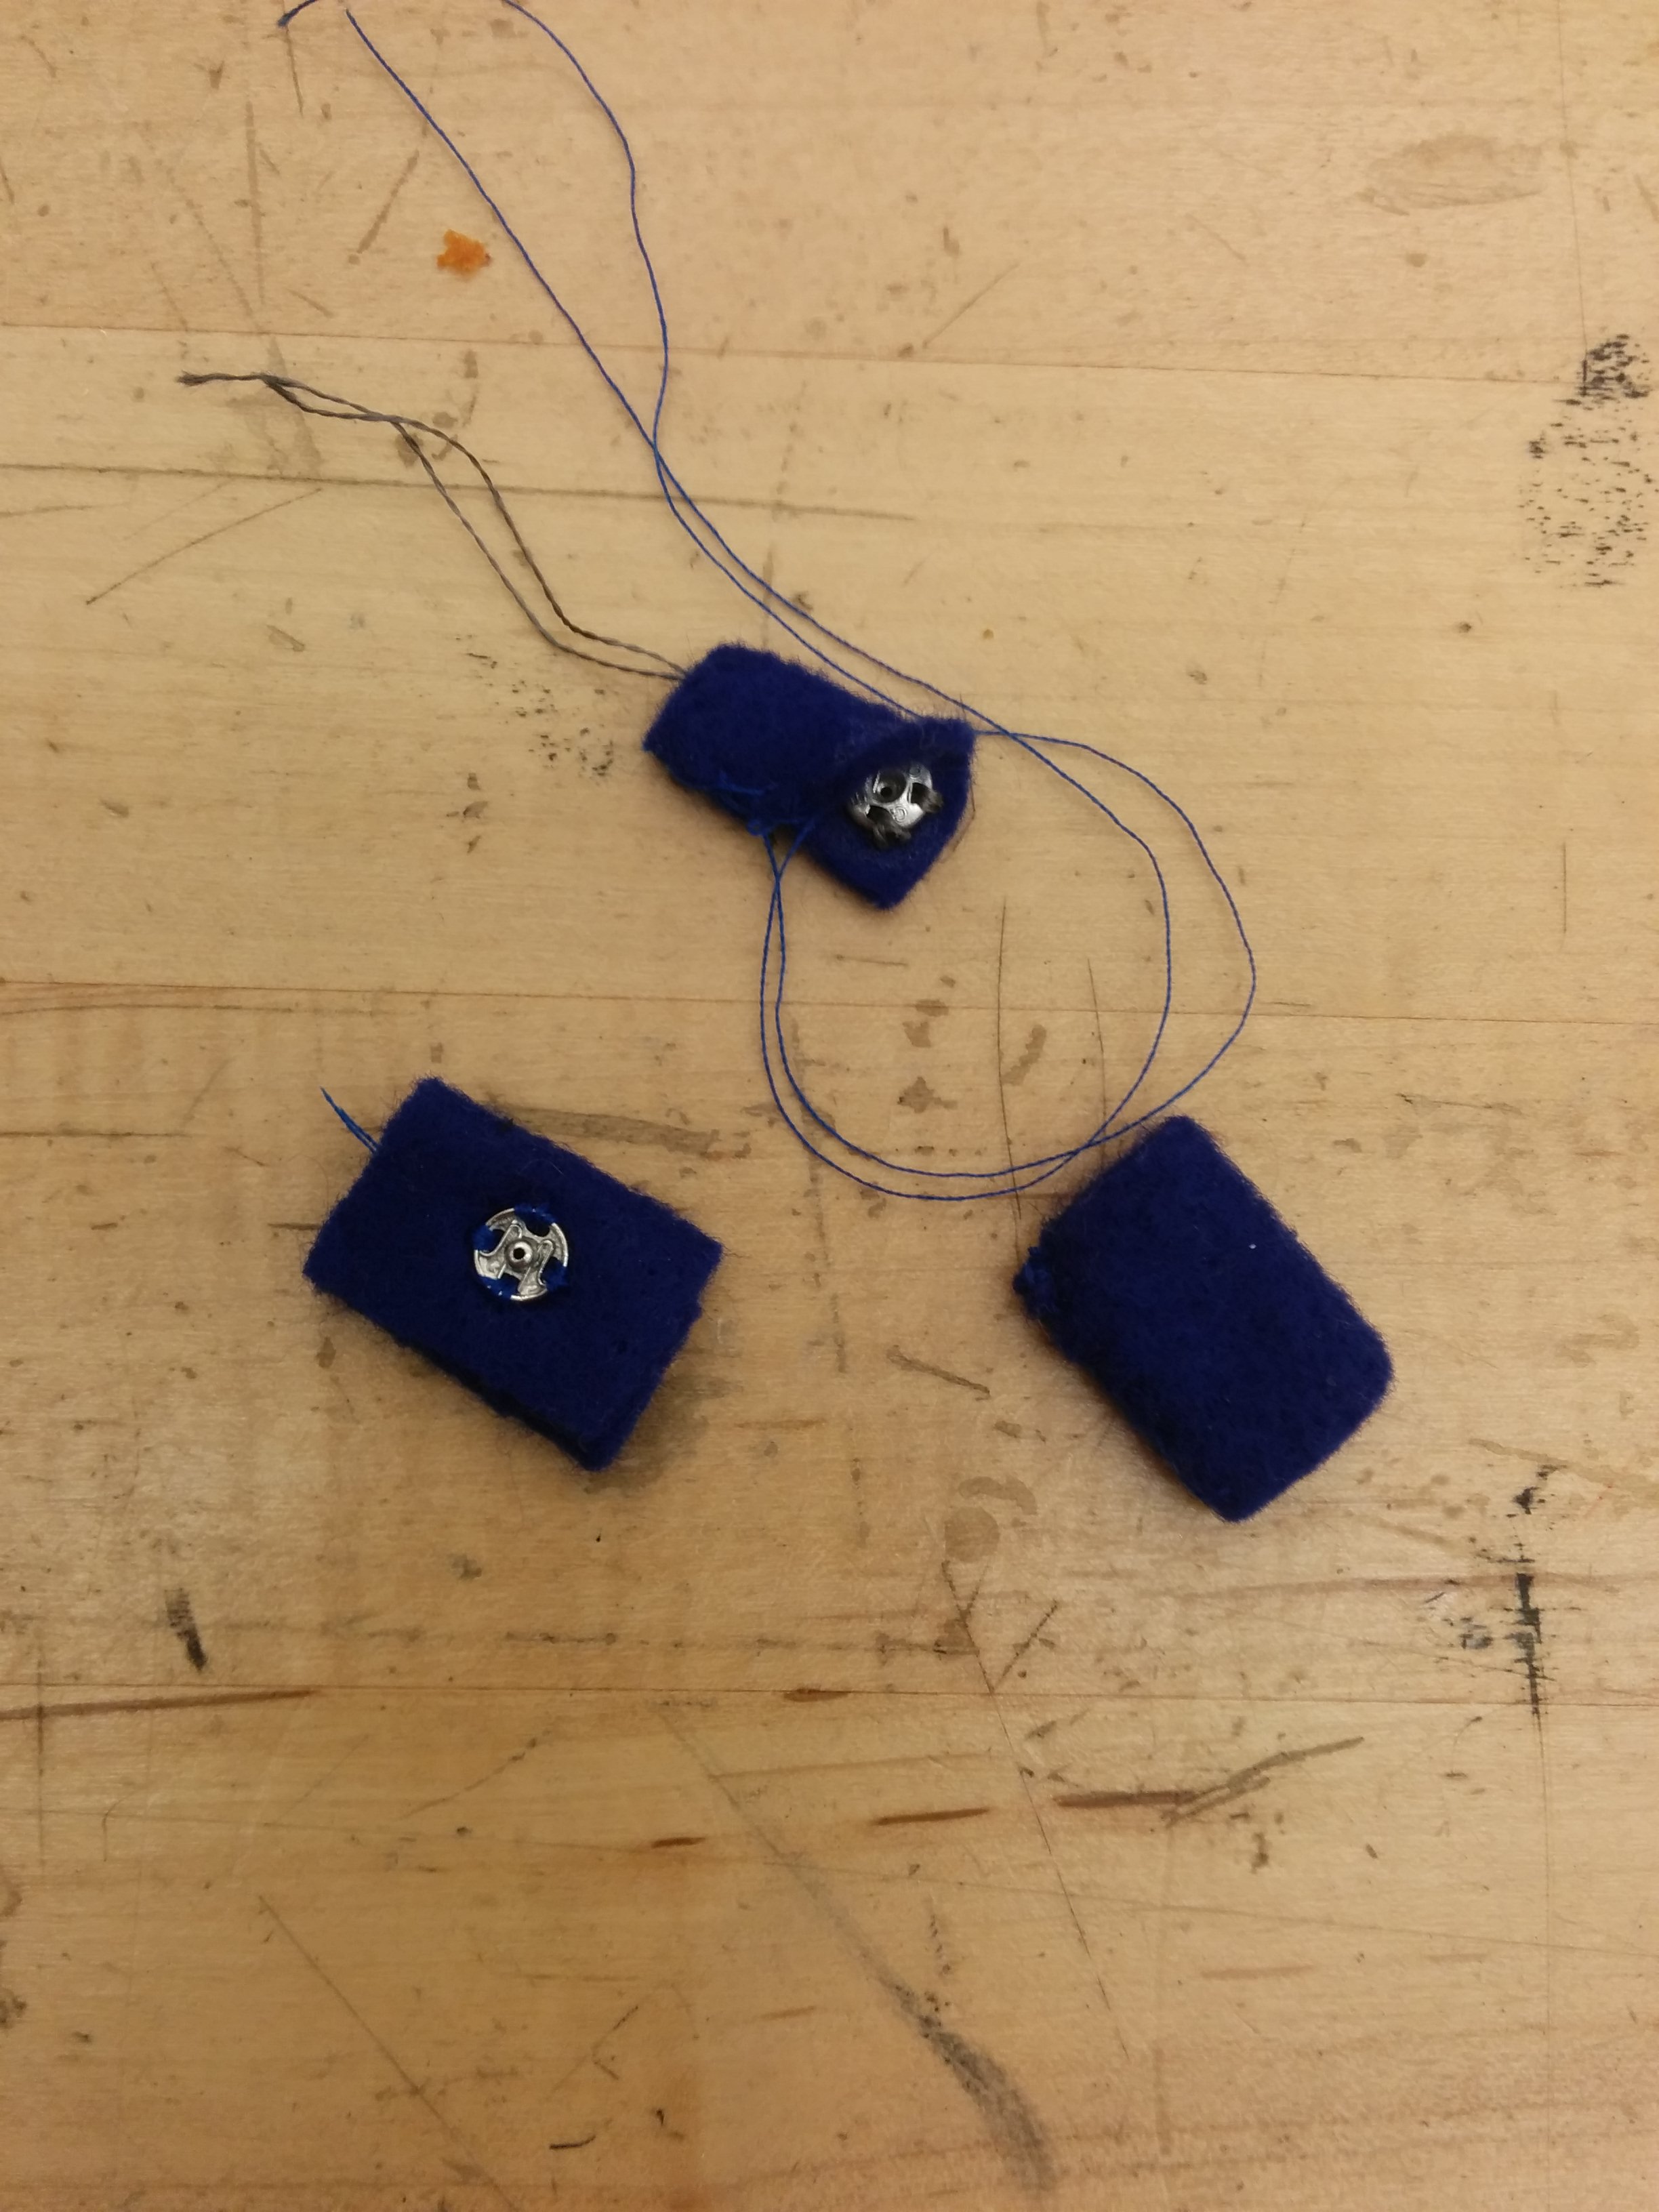
For buttons, I ended using felt strips that folded in on themselves, with metal snaps nestled inside them. The user had to carefully pull back the felt and connect the snaps. This design avoids accidental connections, which is safer for both the user and the battery/electronics.
I came to this design after making more traditional snap flaps like this, which I ultimately realized were going to cause unwanted connections and potential shorts. Much better to hide the snaps inside fabric that has to be pulled back to make contact.
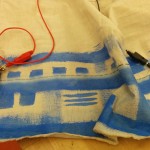
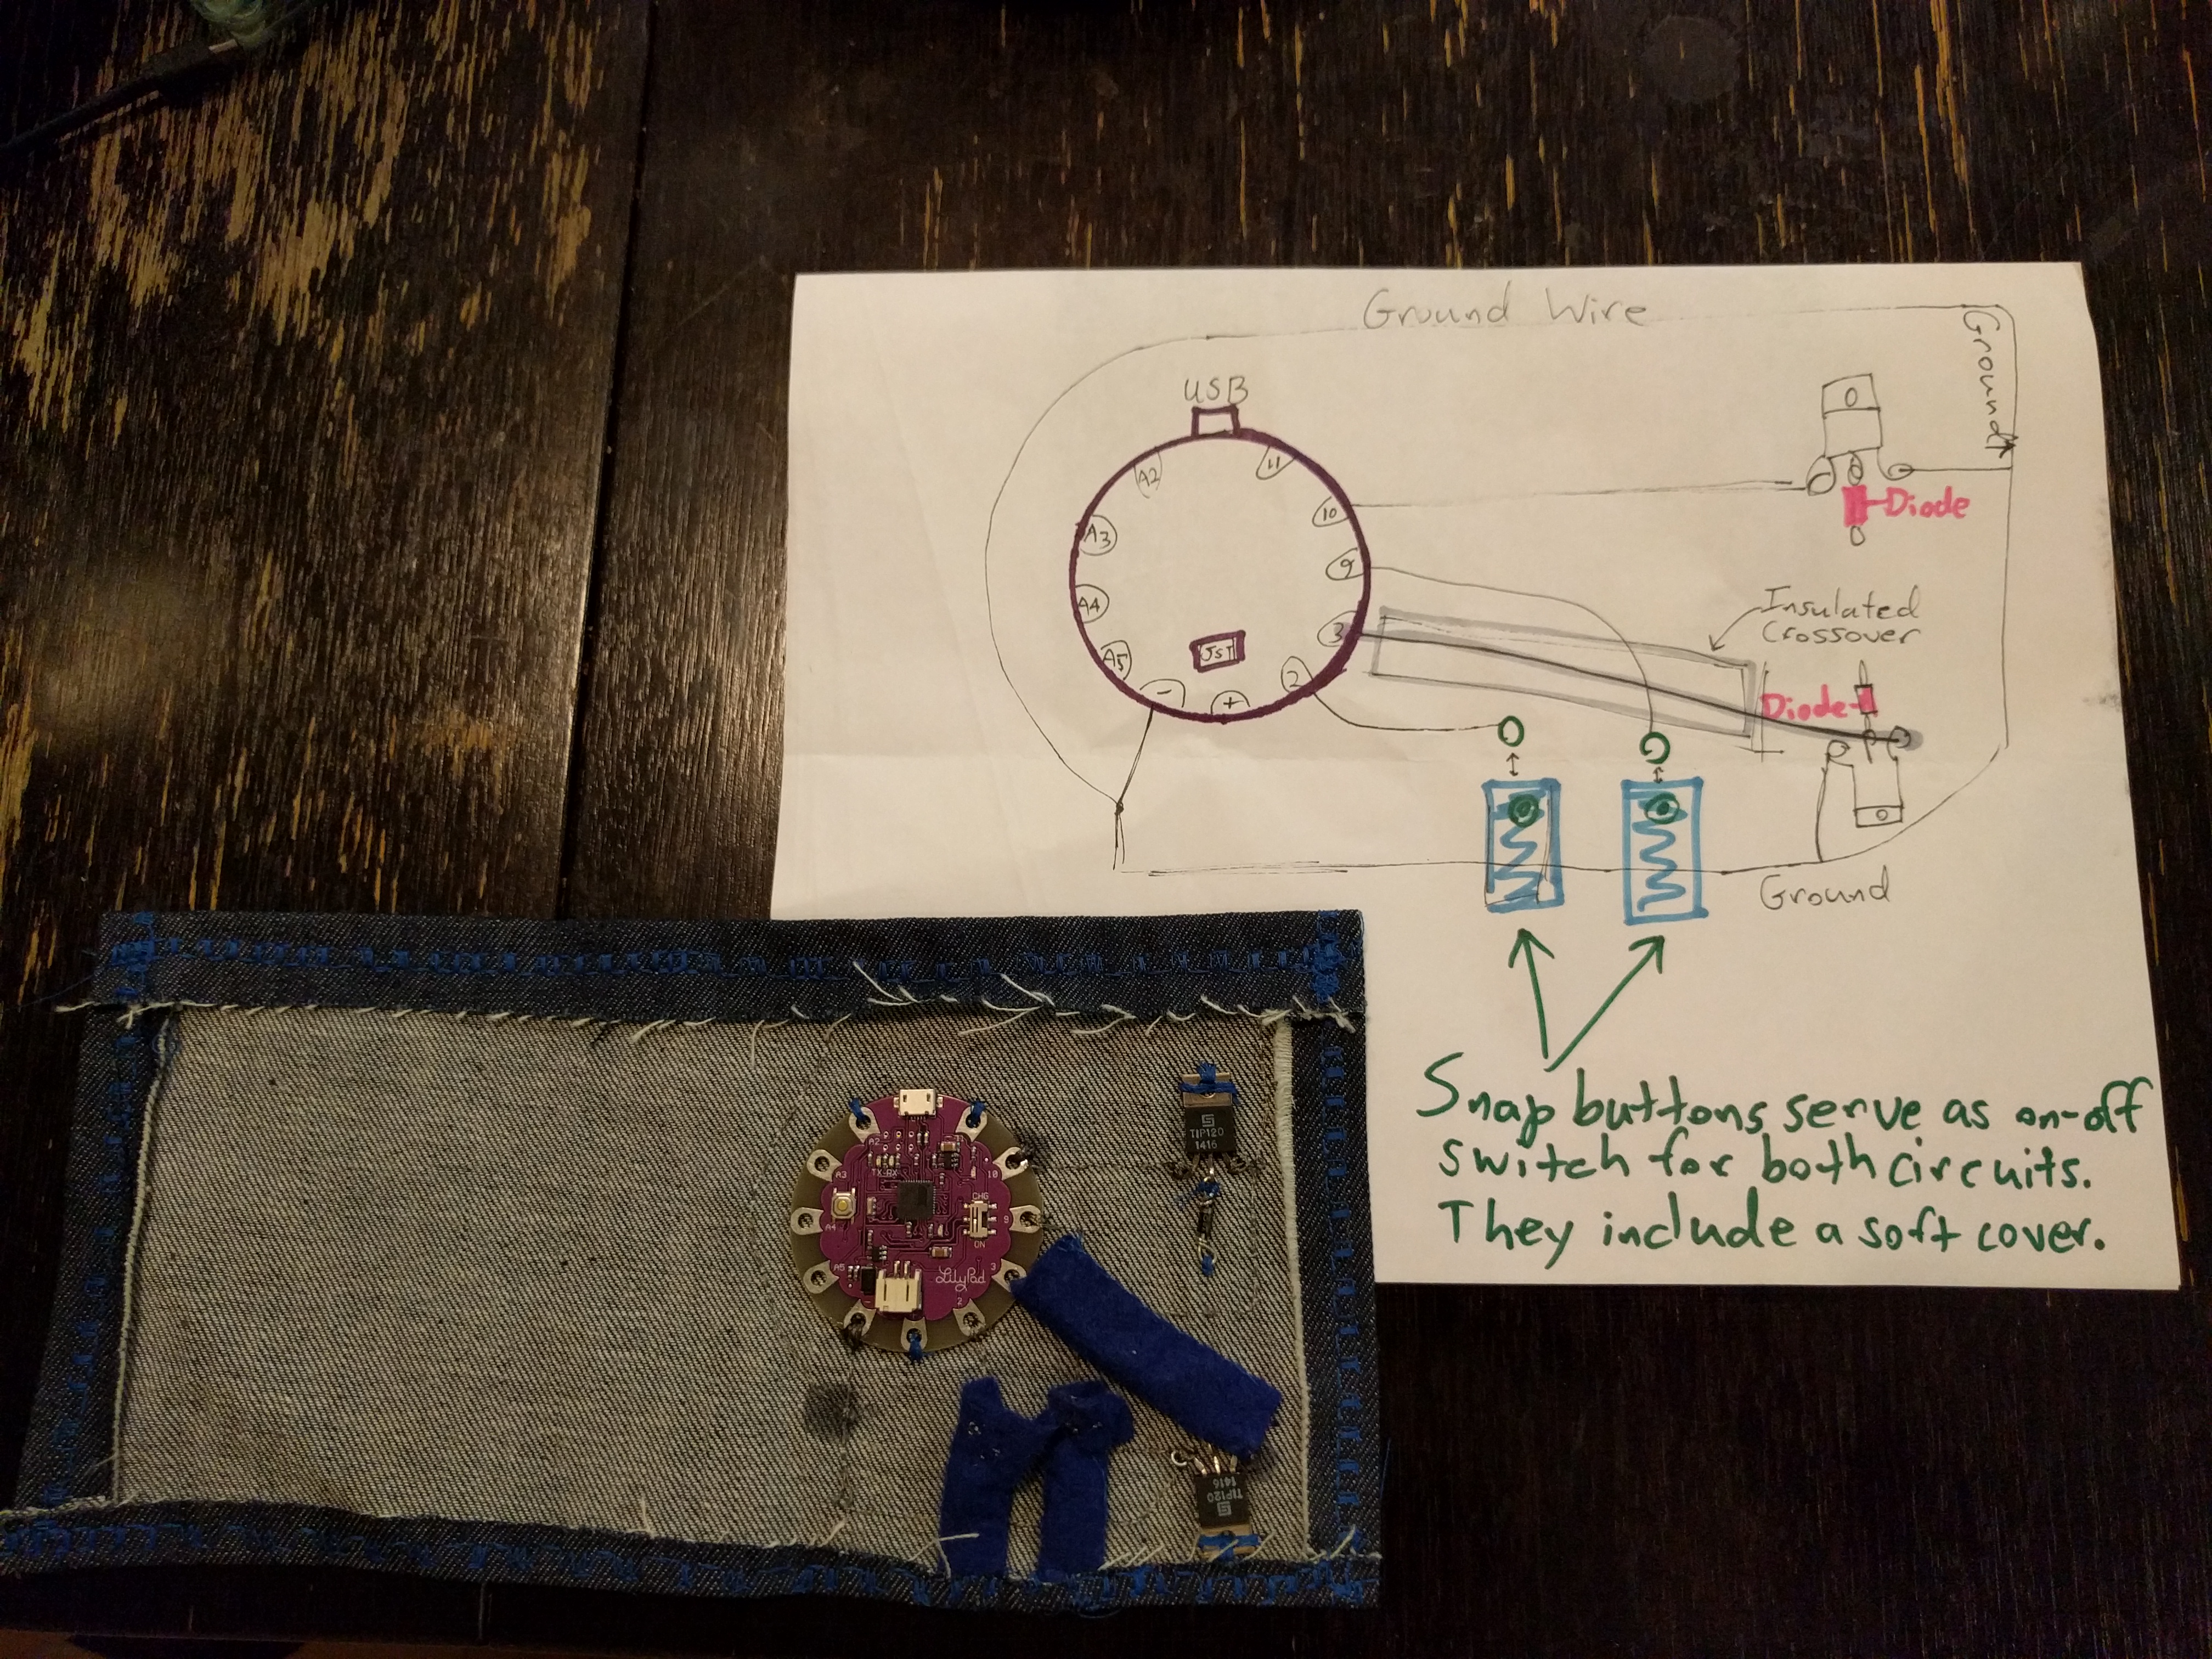
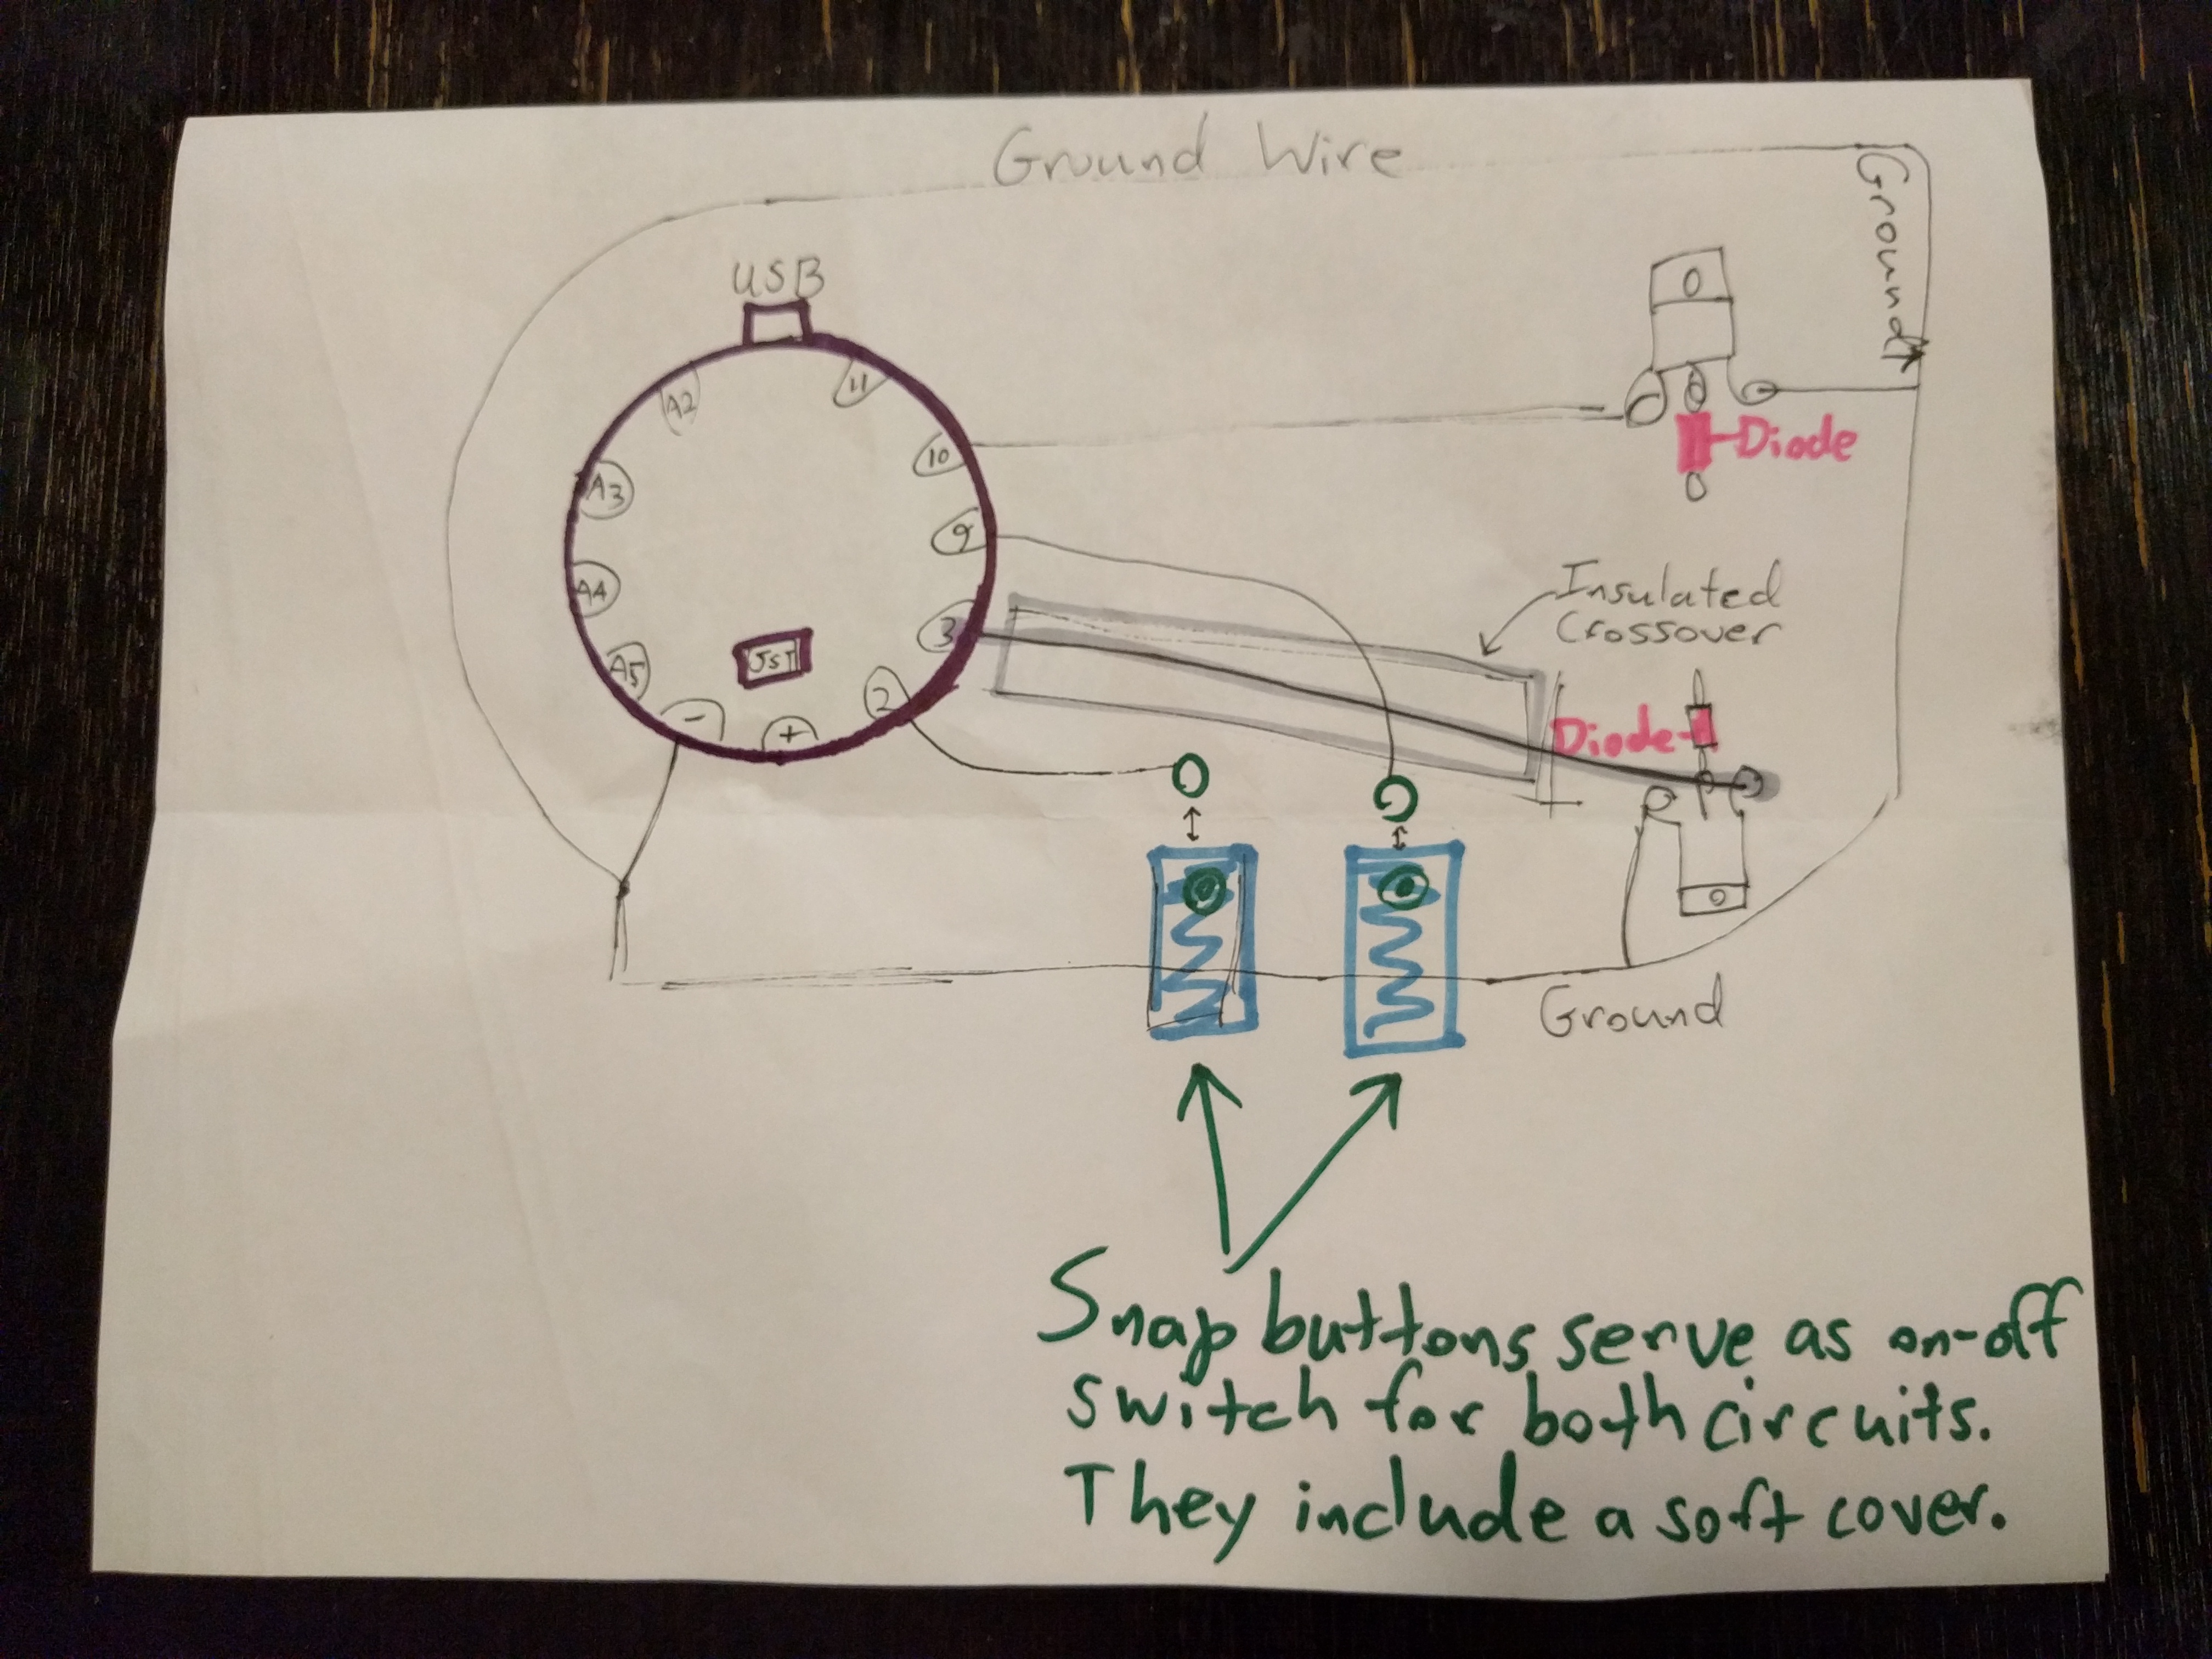
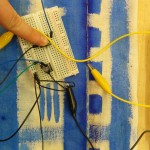
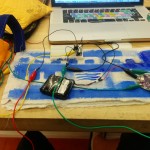
Photographs of the circuit and my diagram (you can see the furled ends of the snap tabs/protectors):
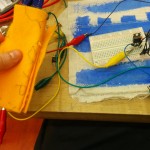
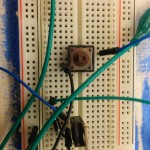
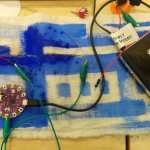
Photographs of the electronics prototyping:
My old High-Five switch project was used as a switch/button for testing, and I also tried plastic buttons and a breadboard. Ultimately I decided to use soft circuits entirely, since I hadn’t had a chance to work with them yet. It took some getting used to, but eventually I began to enjoy it, and the process made my understand electronics and circuits better. All of the circuit connections are made with stainless steel conductive thread, which is slippery, and hard to knot. When needed, I knotted the thread, which was then covered with a dab of super glue/cyanacrylate to secure the thread more firmly.

The final product is fully functional, with both circuits working. I intend to finish the wiring by replacing the alligator leads with soft wire or conductive fabric. I’ll also finish the envelopes and install a longer-term battery solution, in addition to creating a dress around the dynamic panel.
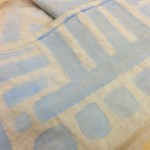
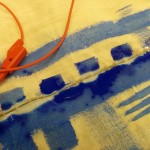
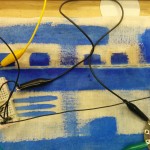
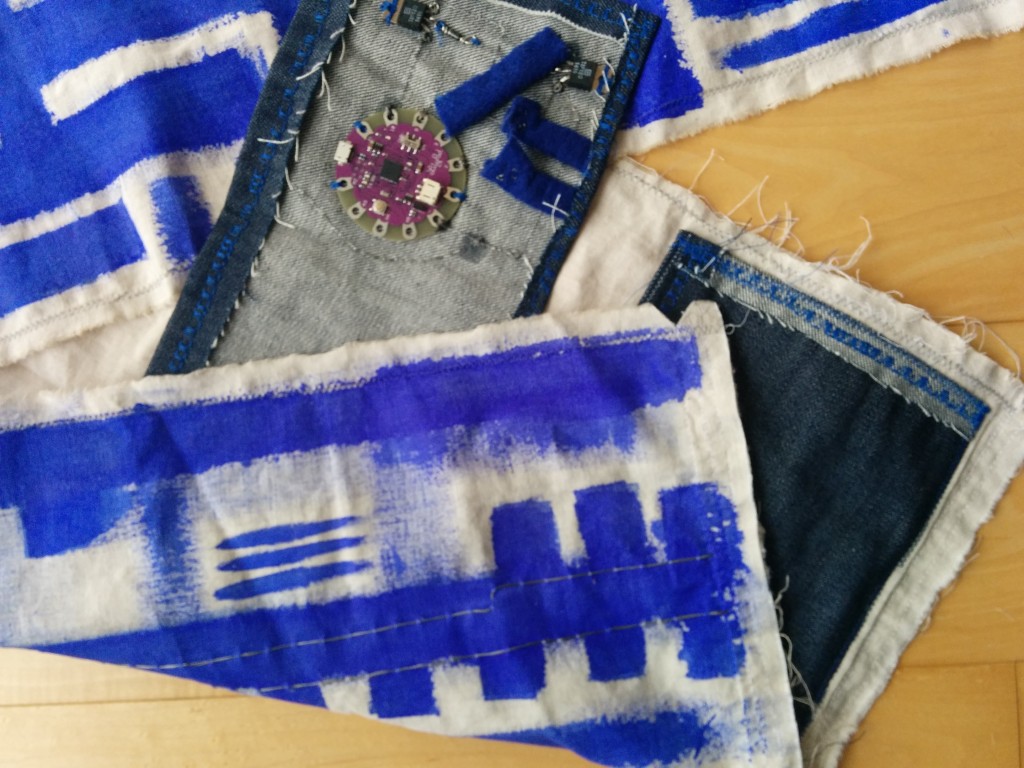
The final textile, showing both circuits:
In the future I’ll attach the Lilypad via the snaps, as per the method shown here: Snapable Lilypads. This will allow me to reuse the lilypad for other projects without removing my careful stitching.
Thanks!