Self-make Flex Sensor
03/04/16
- Second exercise on making motion sensors
- Materials: Conductive fabric/thread, Fabric, Resistance Plastic
- Concept: The resistance plastic will change resistance value through the bending motion.
- Button Making:
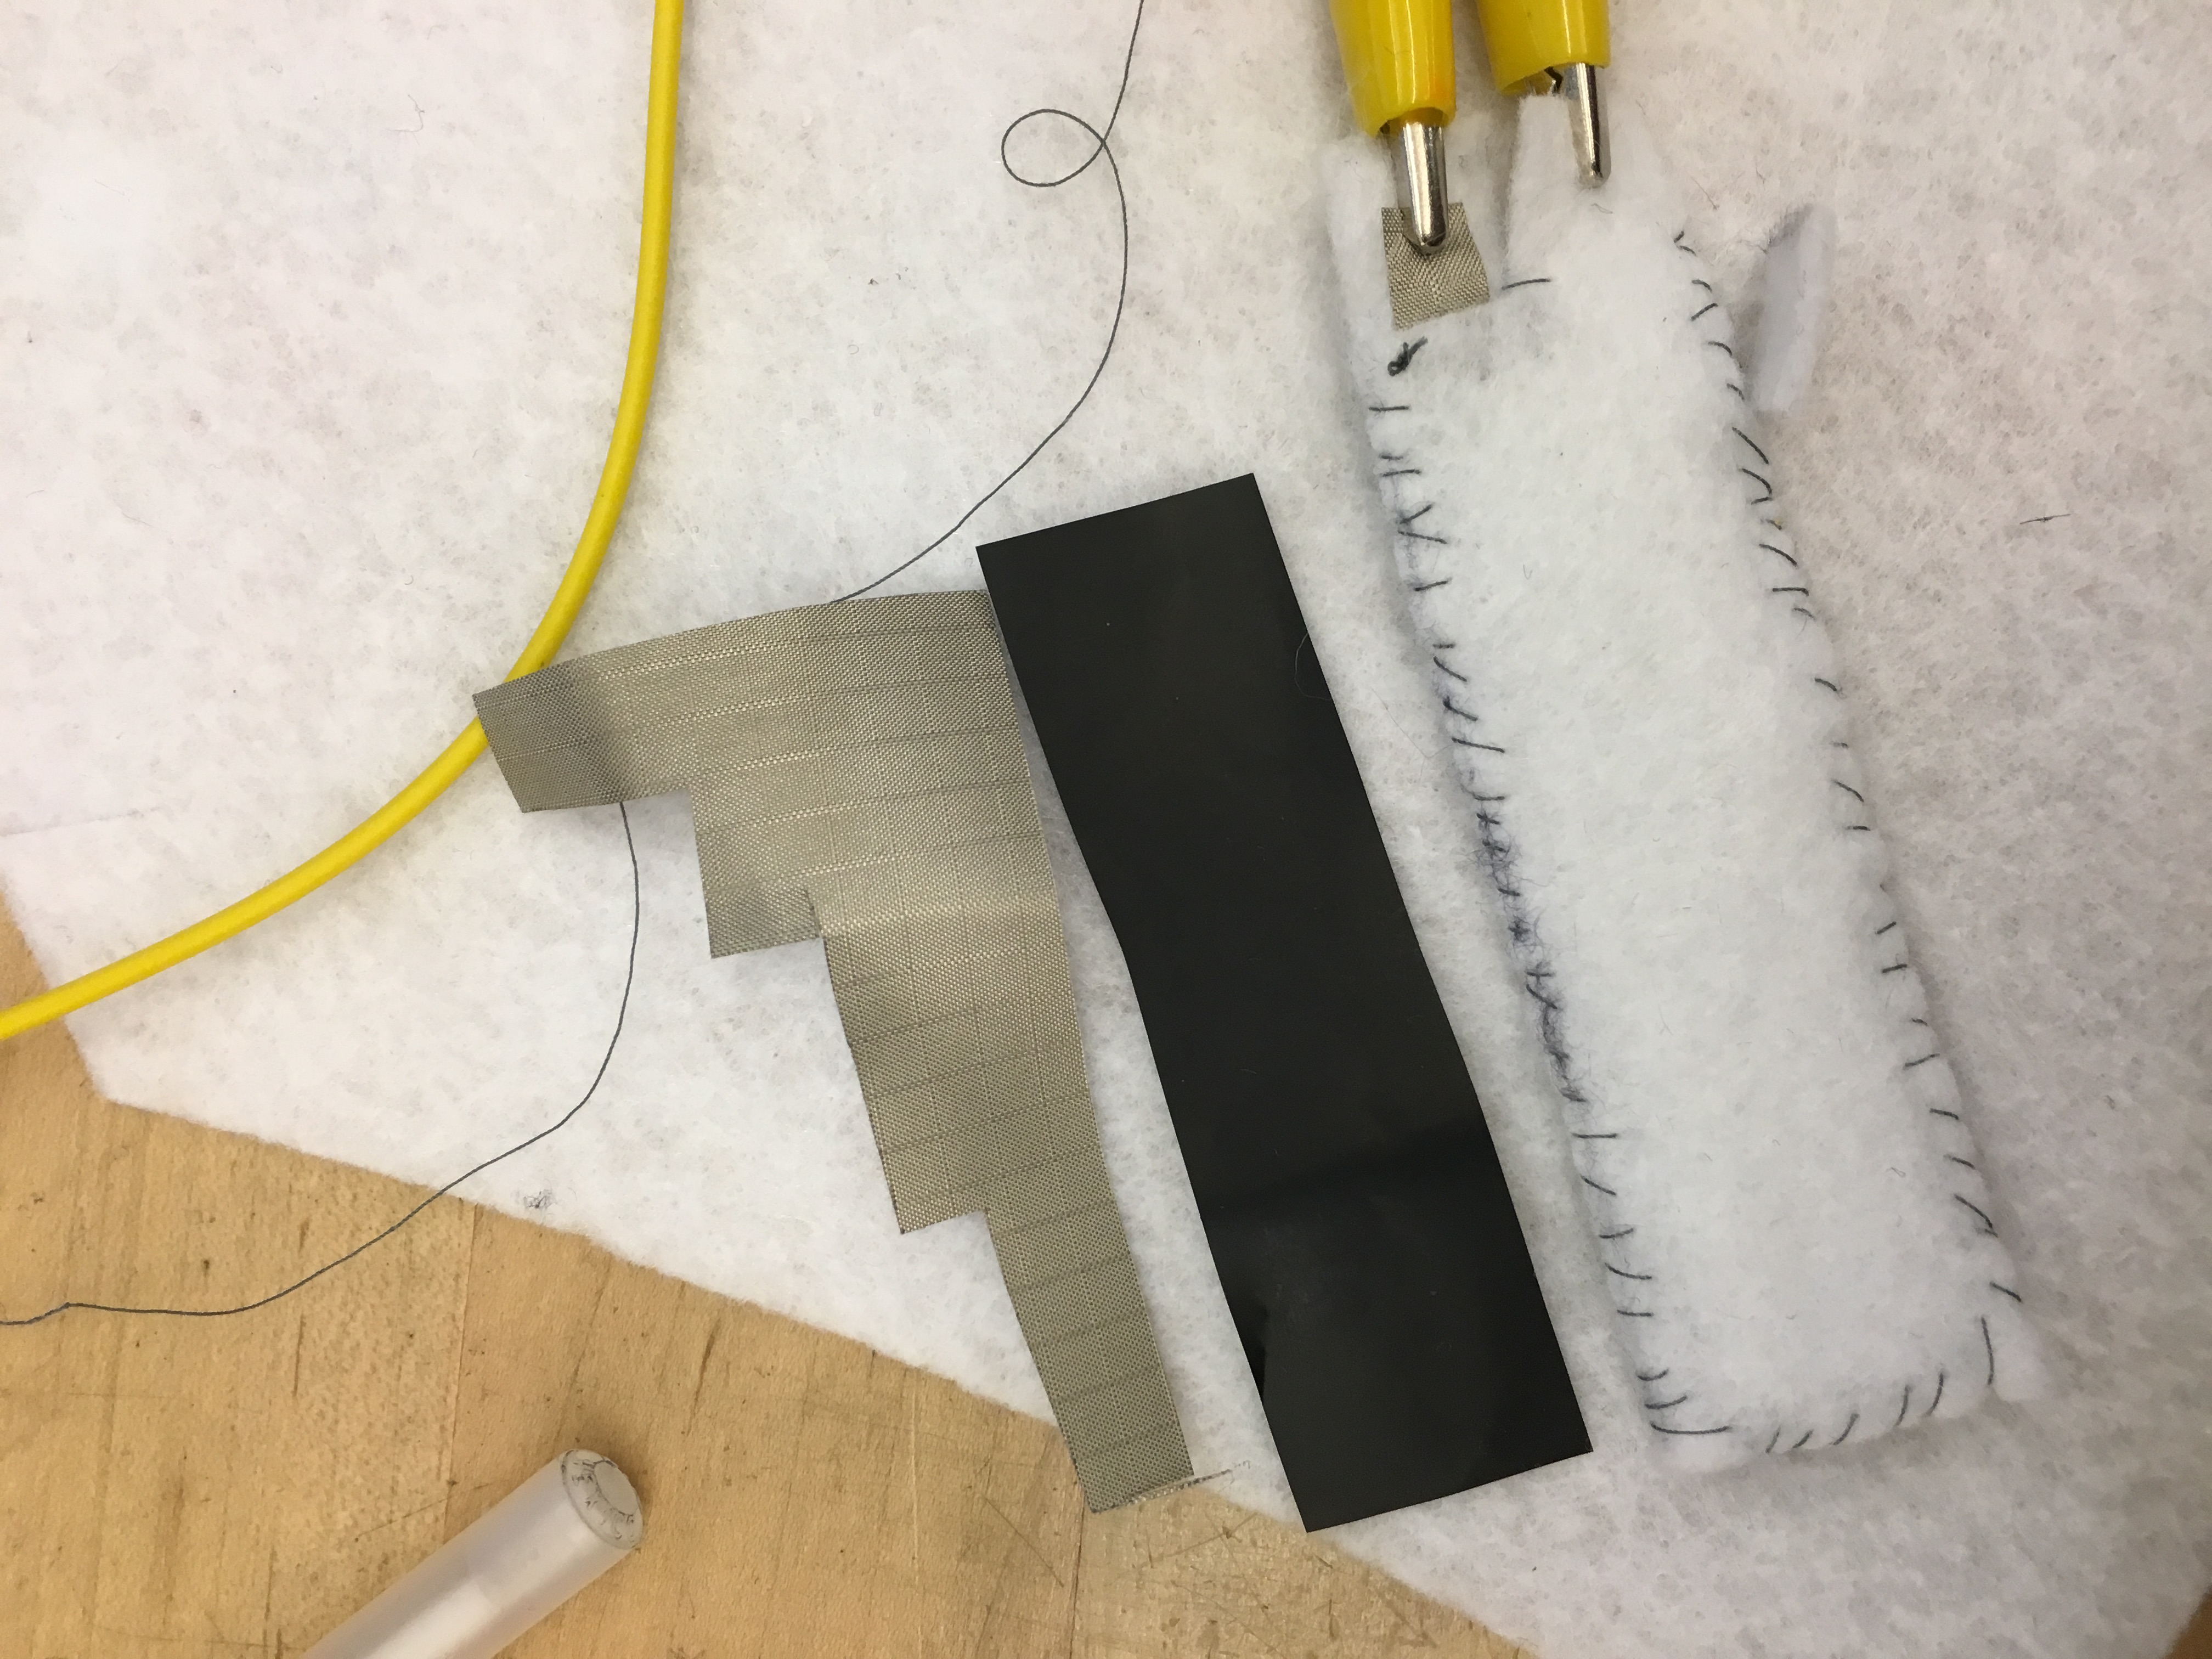
Key point: the two pieces of conductive fabric should not be touching whenever position and motion the sensor is in. Otherwise the circuit will cause a short.
- Button Testing:
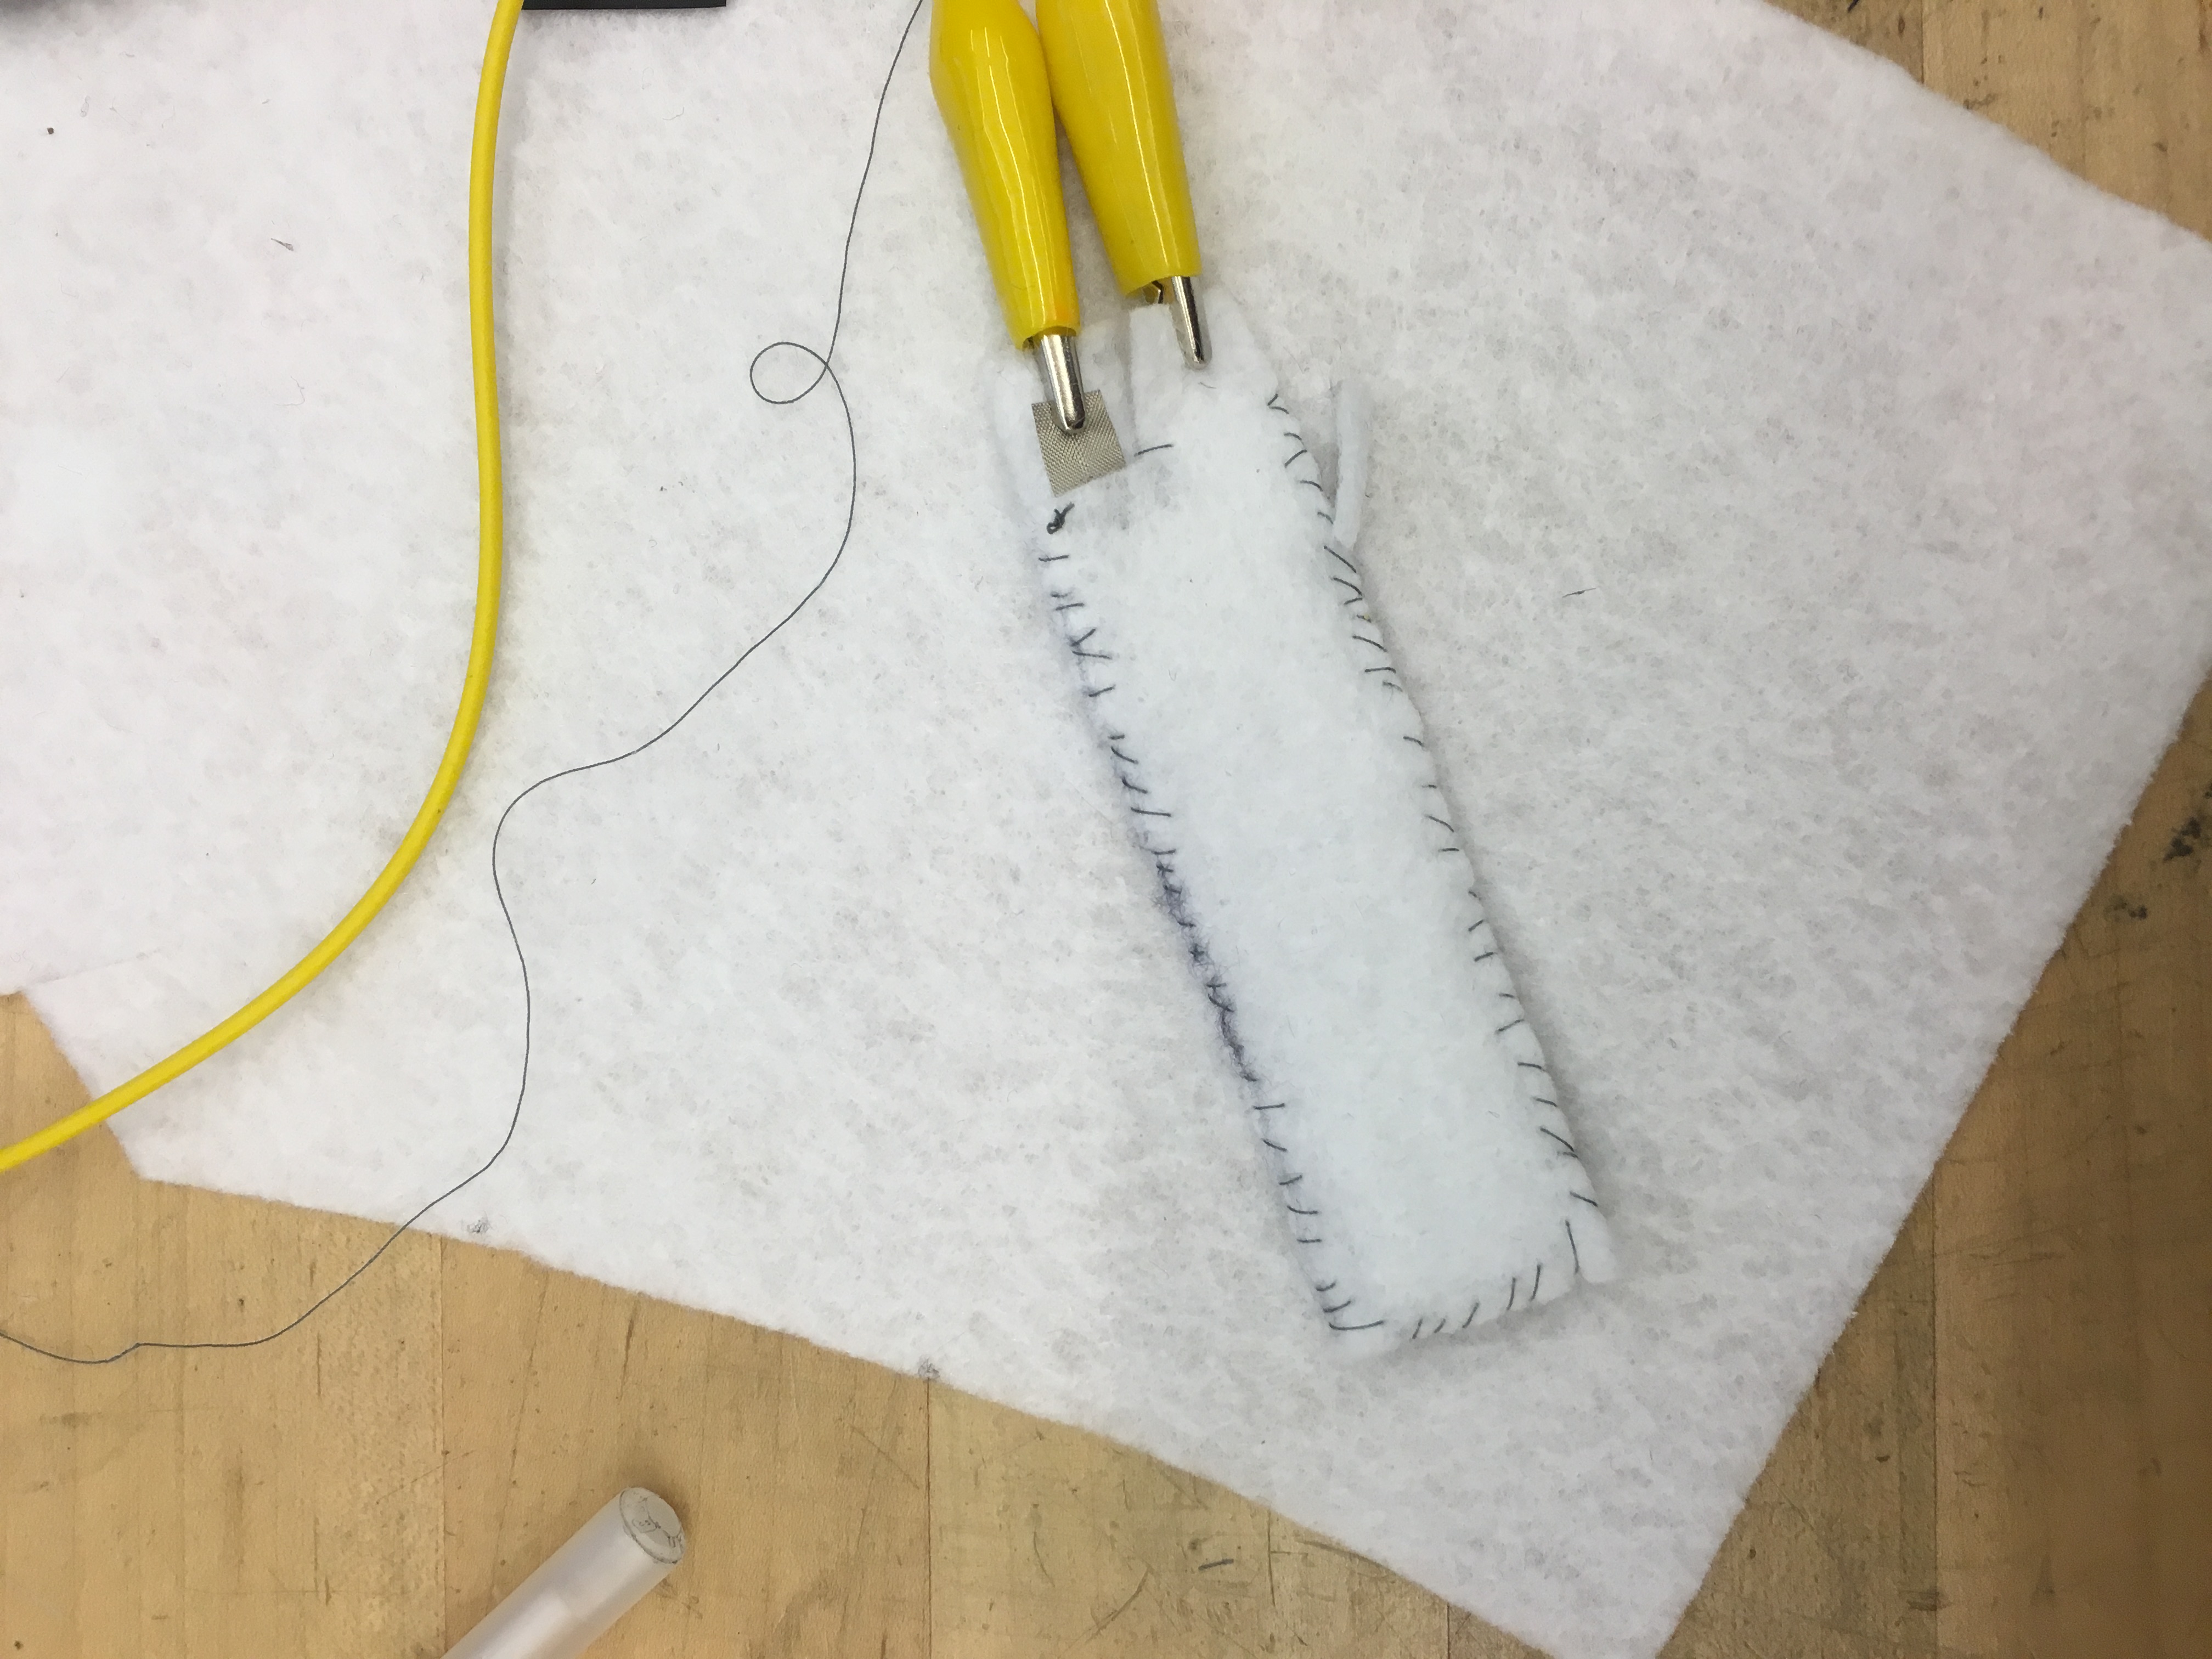
Using the build in Example of AnalogReadSerial to get the mapping value of the sensor. The result is 750 low and 1050 high.
- Serial Reading Code:
|
1 2 3 4 5 6 7 8 9 10 11 12 13 |
void setup() { // initialize serial communication at 9600 bits per second: Serial.begin(9600); } // the loop routine runs over and over again forever: void loop() { // read the input on analog pin 0: int sensorValue = analogRead(A2); // print out the value you read: Serial.println(sensorValue); delay(1); // delay in between reads for stability } |
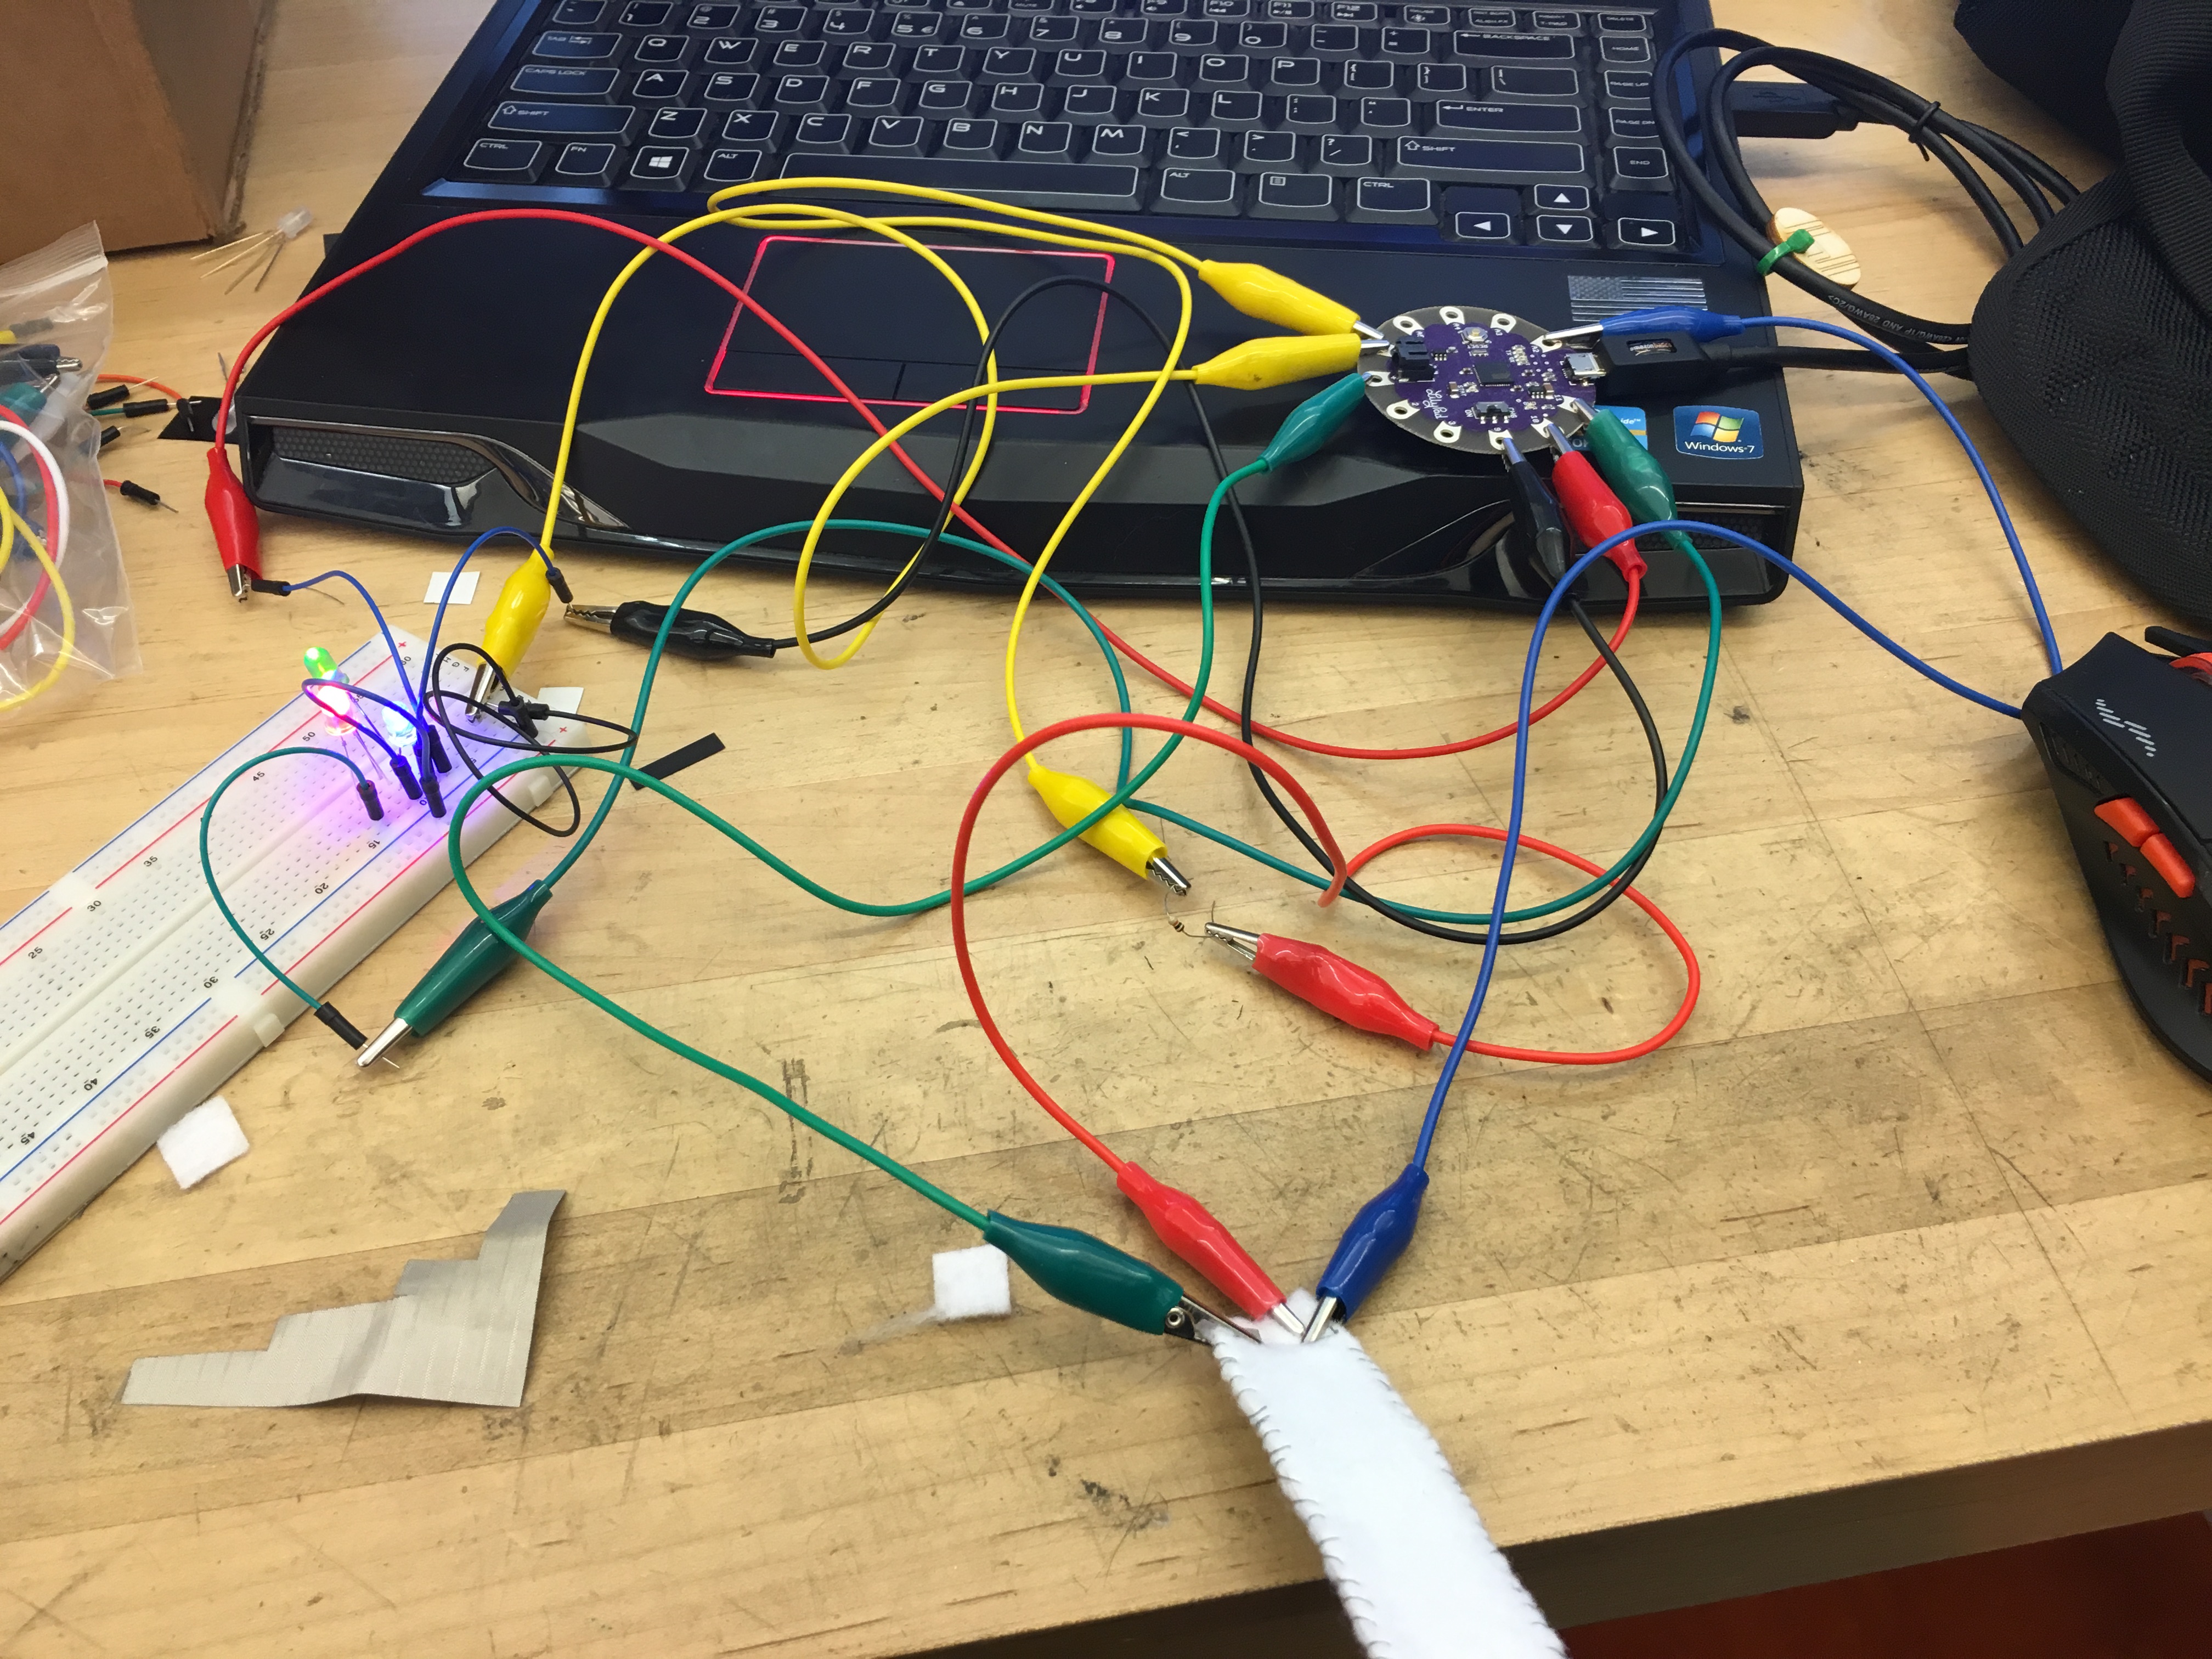
- LED track test:
- Connect the LED and the flex sensor:
- Led Color change code:
|
1 2 3 4 5 6 7 8 9 10 11 12 13 14 15 16 17 18 19 20 21 22 23 24 25 26 27 28 |
int flexPin = A2; int redPin = 11; // R petal on RGB LED module connected to digital pin 11 int greenPin = 9; // G petal on RGB LED module connected to digital pin 9 int bluePin = 10; // B petal on RGB LED module connected to digital pin 10 void setup() { Serial.begin(9600); pinMode(redPin, OUTPUT); // sets the redPin to be an output pinMode(greenPin, OUTPUT); // sets the greenPin to be an output pinMode(bluePin, OUTPUT); // sets the bluePin to be an input } void loop() // run over and over again { int flexValue = analogRead(flexPin); int newValue = map(flexValue,750,1025,0,255); Serial.println (newValue); color (0, 0, newValue); } void color (unsigned char red, unsigned char green, unsigned char blue) //the color generating function { analogWrite(redPin, 255-red); analogWrite(bluePin, 255-blue); analogWrite(greenPin, 255-green); } |
- Lightening test: