Technique Report: How to Make a Rude Scarf
Instructions for Sara’s Glove: Prototype #1
Prototype #1
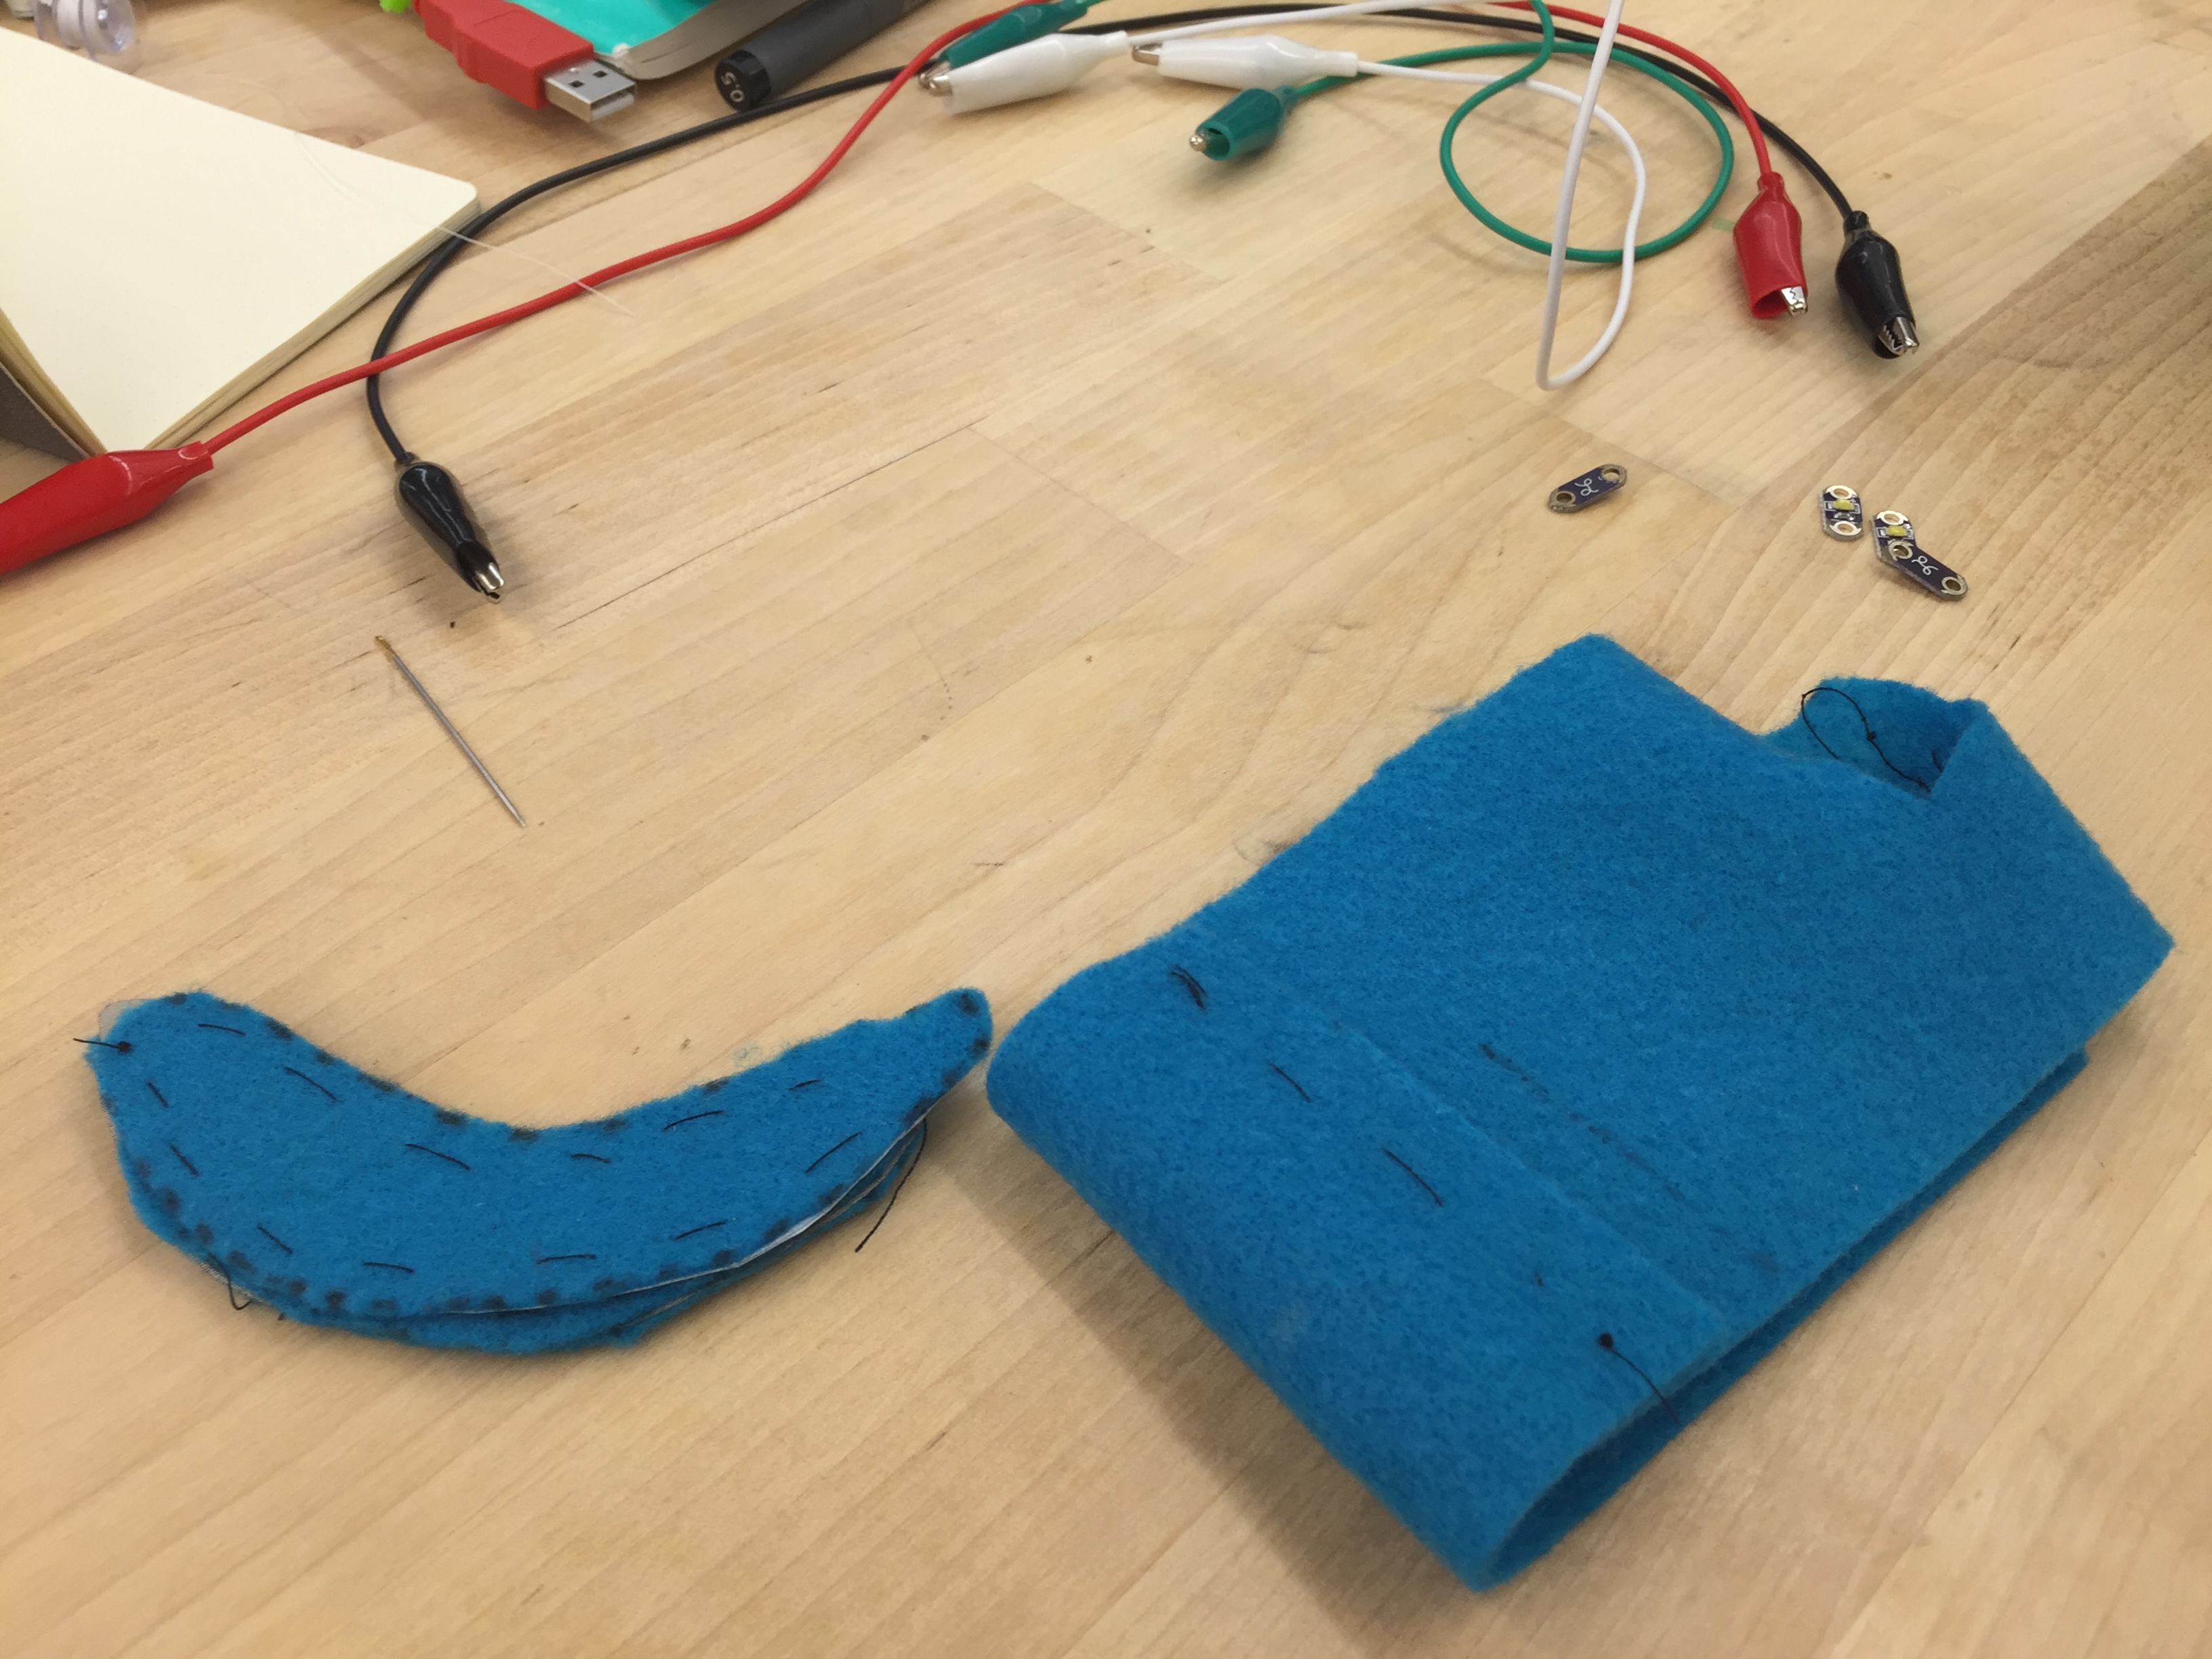
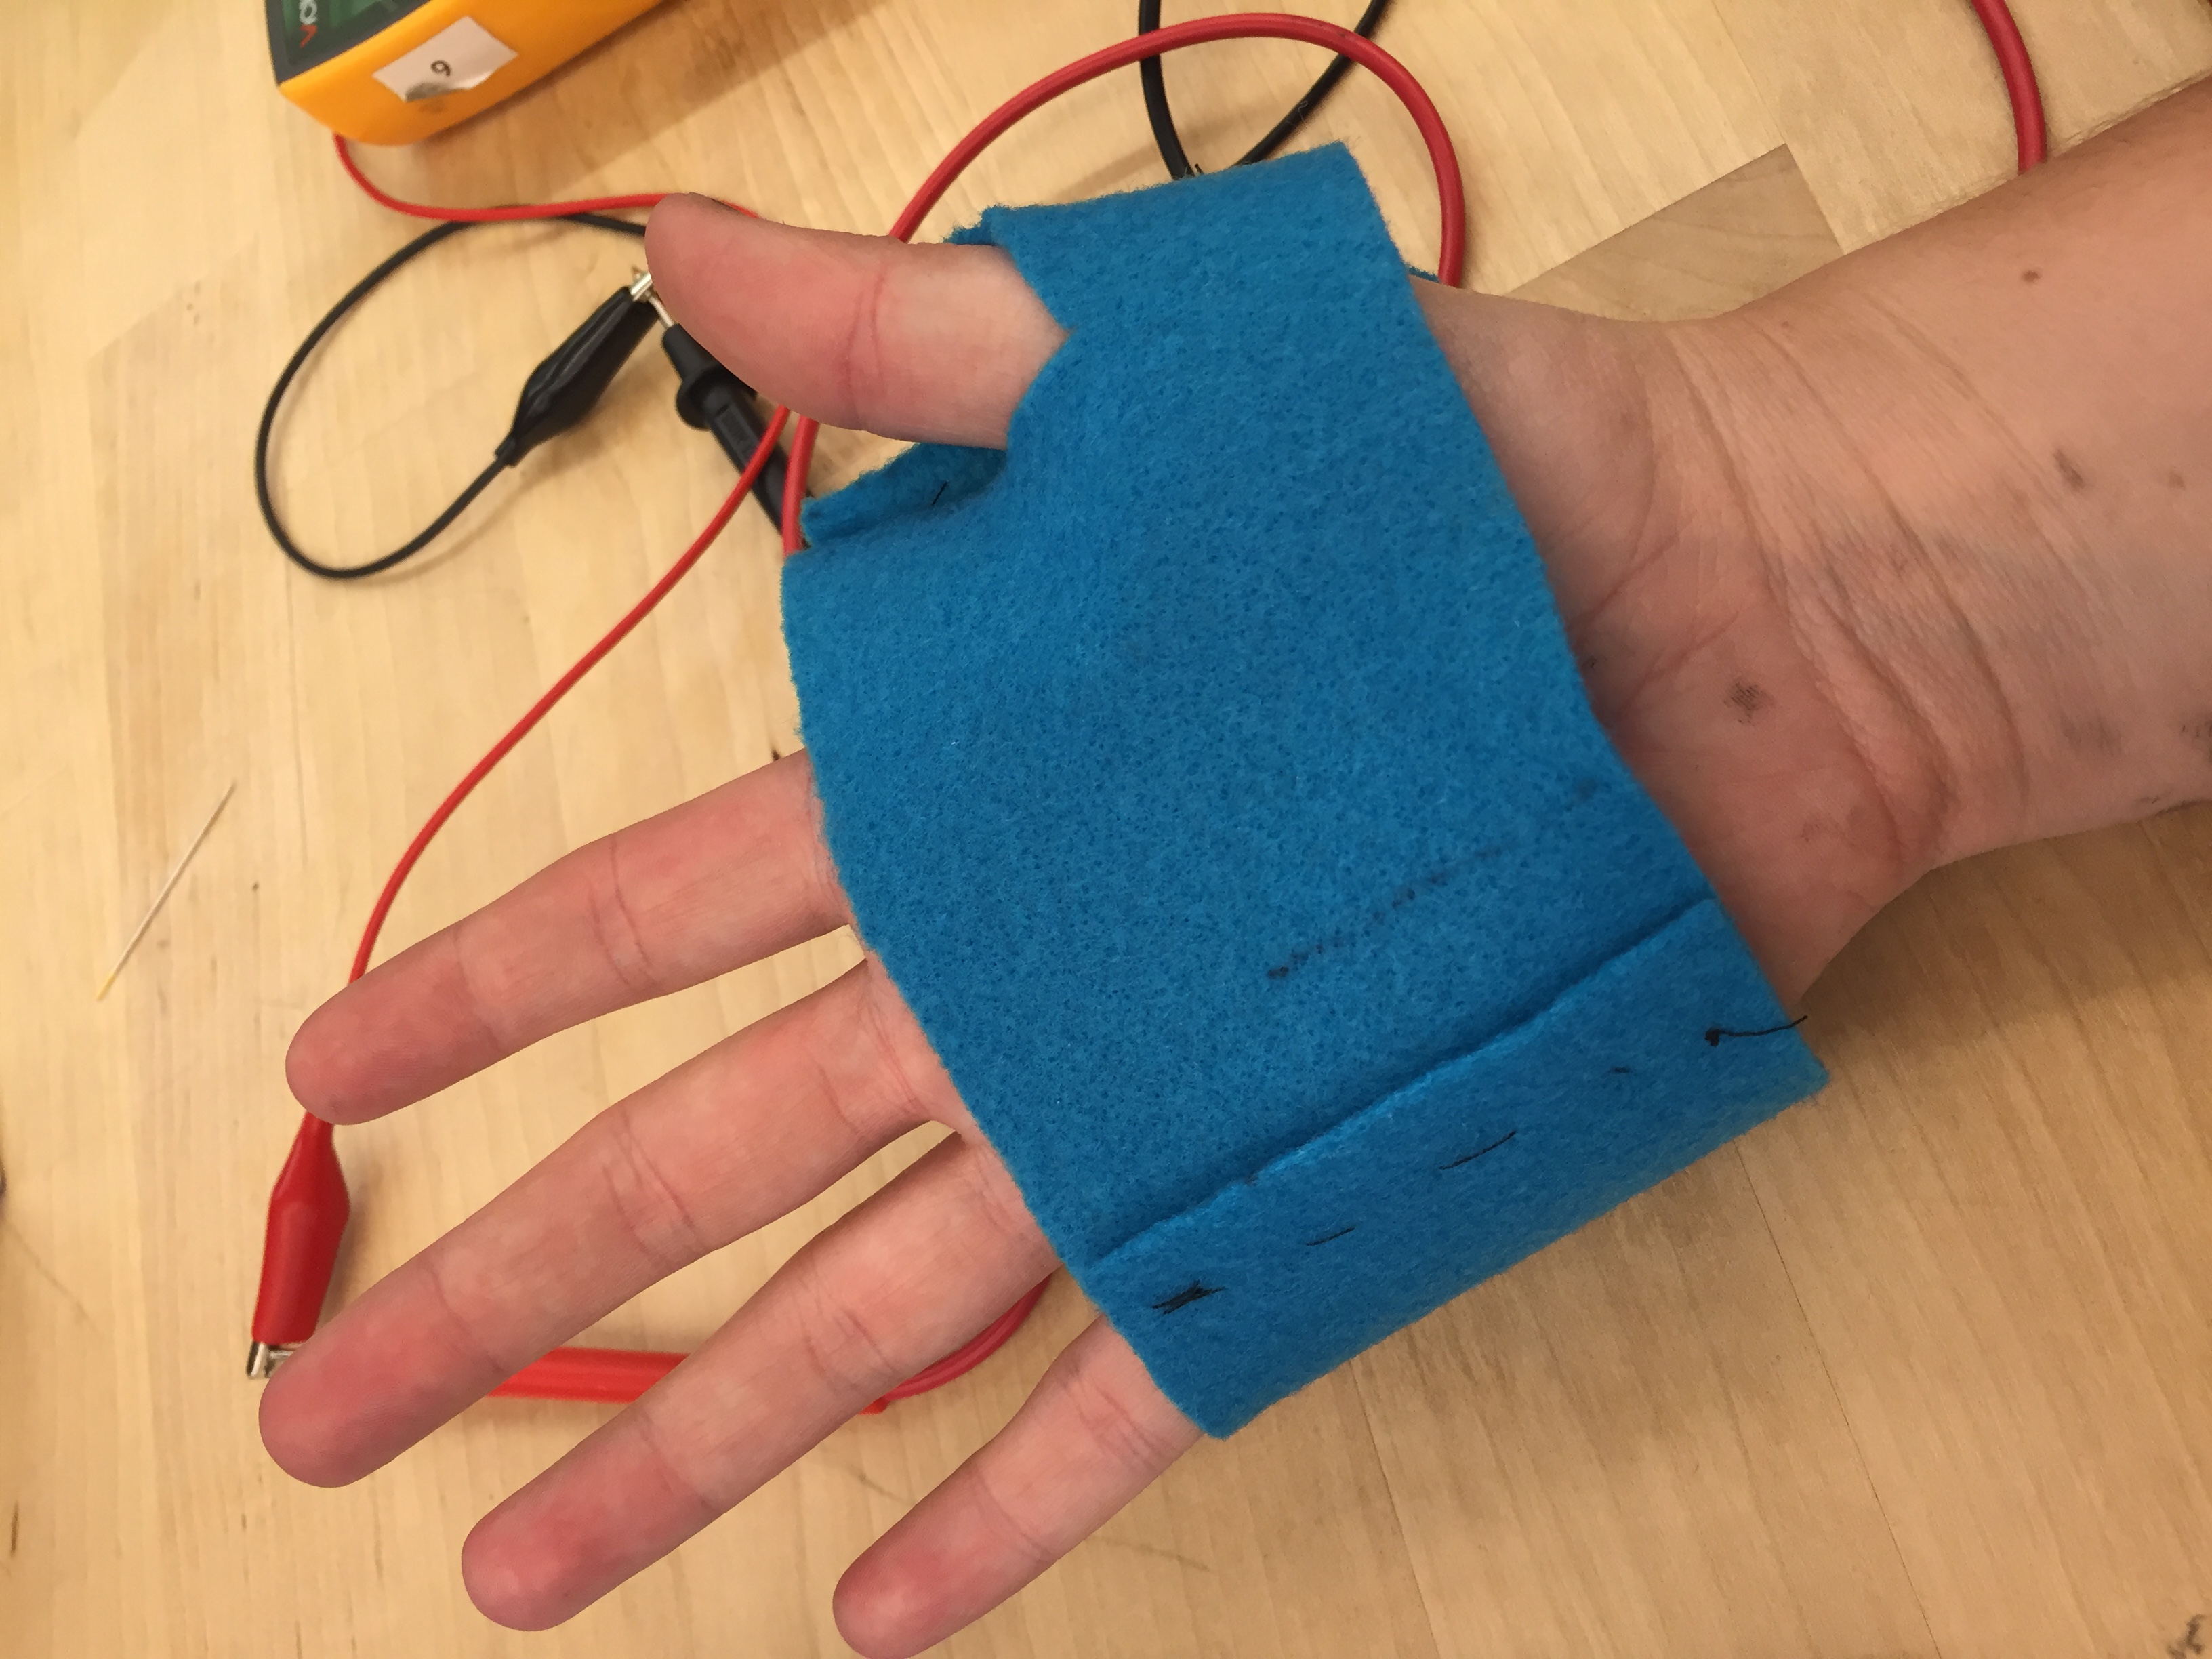
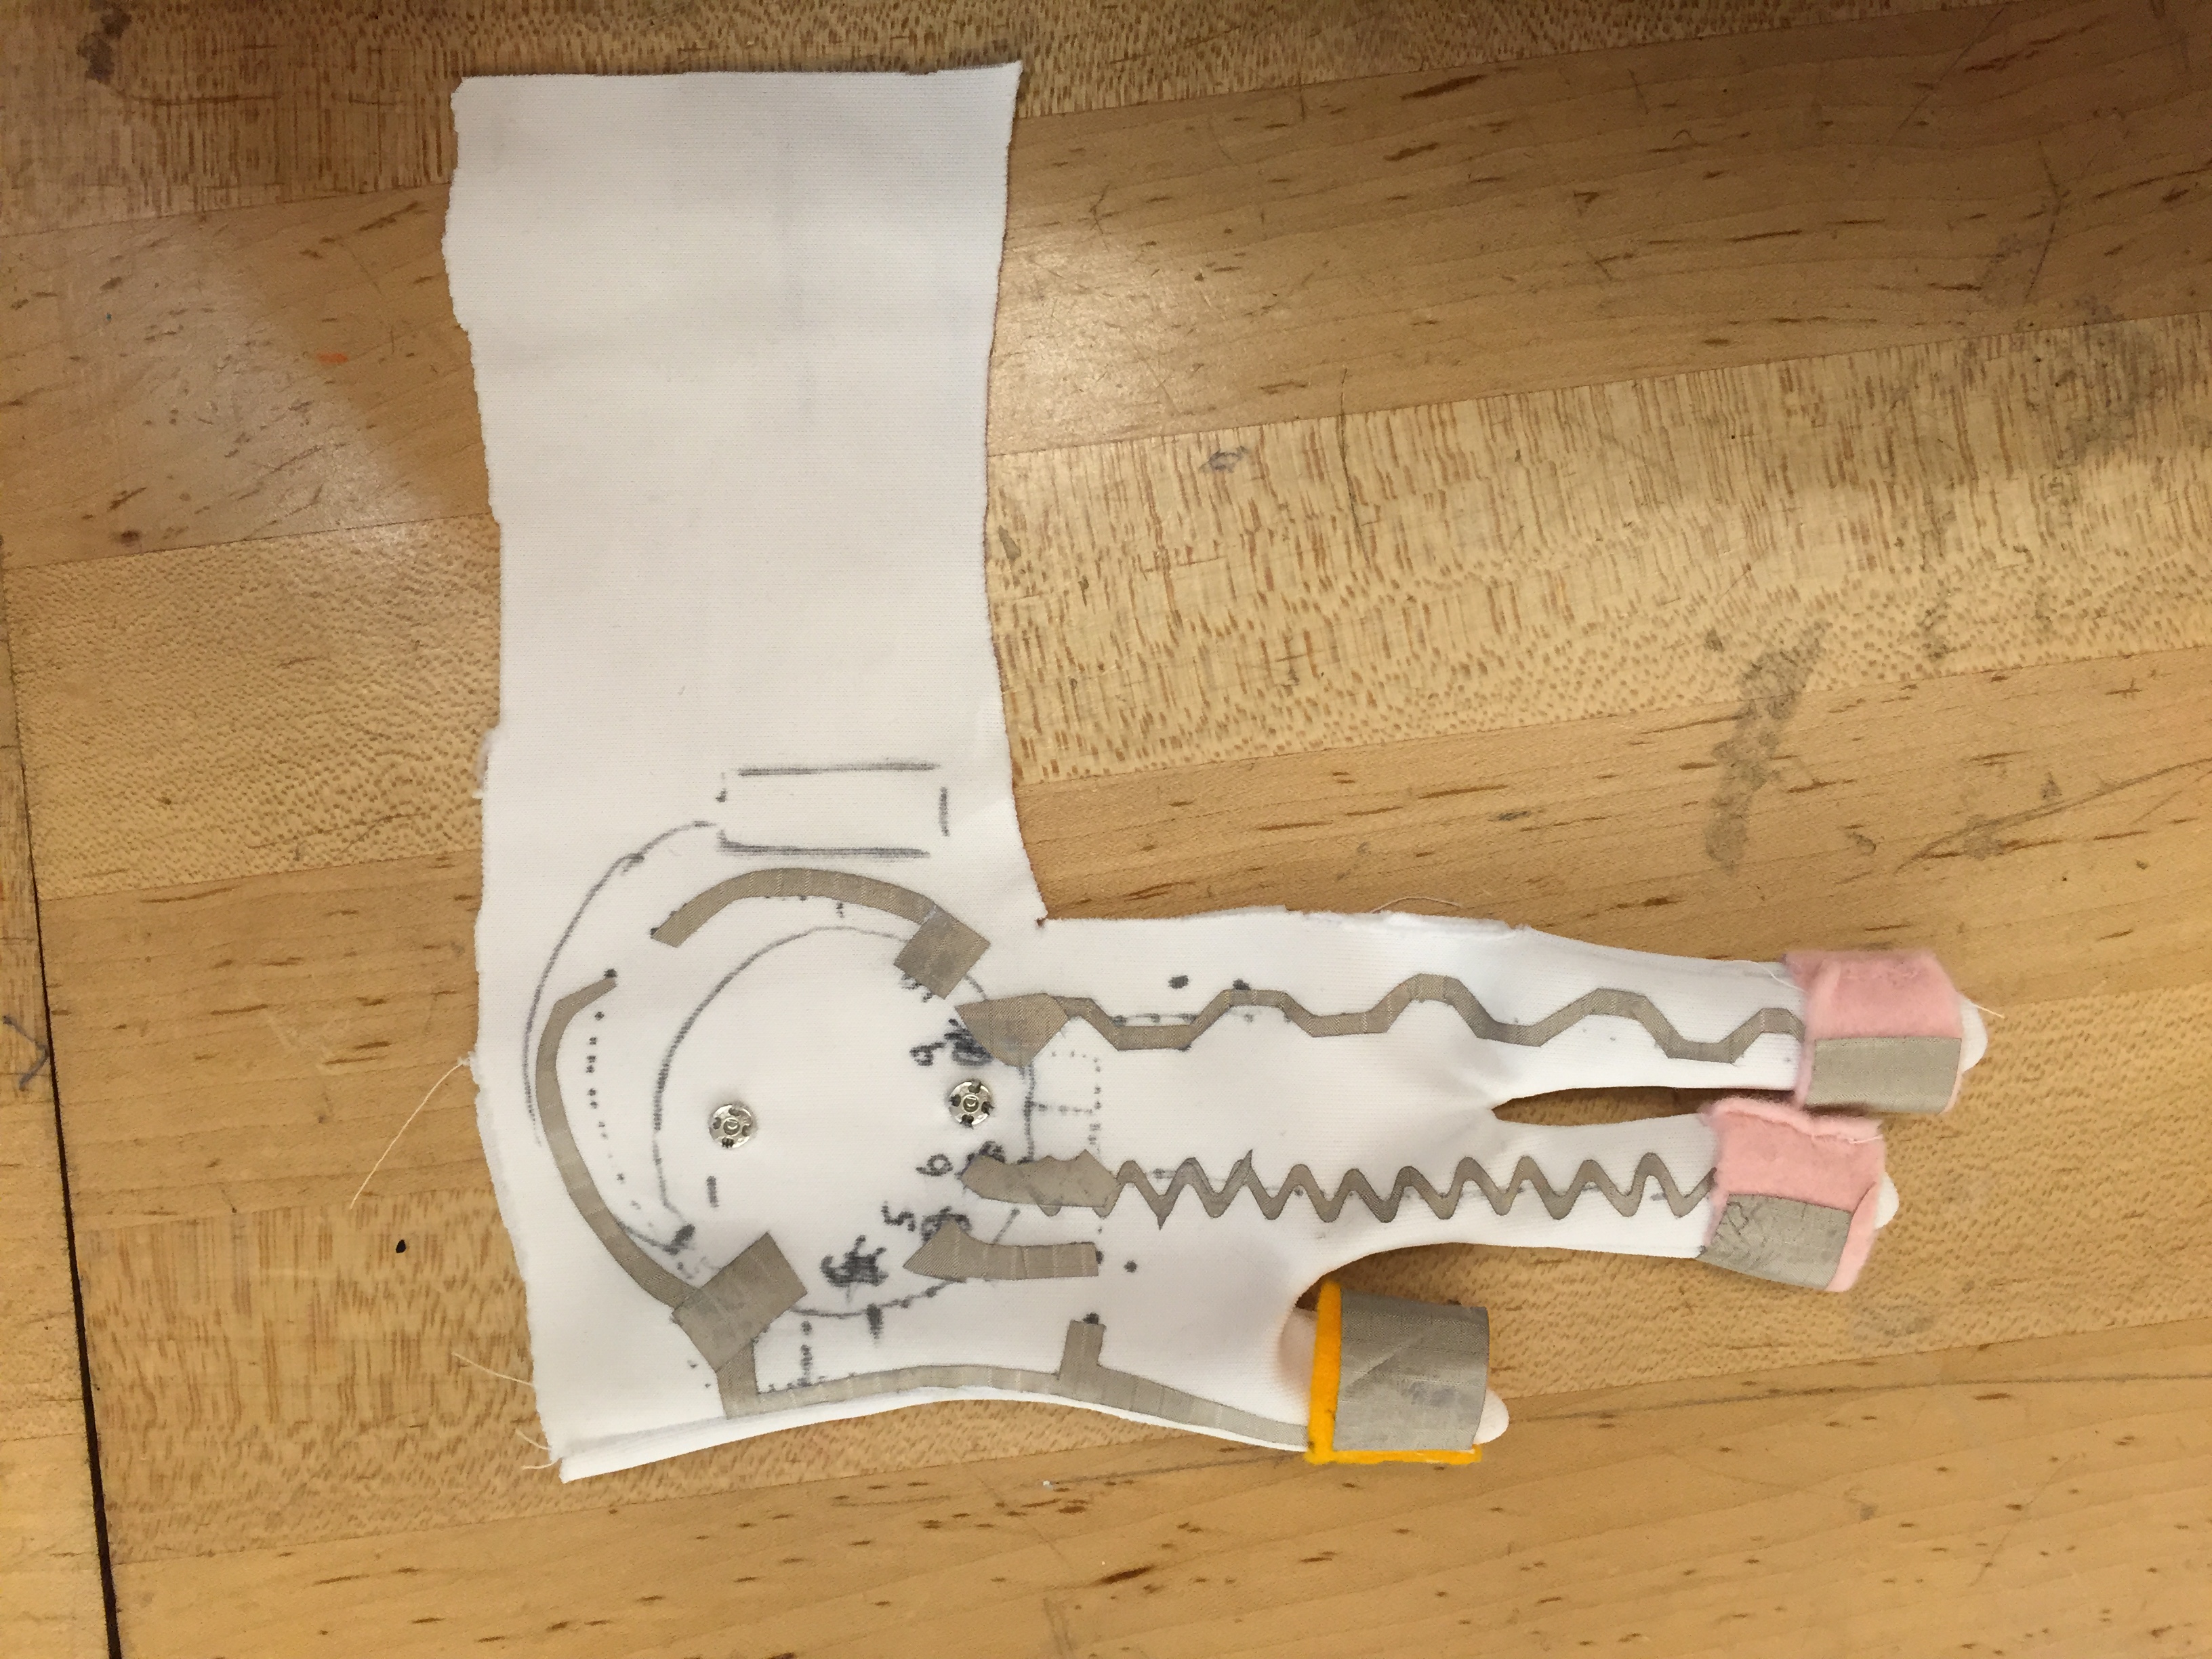
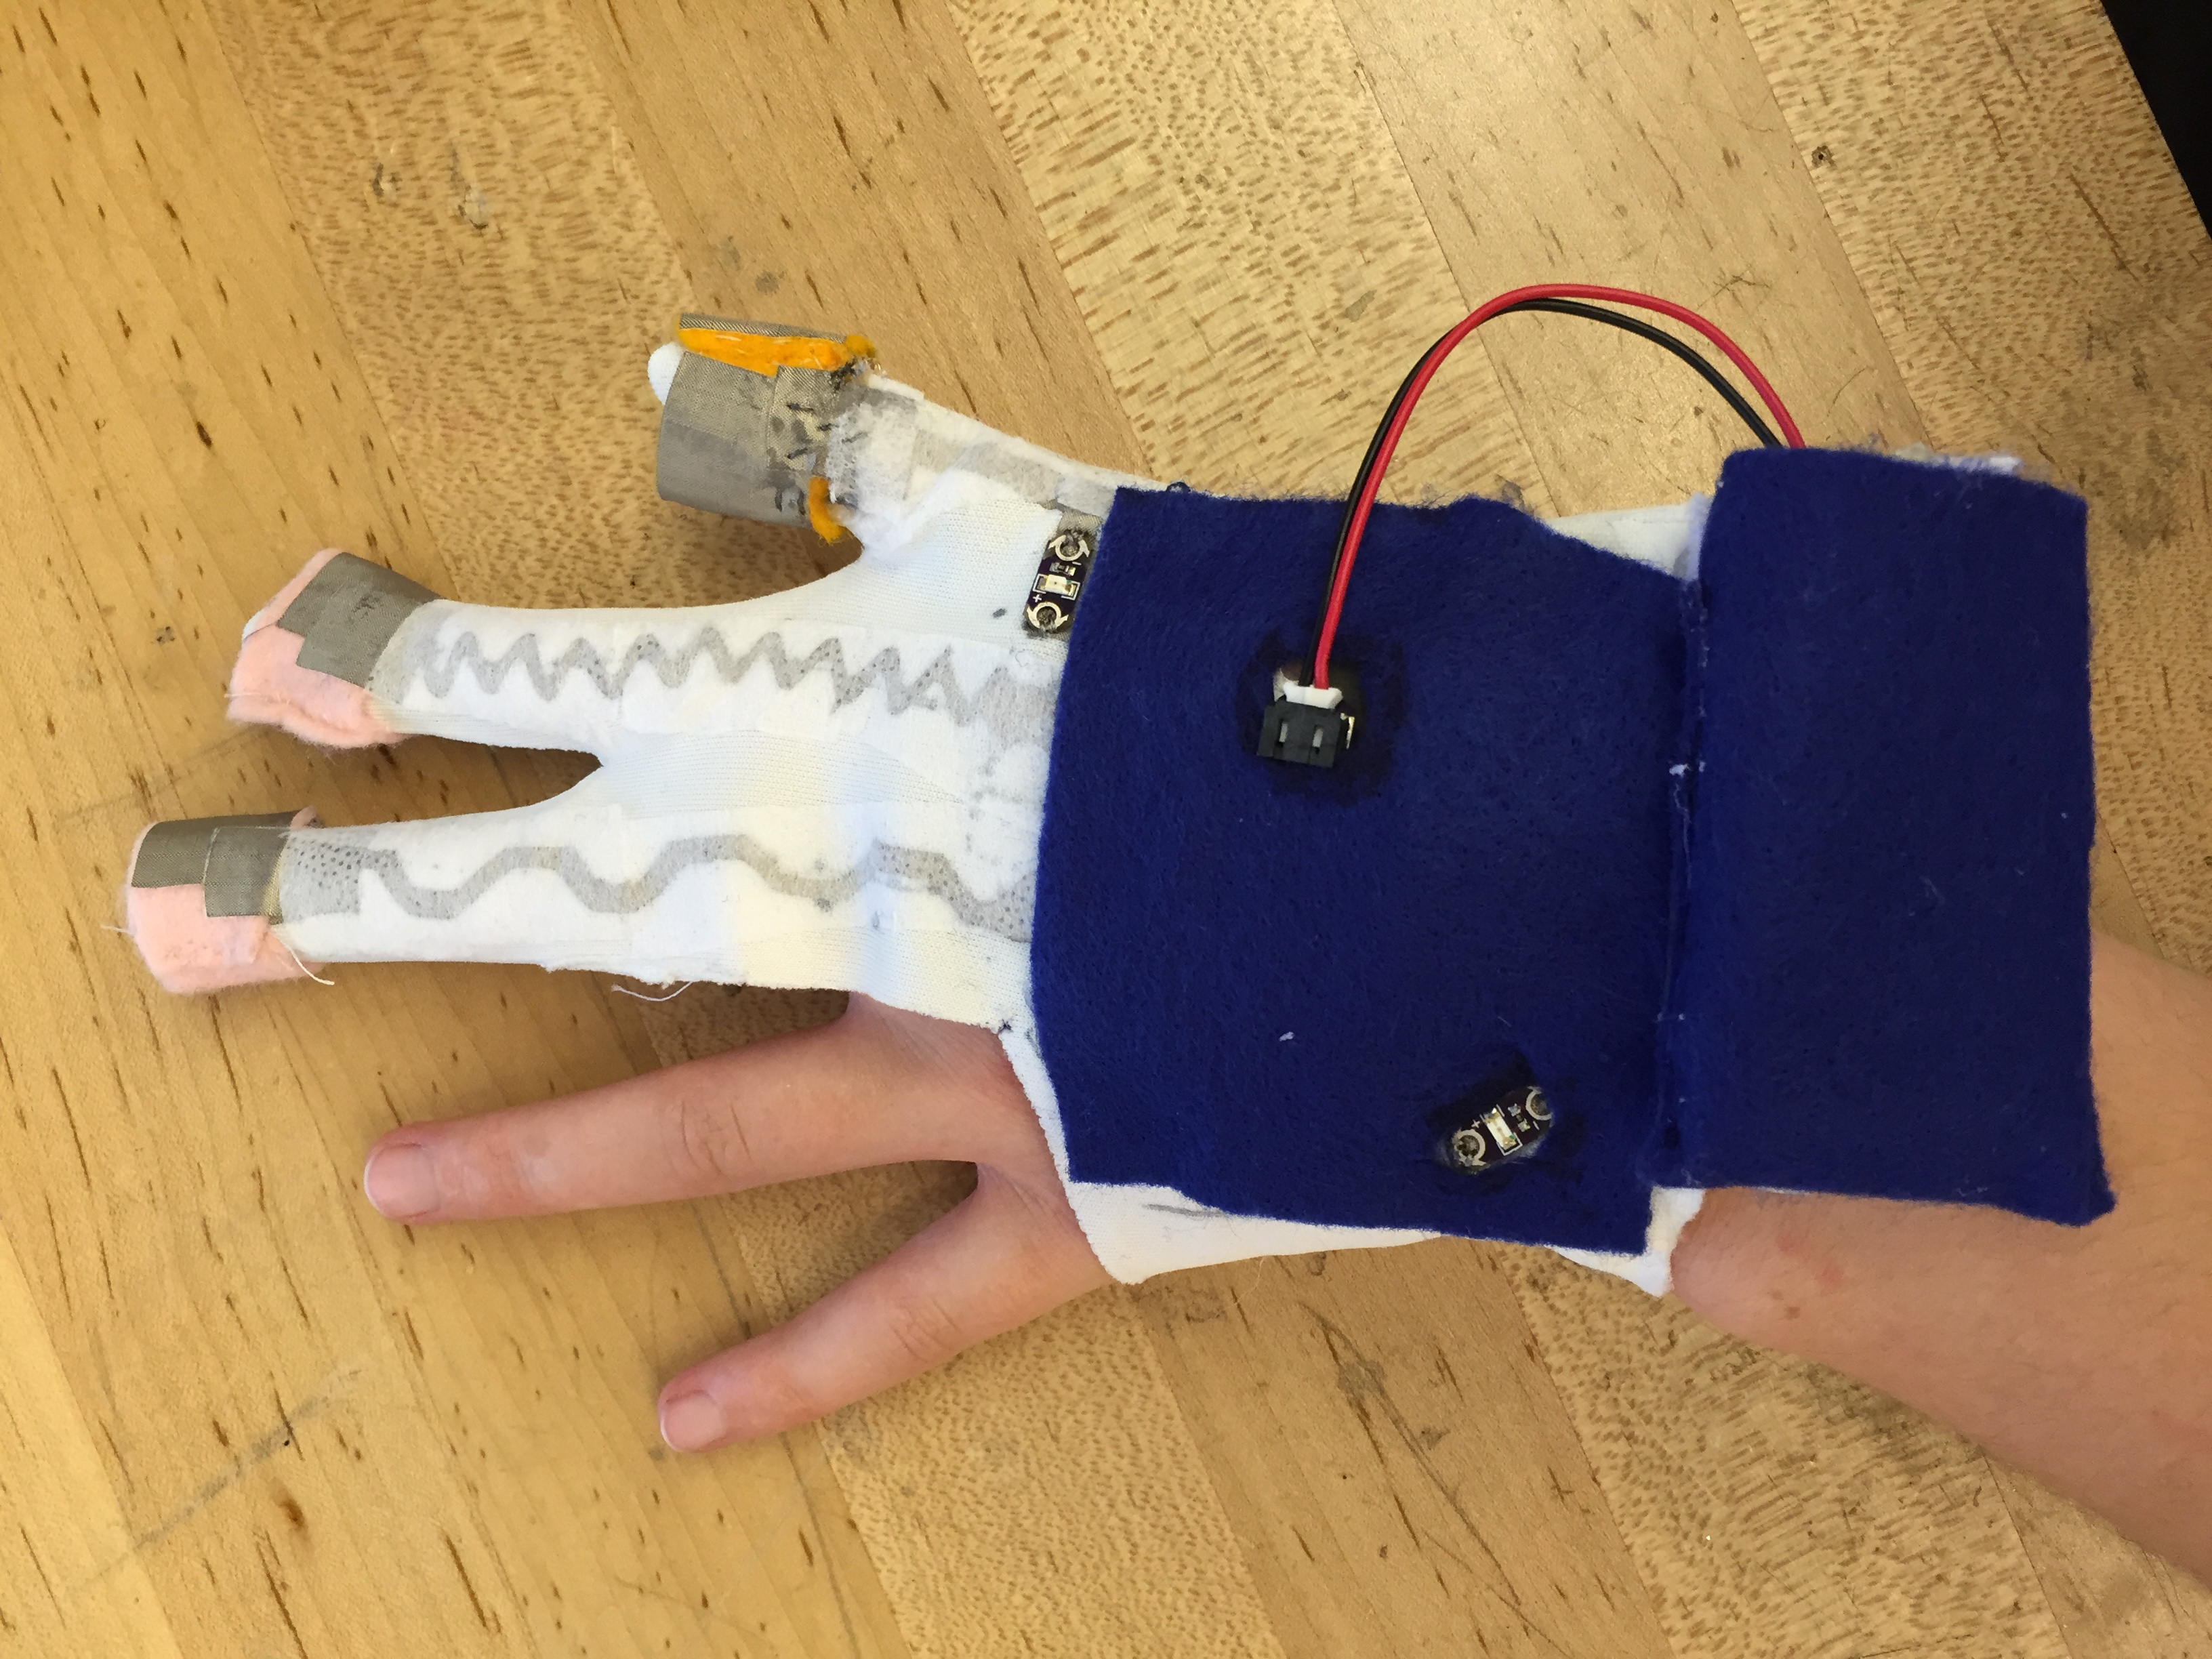
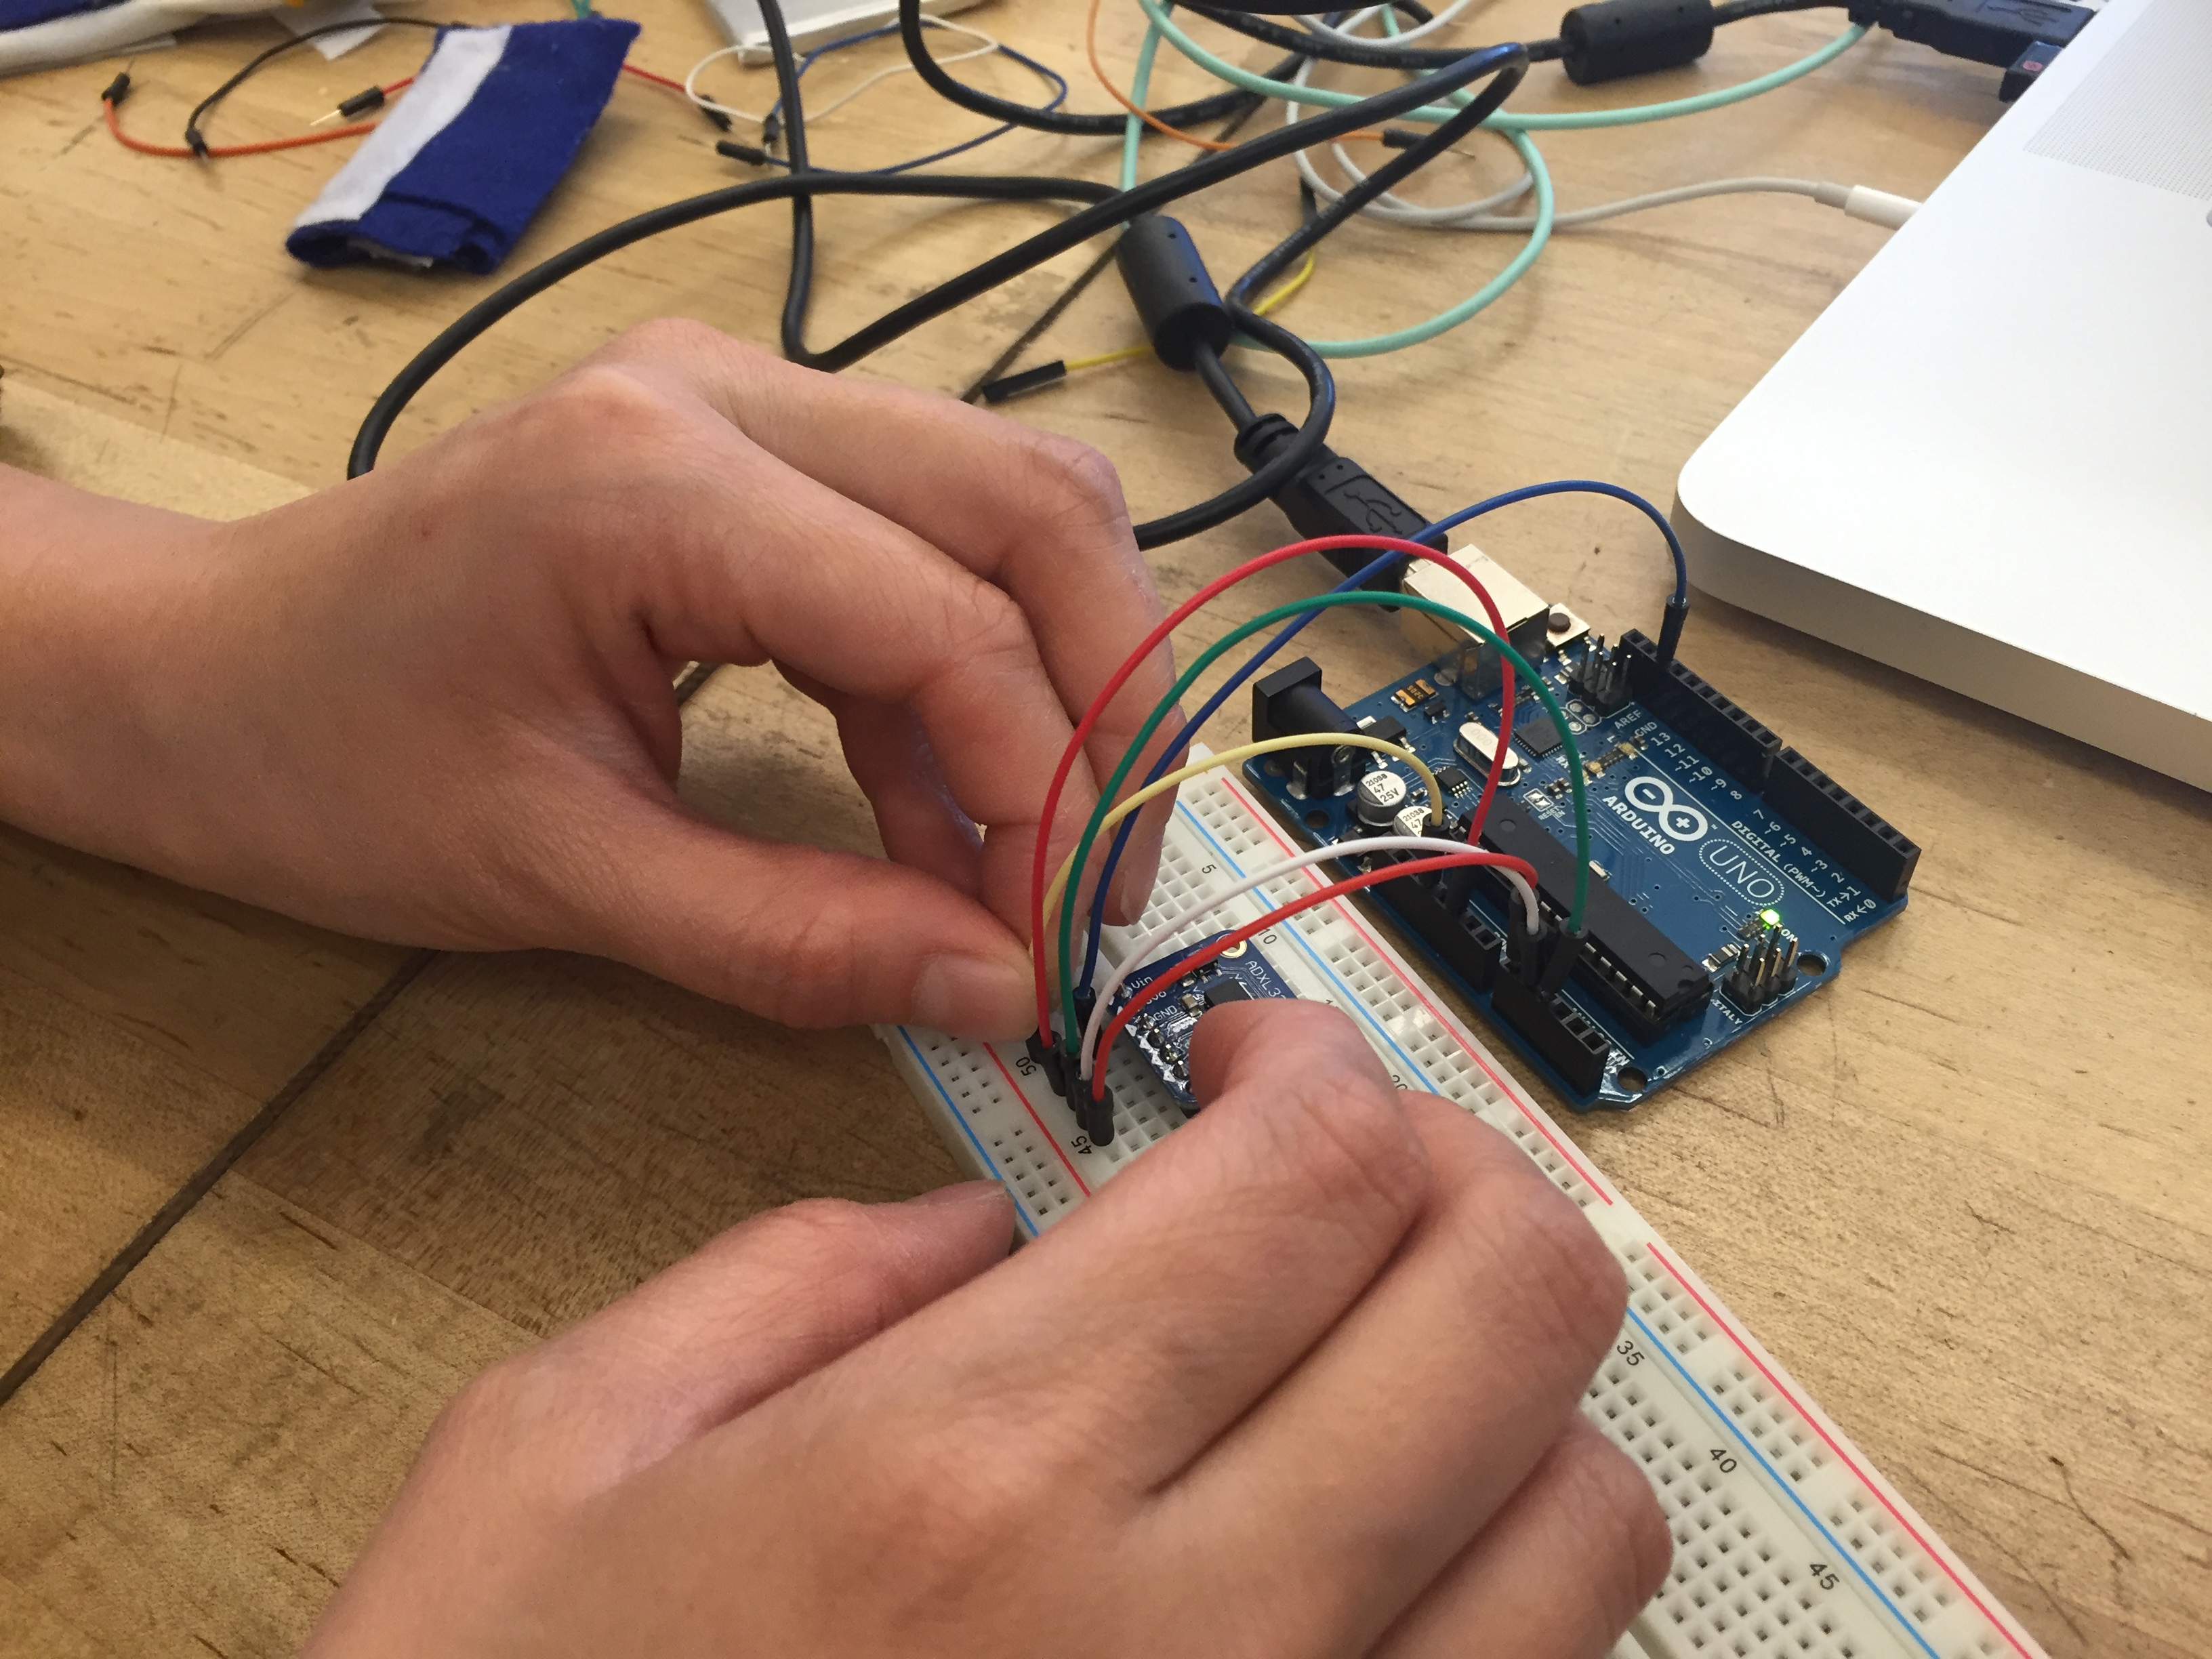
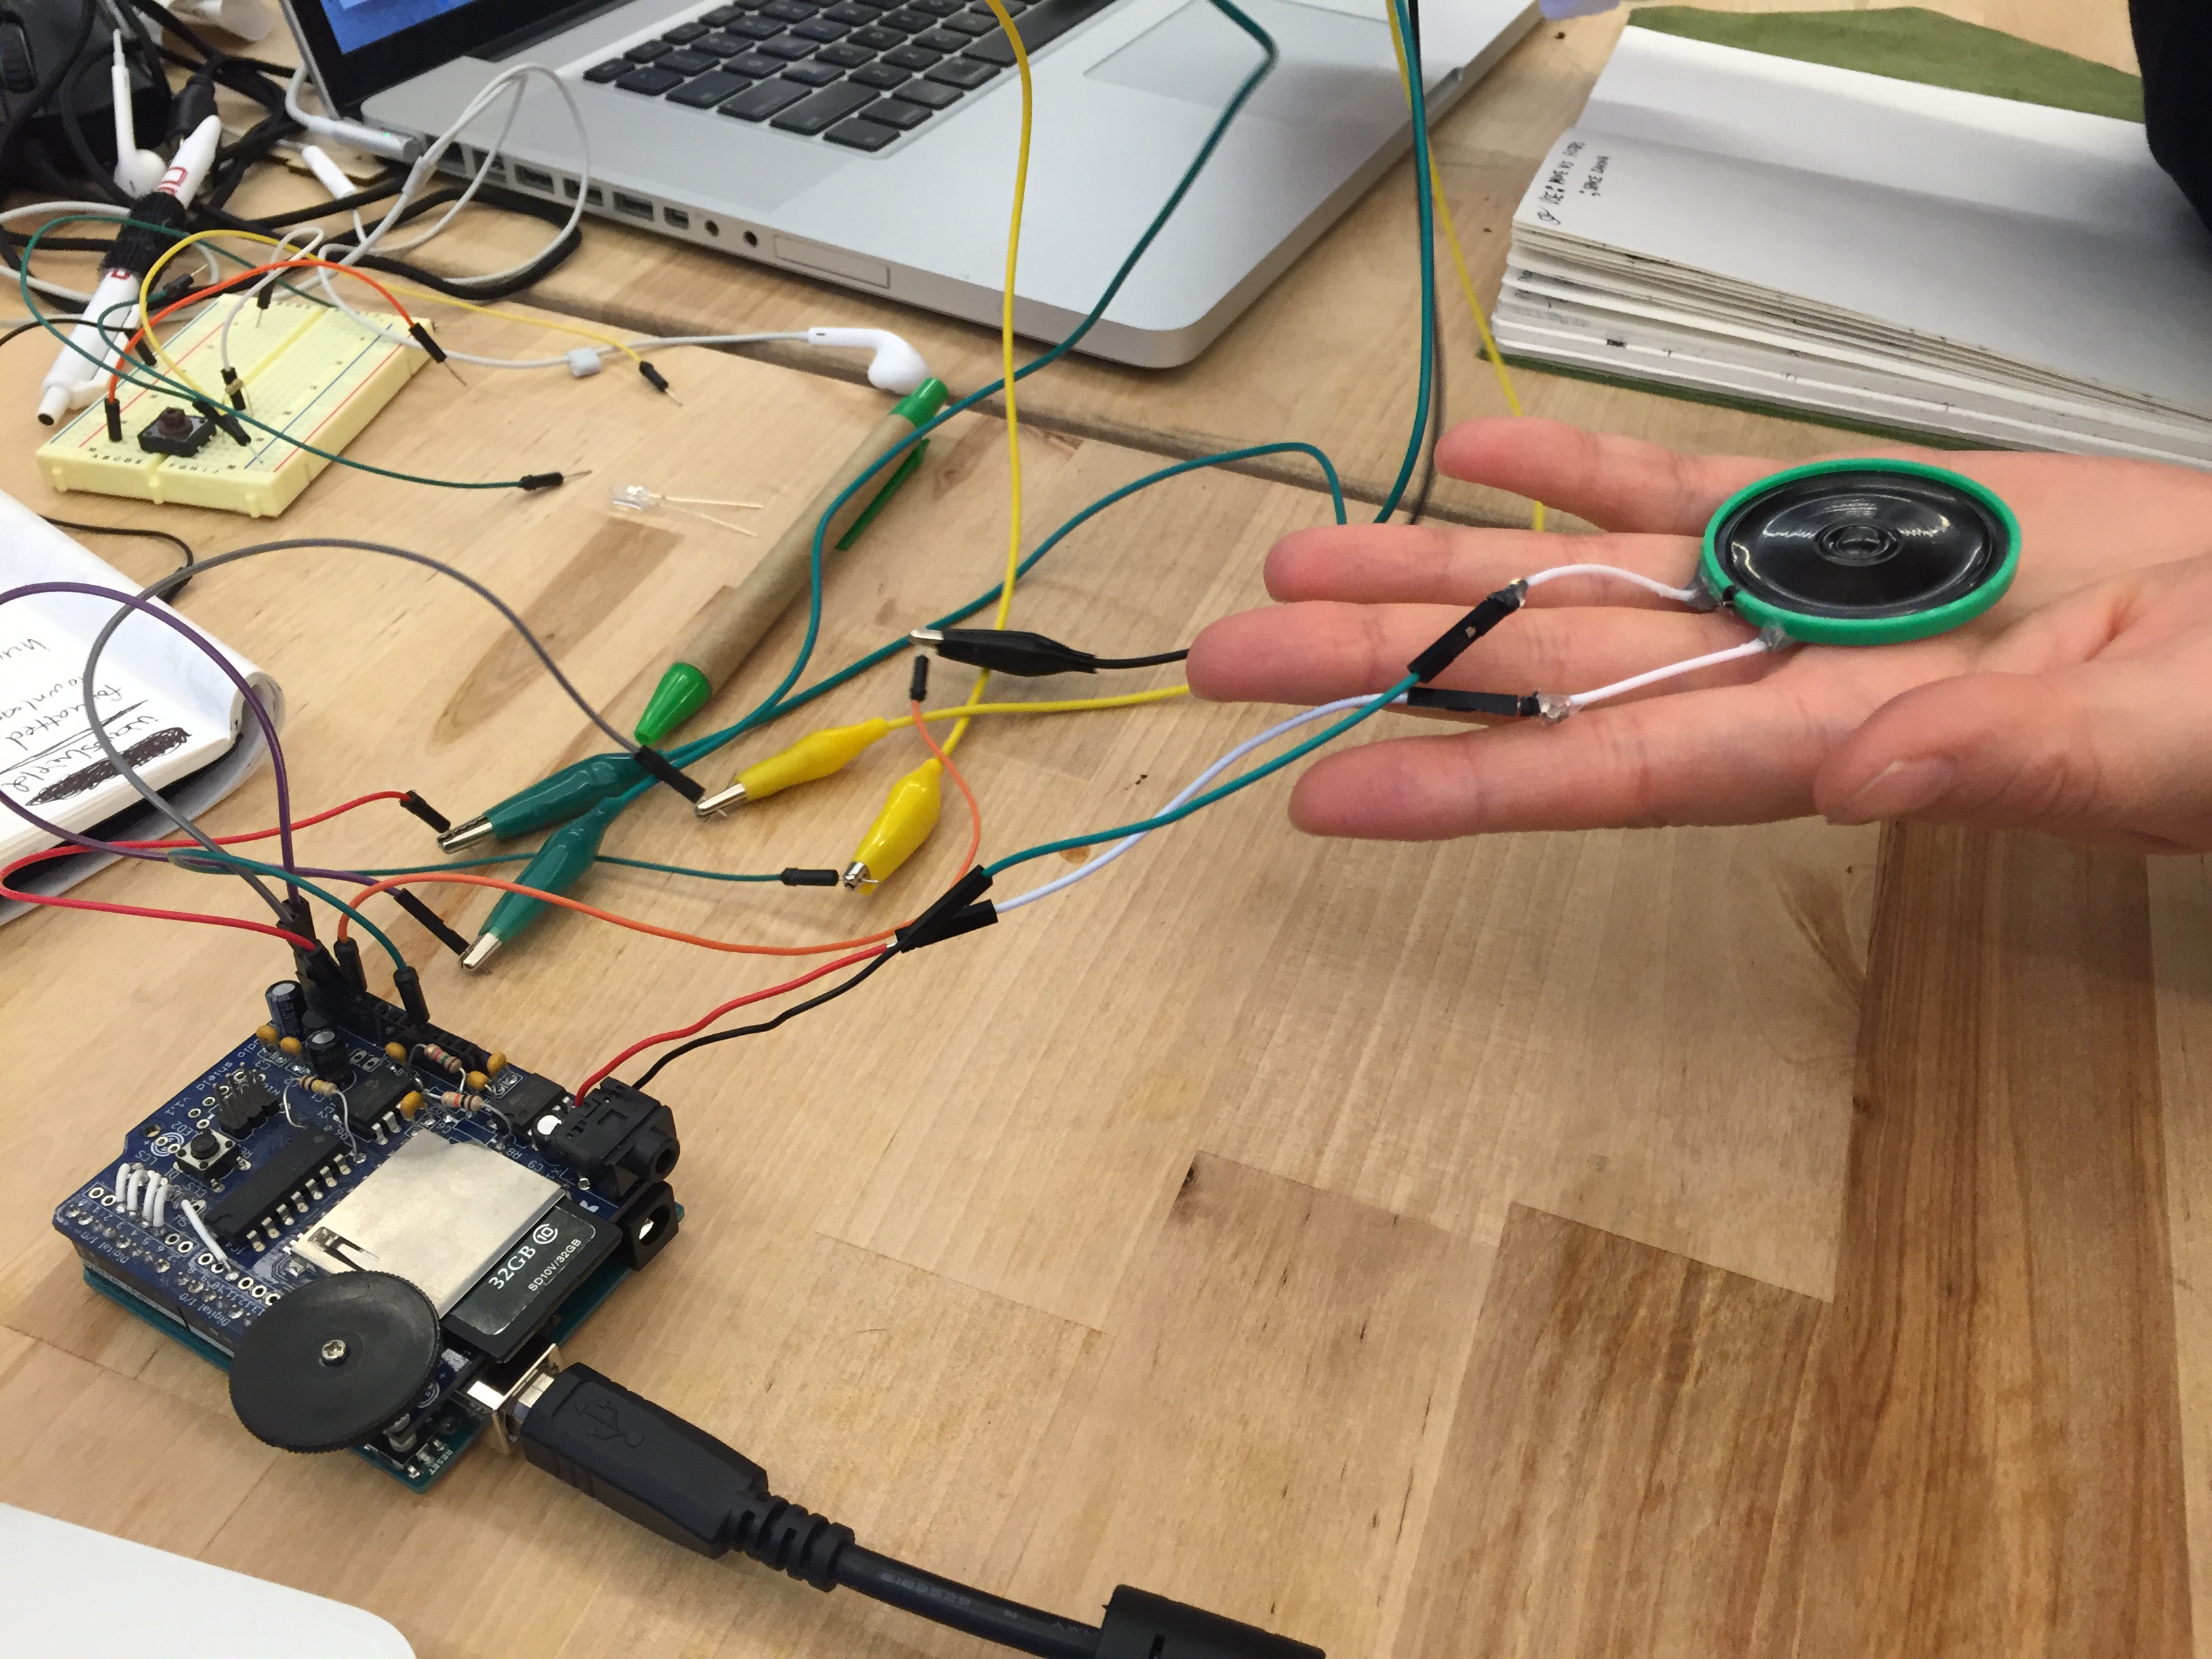
We started this process by observing that Sara has intentional movement in her thumb, index, and middle fingers. We designed the first glove to test what types of movement she was able to accomplish. We were looking to get feedback about if she was able to use her thumb to touch any part of her other fingers as a way to complete a circuit. With that in mind, we made conductive fabric patches that we attached to the end of the thumb, index and middle finger.
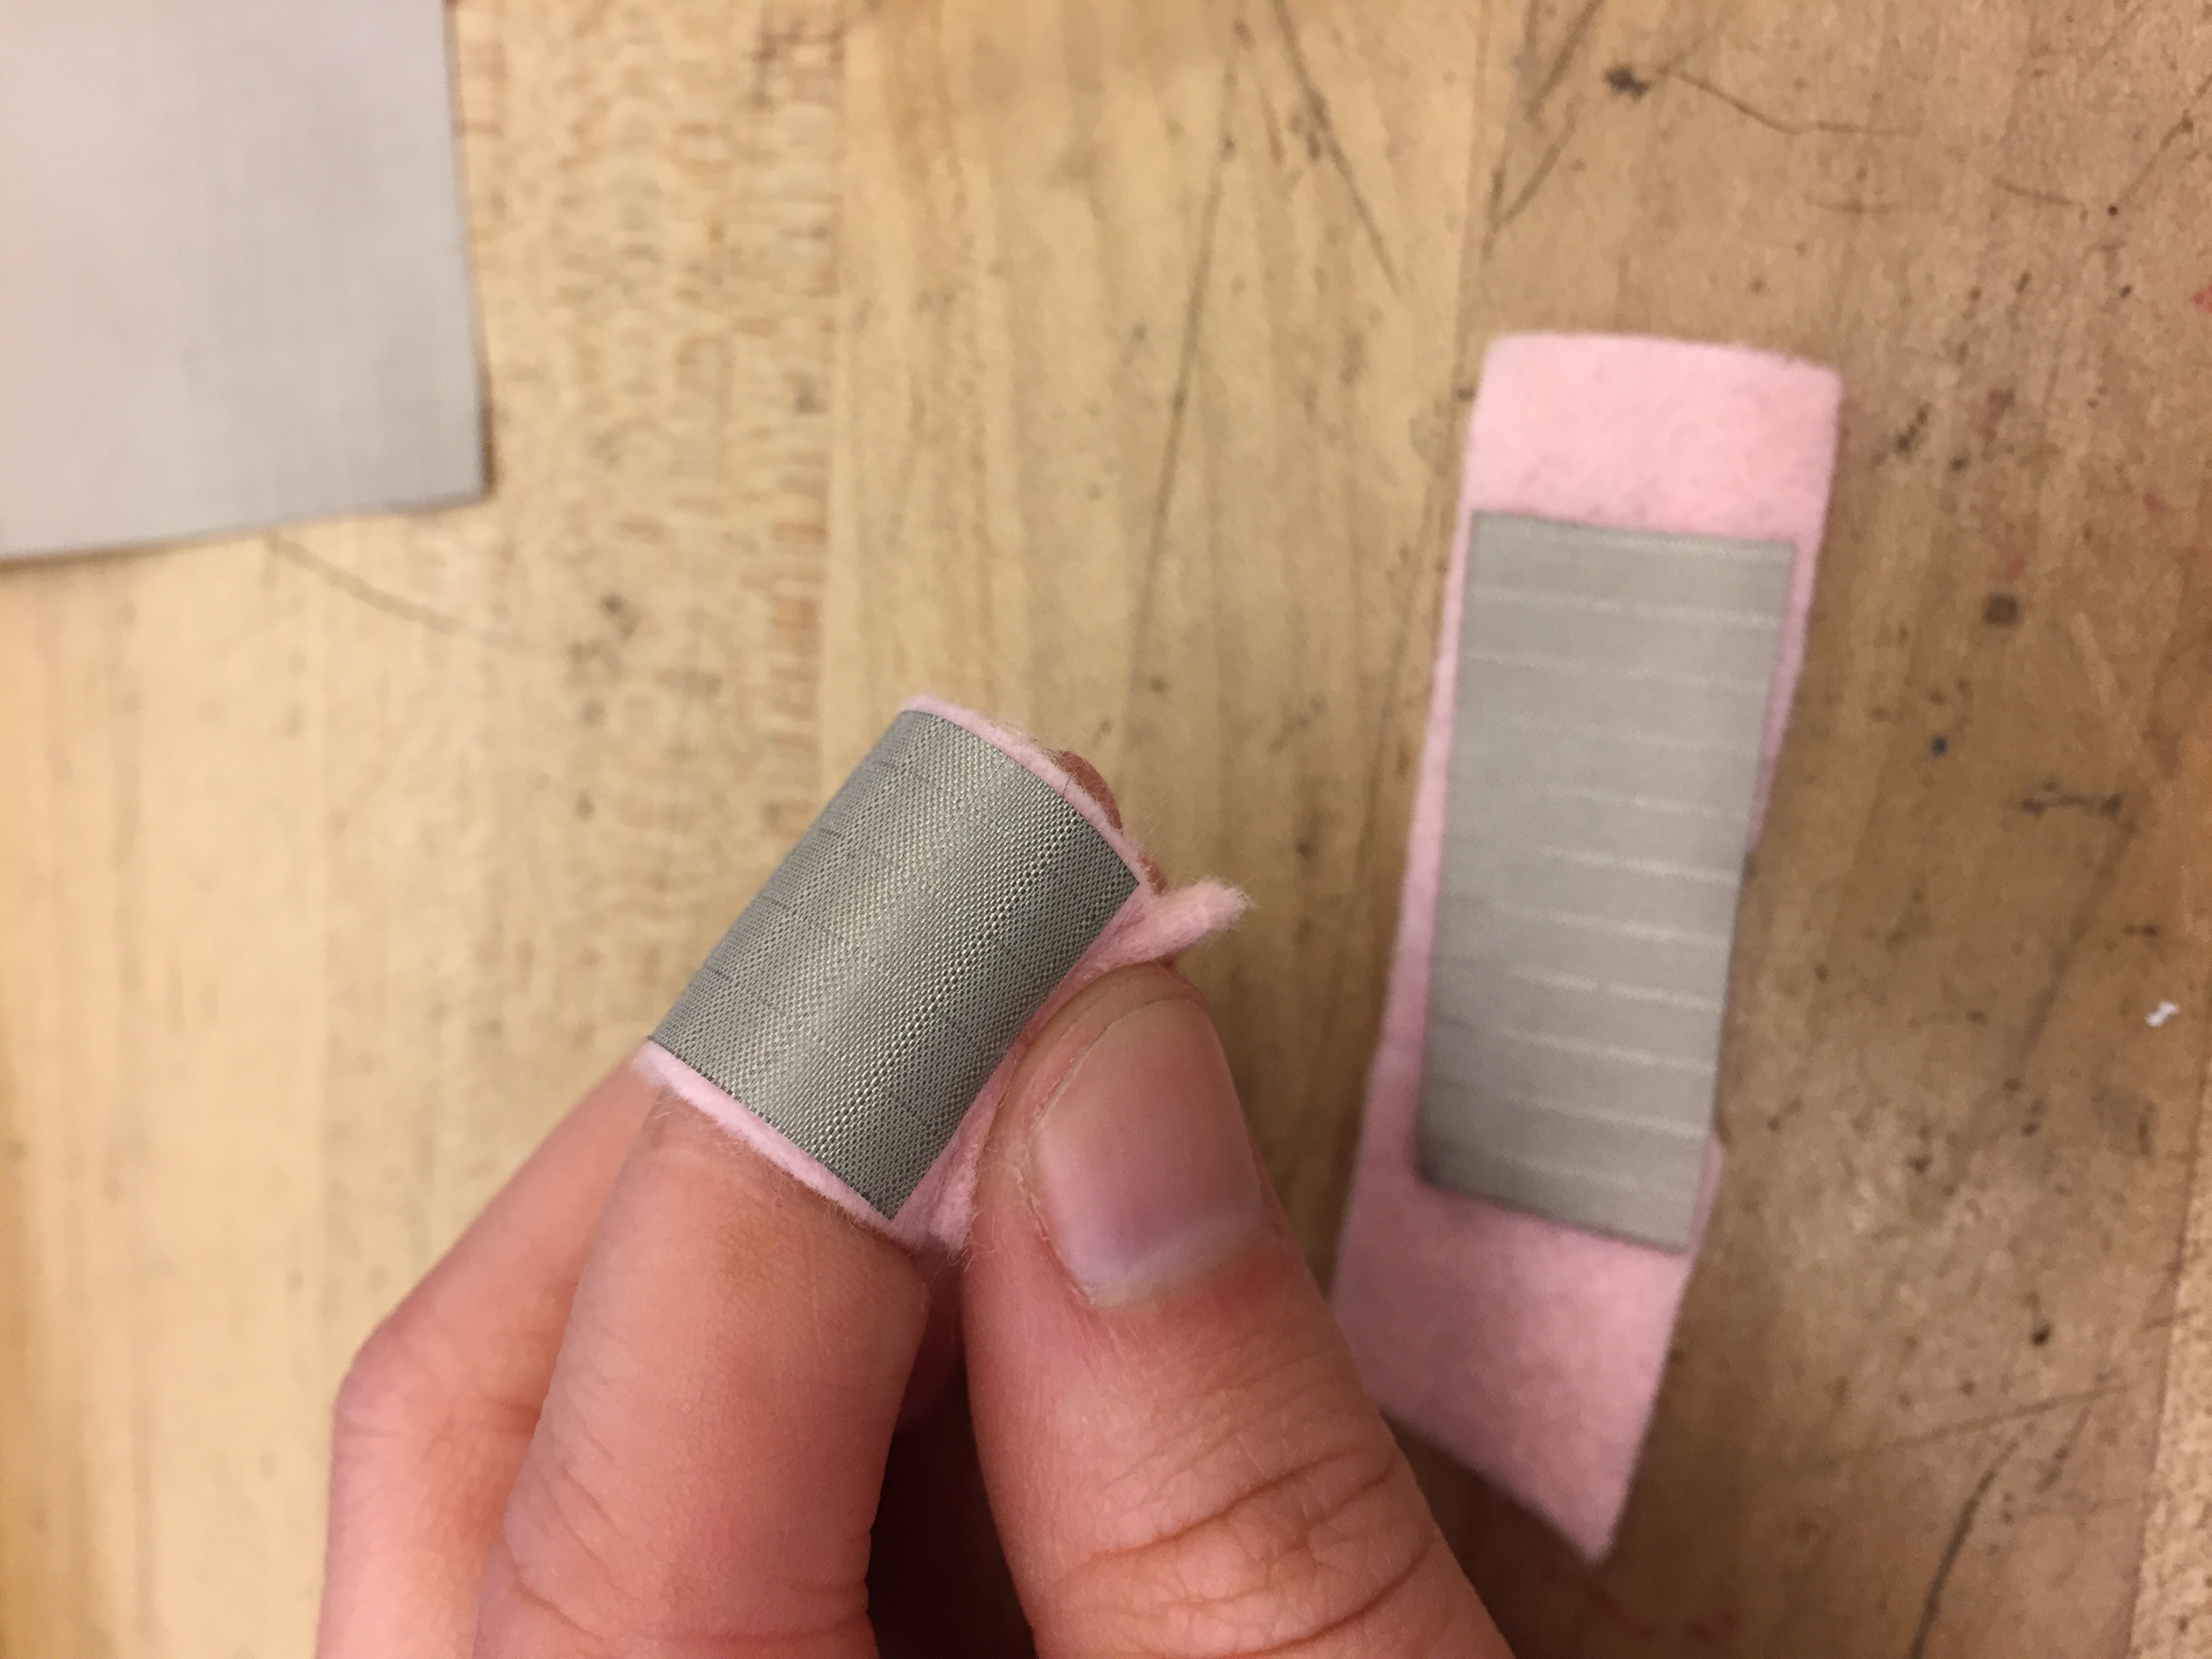
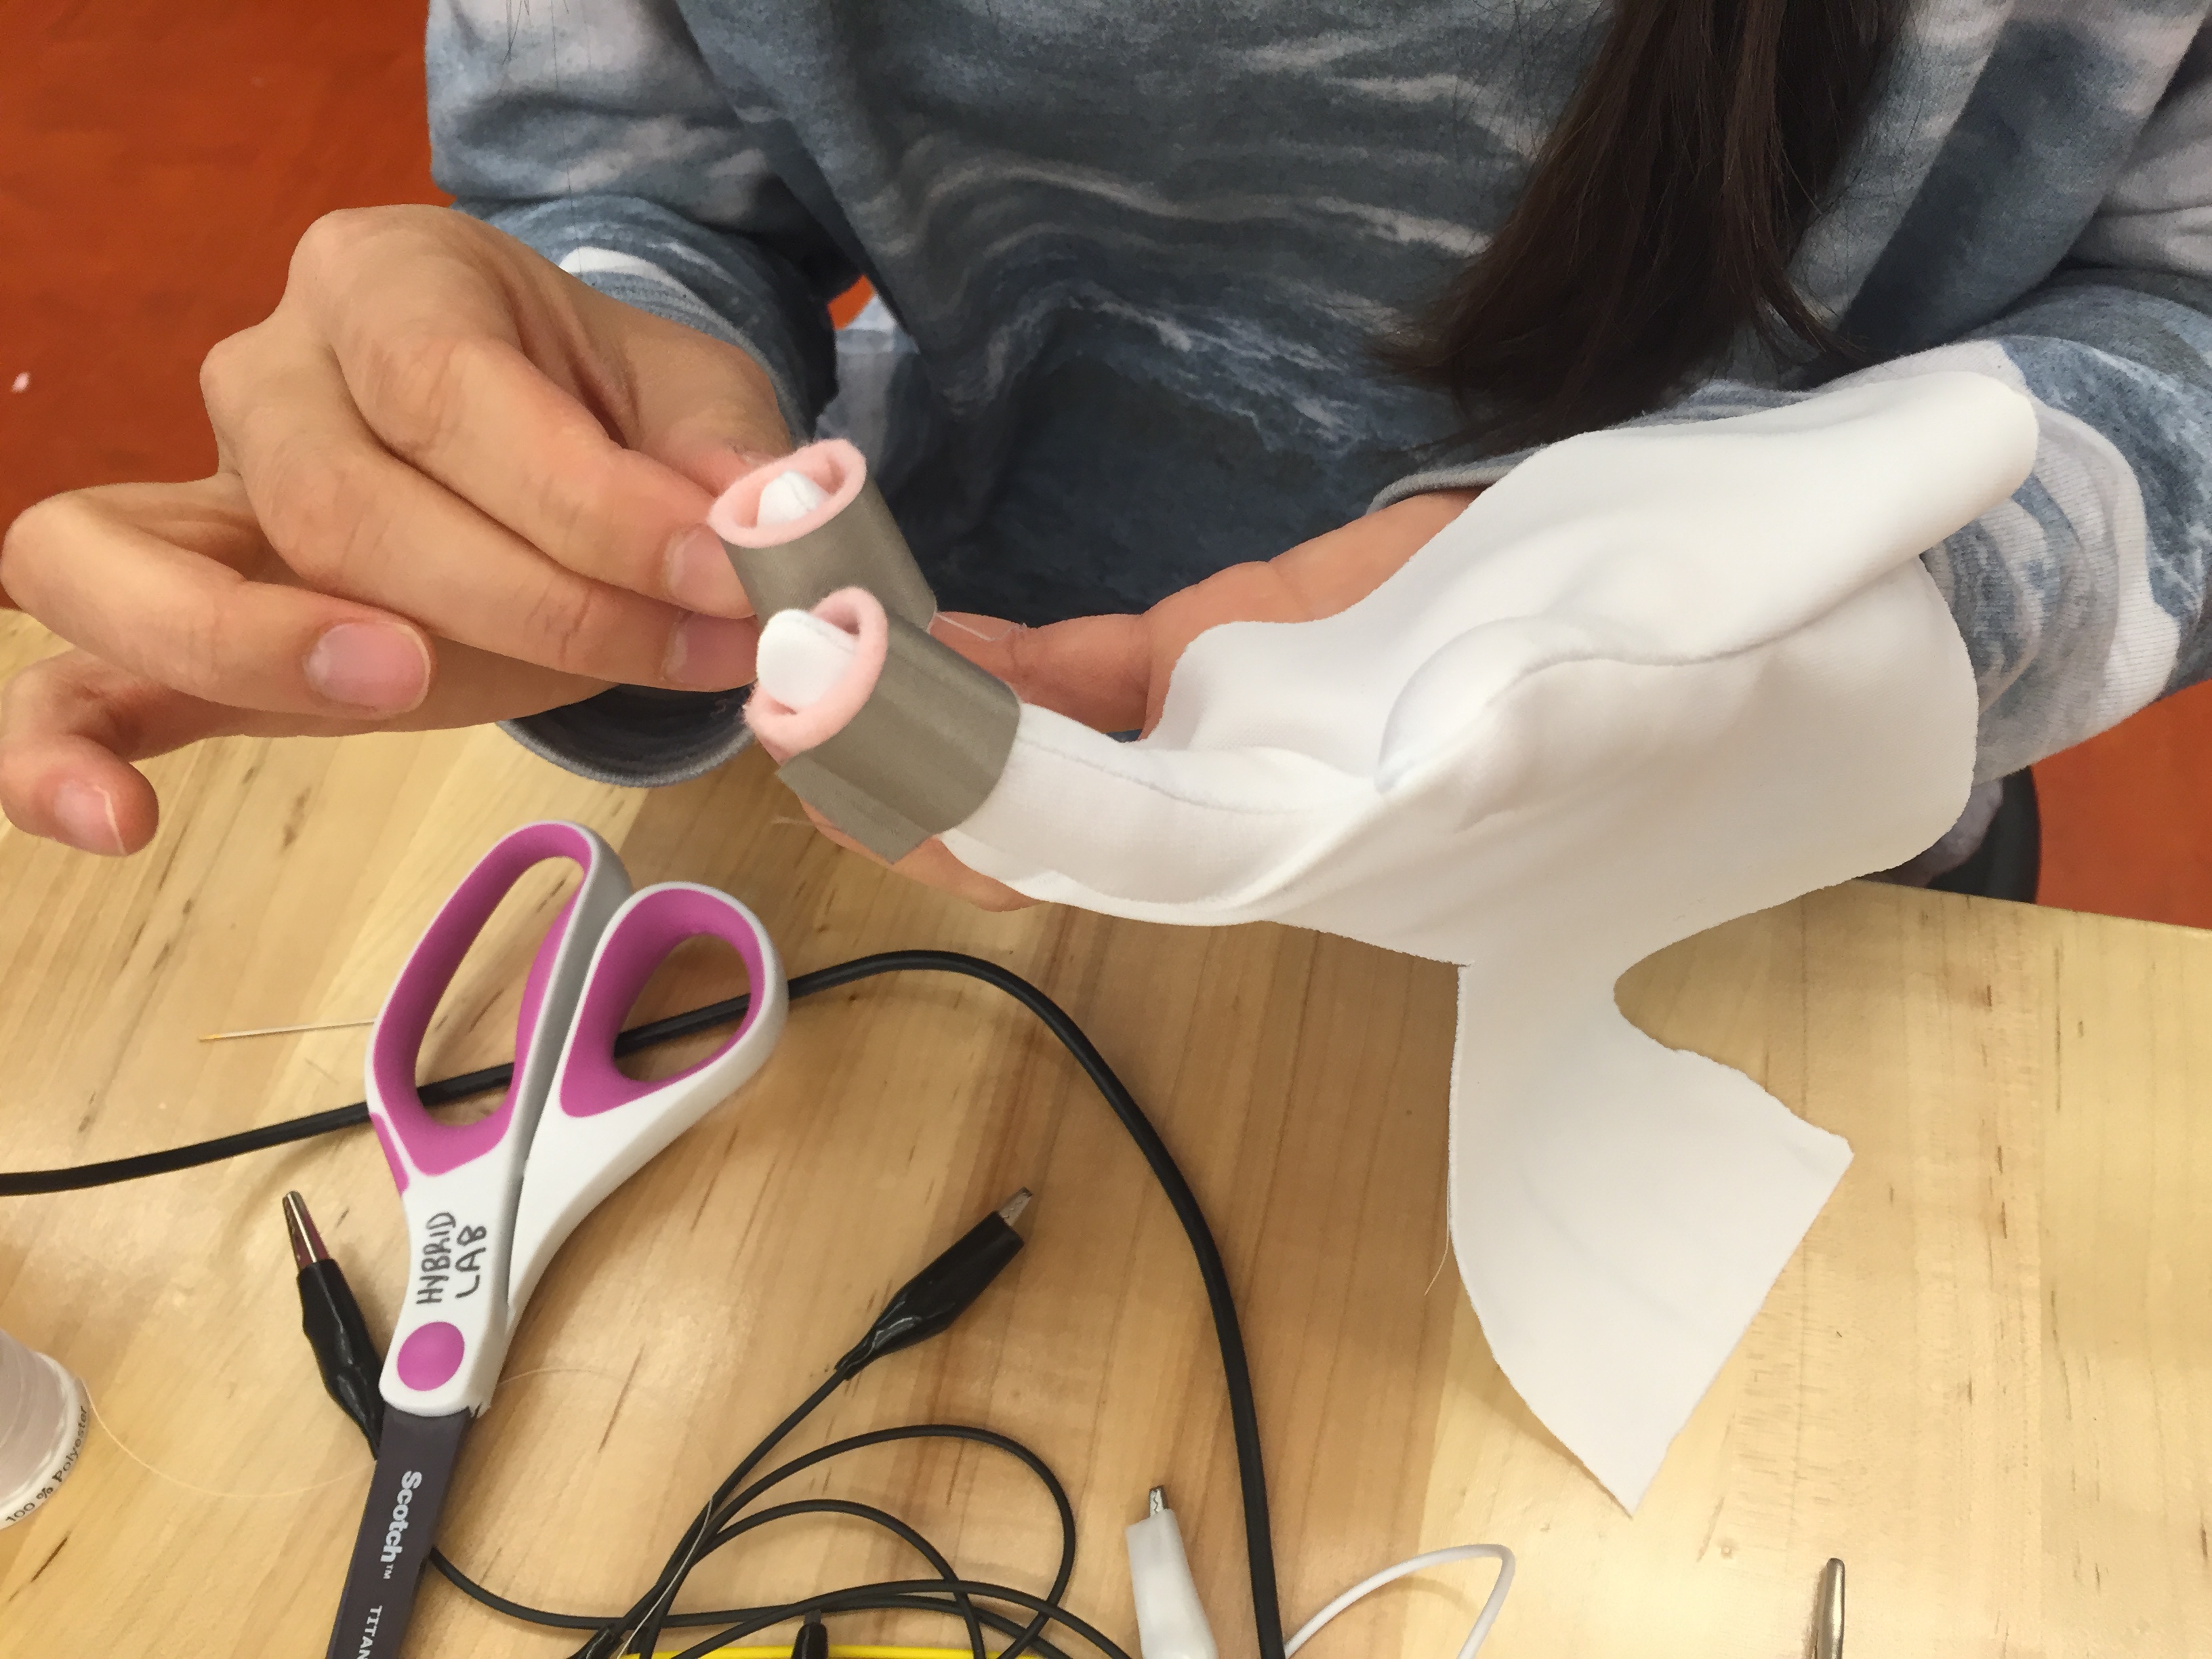
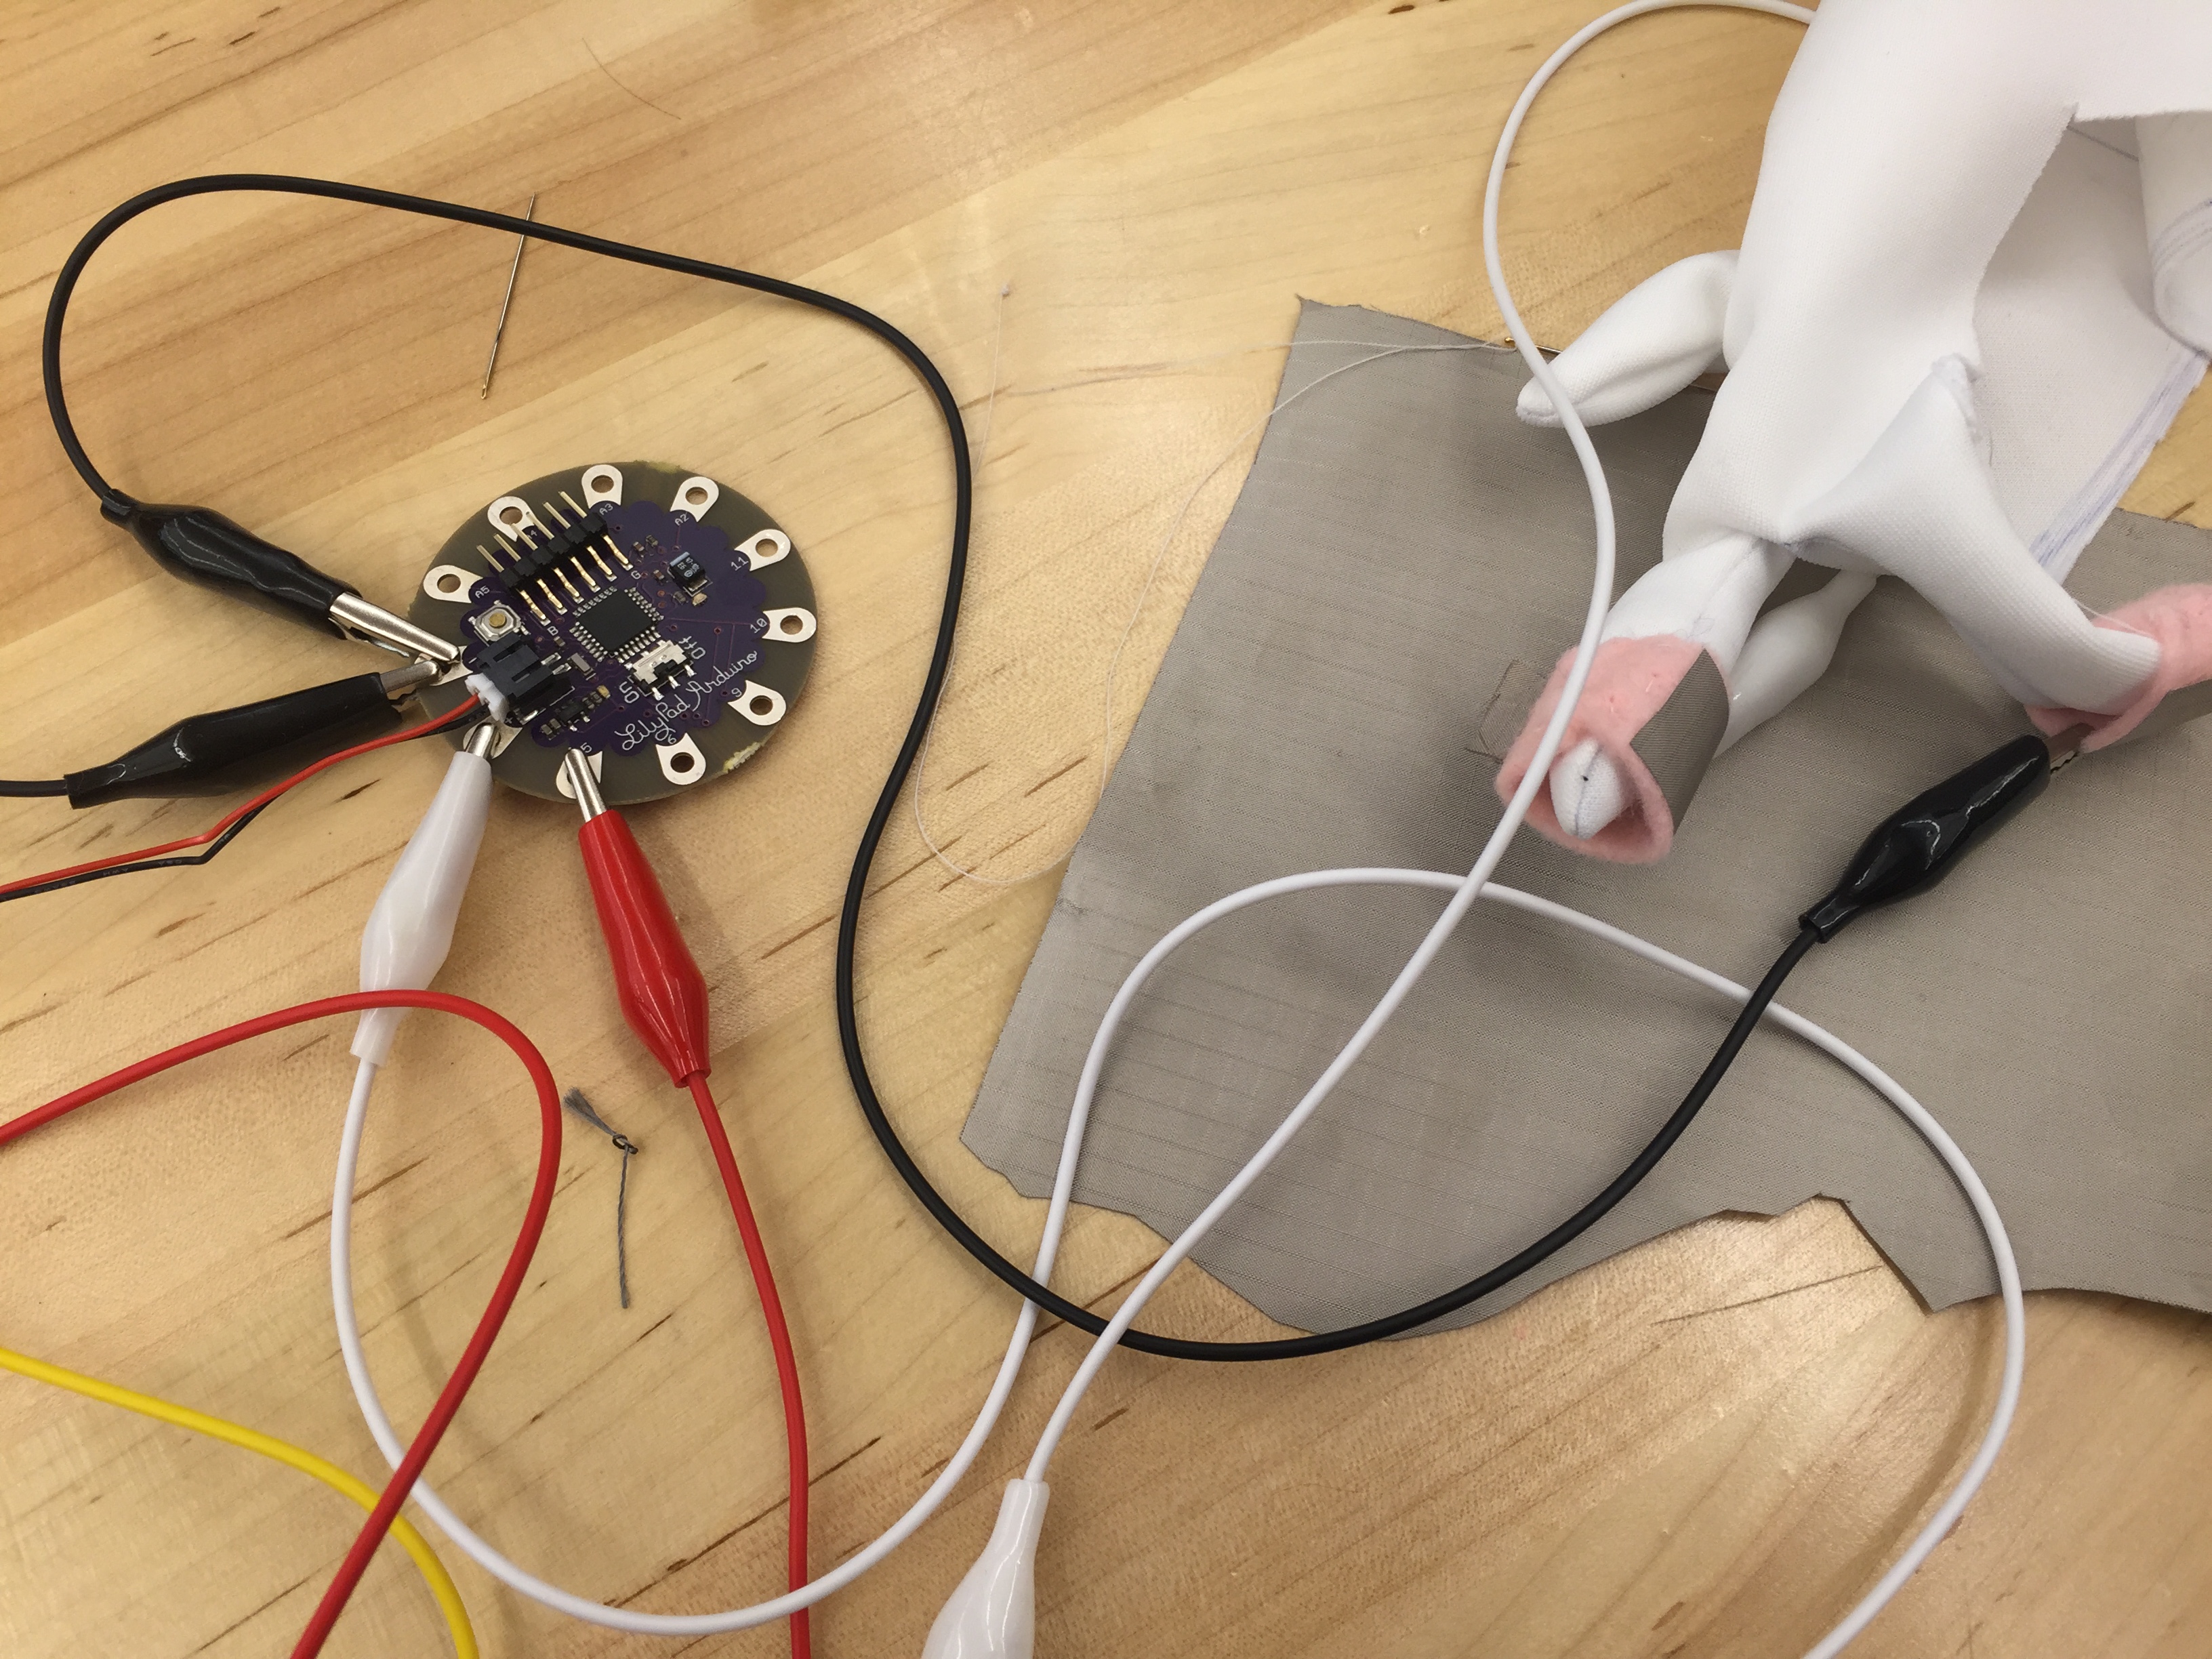
Next we attached those patches to a fabric glove and tested it’s connection to a multimeter. It worked! Using an Arduino LilyPad, we mapped out how to attach it to the back of the glove. Using gator clips, we connected the three patched to digital pins, ground and power, then tested the connections again.
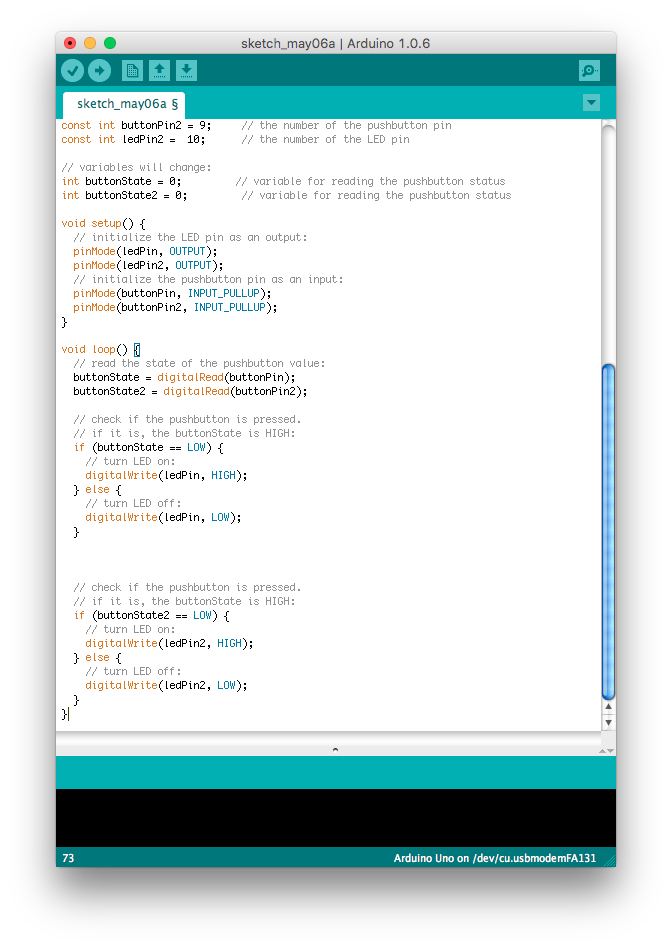
In the code we assigned the index and middle finger patches to different variables so when either touches the thumb patch only one of the LEDs will turn on. For example, if the index patch and thumb patch touch the LED1 turns on. If the middle finger patch and thumb touch then LED2 turns on.
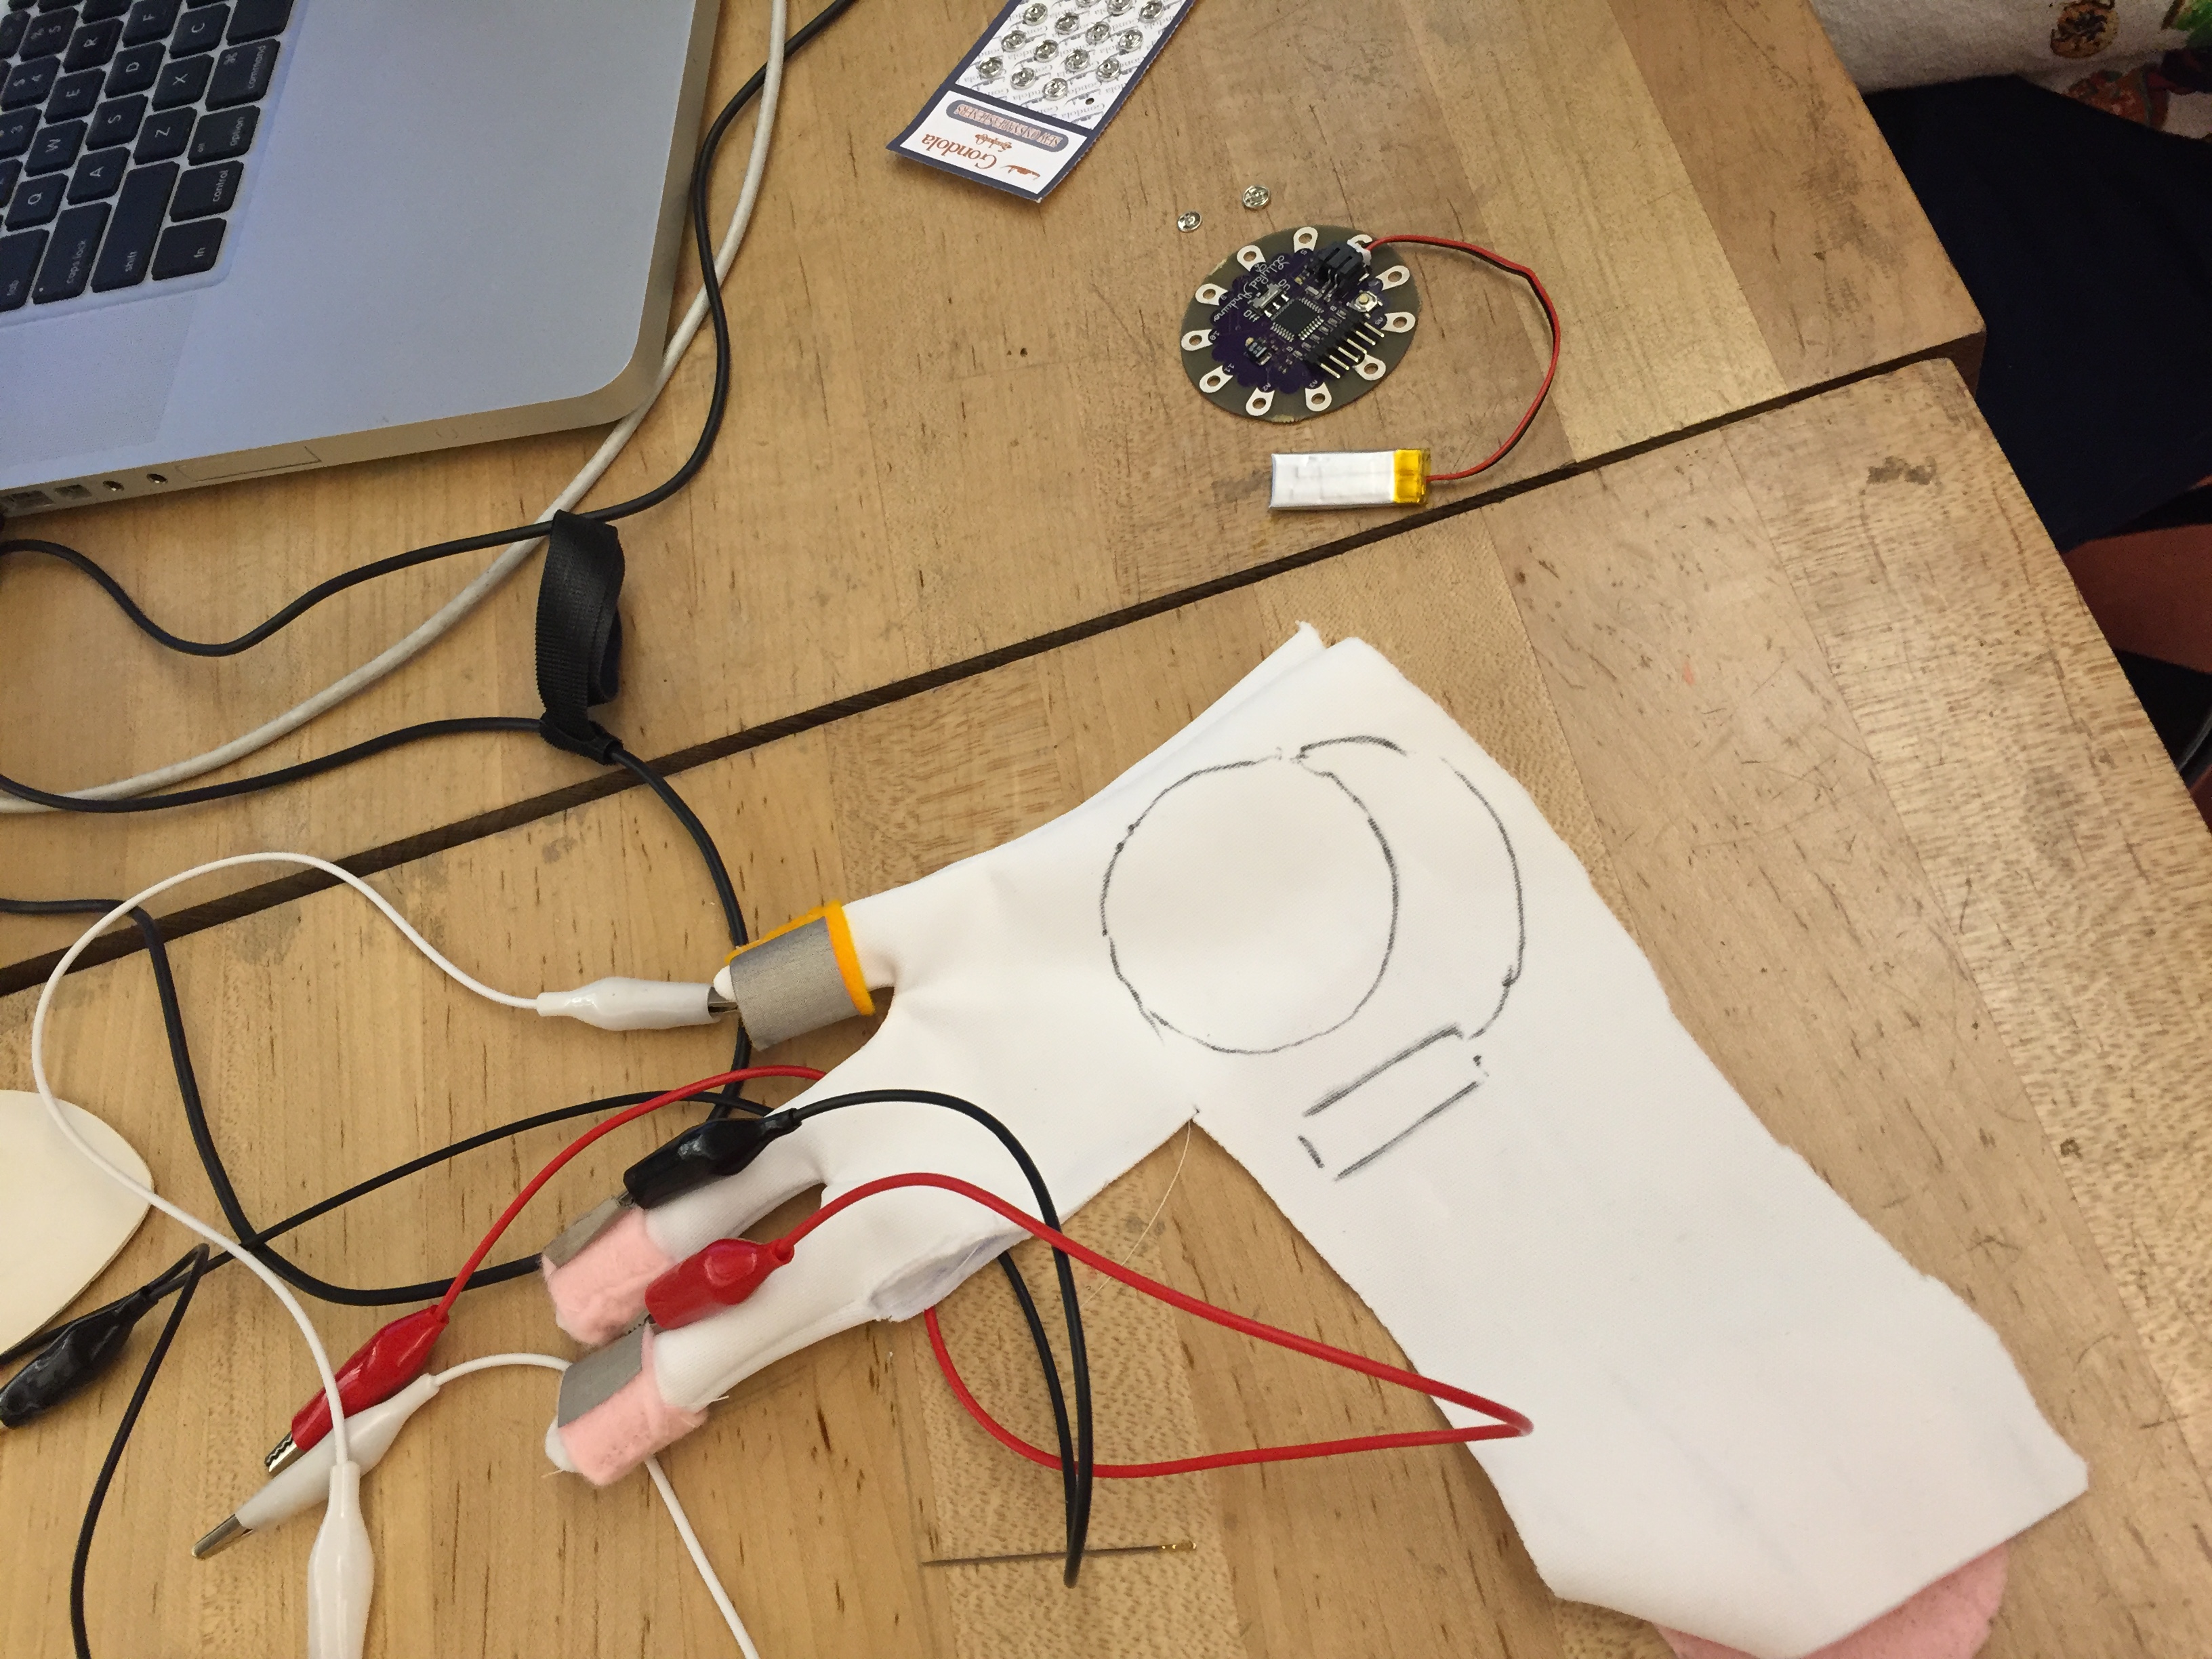


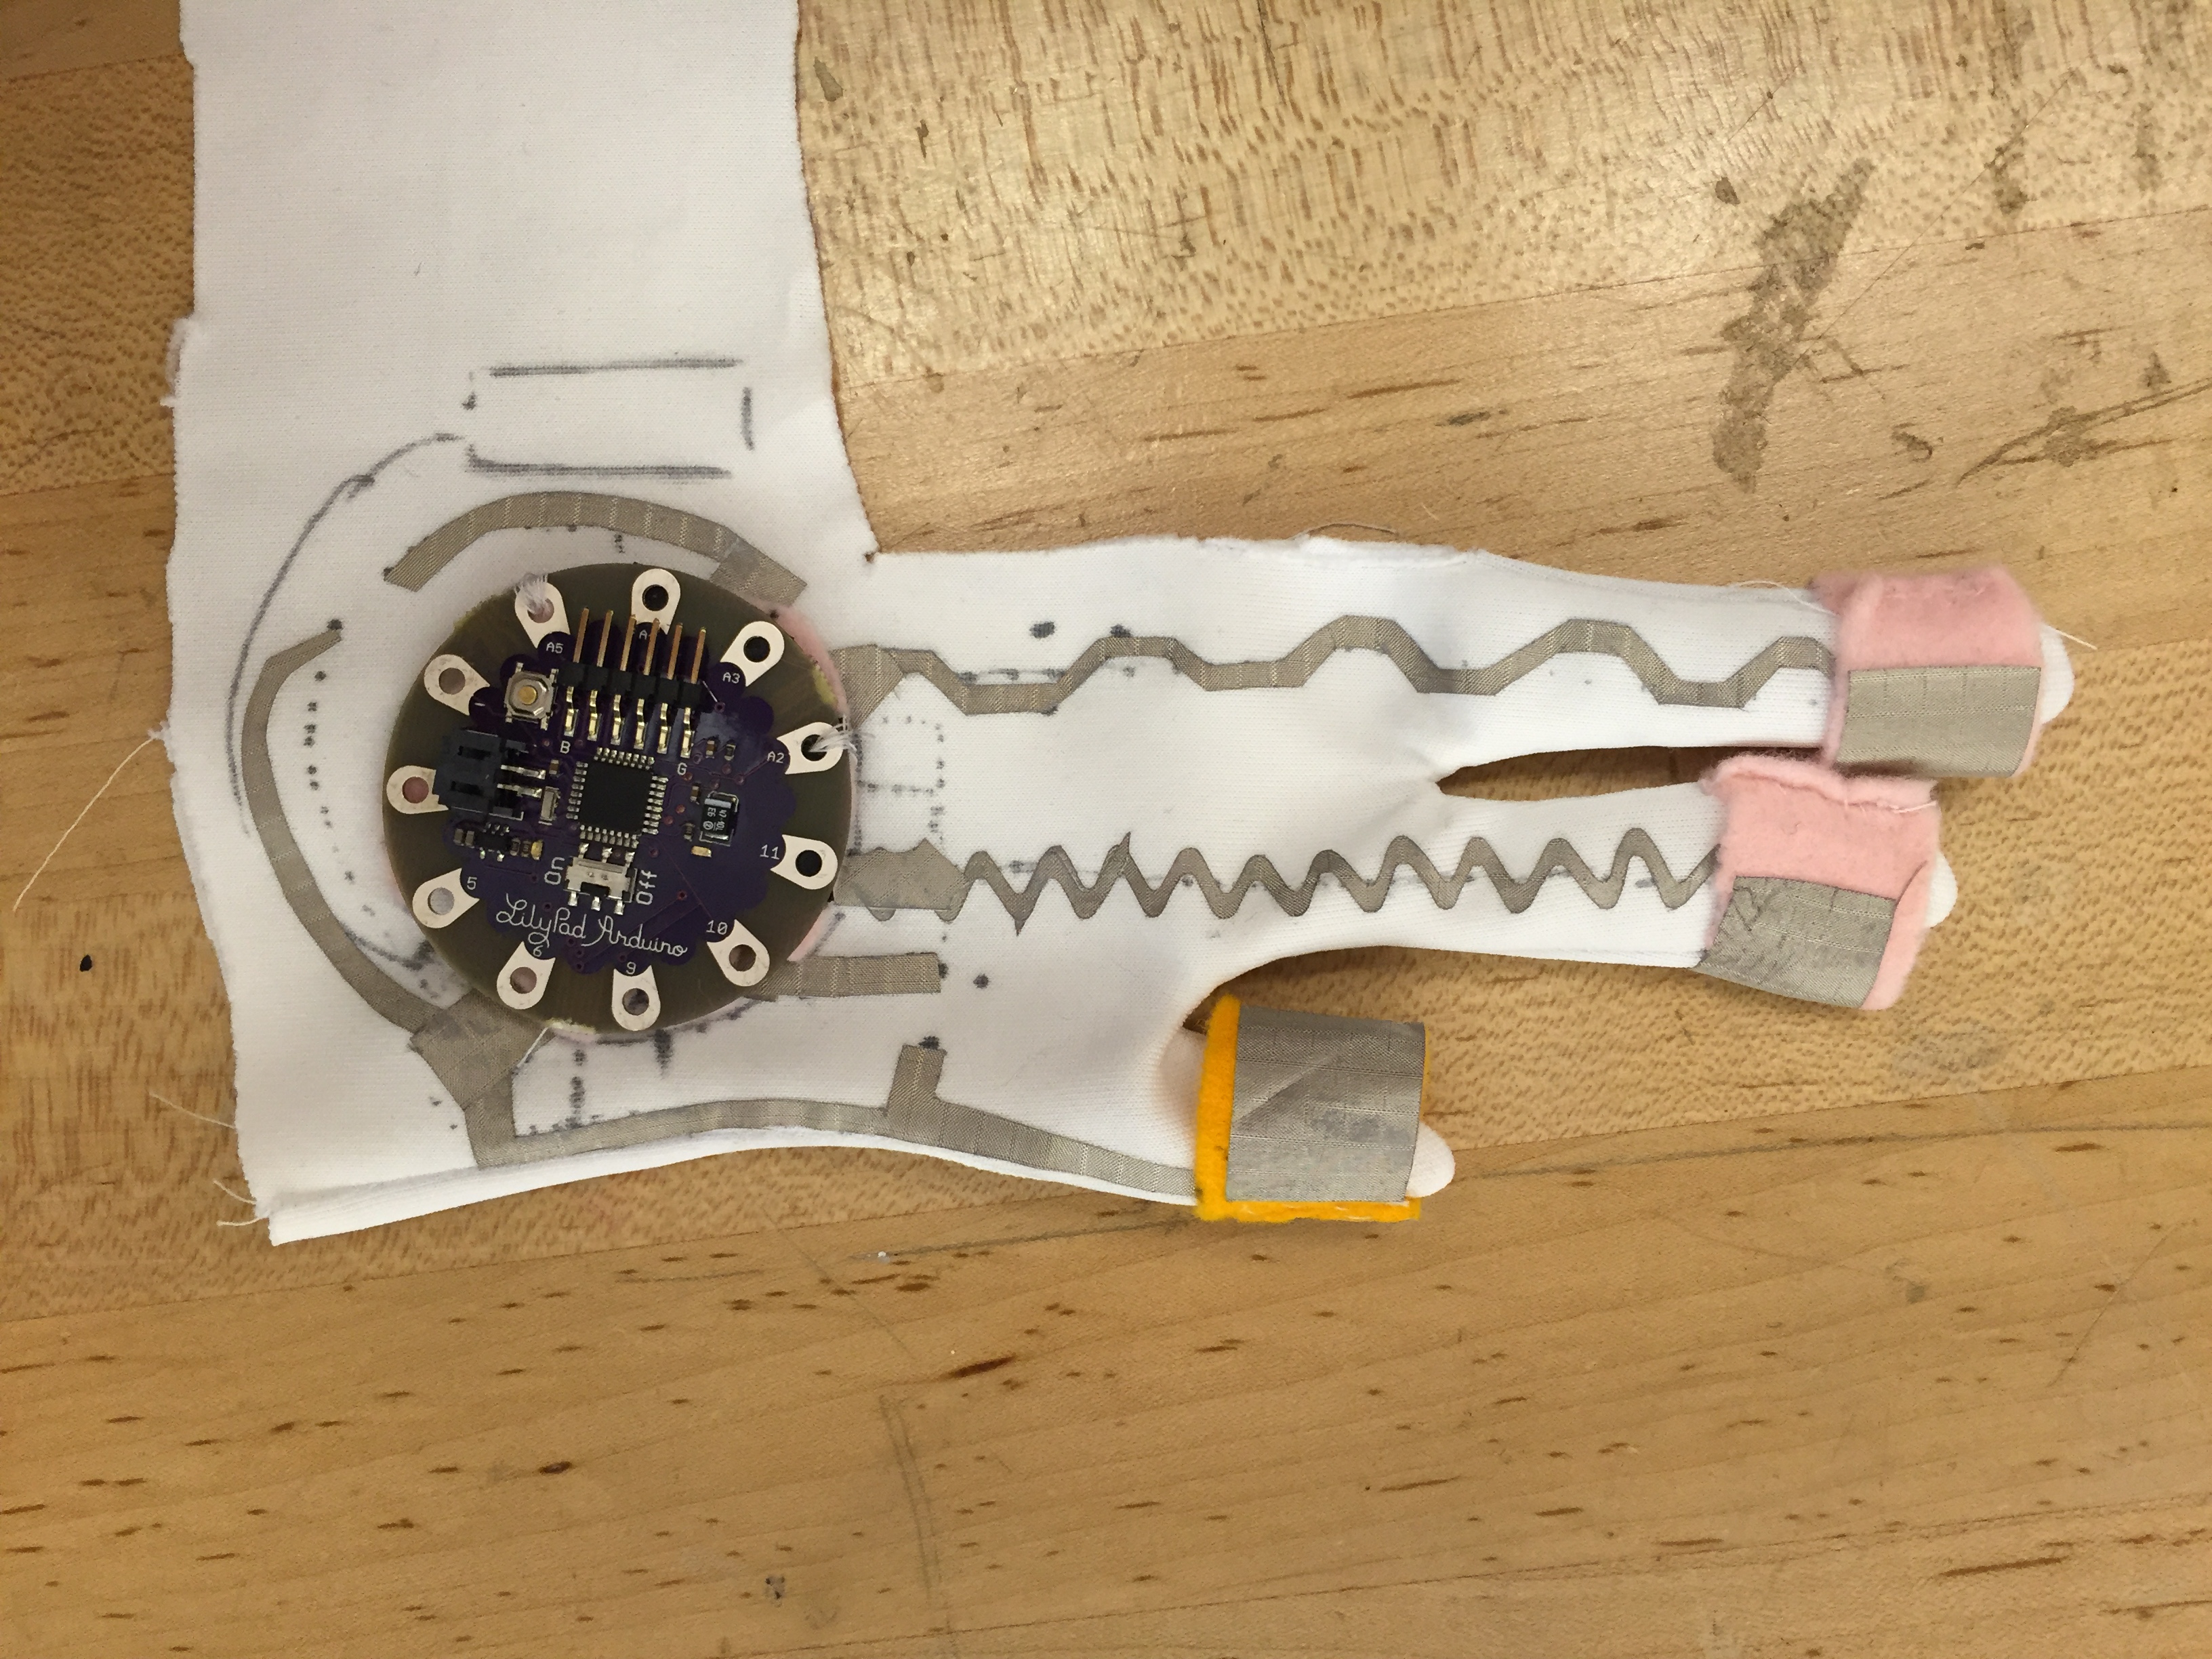
Next we sewed the LilyPad on to the back of the glove, ironed conductive fabric to the fingers, and sewed the circuits together with conductive thread. We also considered where the LEDs were going to fit, and what would be the best way to design how the conductive fabric connect them without it interfering with other connections.
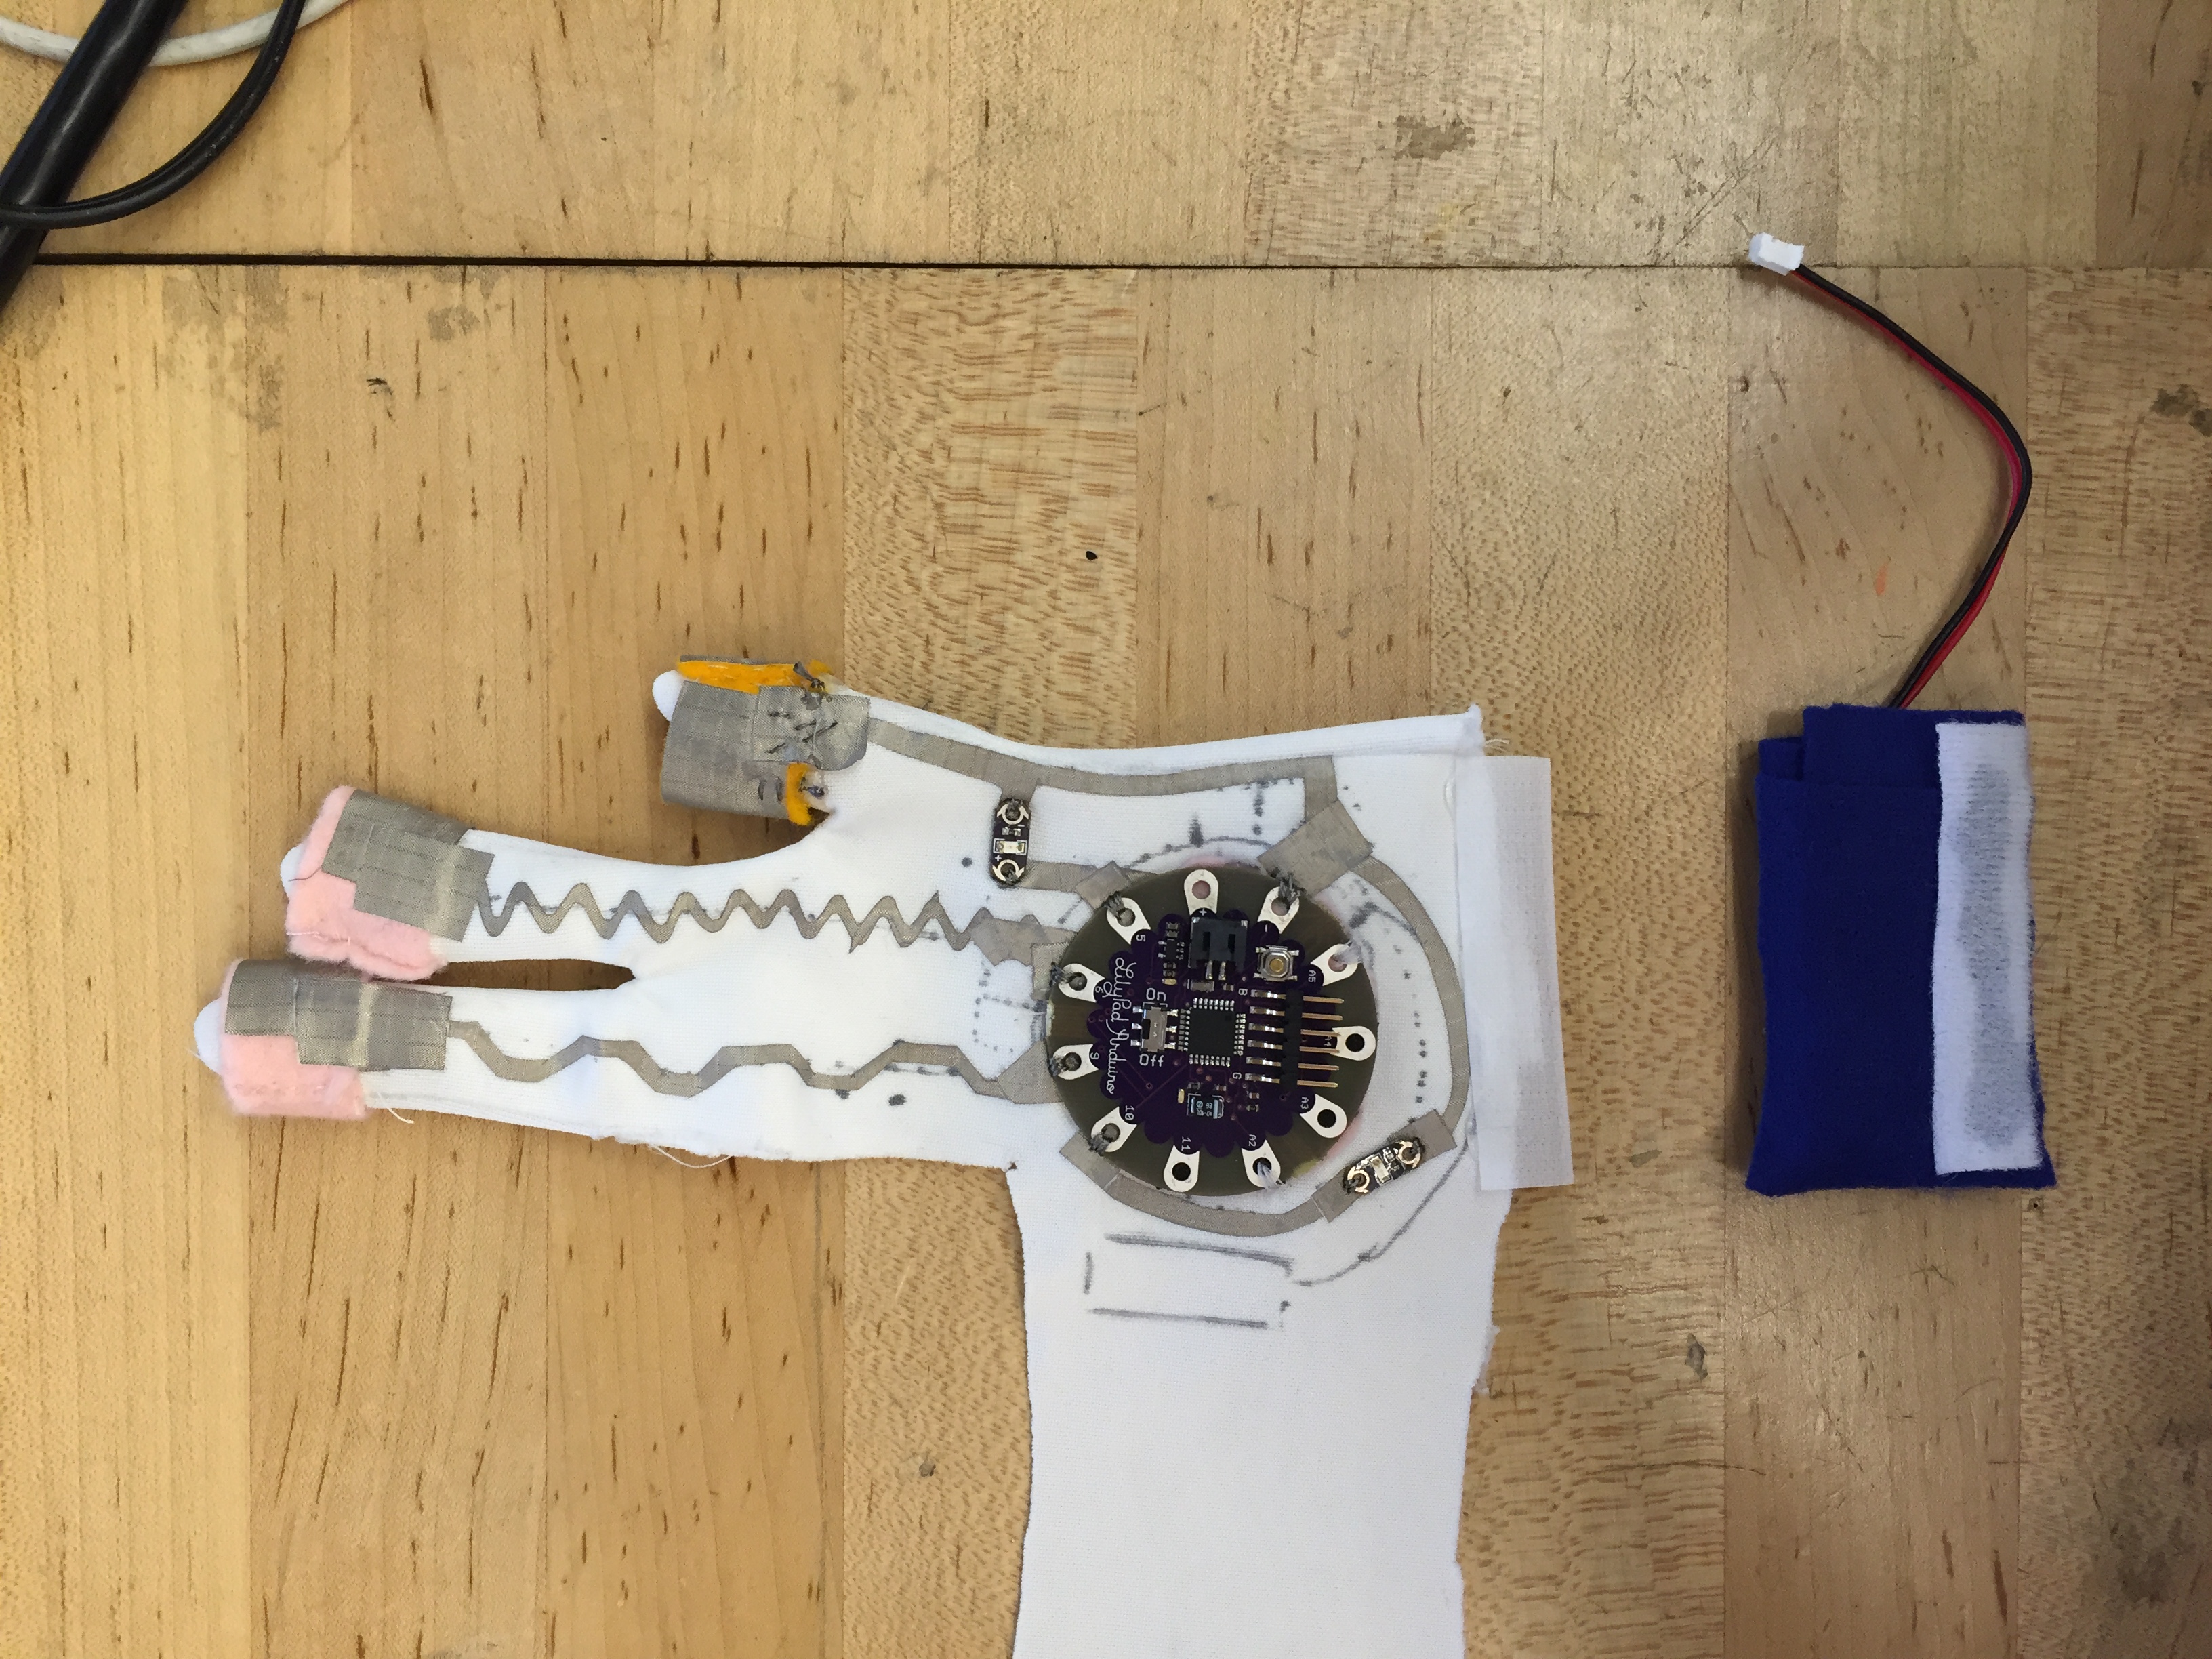
We connected all the electronics with conductive thread, placed the LEDs, and made a pouch for the battery. We decided that the battery could be attached with velcro to the end of the glove, and it would sit easily on the back of the wrist comfortably. Lastly, we insulated all the hard components with a felt cover so that Sara wouldn’t hurt herself if she happened to hit the LilyPad.
What we learned from prototype #1: We shipped out the glove and got feedback on it. The biggest problem with the glove was that the fingers were too long. We also learned that it is hard for Sara to move her fingers, and not possible for her to bring her thumb and fingers together to make a connection. The good things were that Sara said the glove and the stretchy fabric material were comfortable to wear, and the battery pack was comfortable and didn’t get in the way.
Next steps, we decided to scrap trying to use her fingers as a way to trigger sound and try to think of other ways she might be able to use what little movement she has as a way to communicate.
Prototype #2
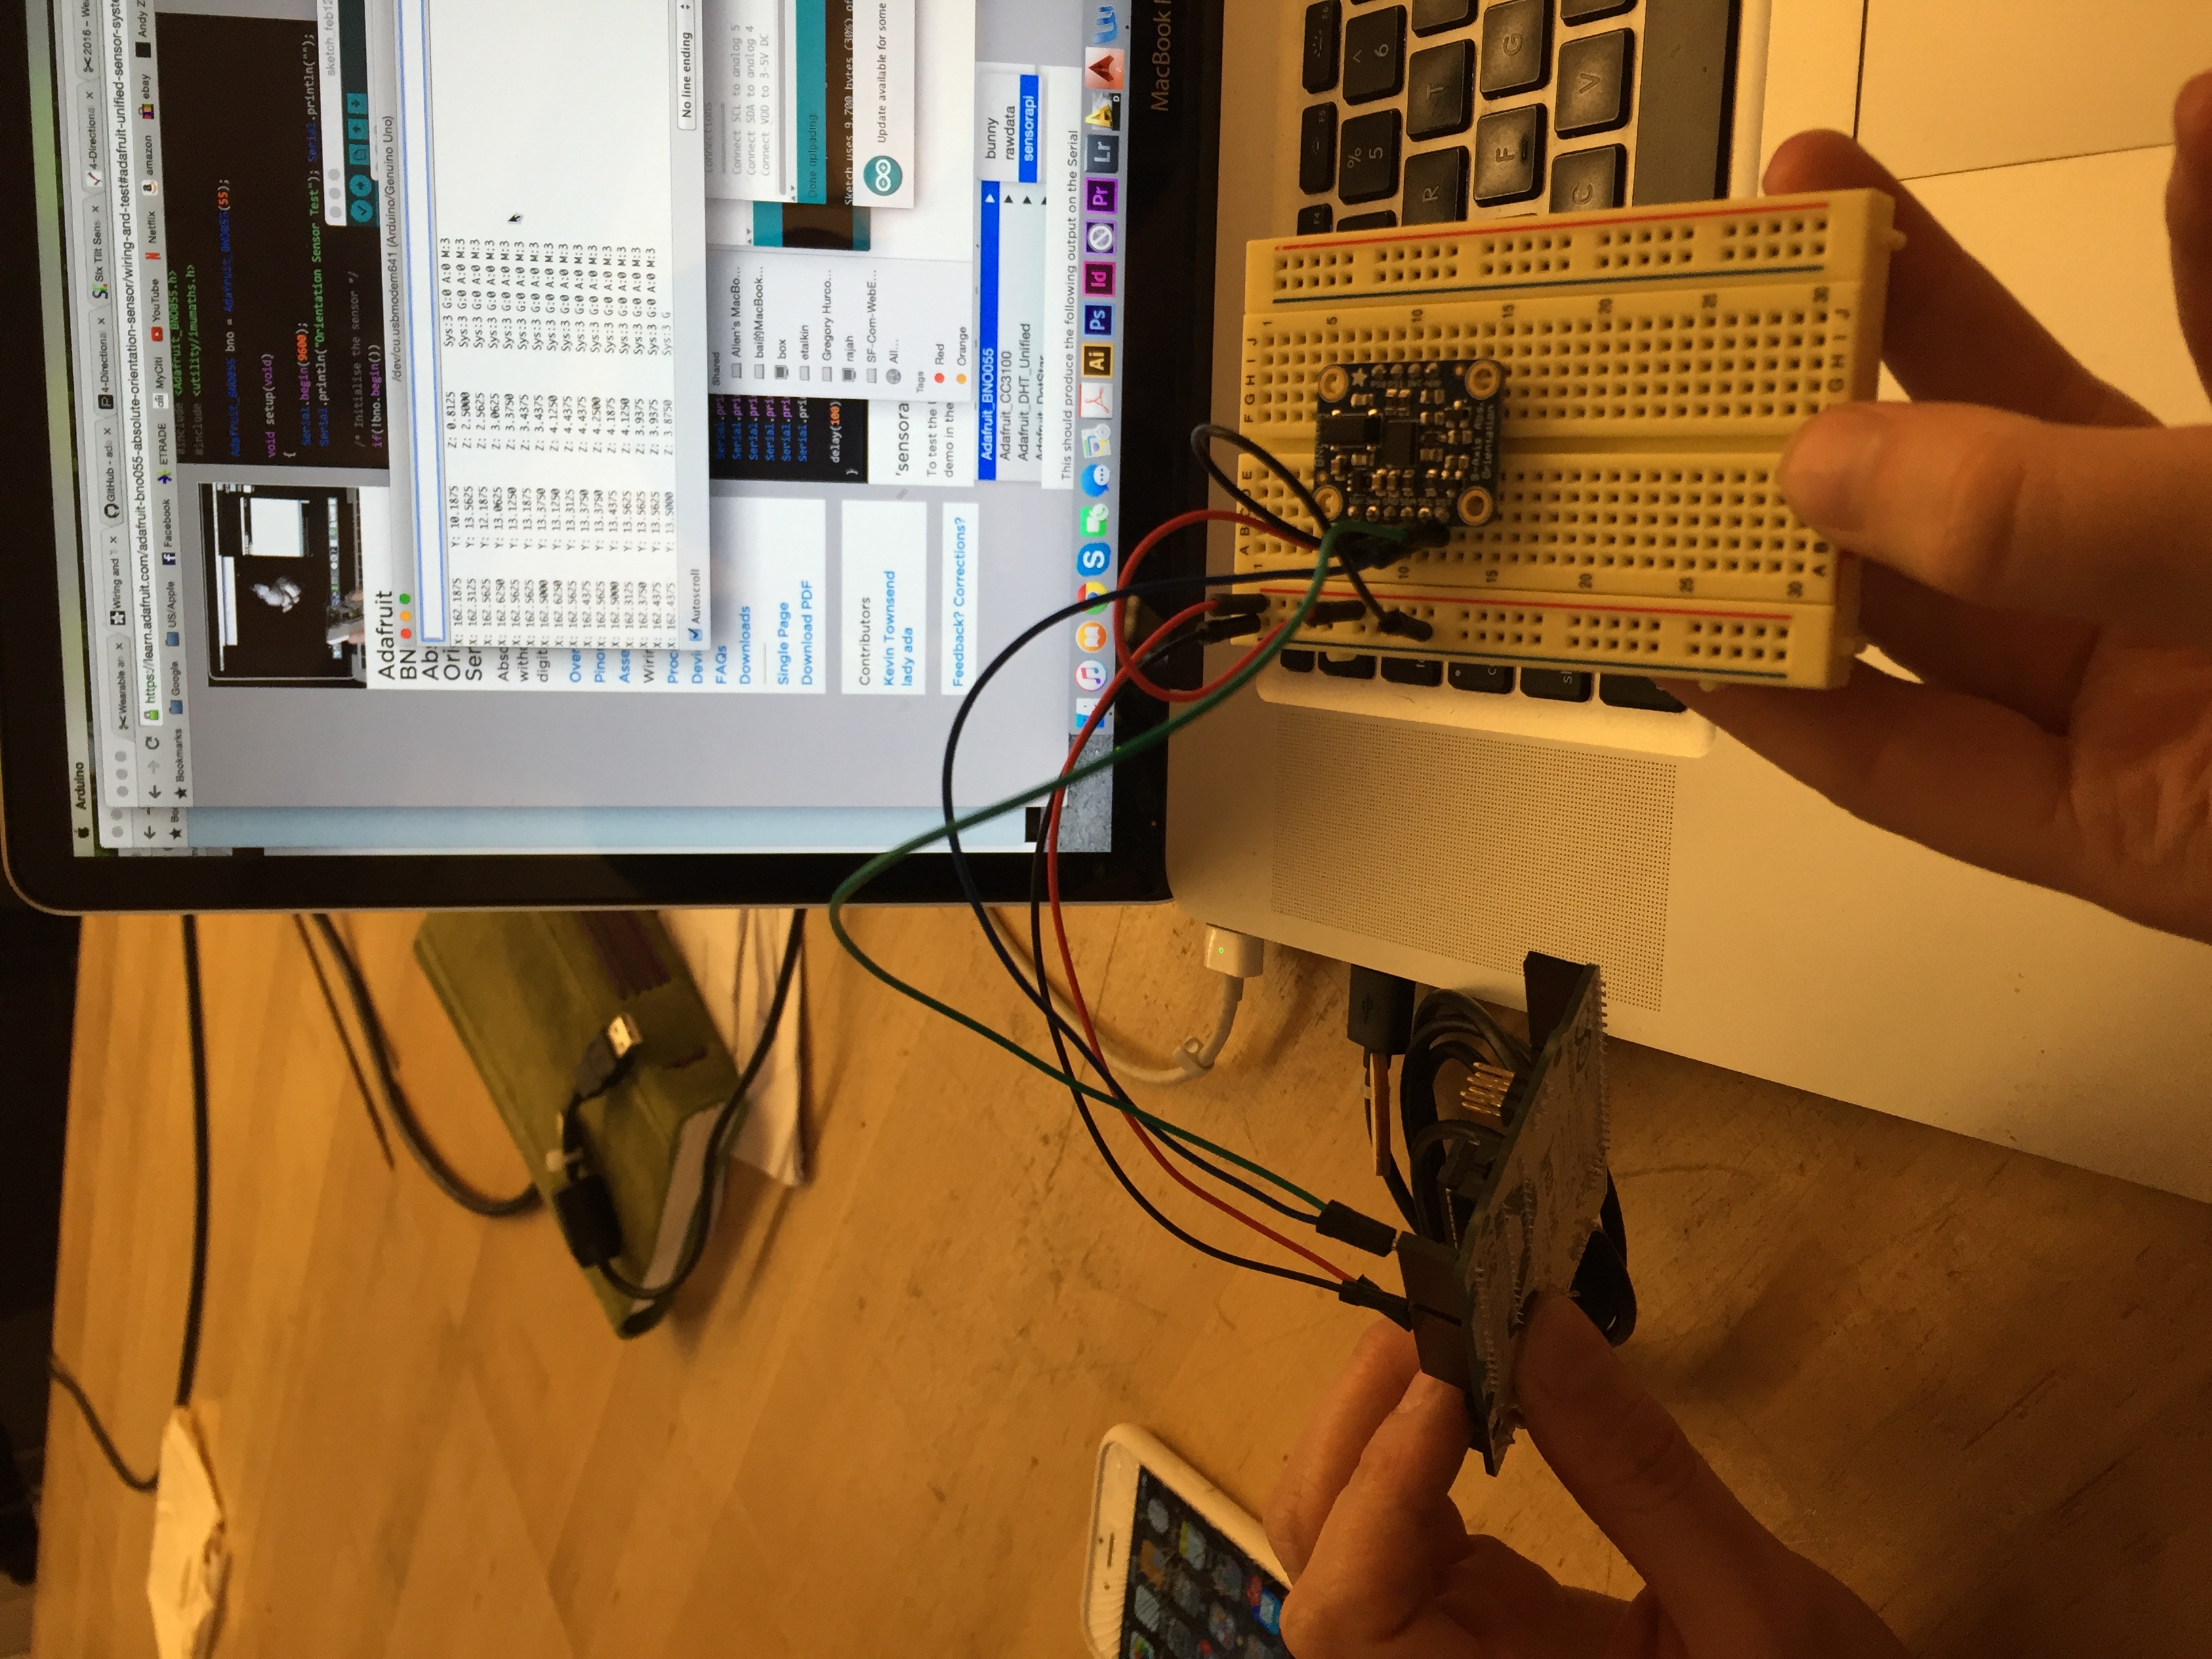
For prototype #2, we went back to the drawing board and remembered that Sara really likes to draw and that she is able to hold a pencil. We thought it would be interesting to use some sort of digital drawing tool as an output to show Sara’s small thumb/index finger movements. We believed that it could work using an Accelerometer attached to the end of a pencil, that would pick up her tiny movements and plot them digitally as a way to visually communicate.
We tried to use Processing in communication with Arduino, but realized that 1. the code is hard to hack 2. even if we did get it to plot her movements, it wouldn’t be much different than her drawing on paper 3. the family would have to download Processing and have it open and running every time Sara needed to talk which would be tedious and a lot of upkeep 4. we didn’t come to any good solutions for the “rules” of how her drawing would translate to communicating (and what would happen if she didn’t need to say anything but the software/accelerometer would still be running/drawing and would be confusing for all parties involved.)
Unfortunately, we didn’t move on from this idea fast enough for us to come up with a better solution for prototype #2, hence why we shipped a blank glove.

Prototype #3
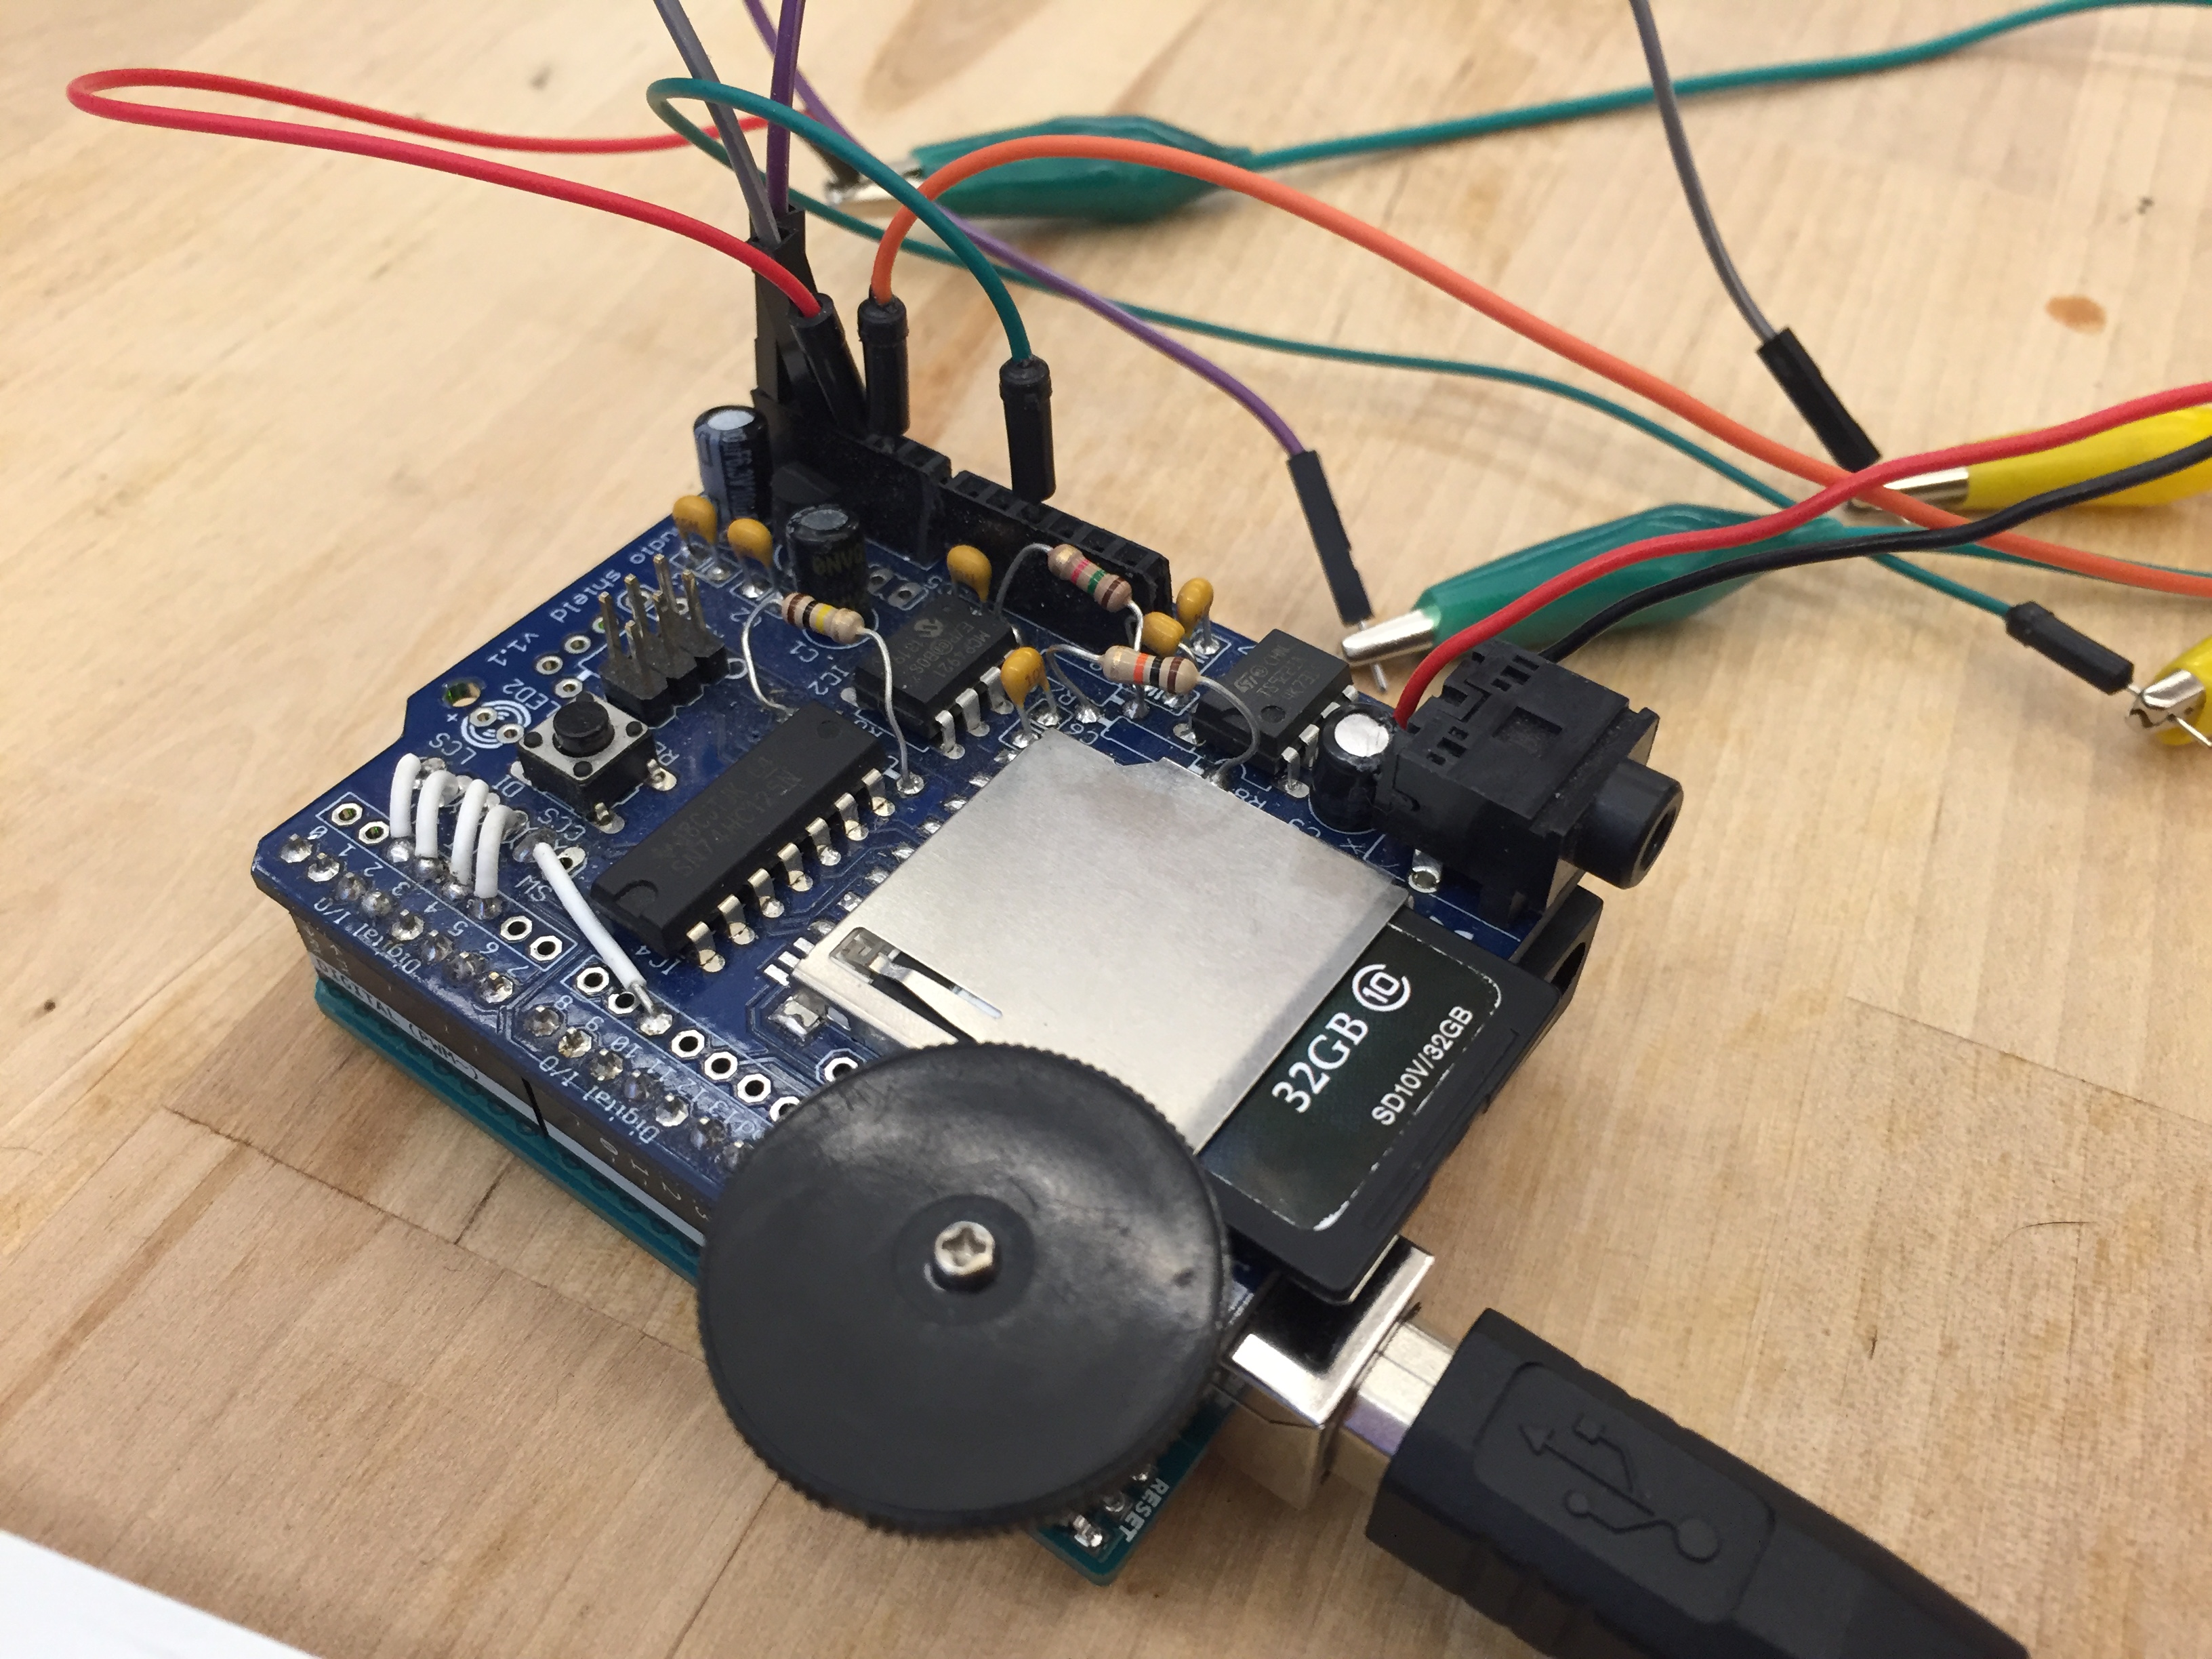
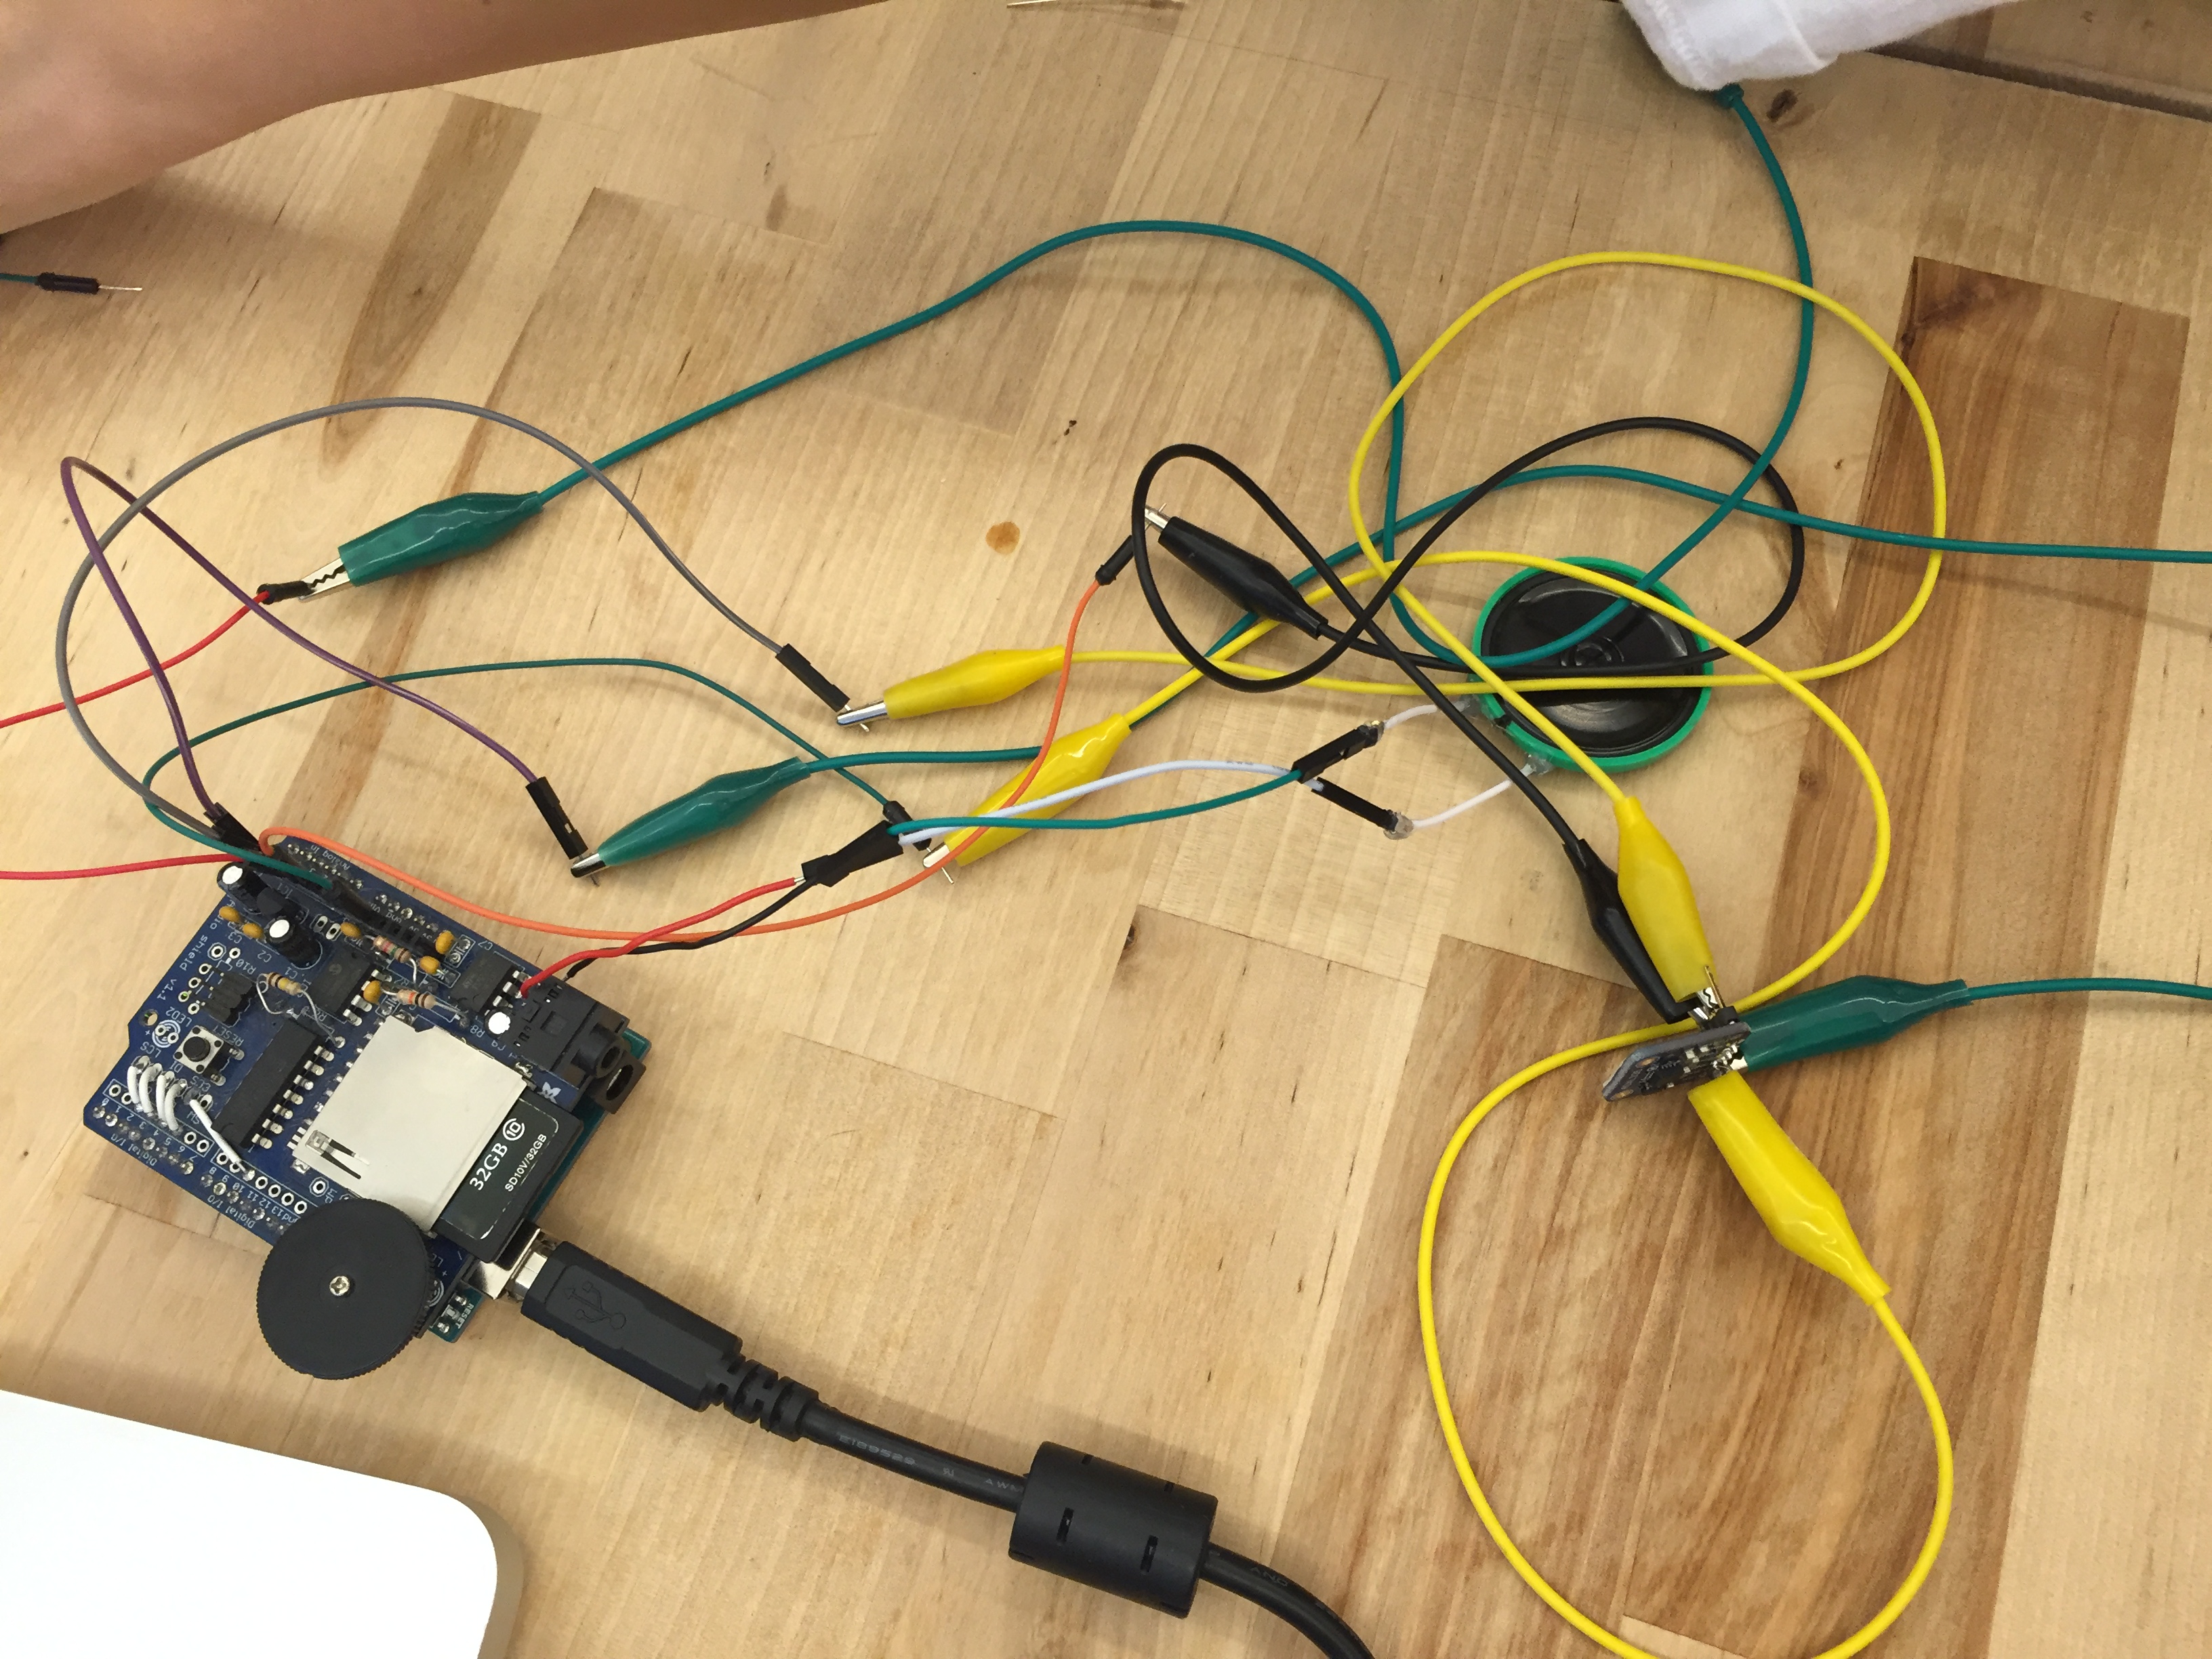
After the failure that was prototype #2 we got a little discouraged about what we would be able to accomplish in the remaining time. We decided that instead of getting caught up in making something technically complicated, we should do something simpler that involved sound knowing that Sara responds well to sound. We thought about using the Bare Conductive Board because it’s an extremely simple way to connect a sound clip directly to a digital pin output. Unfortunately for us, they are pretty pricey and we are broke.
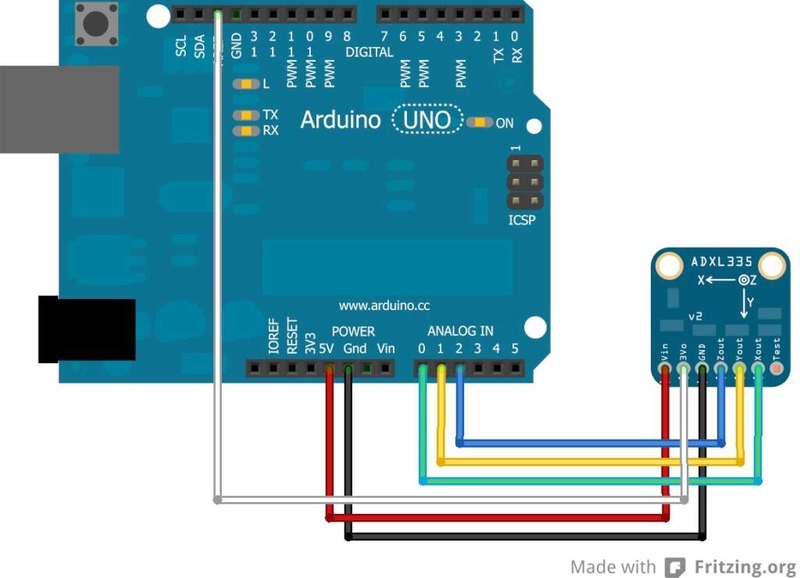
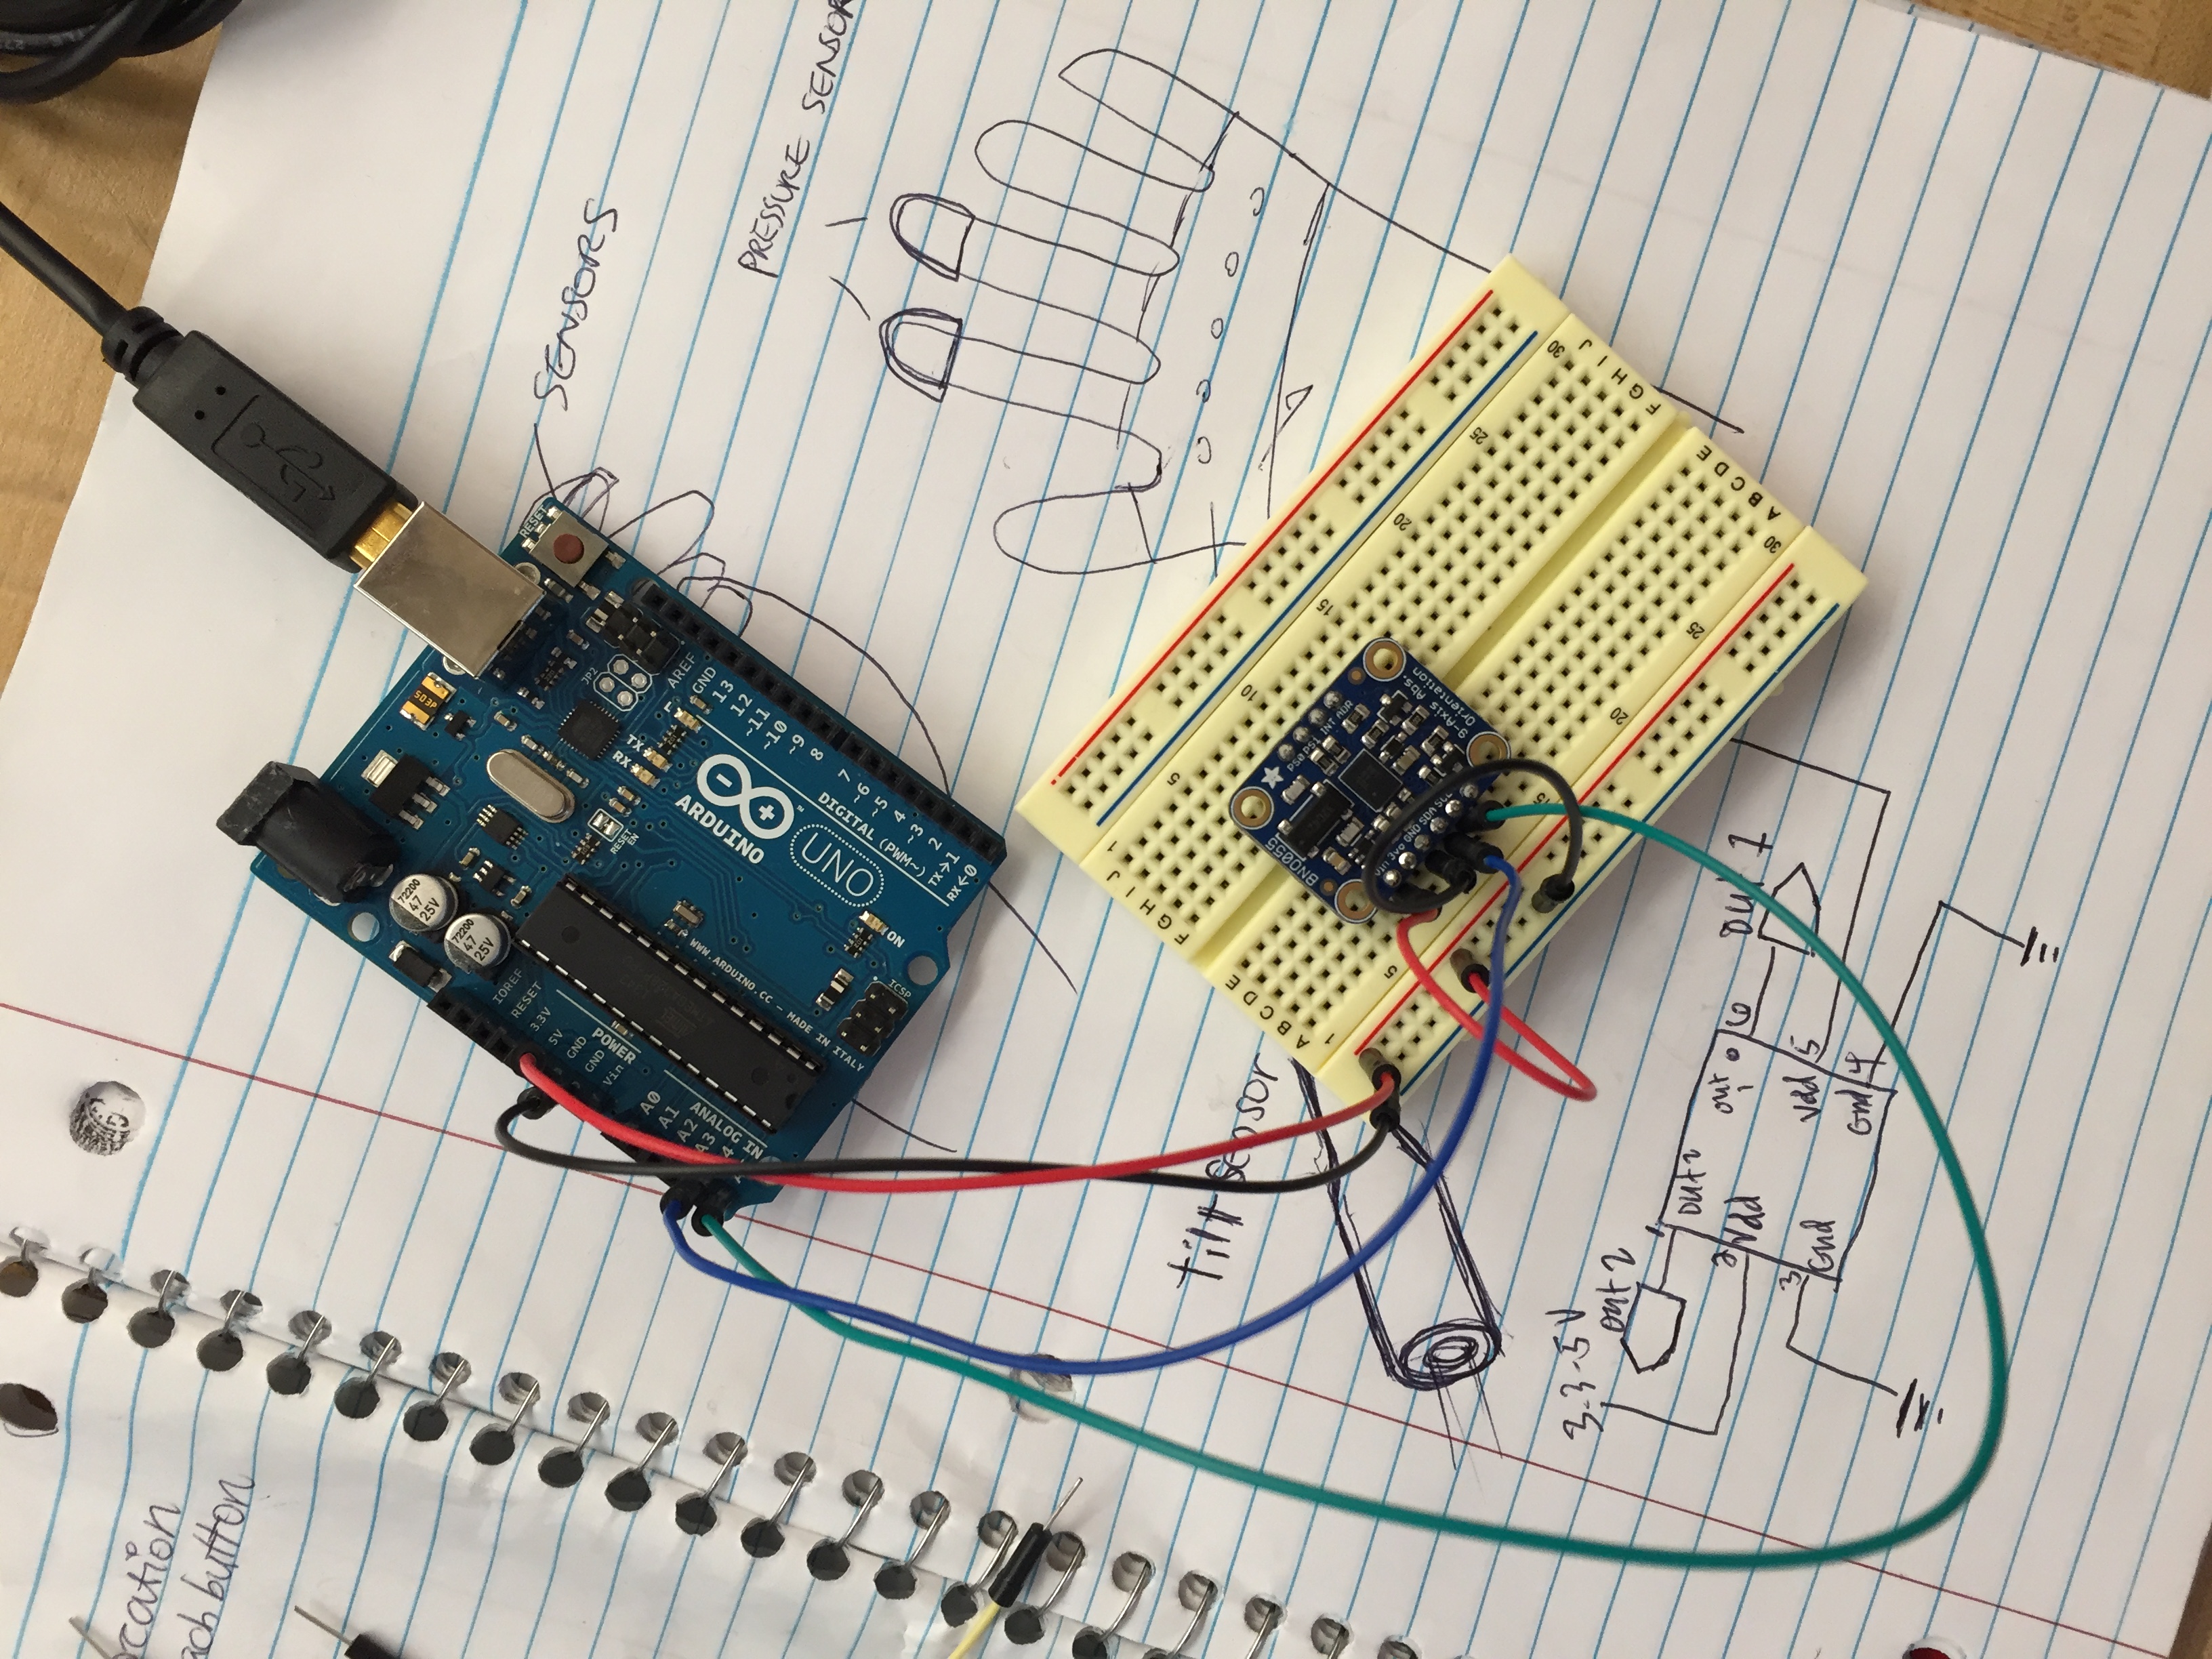
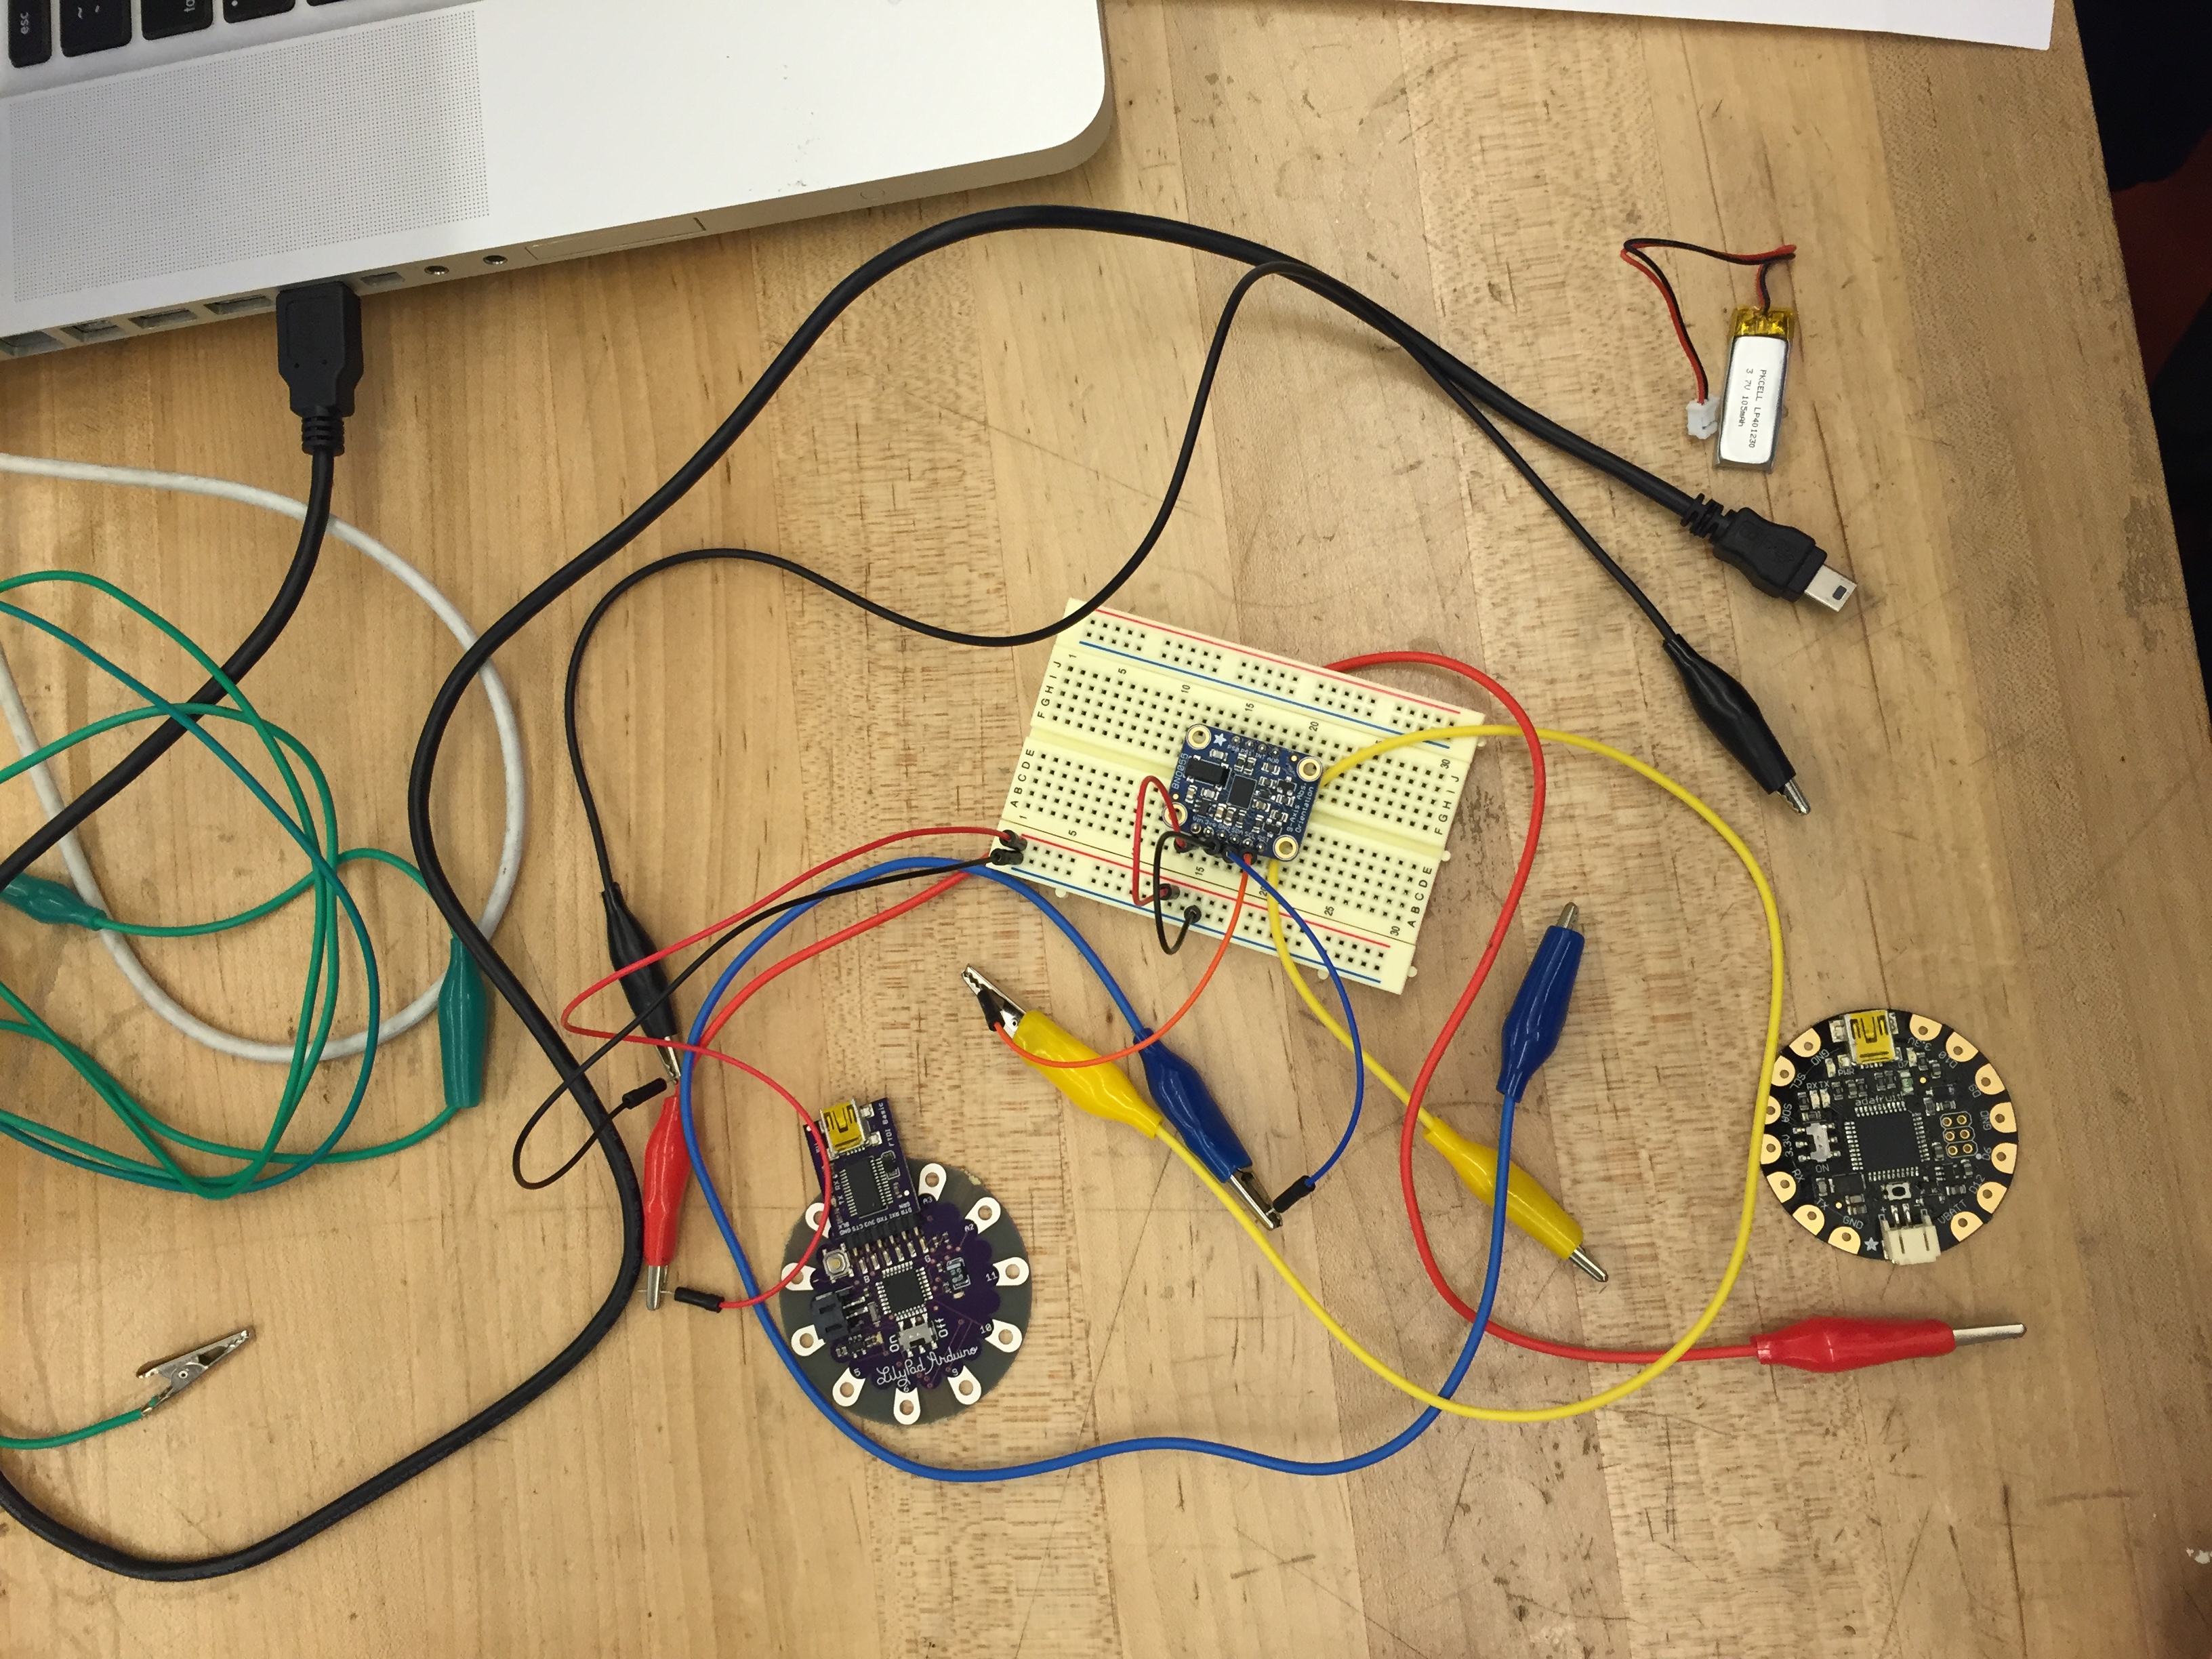
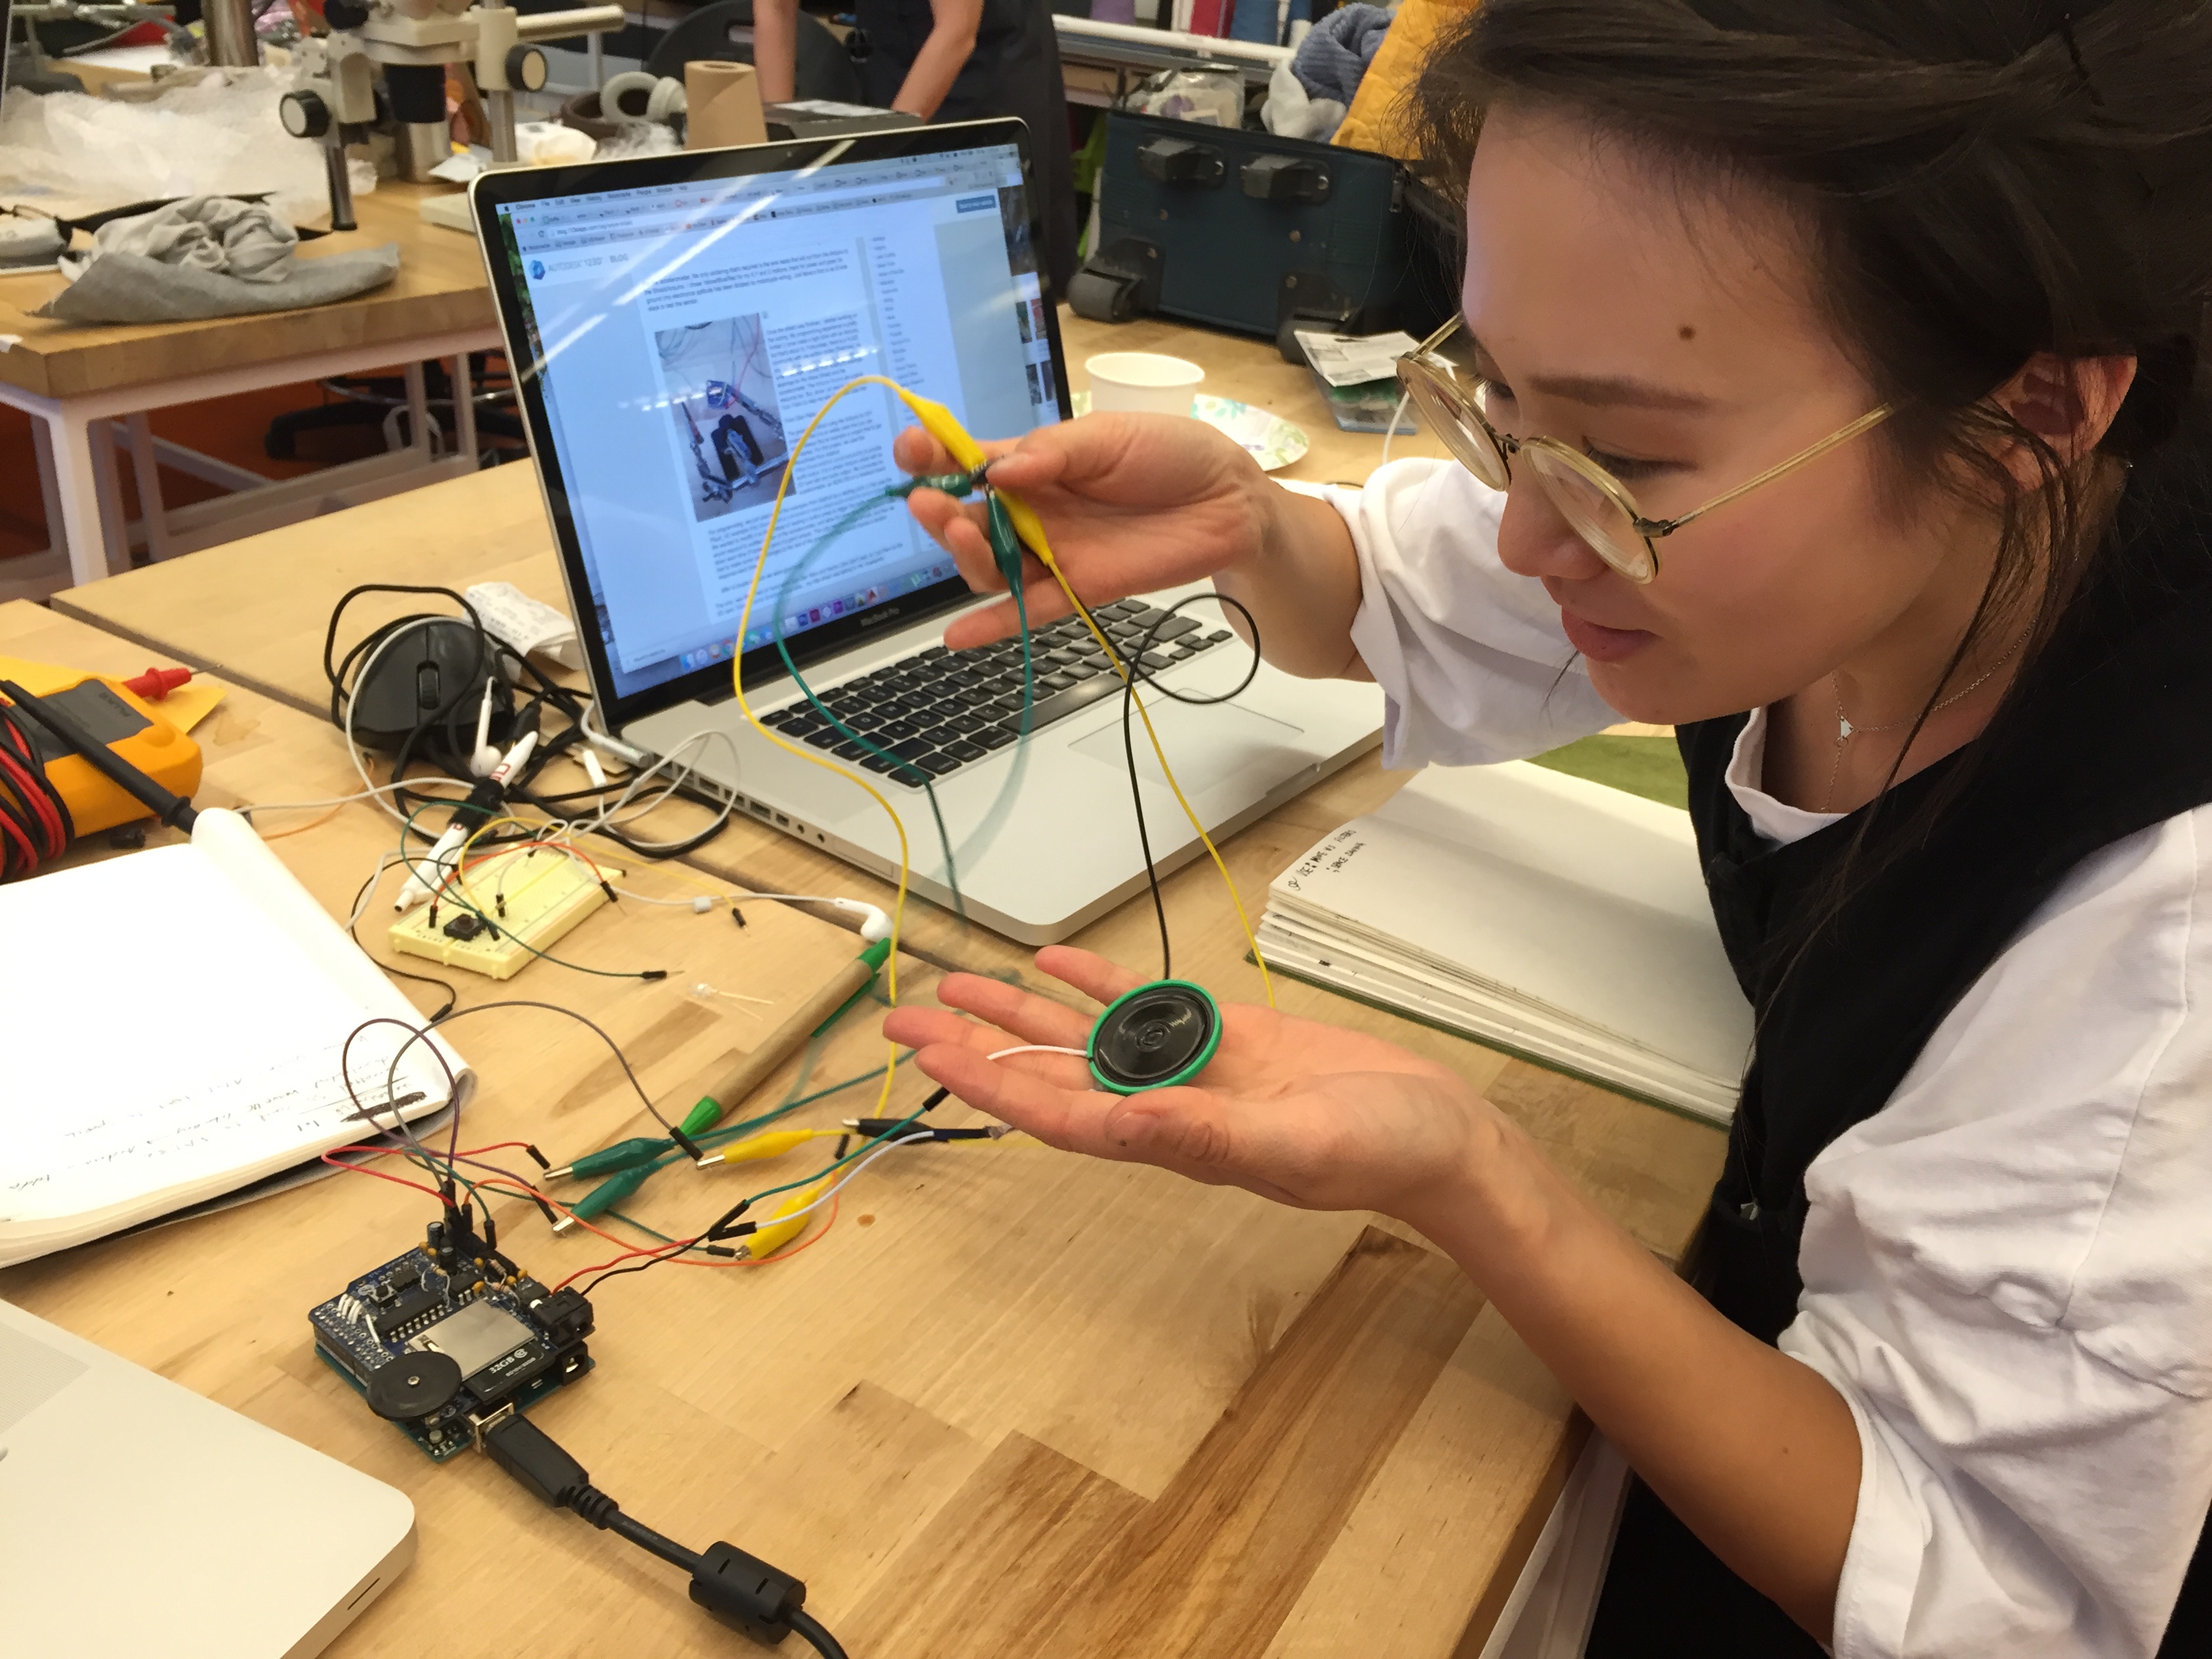
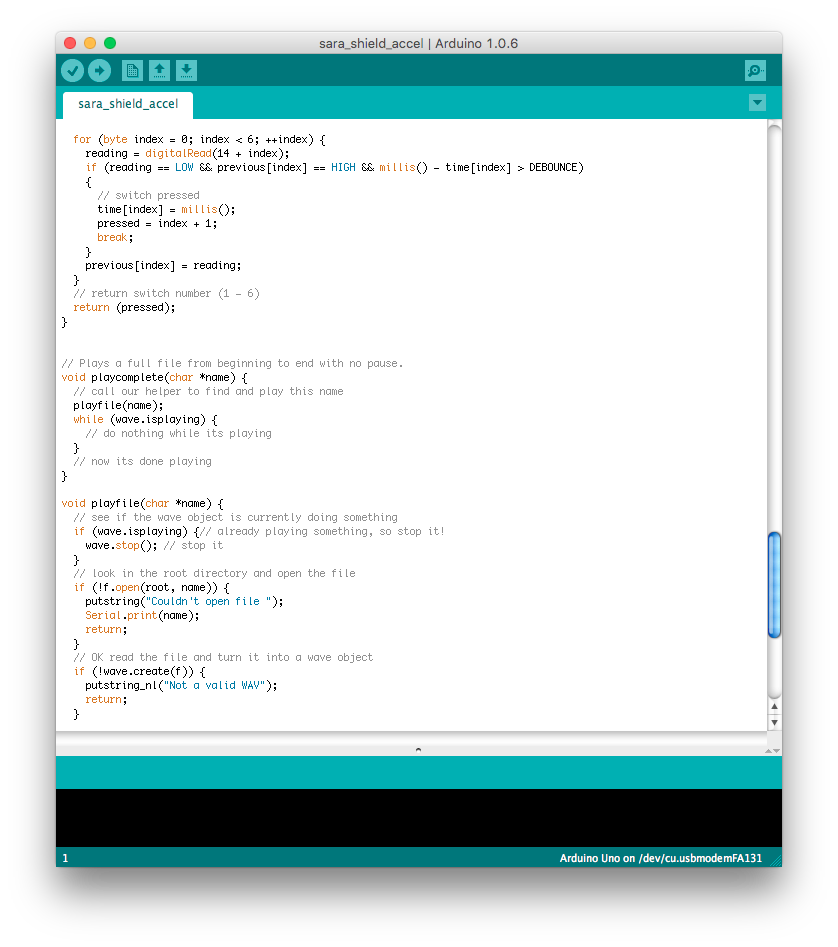
We decided to try and make something (literally, ANYTHING) work, so we tried the Waveshield with the Accelerometer and Arduino. It is extremely finicky and I wouldn’t use it in the future, but it was our last hope. Our goal for sound to be triggered when the accelerometer was moved in certain directions. Knowing that Sara is minimal amount of movement, we thought being able to use a small range in directionality could be used to prompt the Waveshield to output 1 of 4 sound clips. The clips we wanted to use were yes, no, bathroom, suction, because those are the most important words for Sara to be able to say. We imagined that if the Accelerometer was attached to her index finger, then an up movement (in a range that we would test) would trigger YES, a down movement NO, a right movement BATHROOM, a left movement SUCTION.
In the end, we ran out of time in making the thing. We got it to say YES, but had a hard time figuring out how to get the ranges to trigger the 3 other sounds. But I actually believe that if we had finished it the way we wanted, it would have worked and helped Sara communicate.
Final Presentation
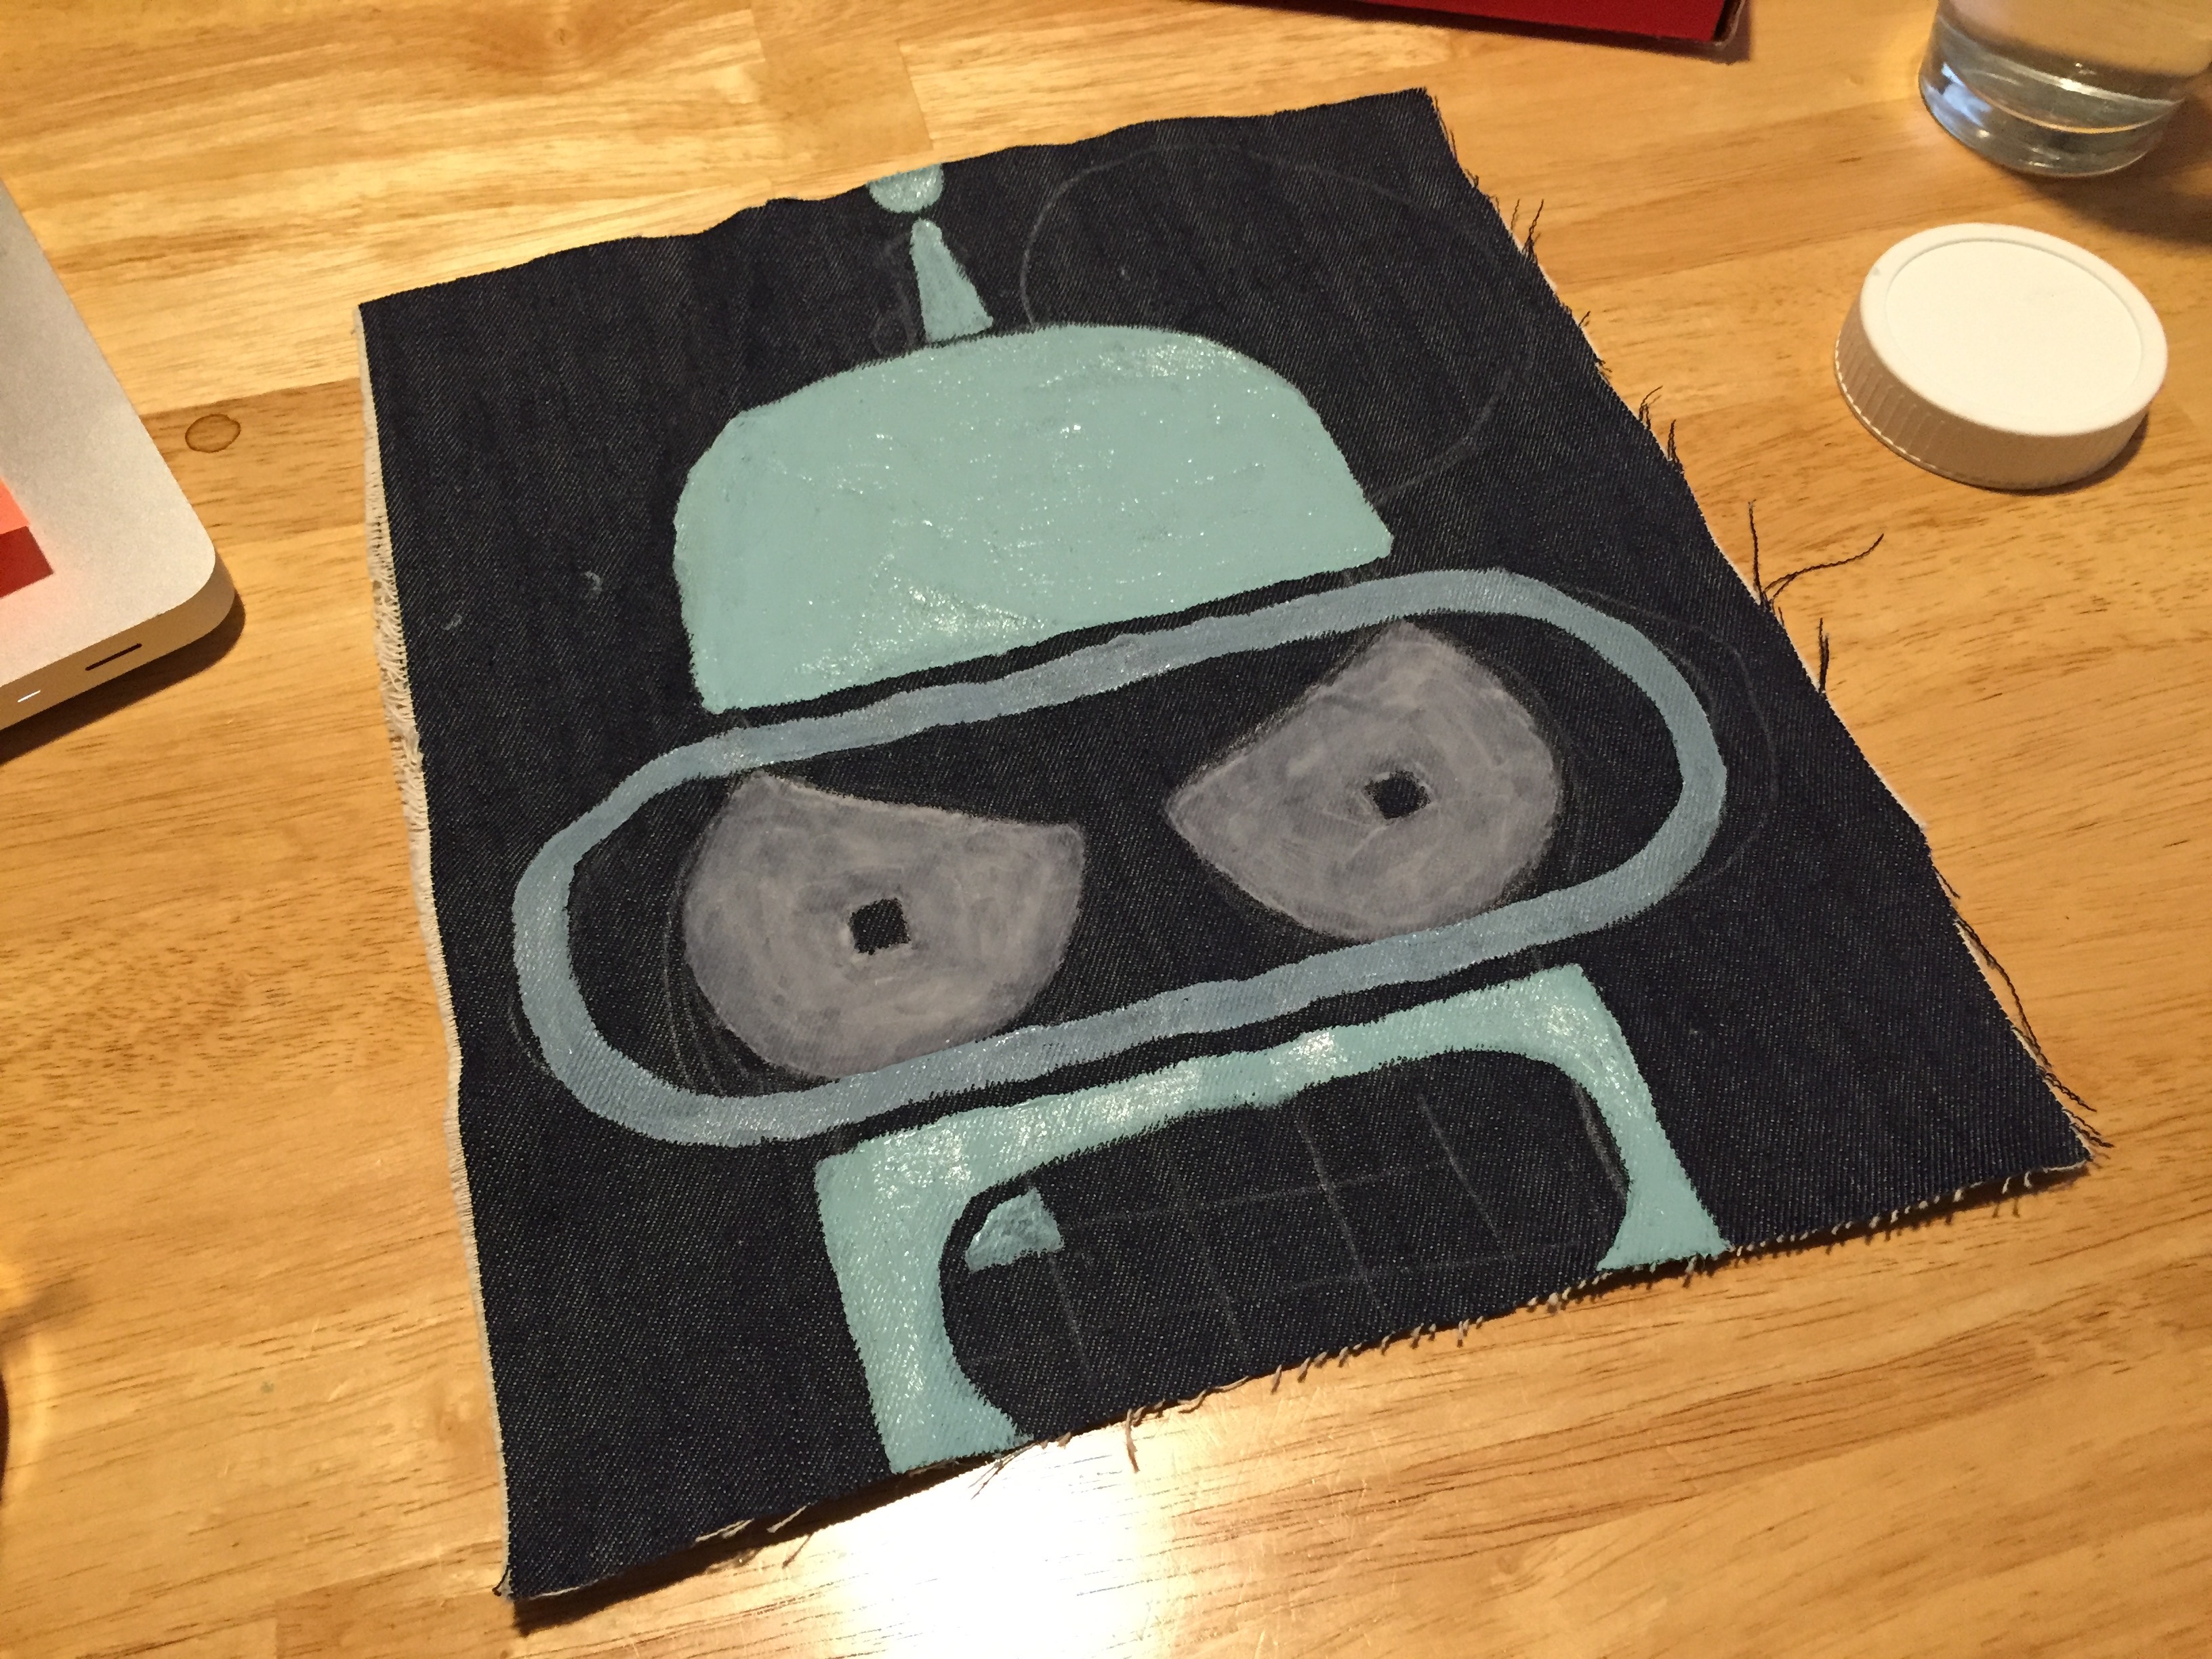
Dynamic Textile
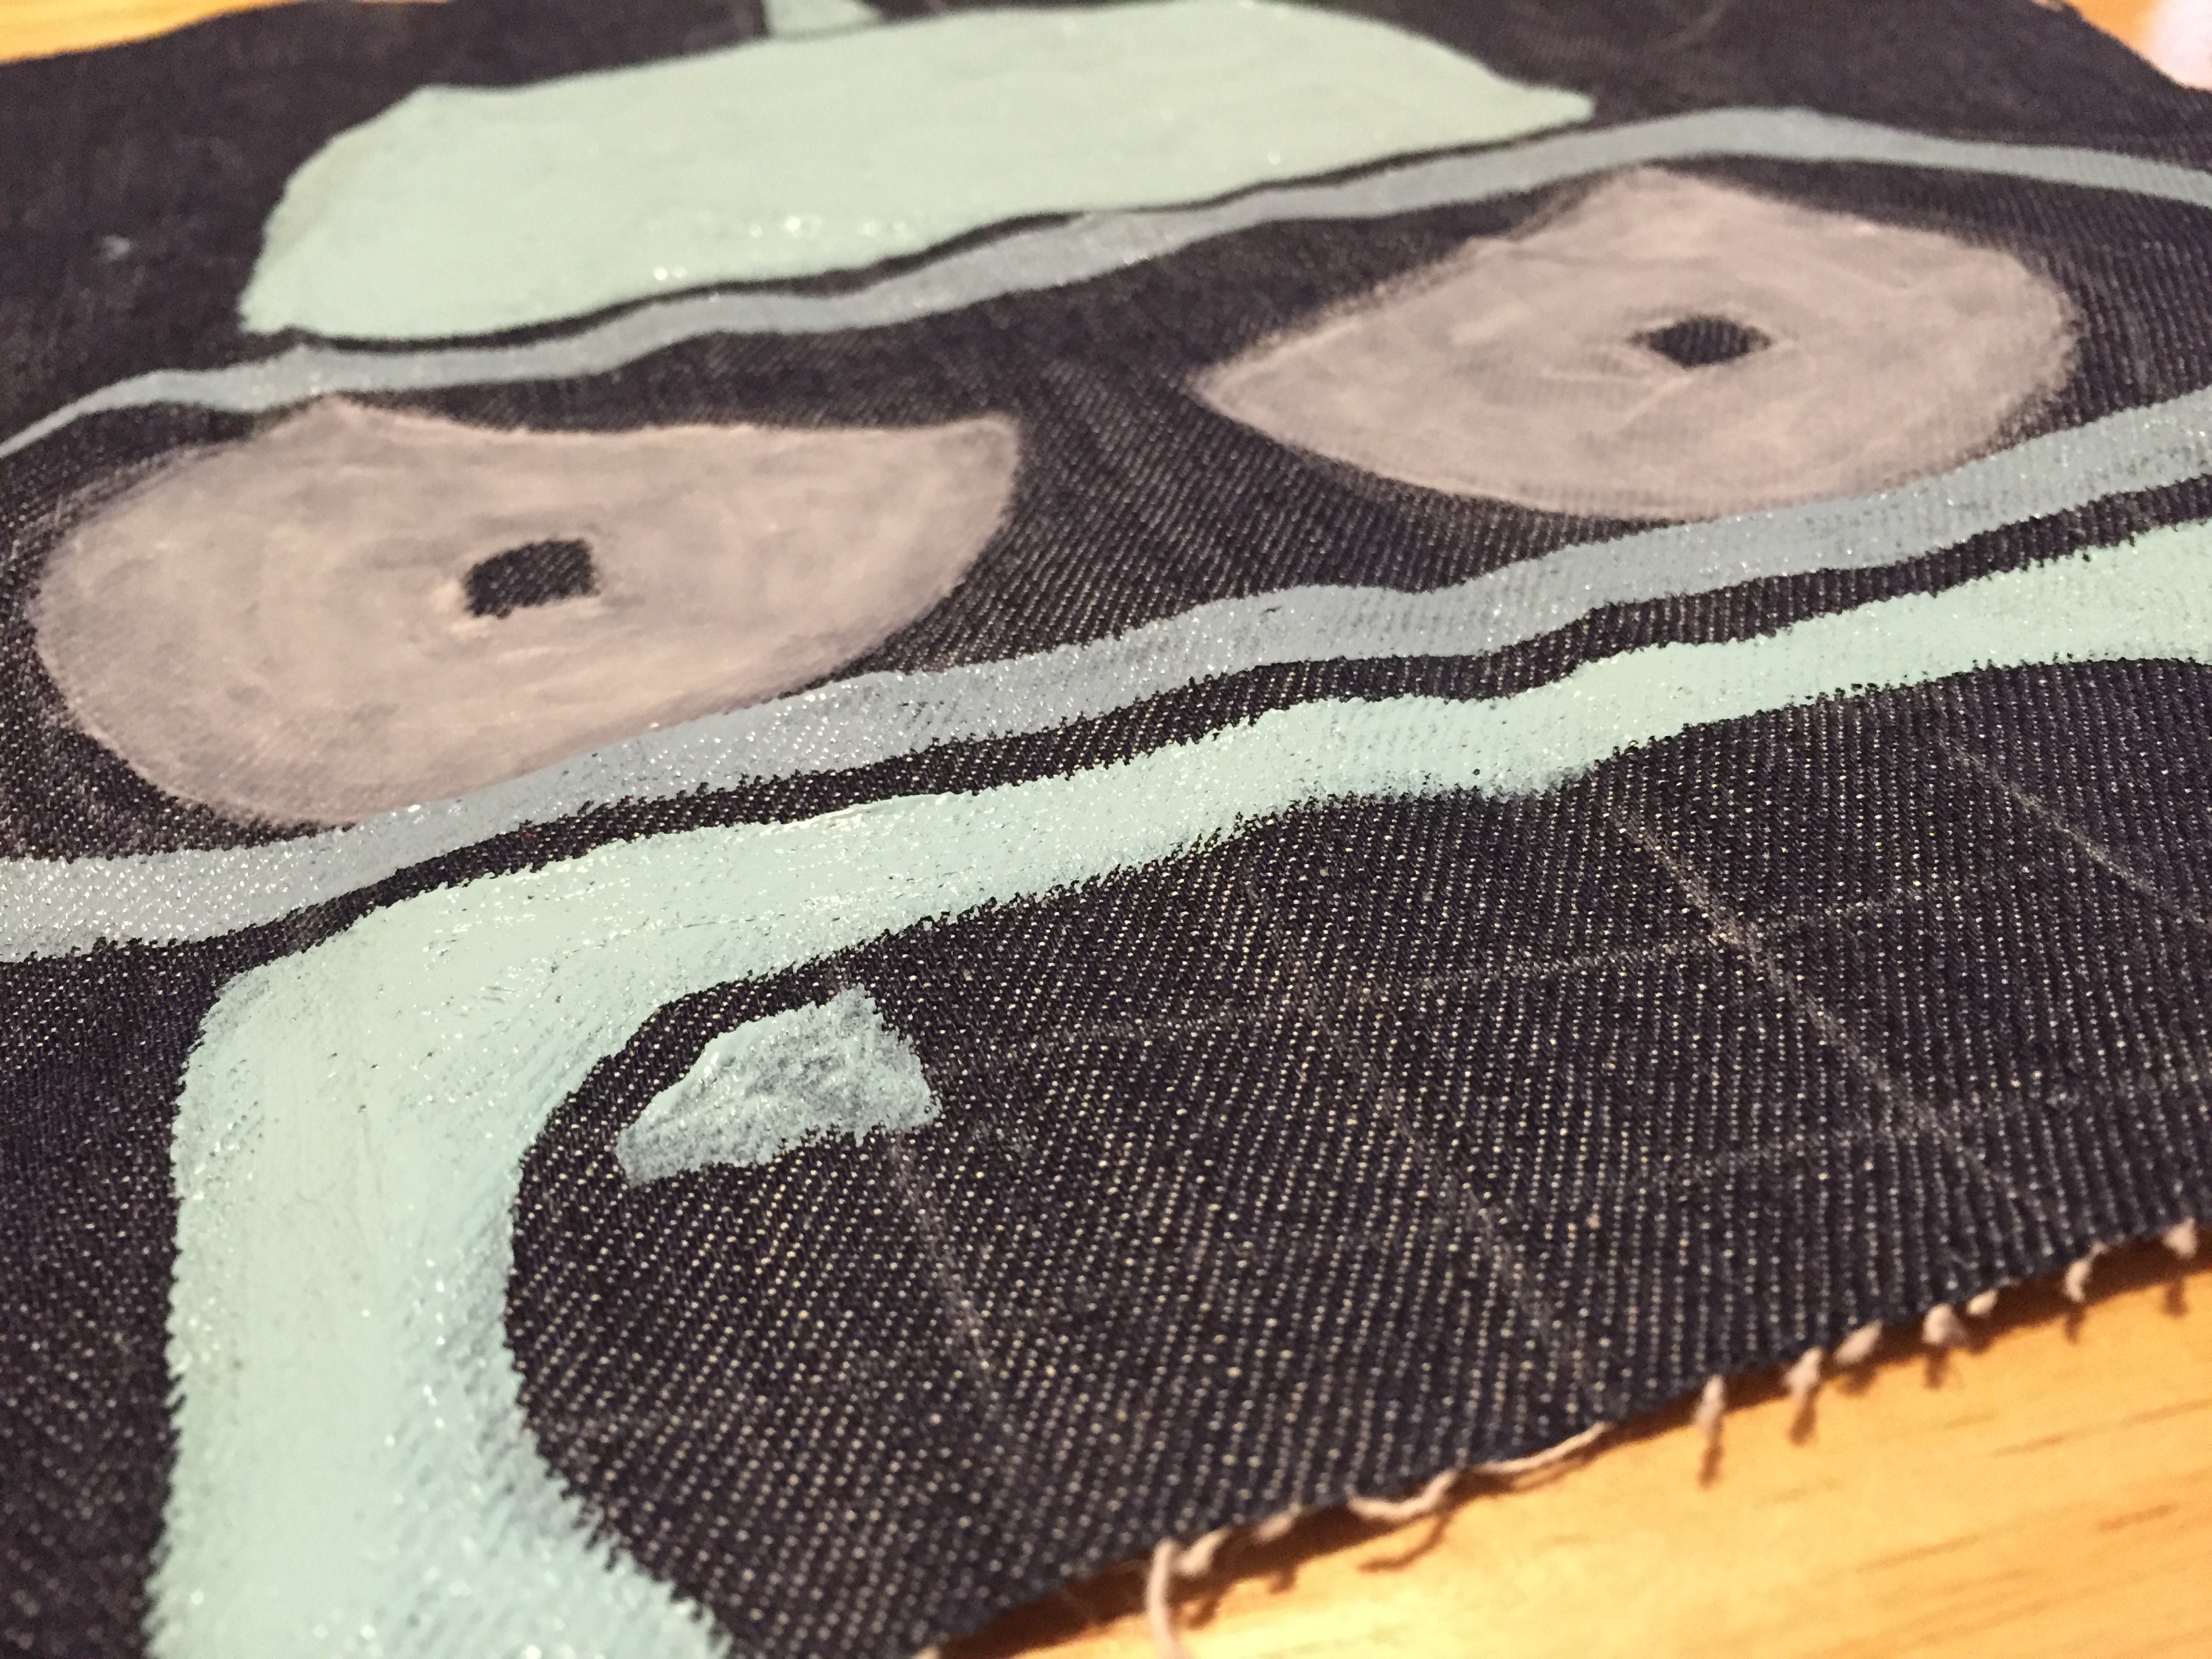
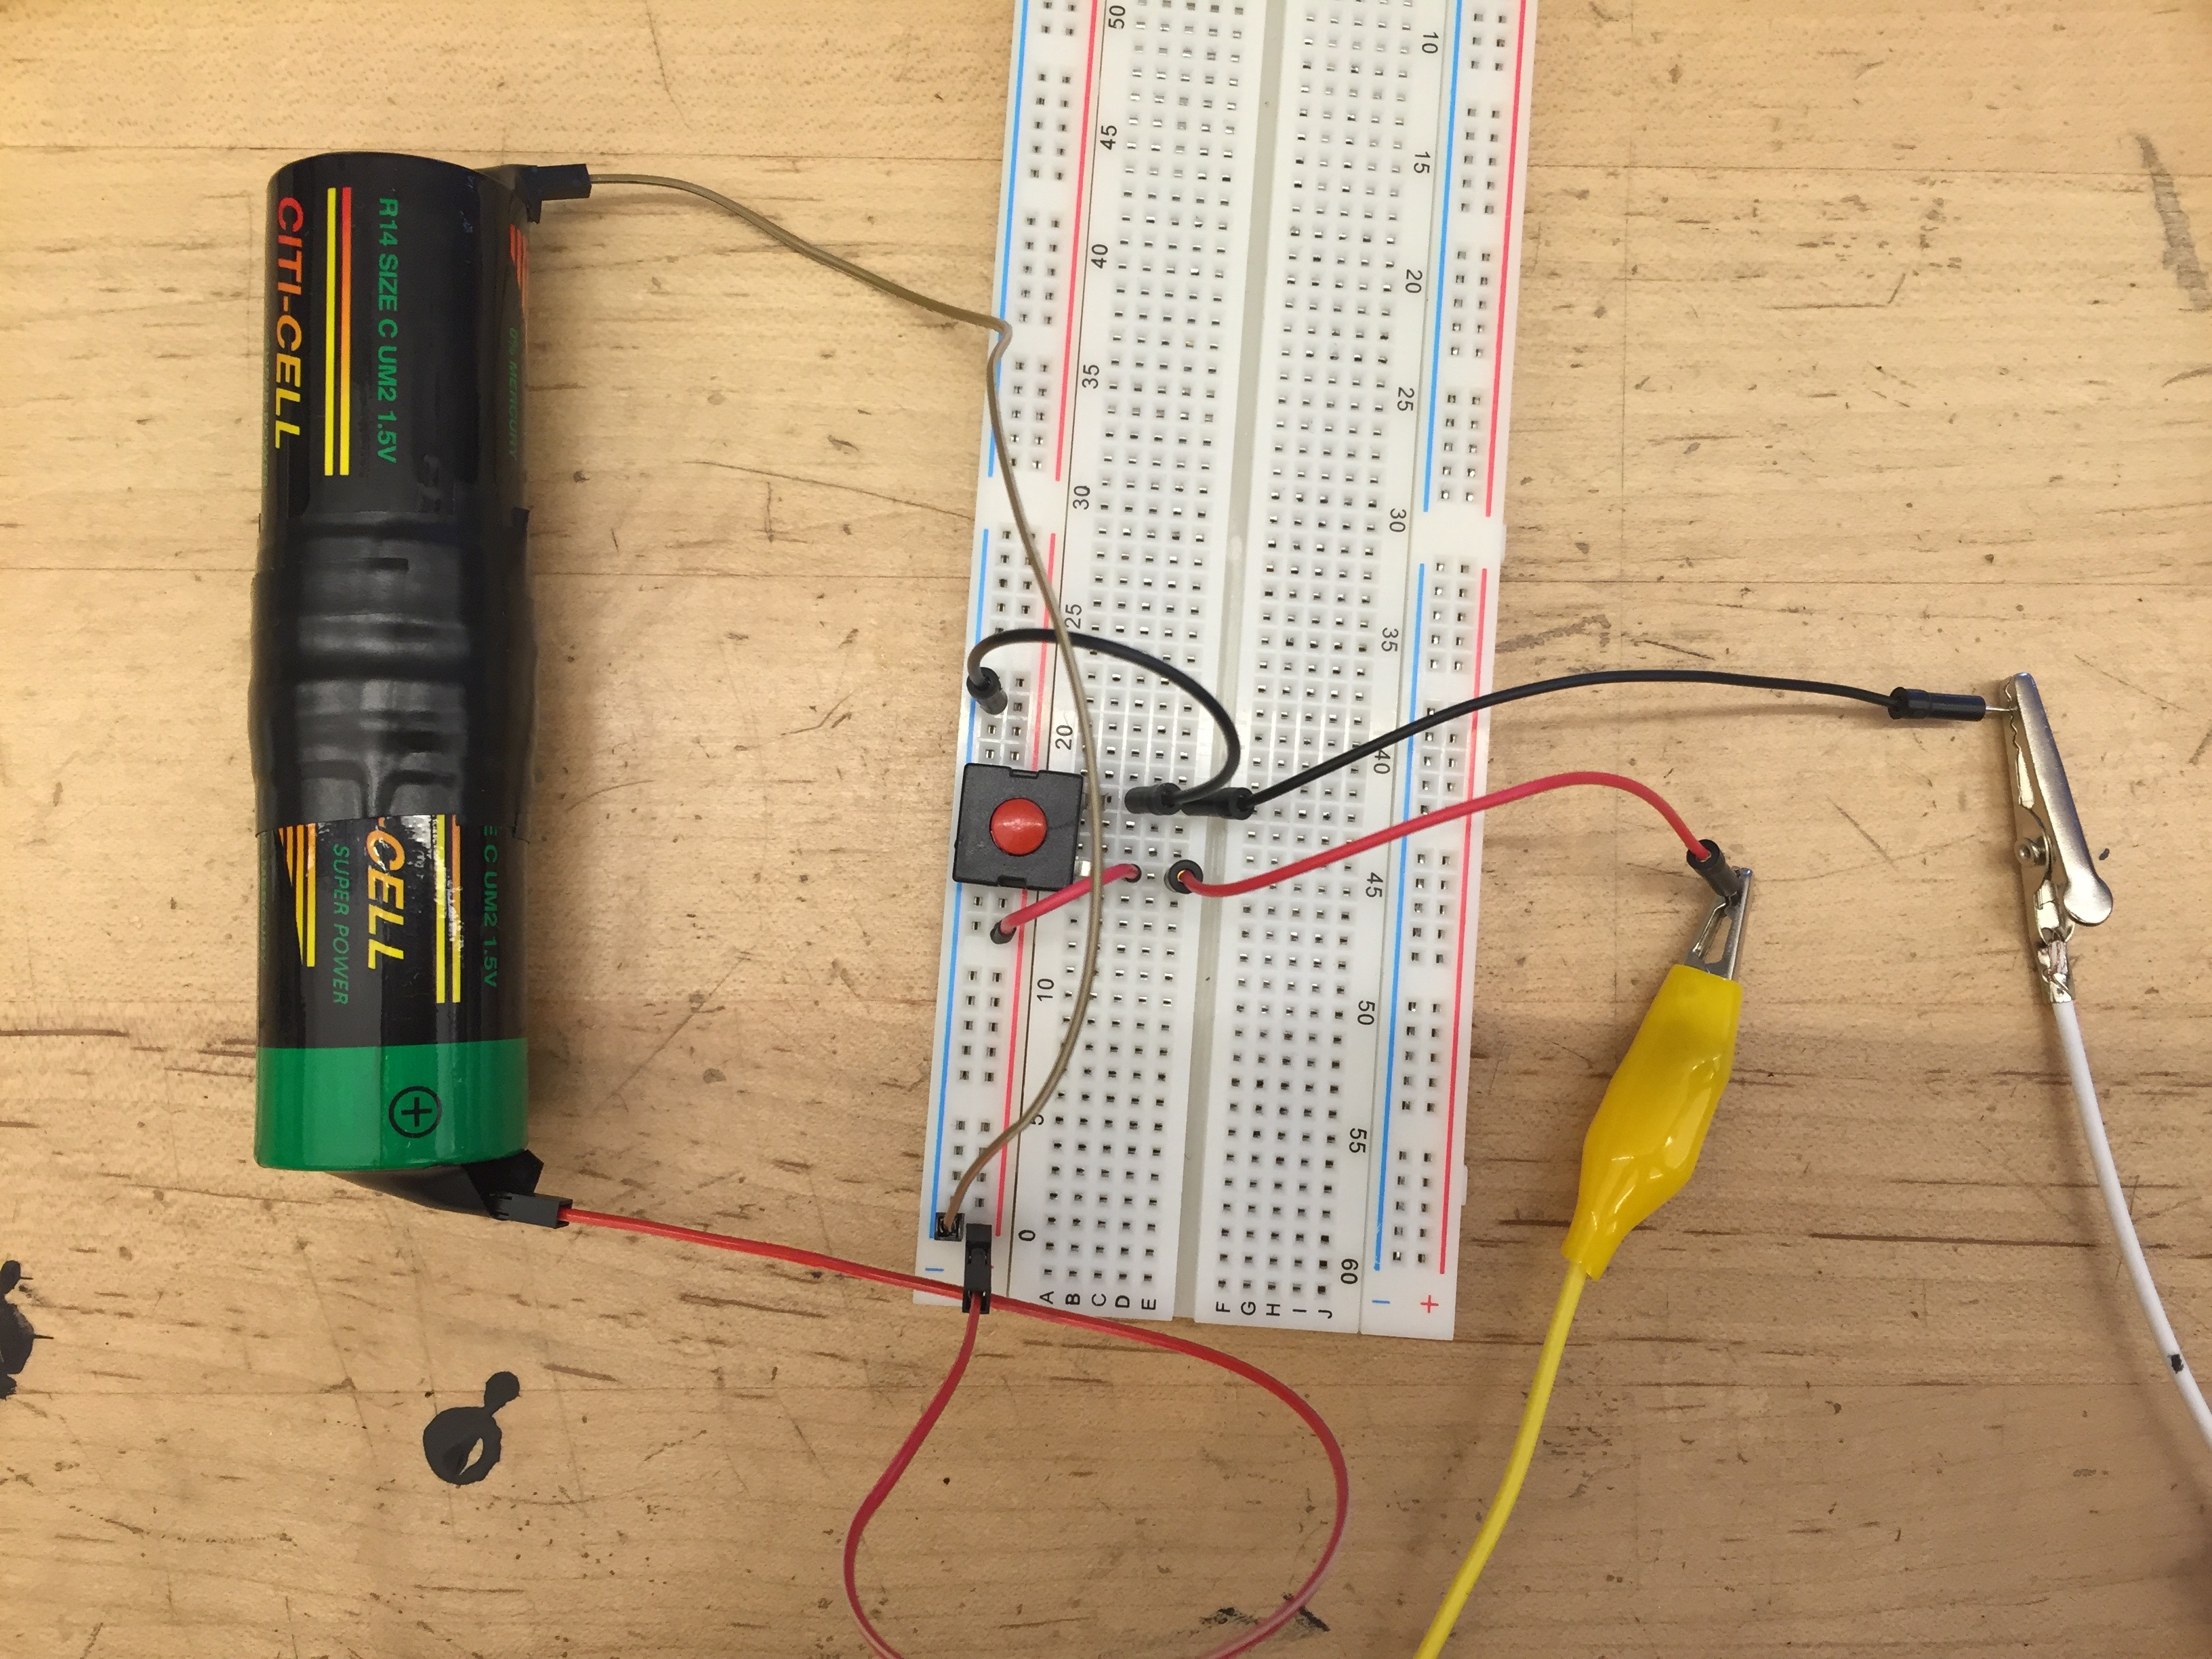
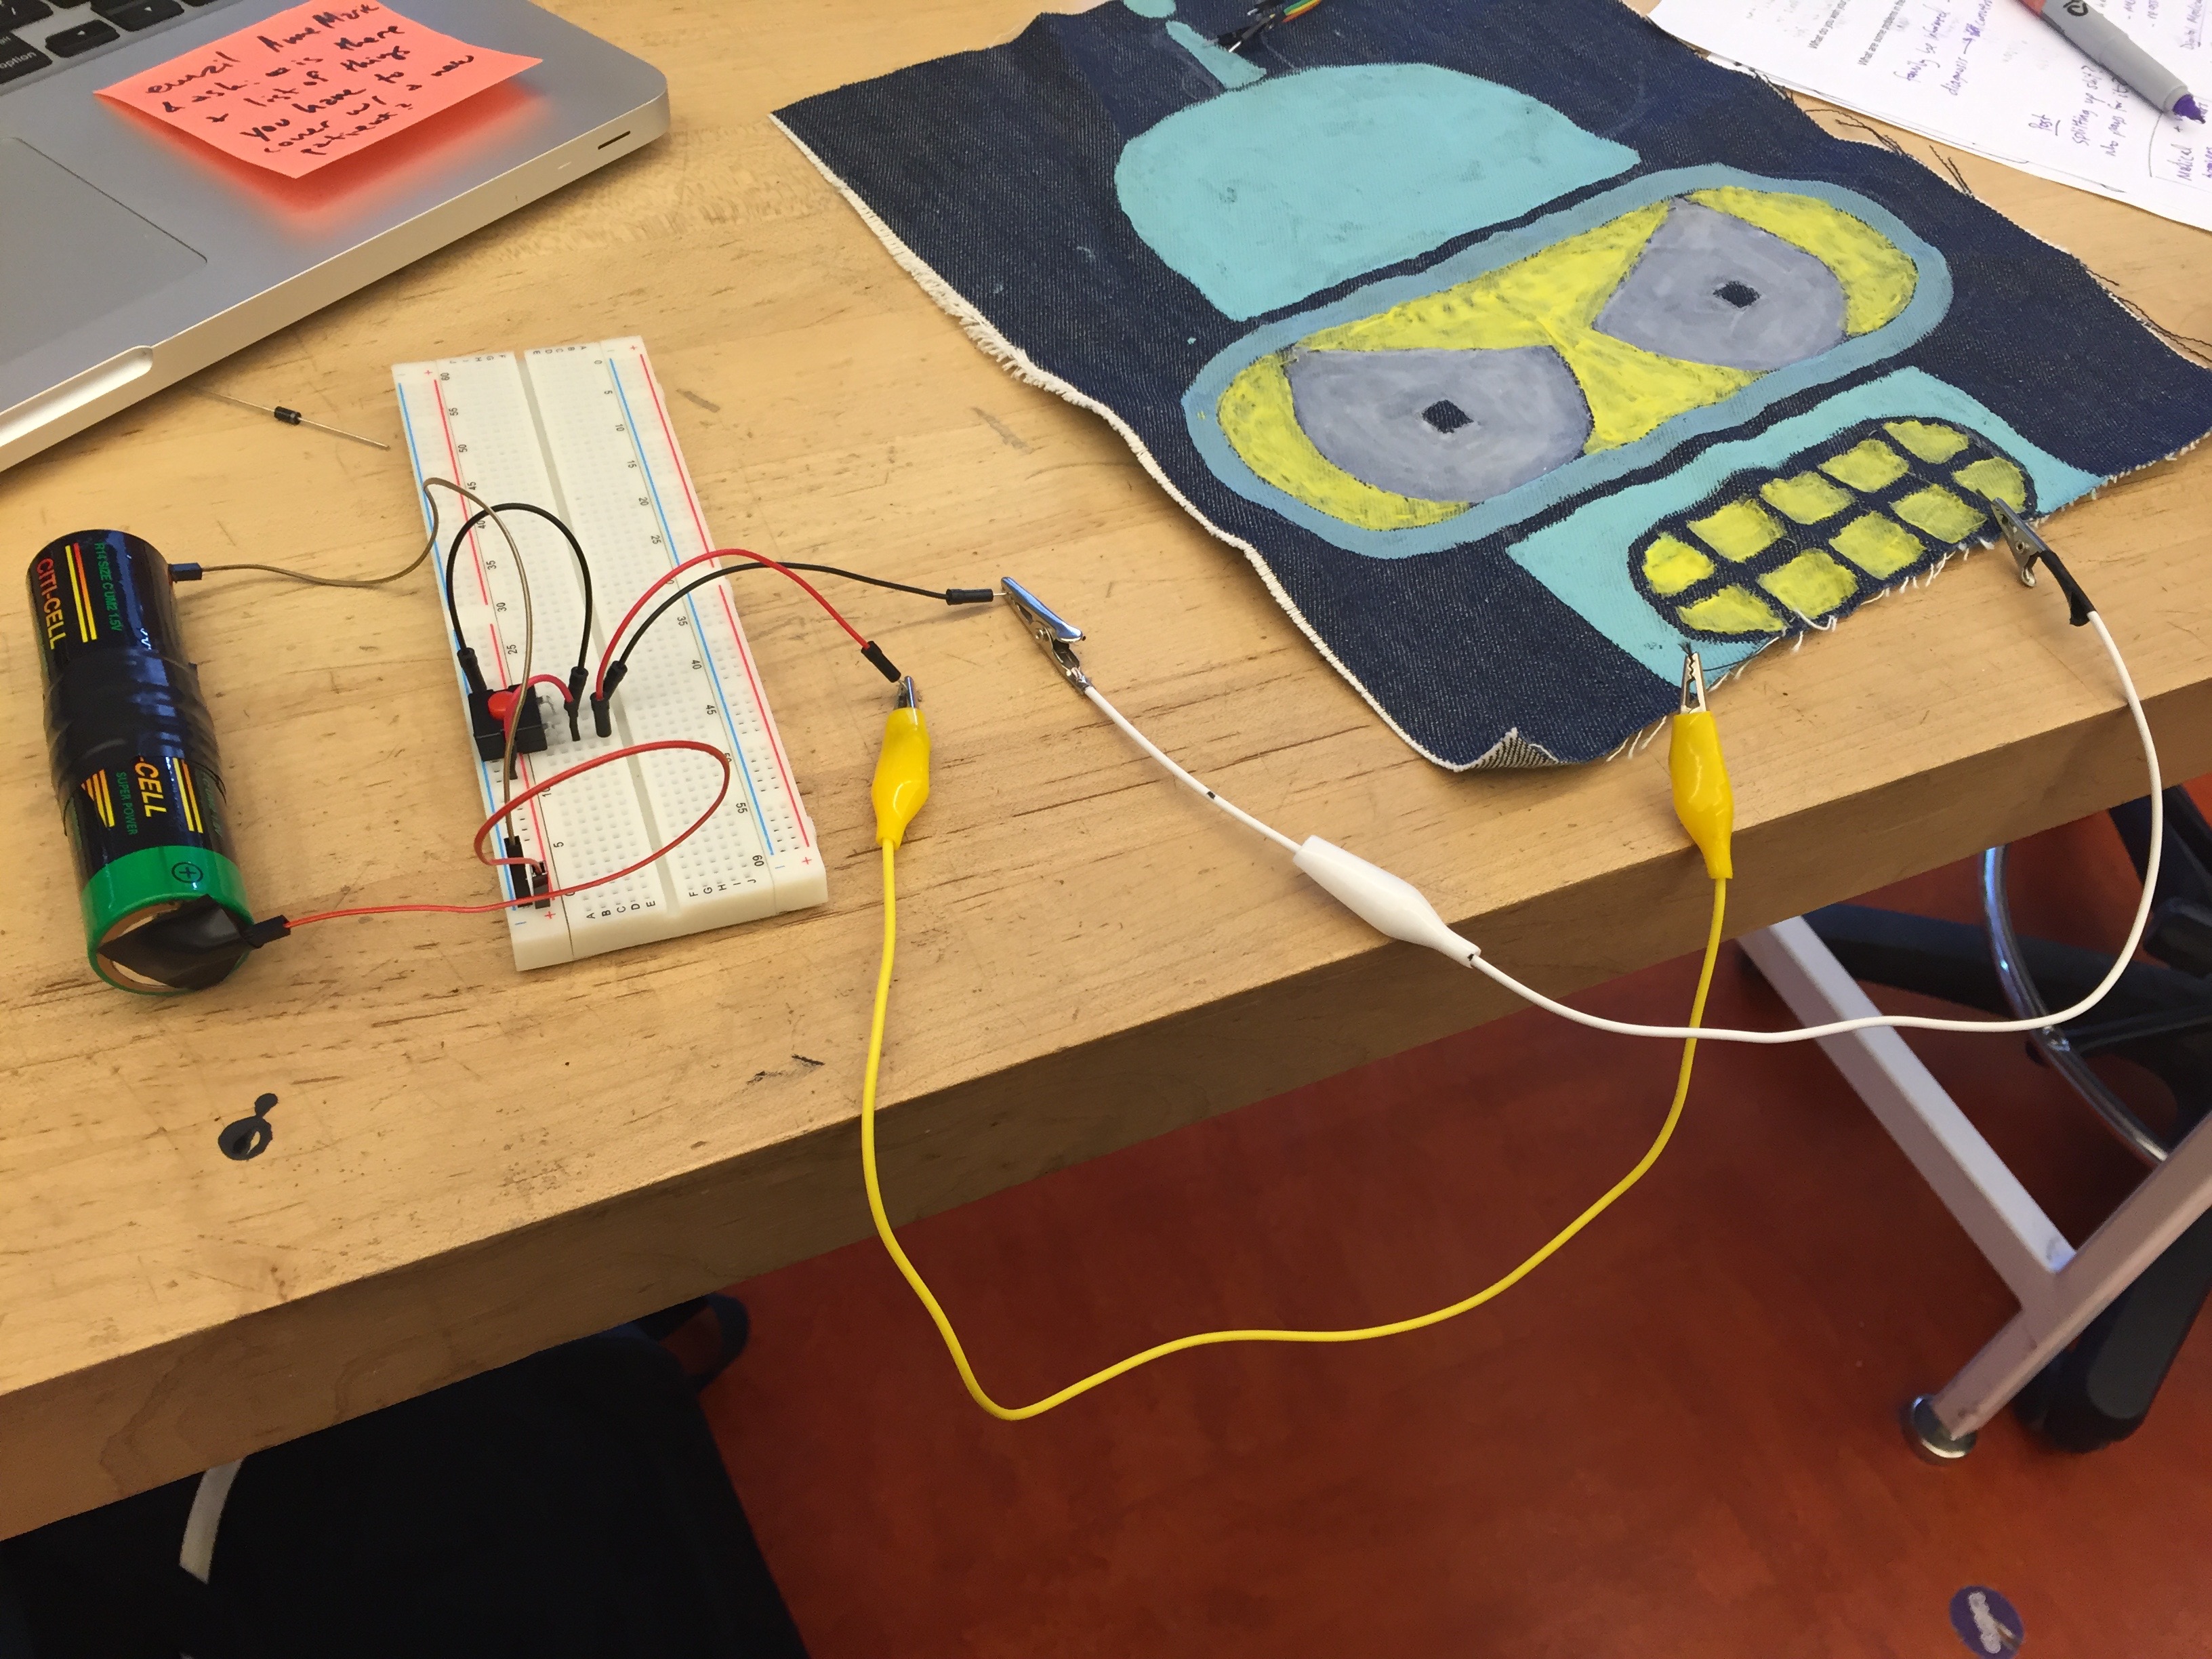
For this assignment I made a Bender patch for the back of a thrash vest. I wanted his teeth and the outside of his eyes to change color when a switch is turned on. I used thermochromic pigment that would change color from yellow to white. For his eyes, I used pigment that would change from white to red in the sun. I didn’t finish the soft circuitry for this project, and I still need to work out how to get a power source and a soft switch hooked up to the fabric. I had the hard wires hooked up to a switch and a battery, and it was working perfectly. Because it’s on a vest, I want to figure out a way for the switch to be in reach, so that the person wearing it could easily turn it on and off. What I like about this design is that the eyes will change color from UV rays regardless of if the switch is turned on/off.
I do want to finish this because I like the idea, and it was fun to make.
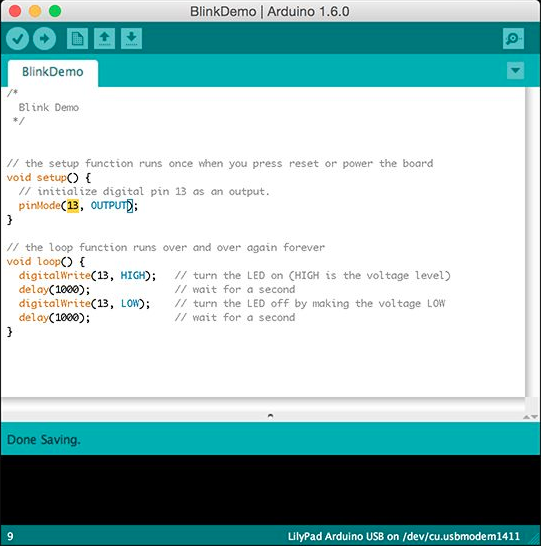
Hi 5 Switch
This class we learned about digital input and outputs by making a hi 5 switch. I made a soft switch by sandwiching conductive fabric and and felt together, and hooking it up to an Arduino LilyPad. I tested if a connection would be made with a hi 5 contact by connecting an LED light and uploading a Blink Sketch. I used digitalWrite() to determine HIGH/LOW output depending on if the switch is on/off, allowing the LED to turn on when I got a hi 5.