Intro
For the first and the second prototype, we focus more on sewing the conductive fabric on gloves. For the second one, we have more soldering techniques, shrink the size of the glove, adding thickness between fingers, which makes the general works better than the last one.
Thus, for the final prototype of Sara’s Glove, I think it is better to add sound board technique inside.
Since Sara like noise, so it is better to add more sound in the final prototype for her. Also, we use conductive fabric in the first and second prototype, so it is more convenient to use it in the last project.
Step1: Record sound/ choose the sound you like (sound format needs to be wav) and put them inside the soundboard
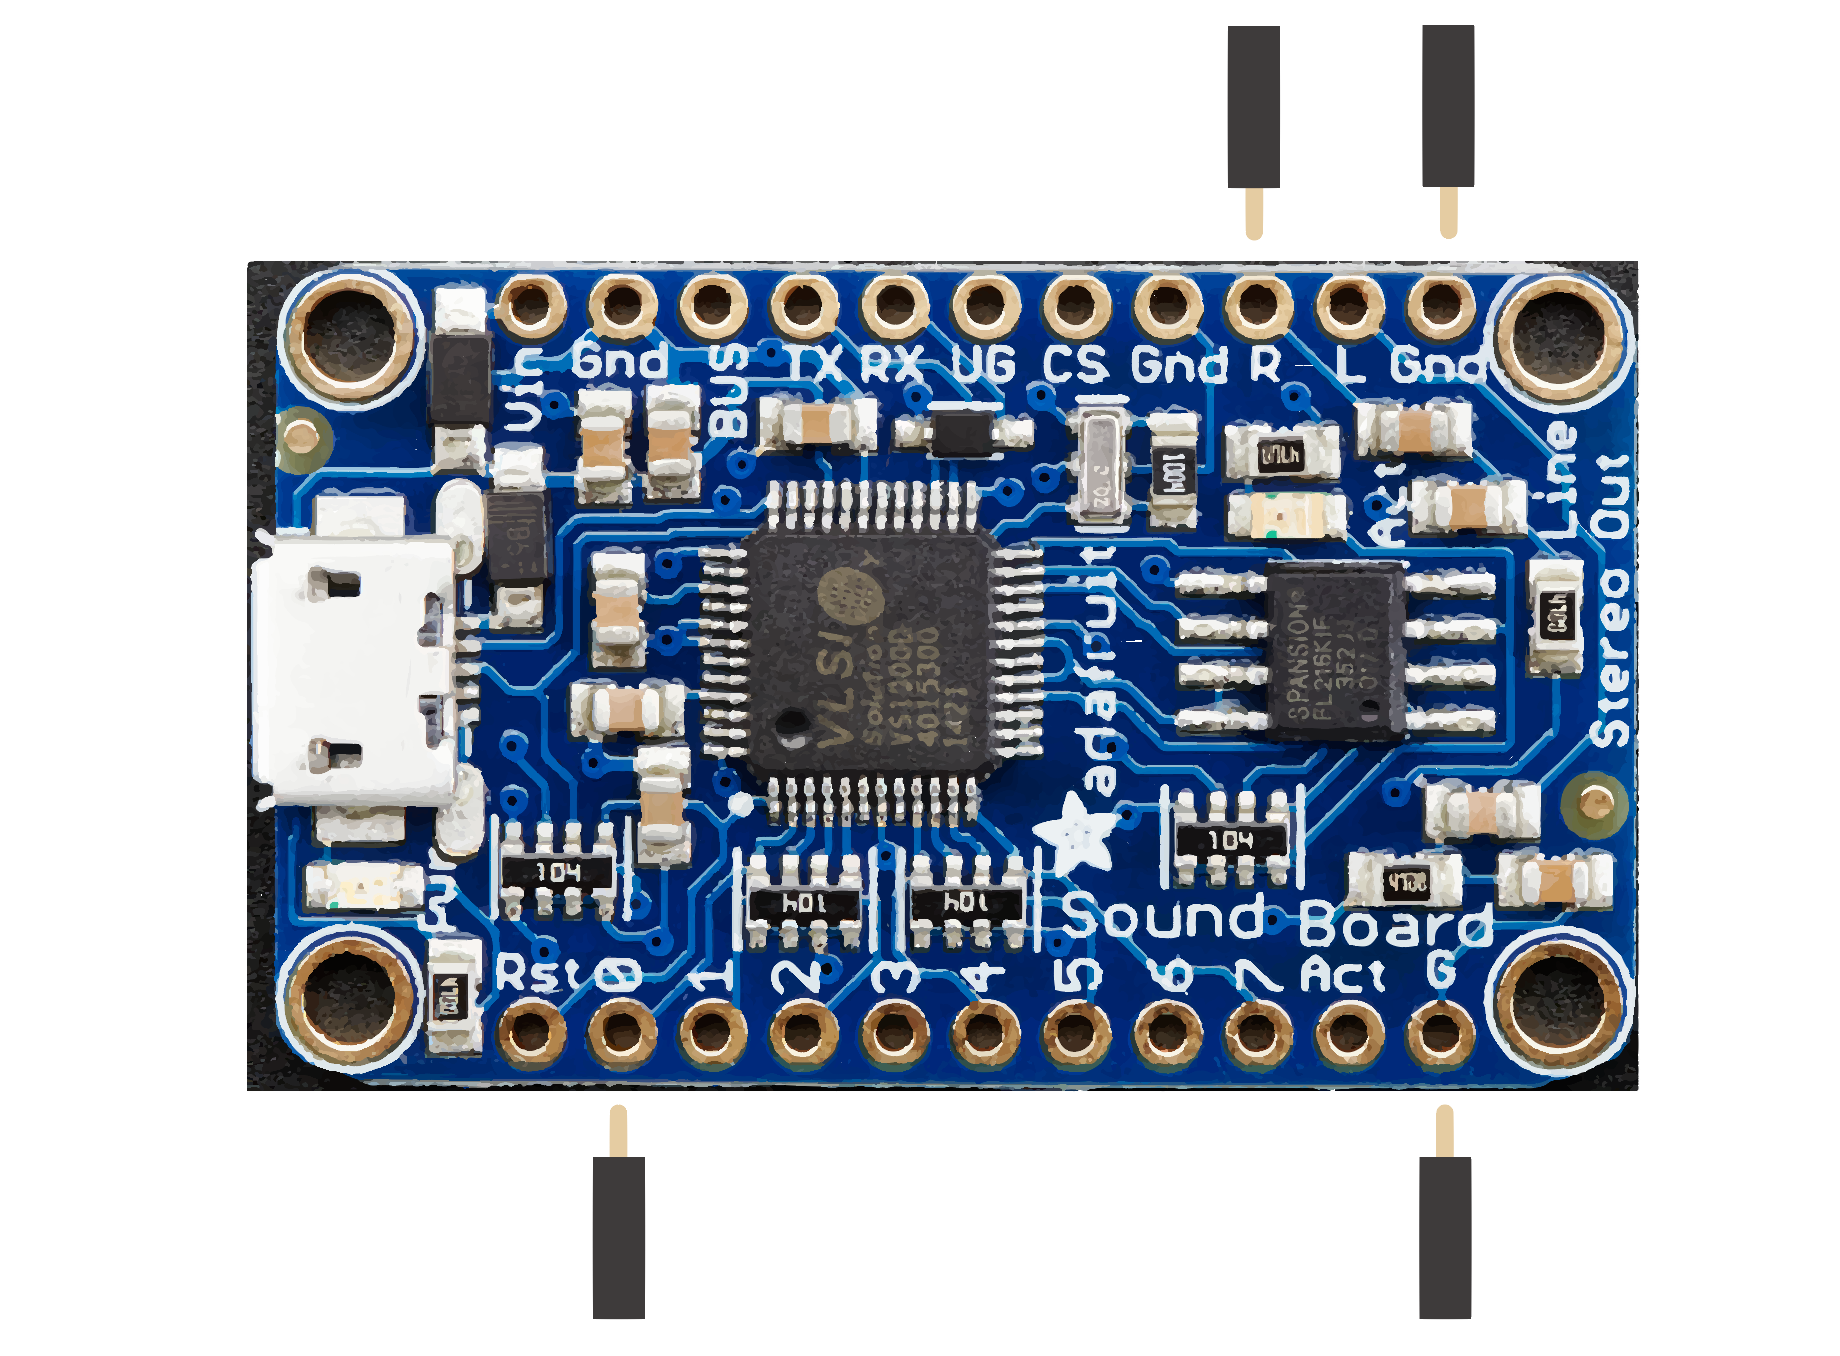
From the upside, link one jumper with the ground (Gnd), and link the other jumper (not the same one) with the right (R).
From the downside, link one side of the jumper with the G, and other side, you can touch the numbers from 0 to 7 as how many tracks you put inside your sound board.
Thus, it will generally look like this.
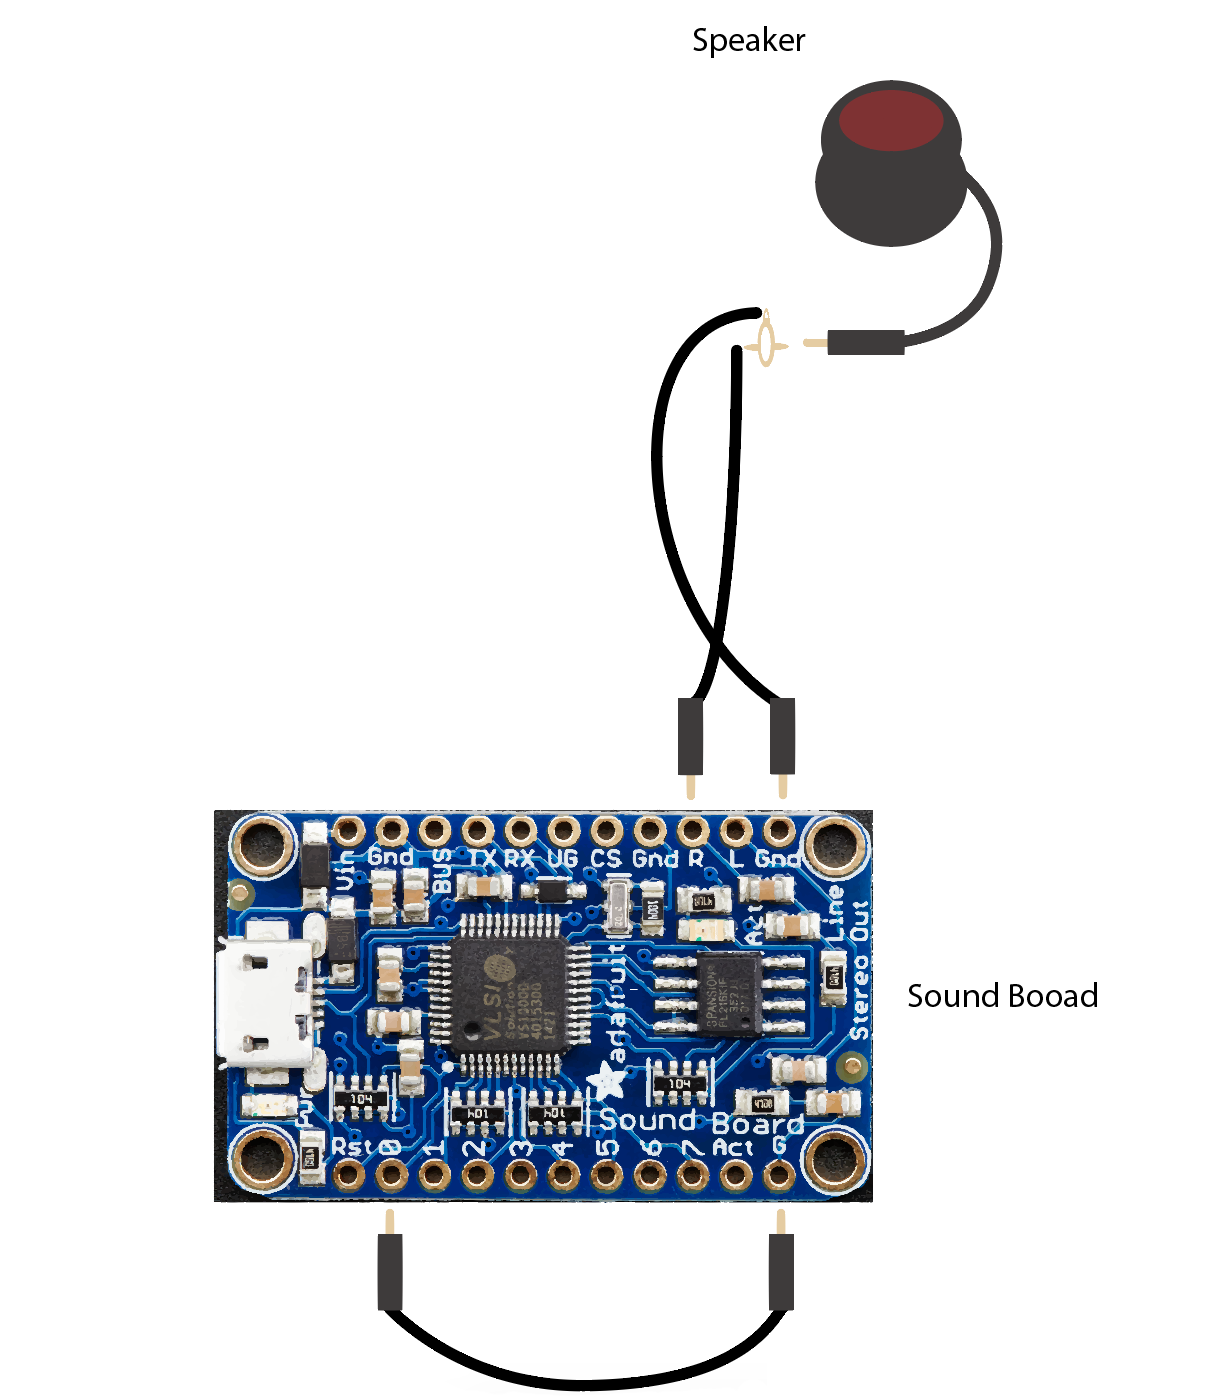
(You can click it to make the image bigger)
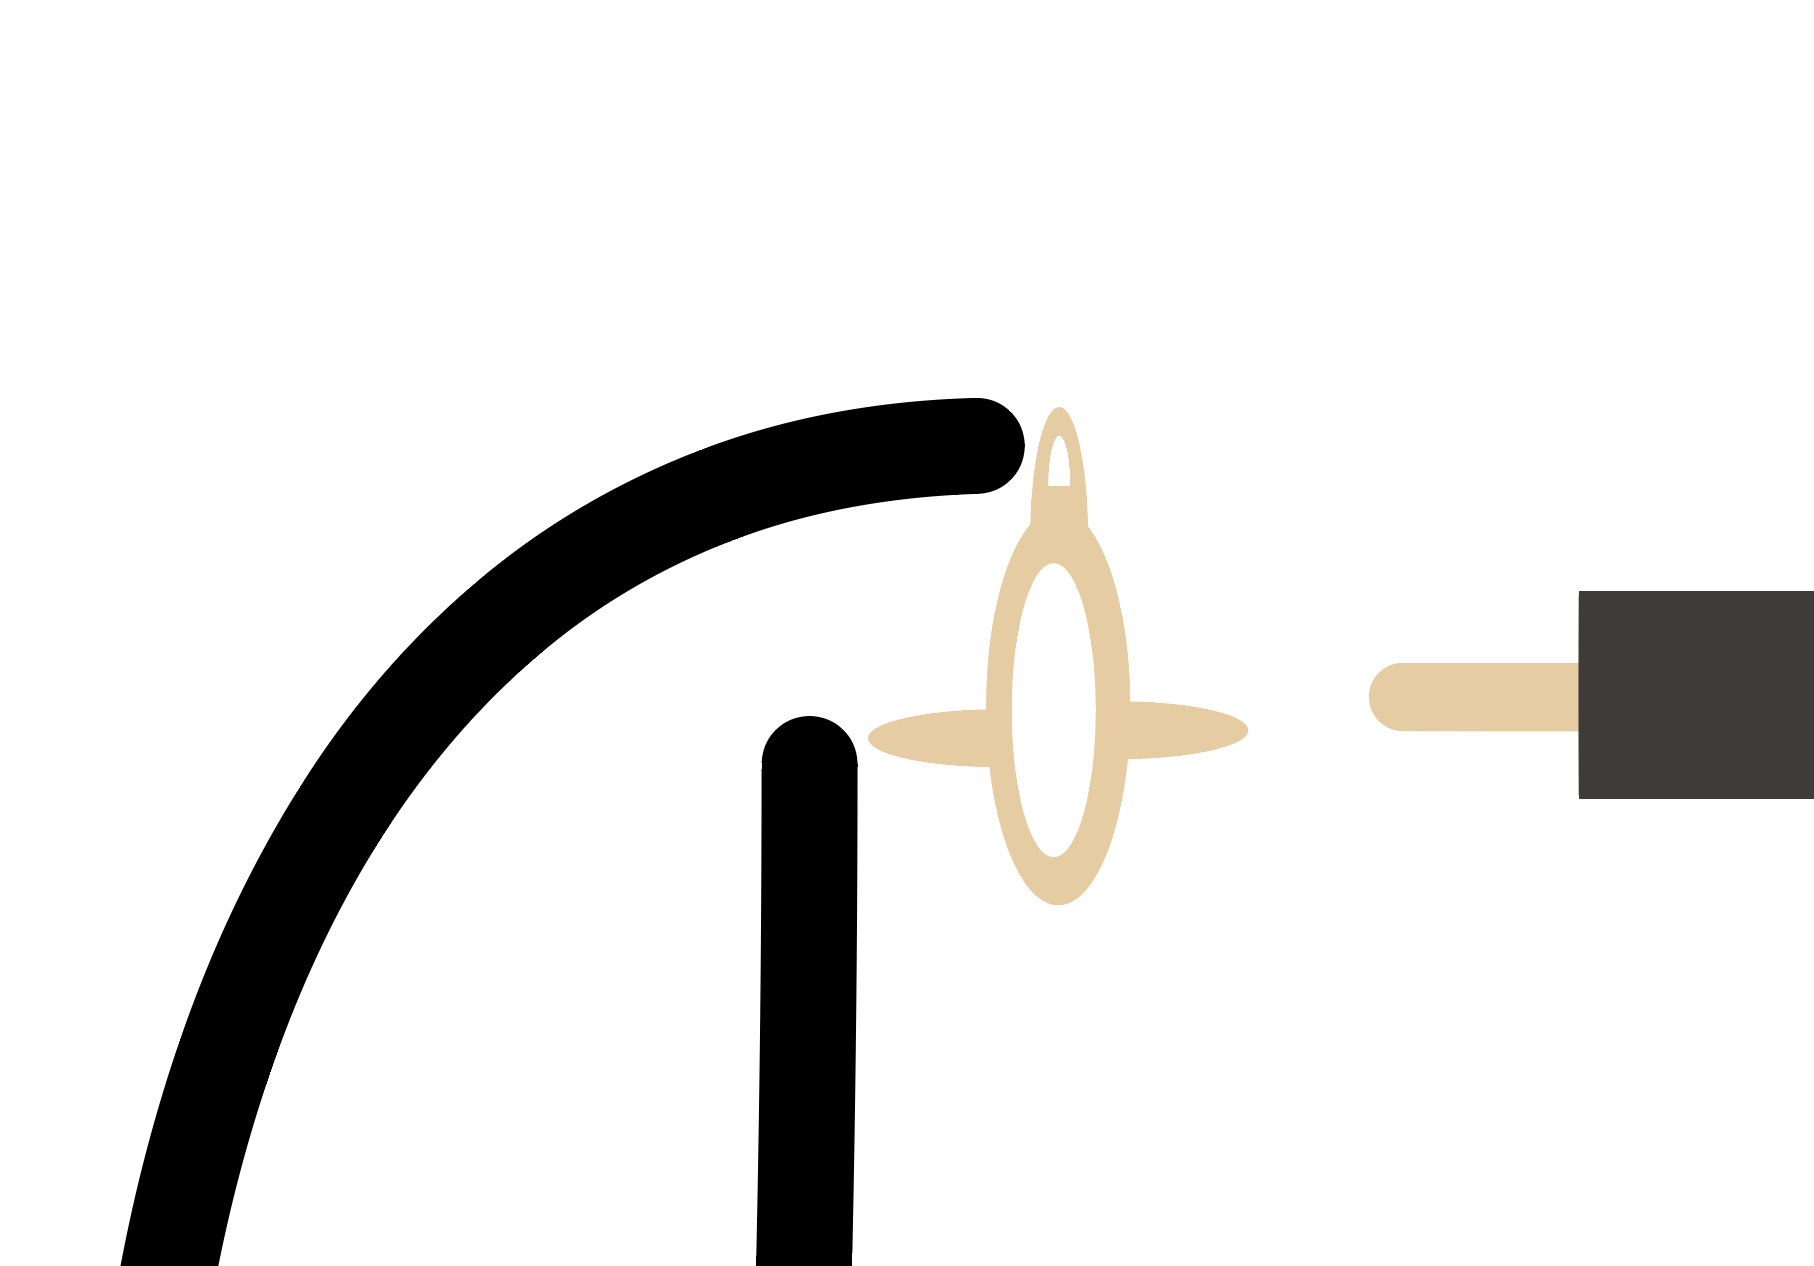
Close up of the small part of the image. The one that has hole link to the ground (negative). The plug needs to connect to the circle connector.(like the image below)


Here is what it looks like in the second prototype of Sara’s Glove.
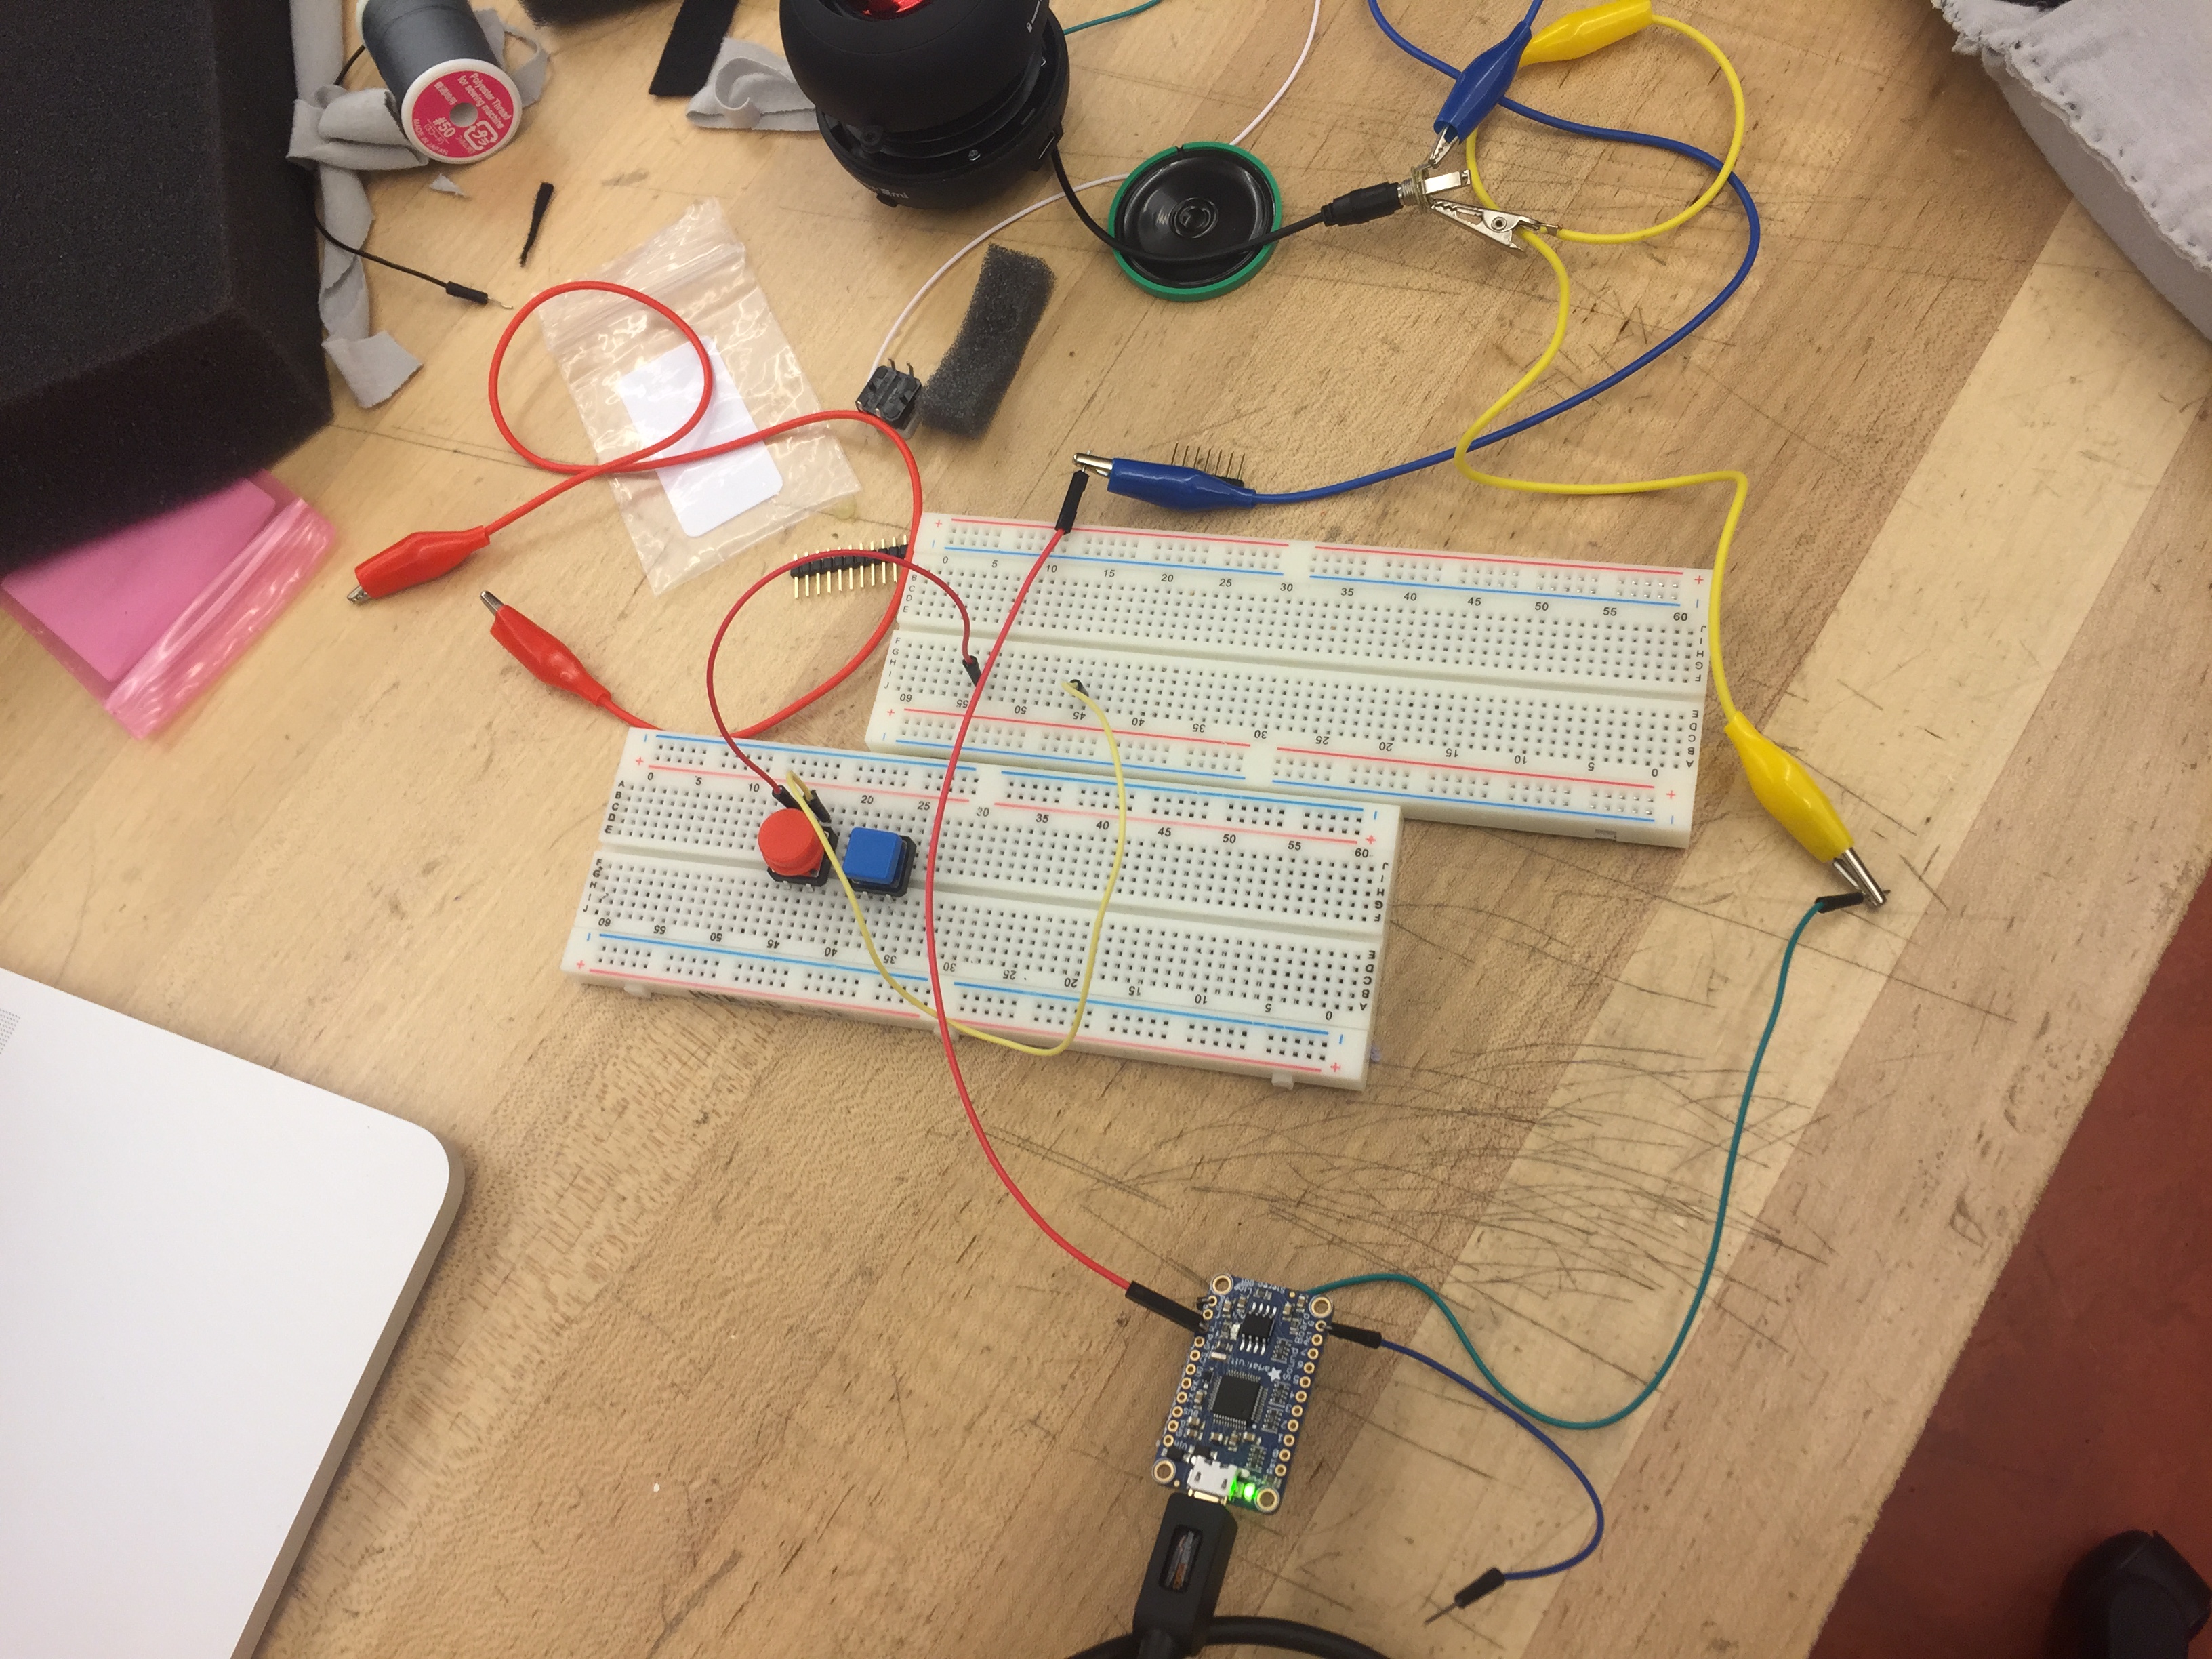

Here is an example of how the soundboard functioning in the second prototype of Sara’s Glove.