High-Five Switch
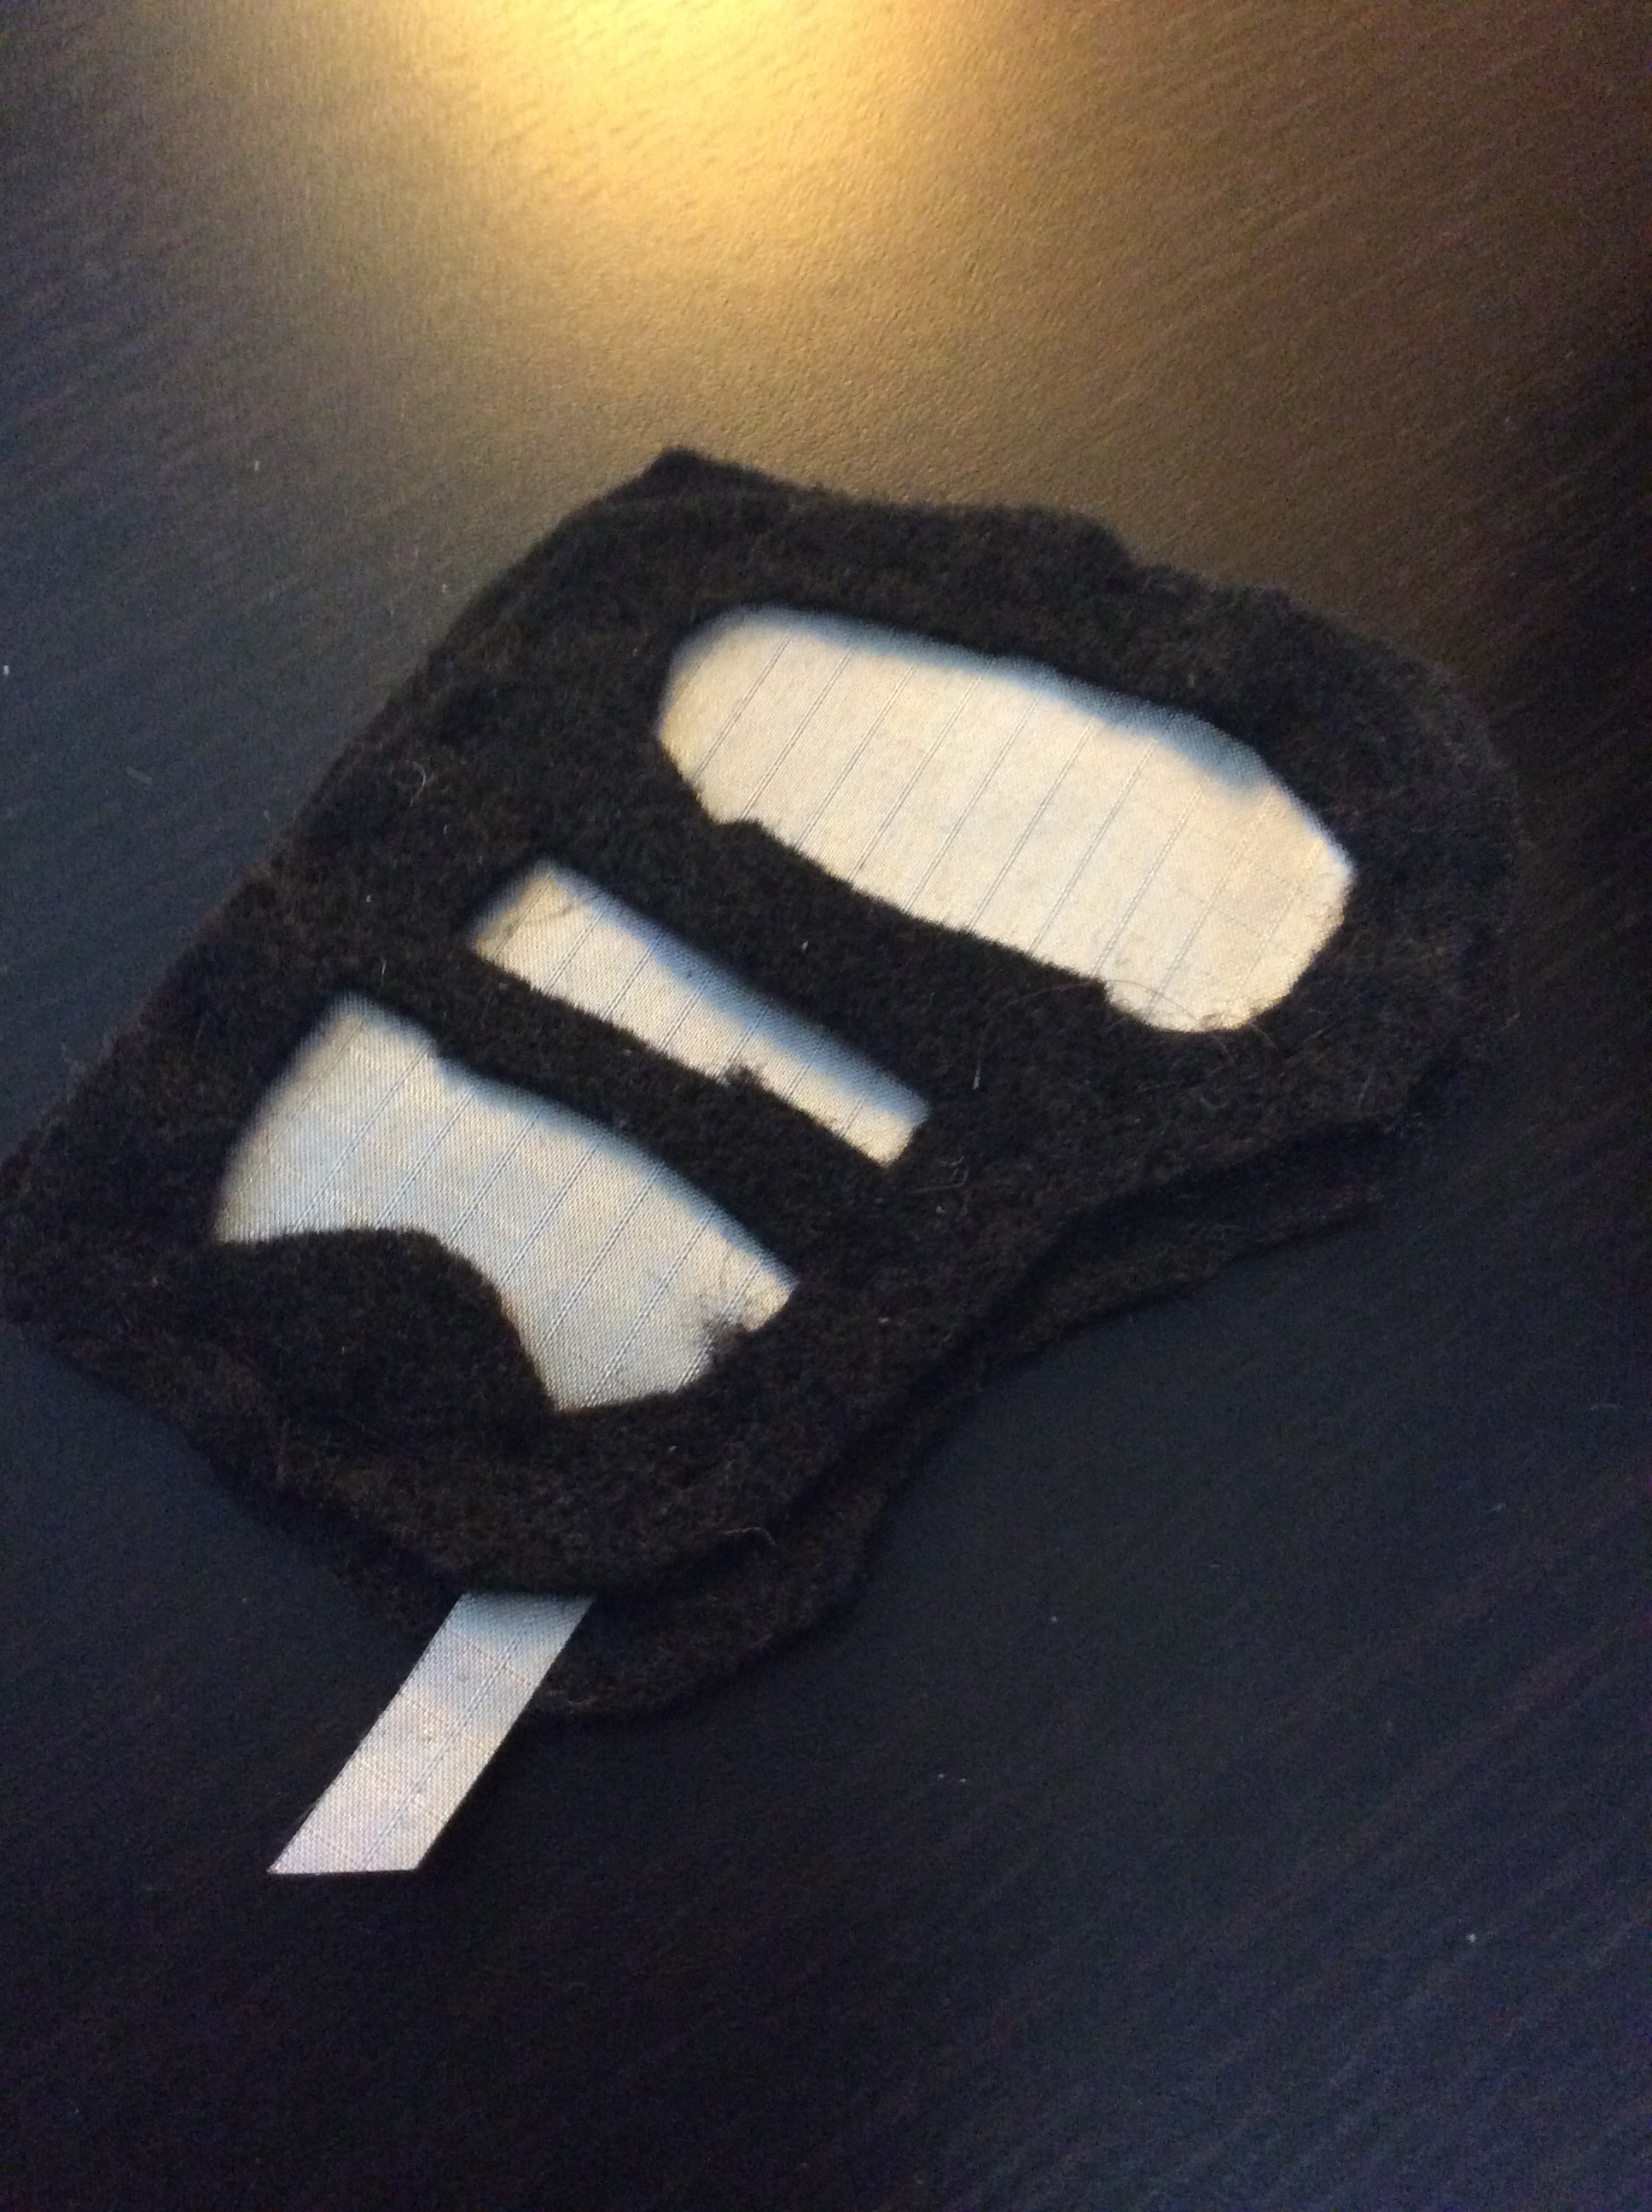
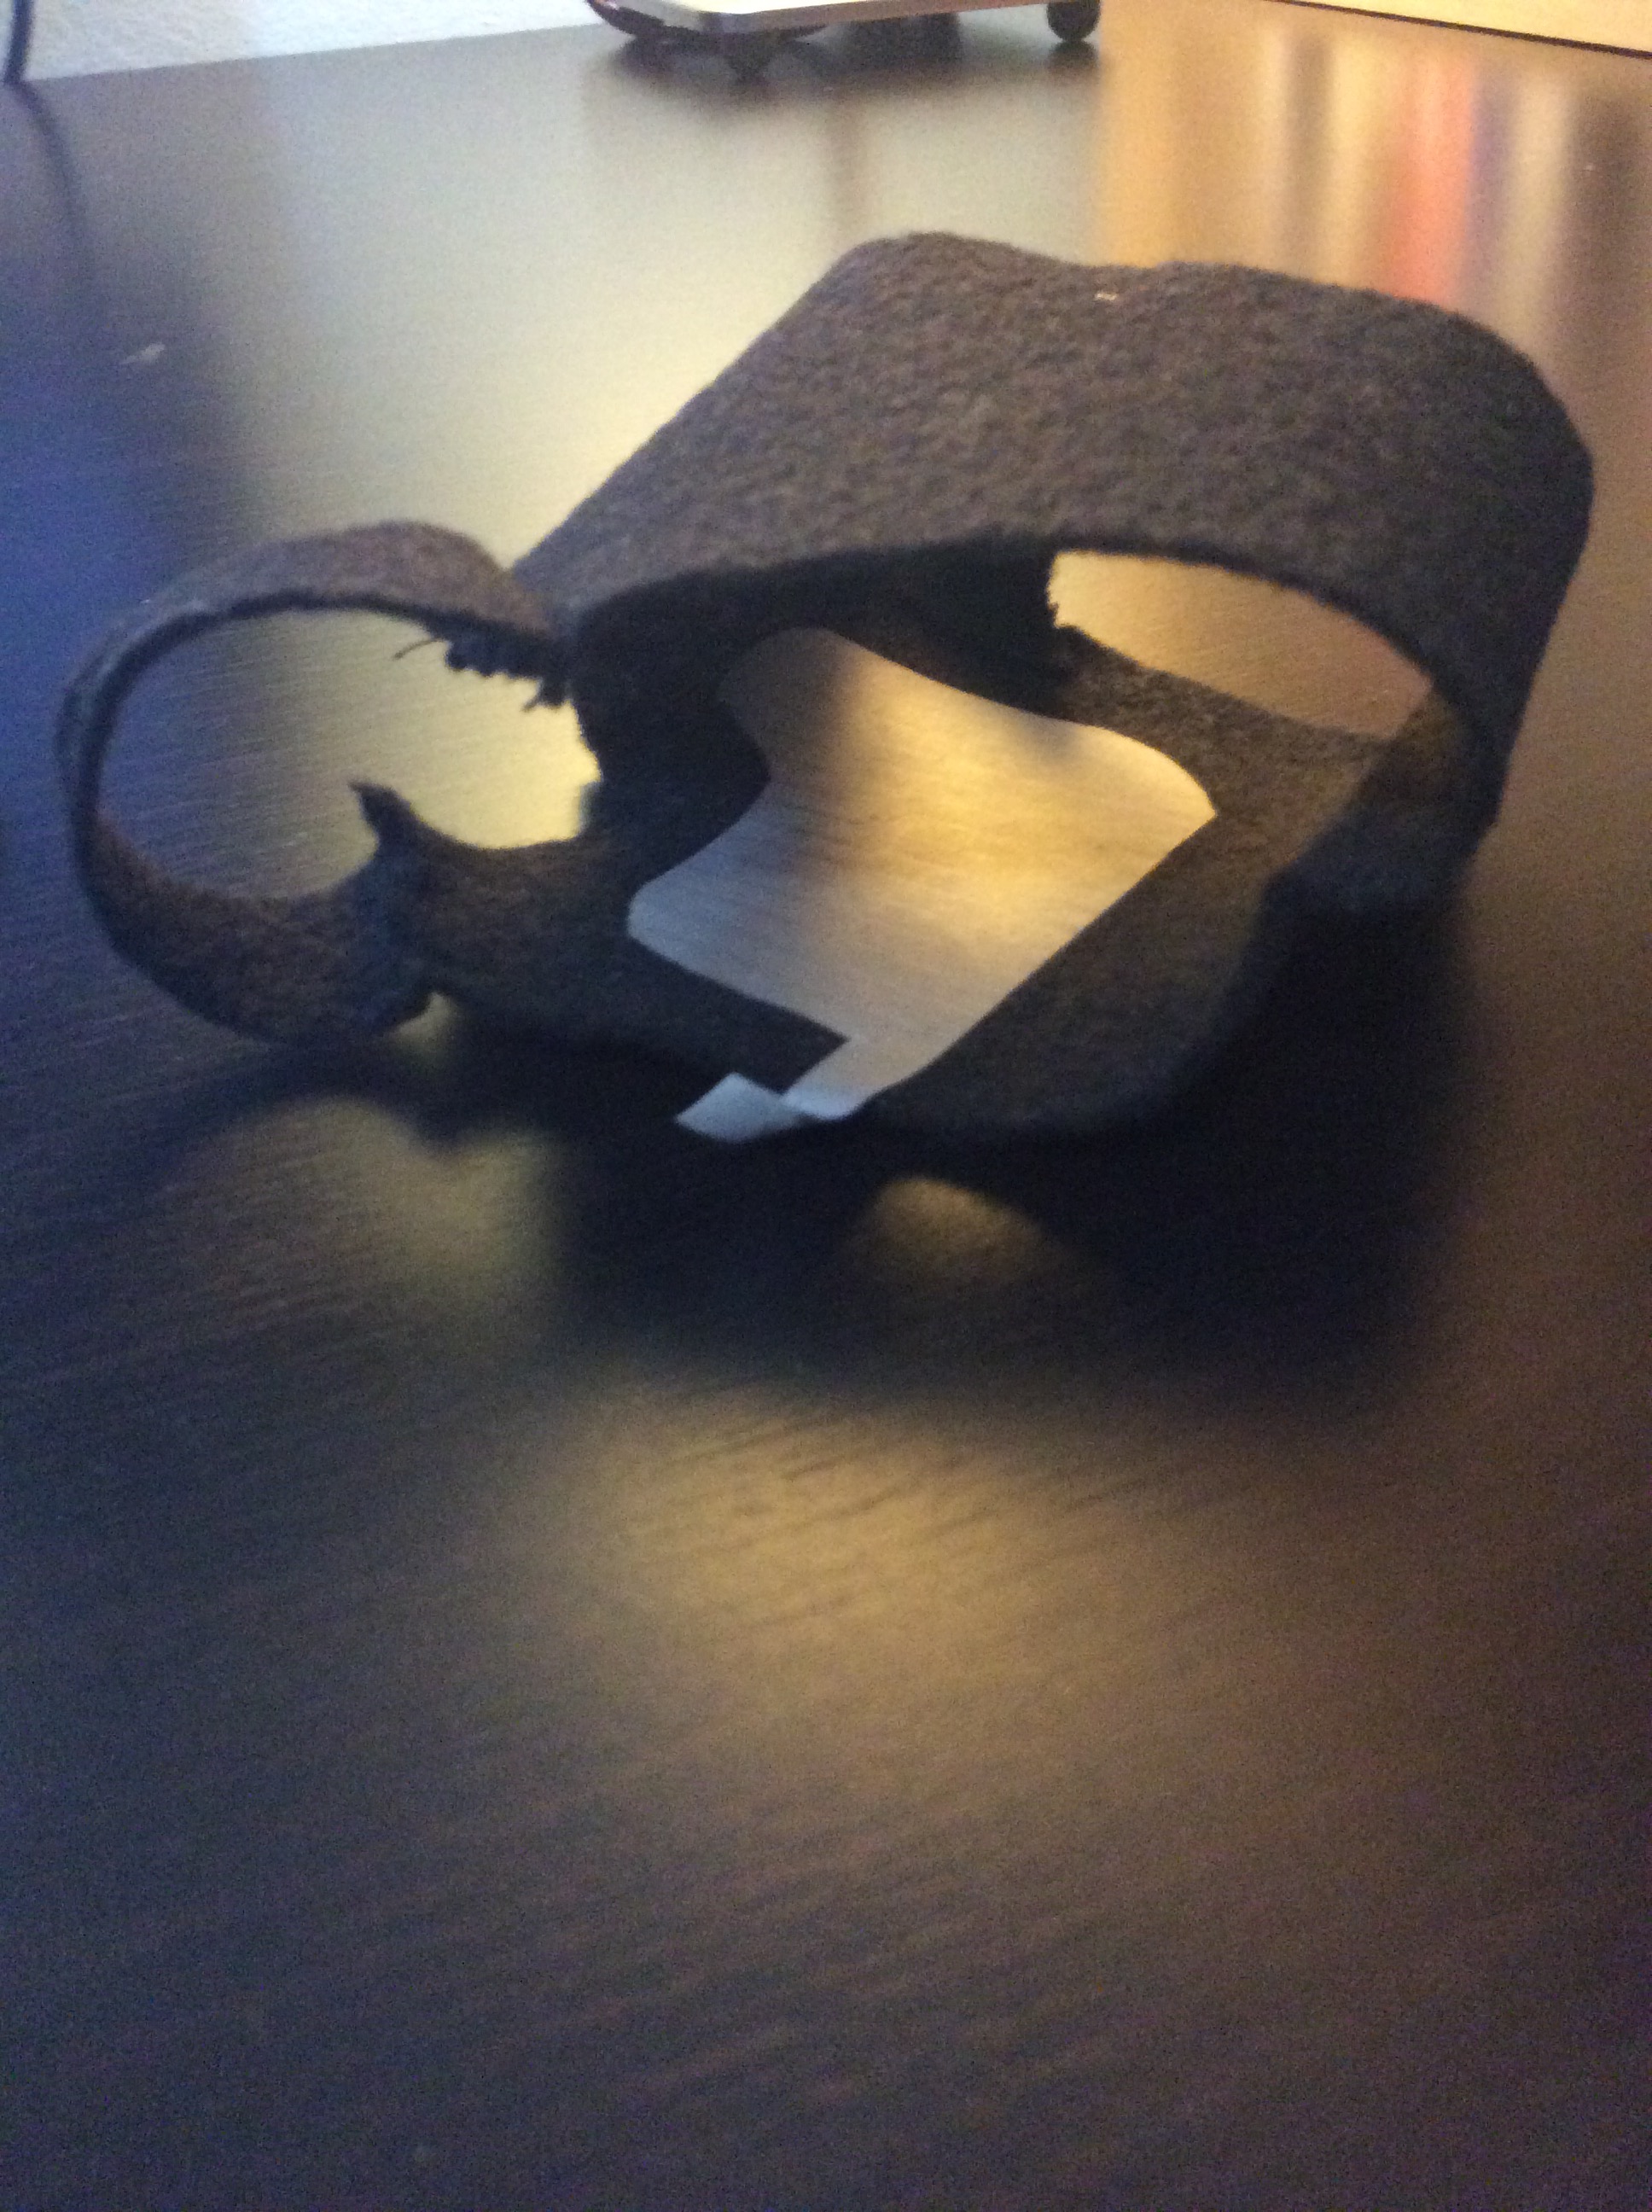
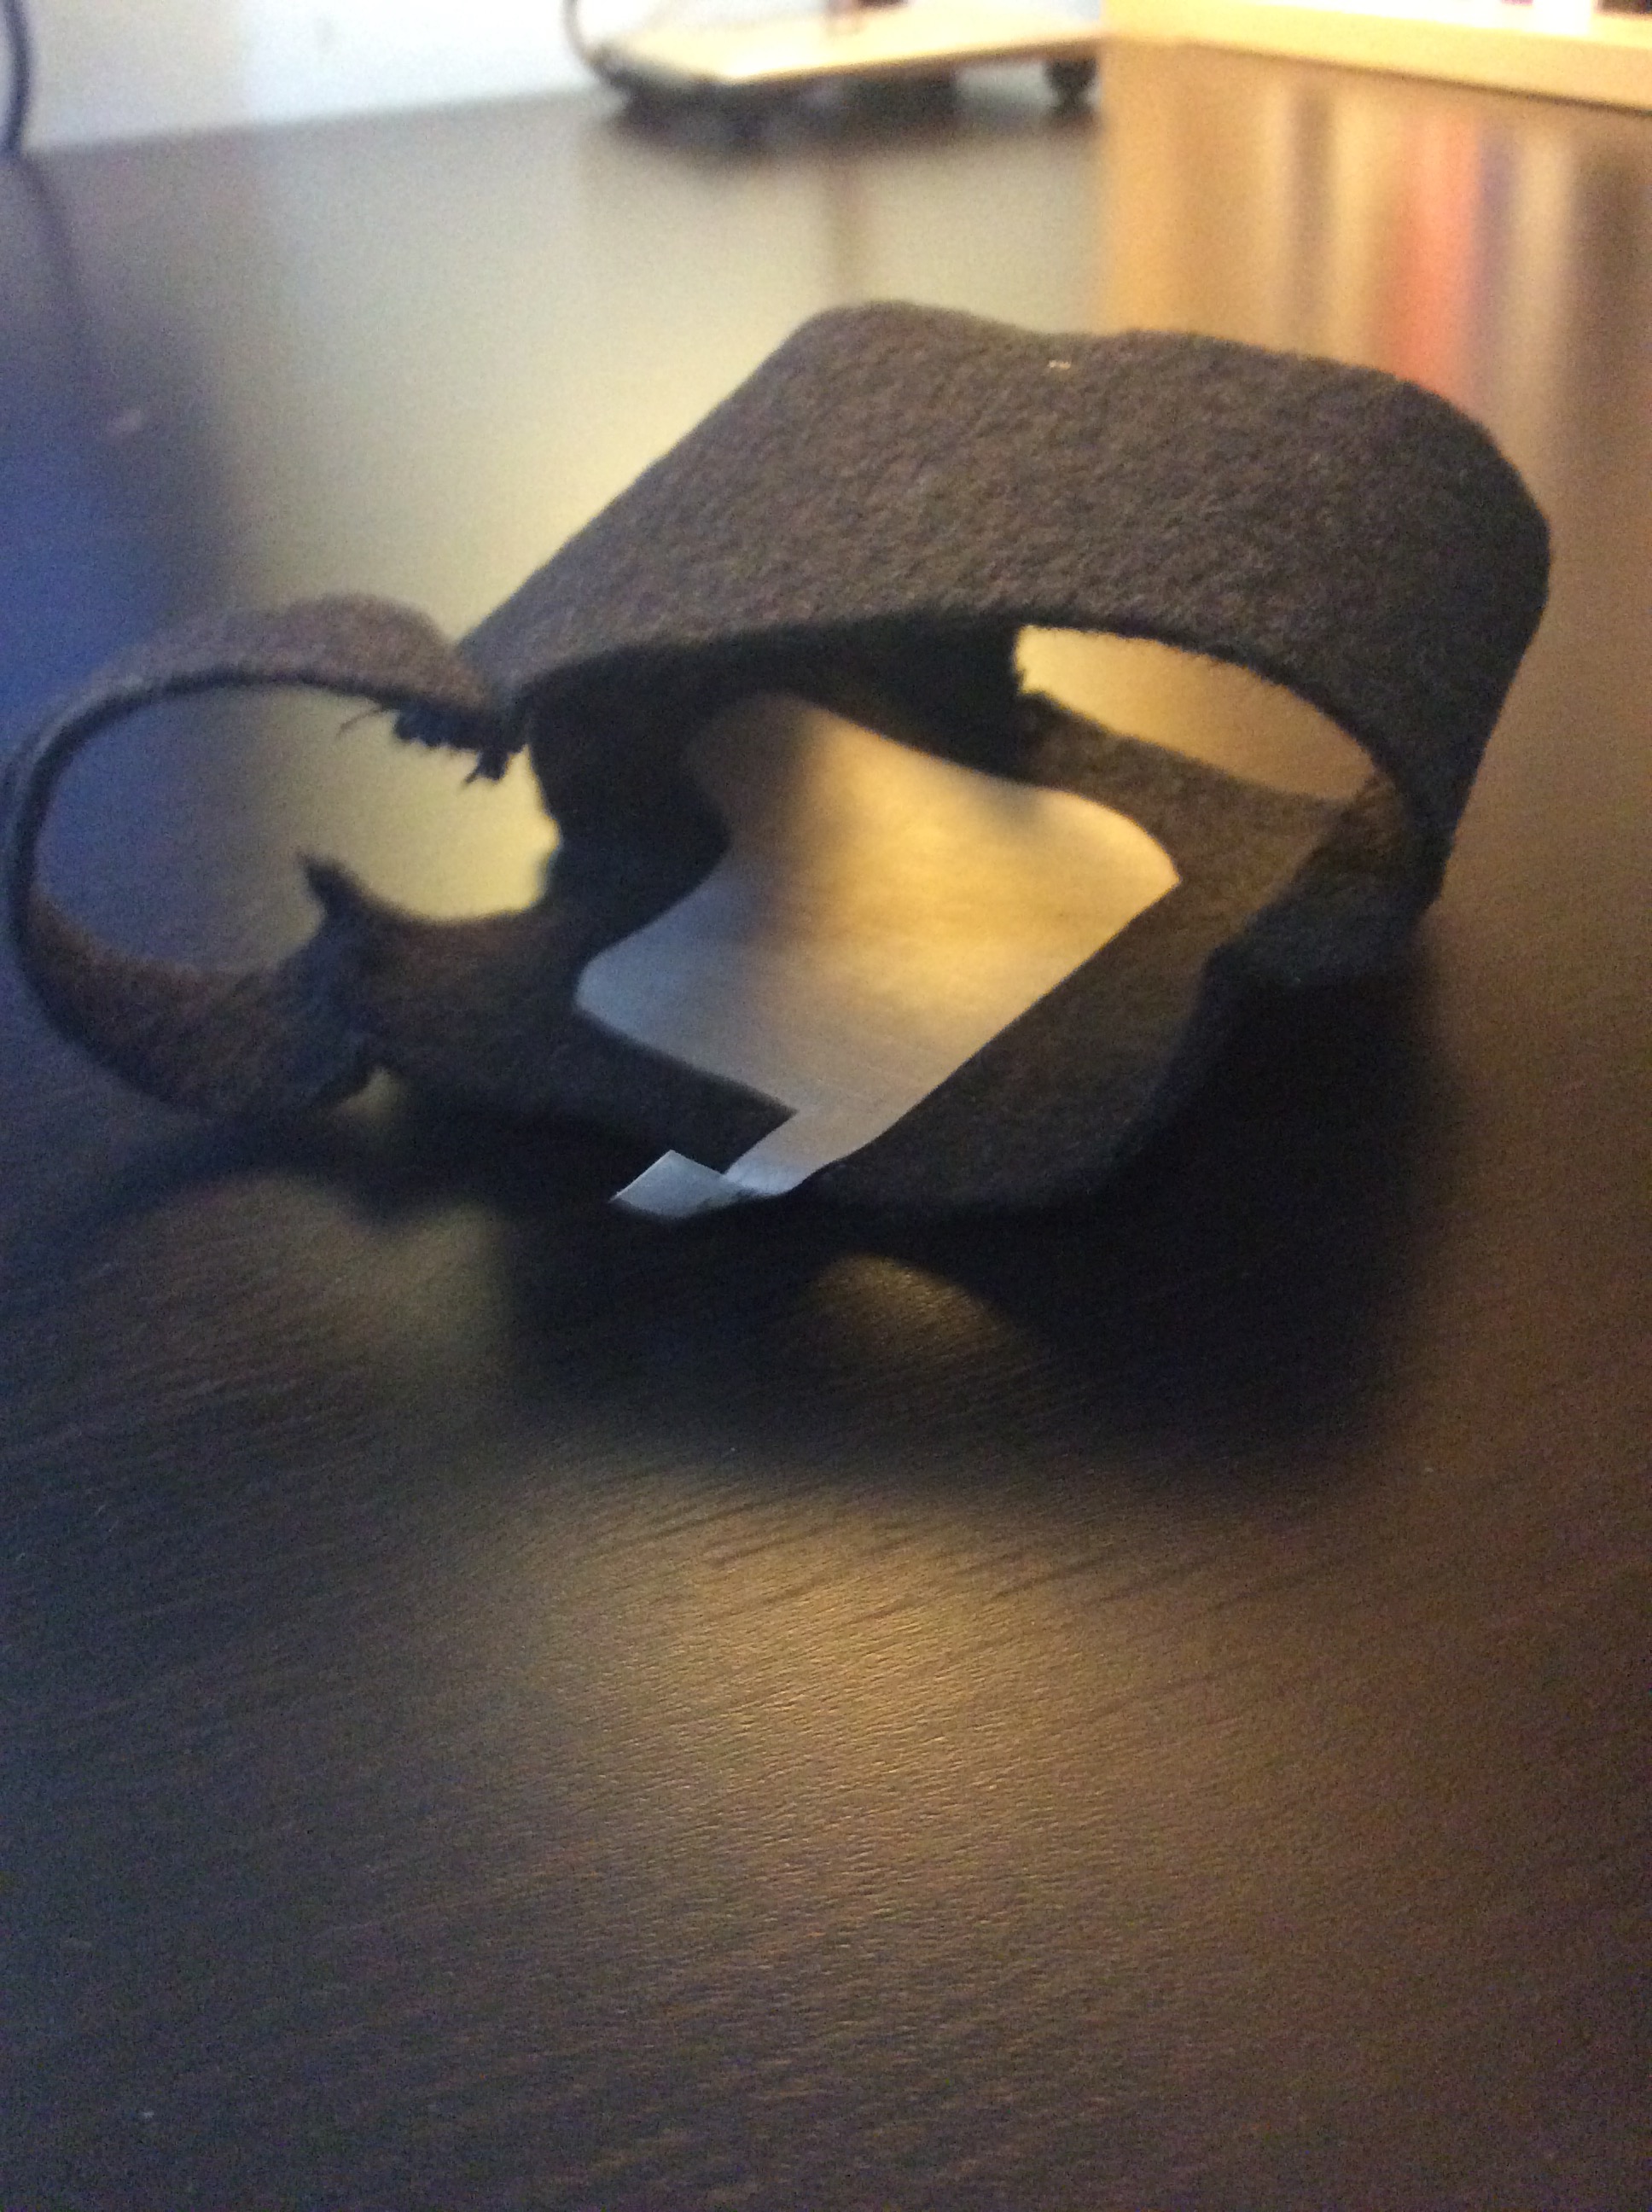
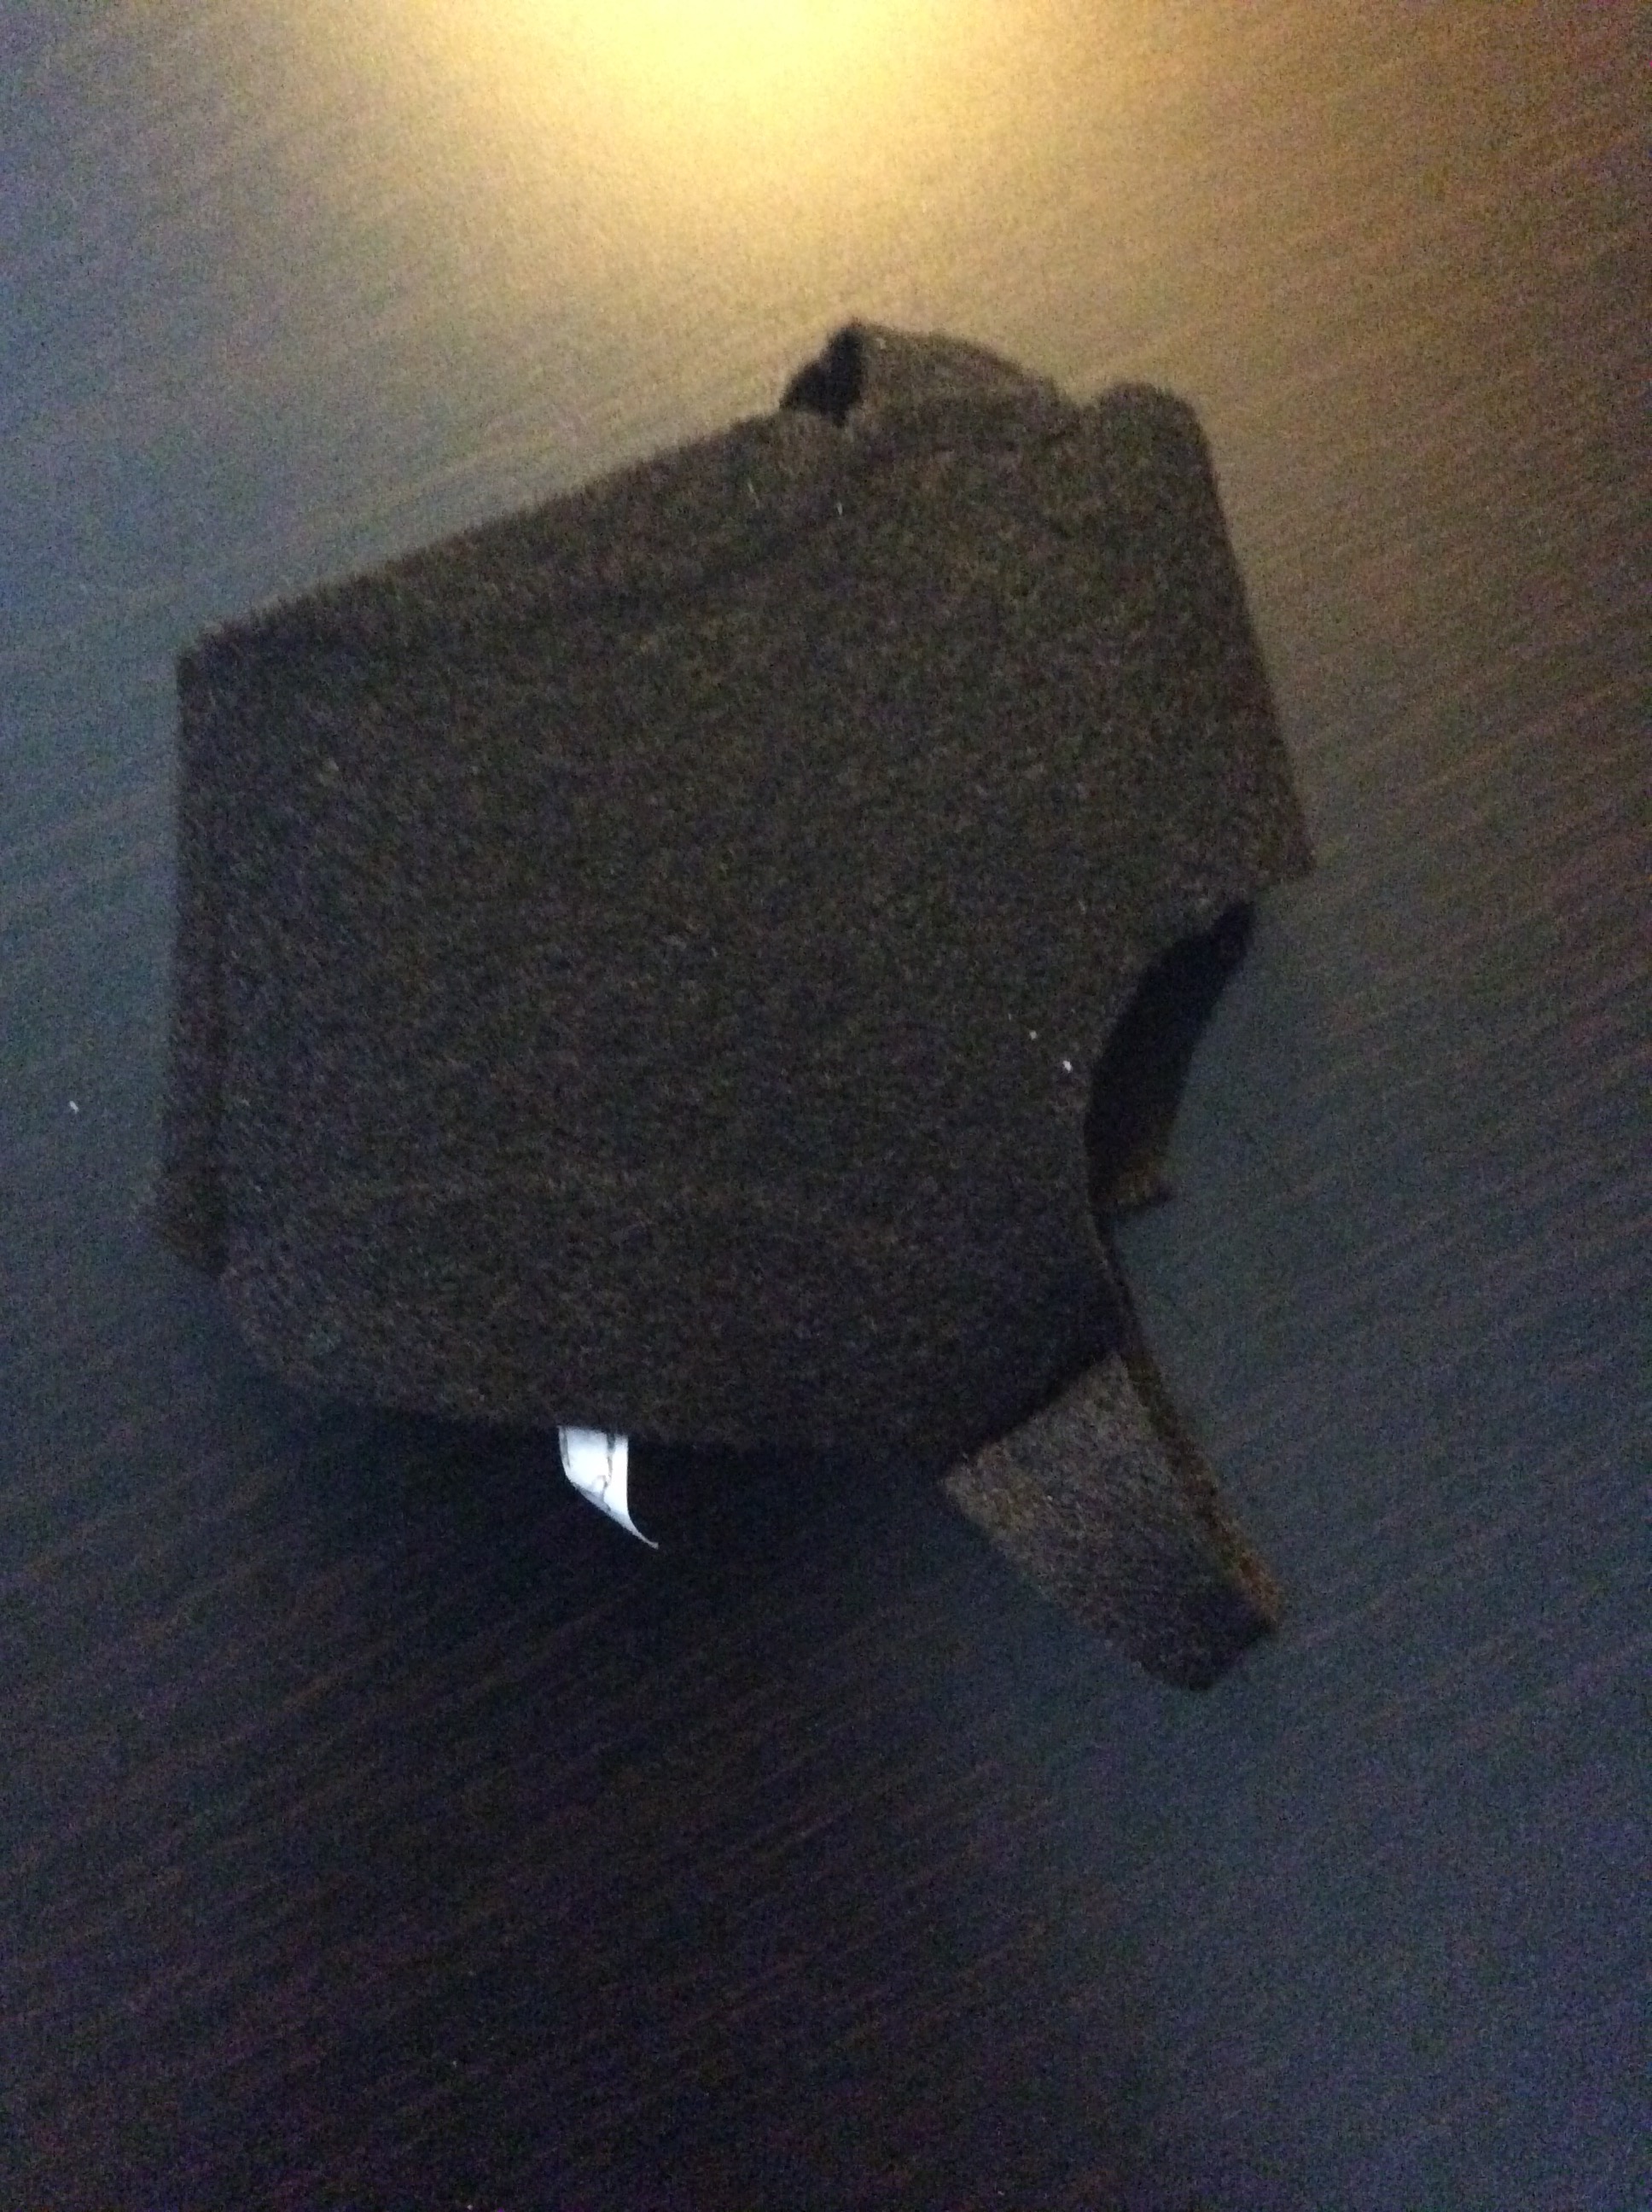
For this project, I started out by paper prototyping a glove pattern. To be honest I was a bit excited about this part and spent more time on it than I should have. (I just love pattern-making and haven’t had an excuse to do it in a long time). This process involved wrapping my hand with strips of paper and taping pieces together roughly, then making marks for where I can place a seam, and where I can cut pieces away. This resulted in a very comfortable glove that fit like… well, a glove. The circuit is made from two pieces of conductive fabric with a felt spacer in-between, shaped in a way that they could meet at the bottom and top of the palm, assuming that the center might not always touch in a high-five. When testing the glove, it worked for the majority of the time, with some hiccups in cases where my hand is closed or folding. I believe this could be solved by removing the middle parts of the conductive fabric.

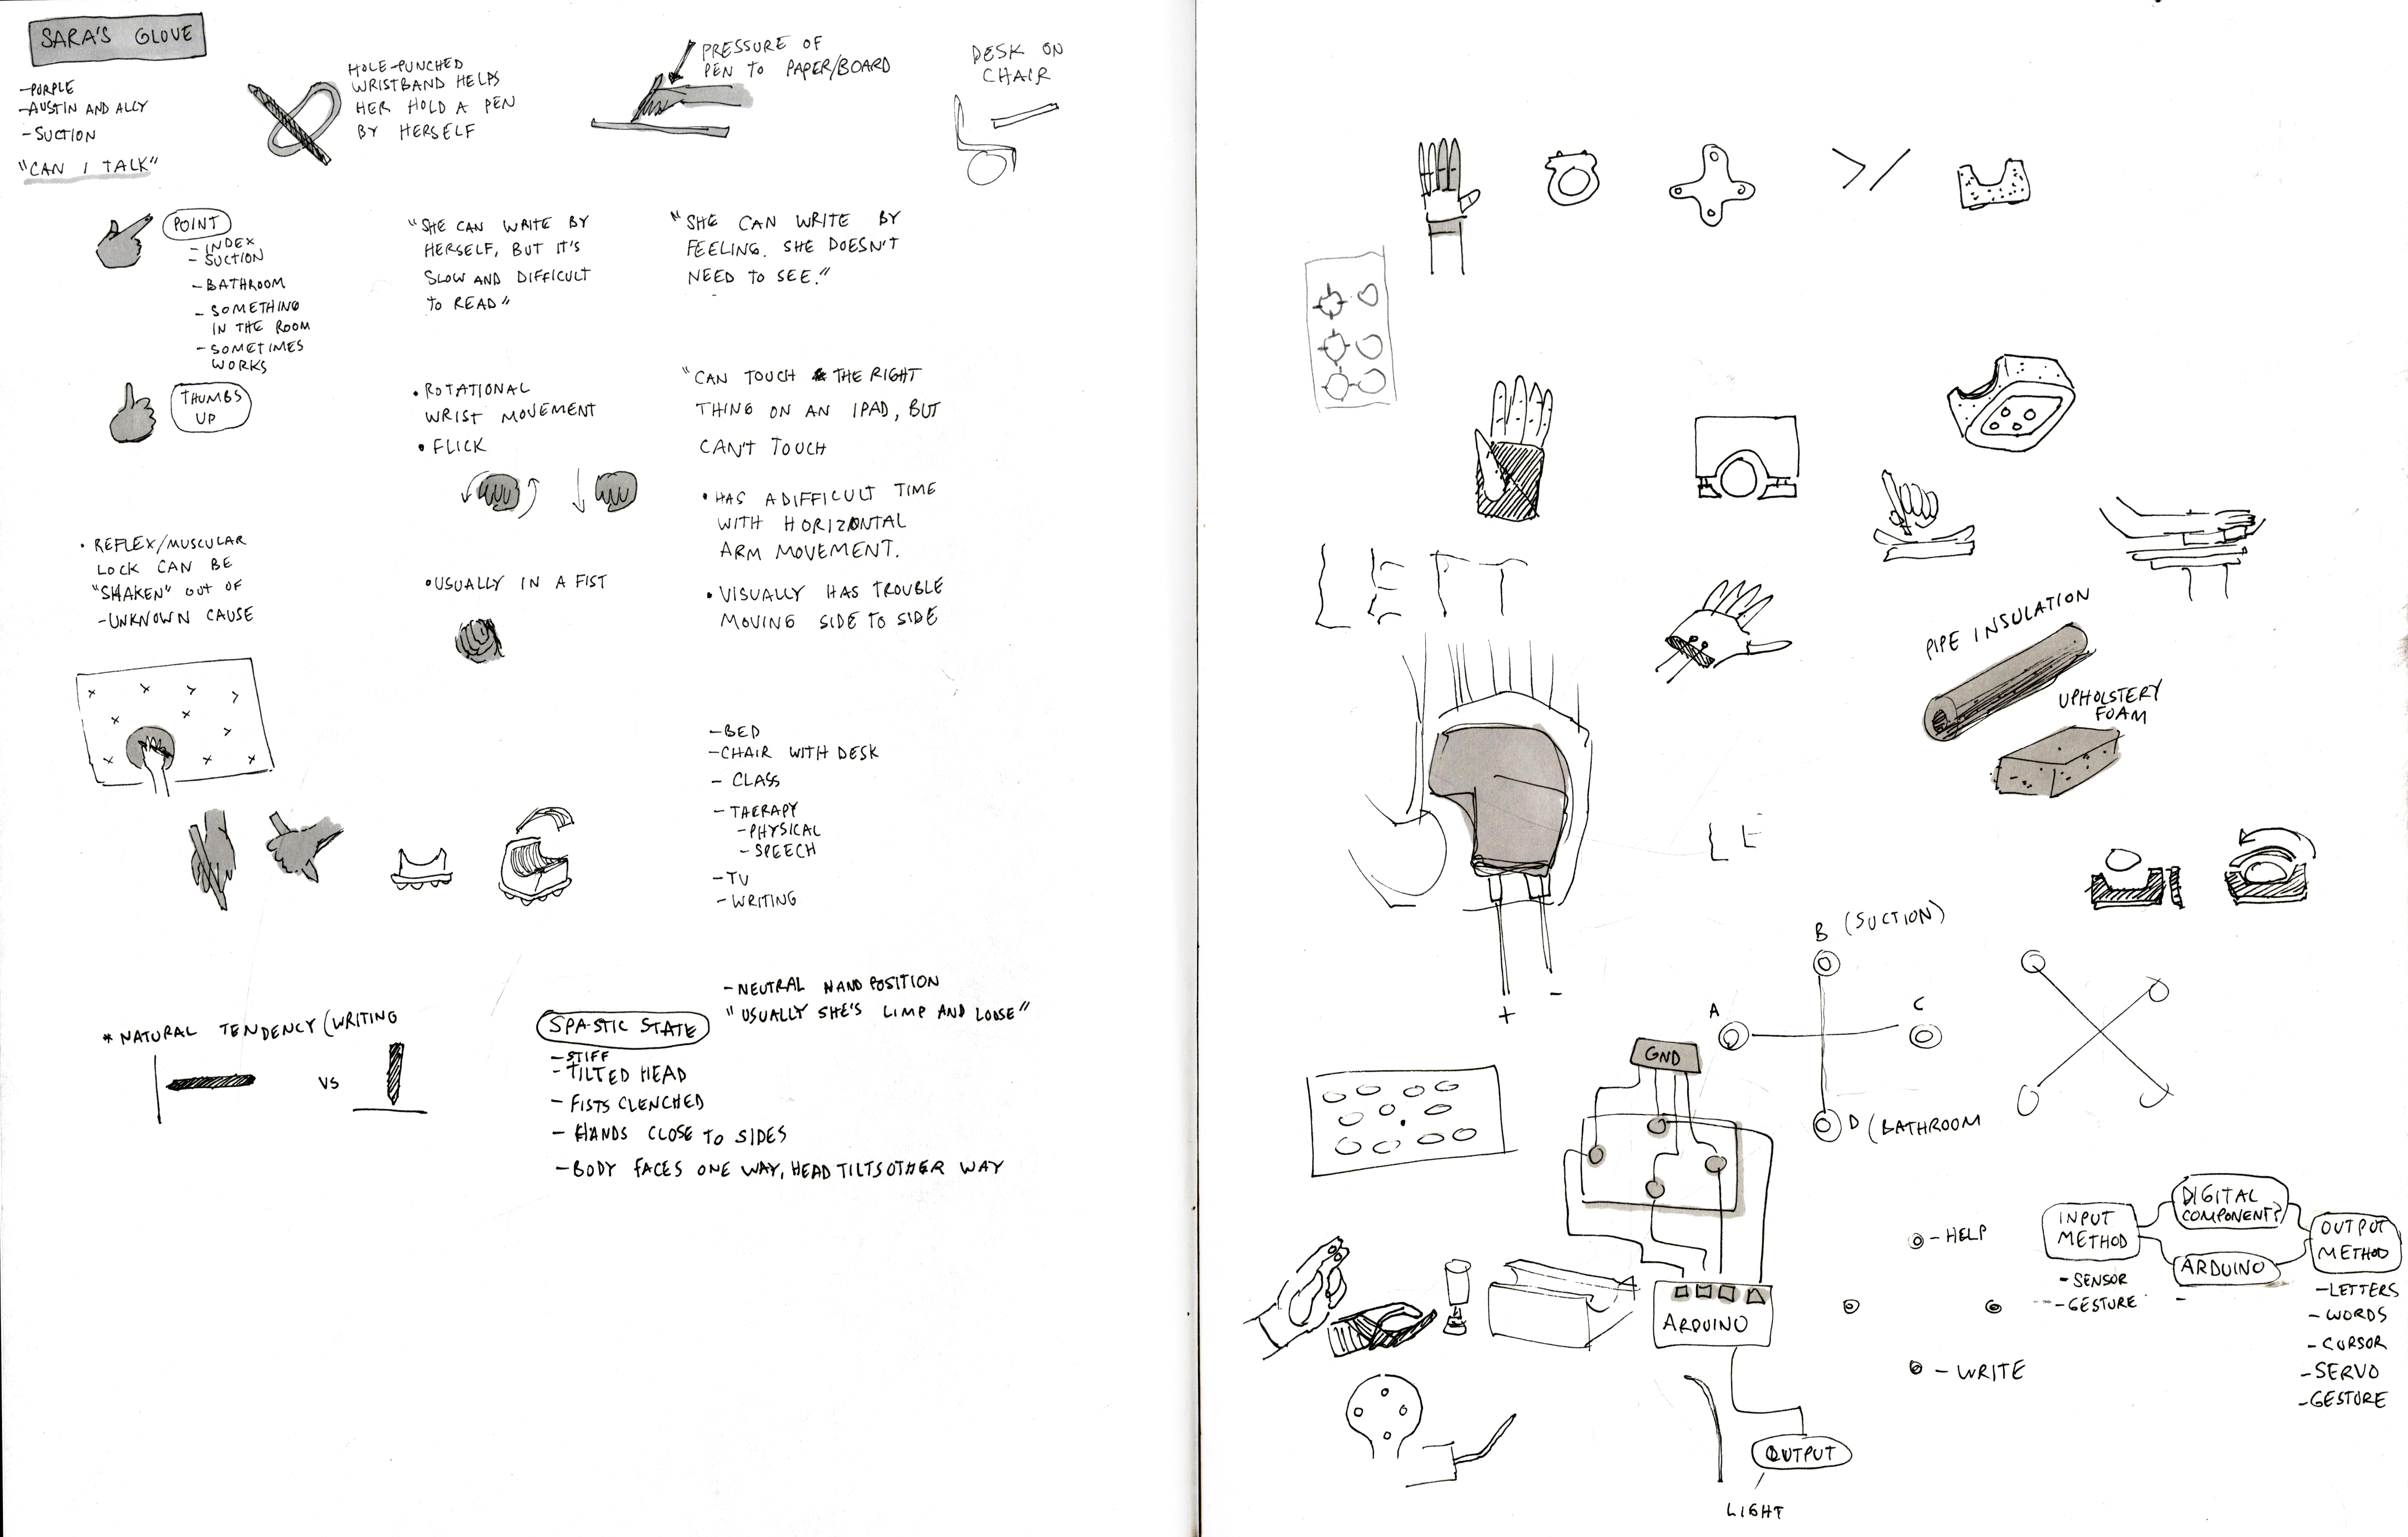
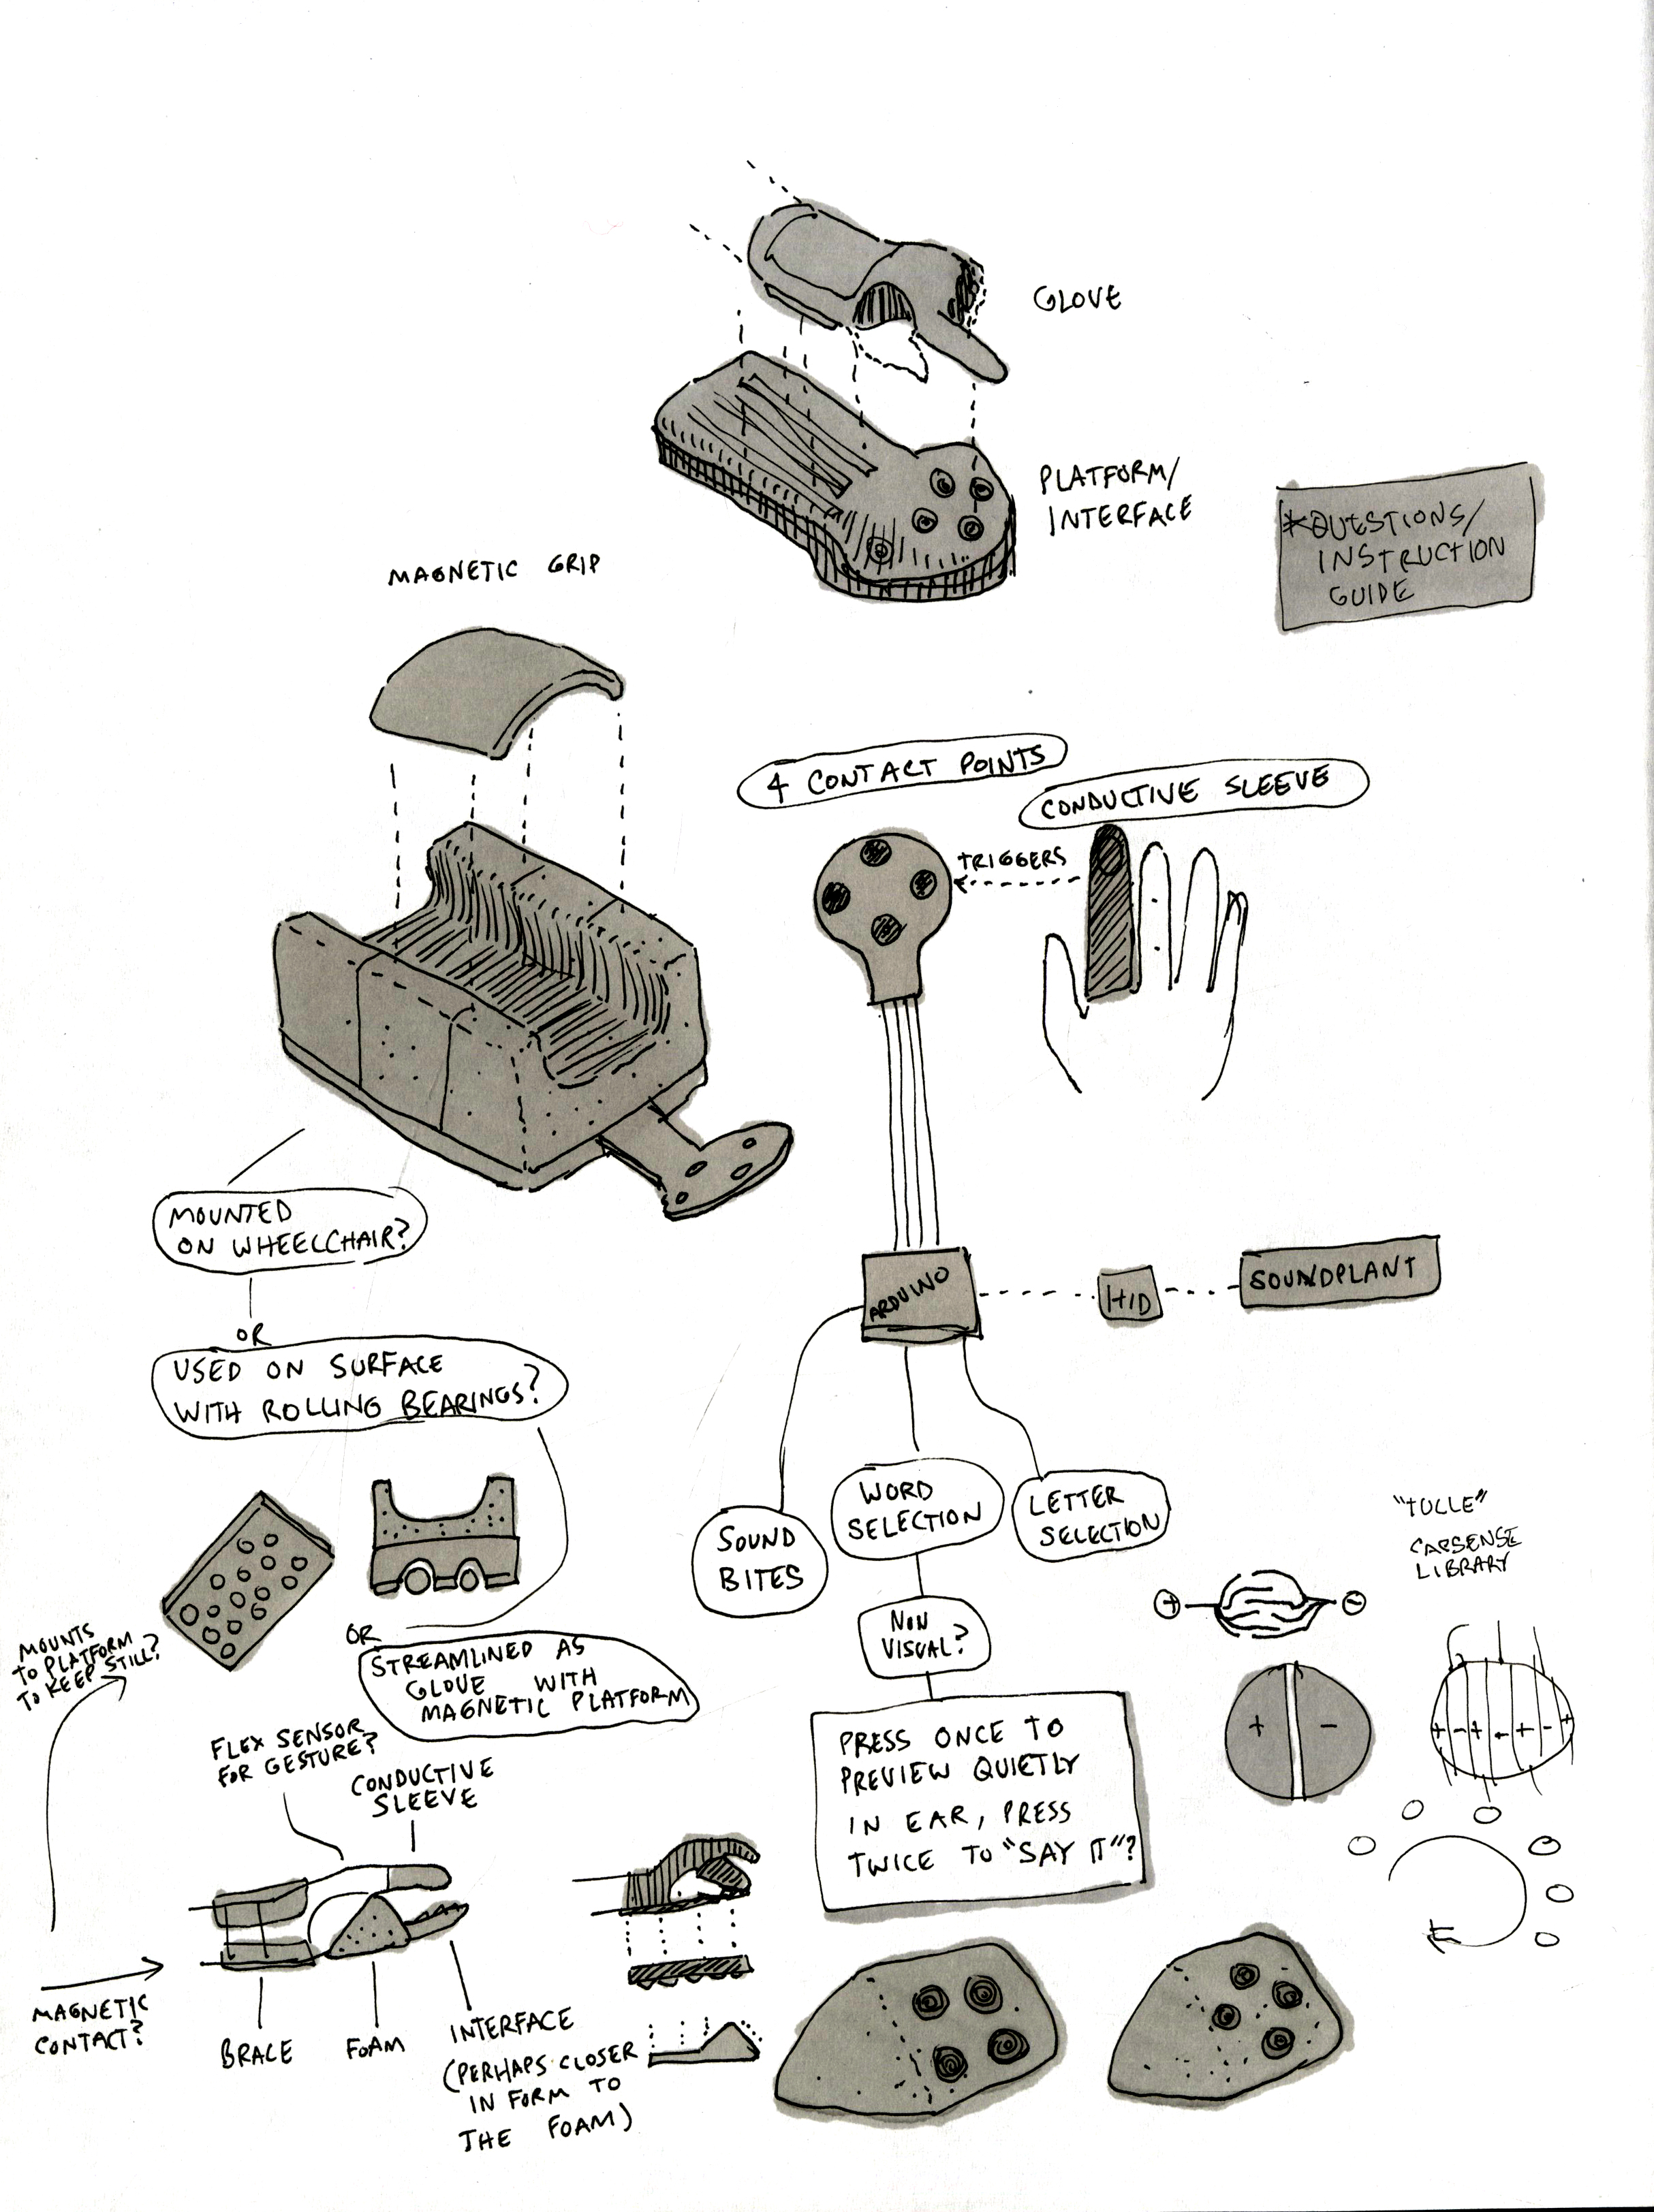
Sara’s Glove: Prototype 1
Team JK: Kelly Lei, Klea Bajala, Jherin Miller
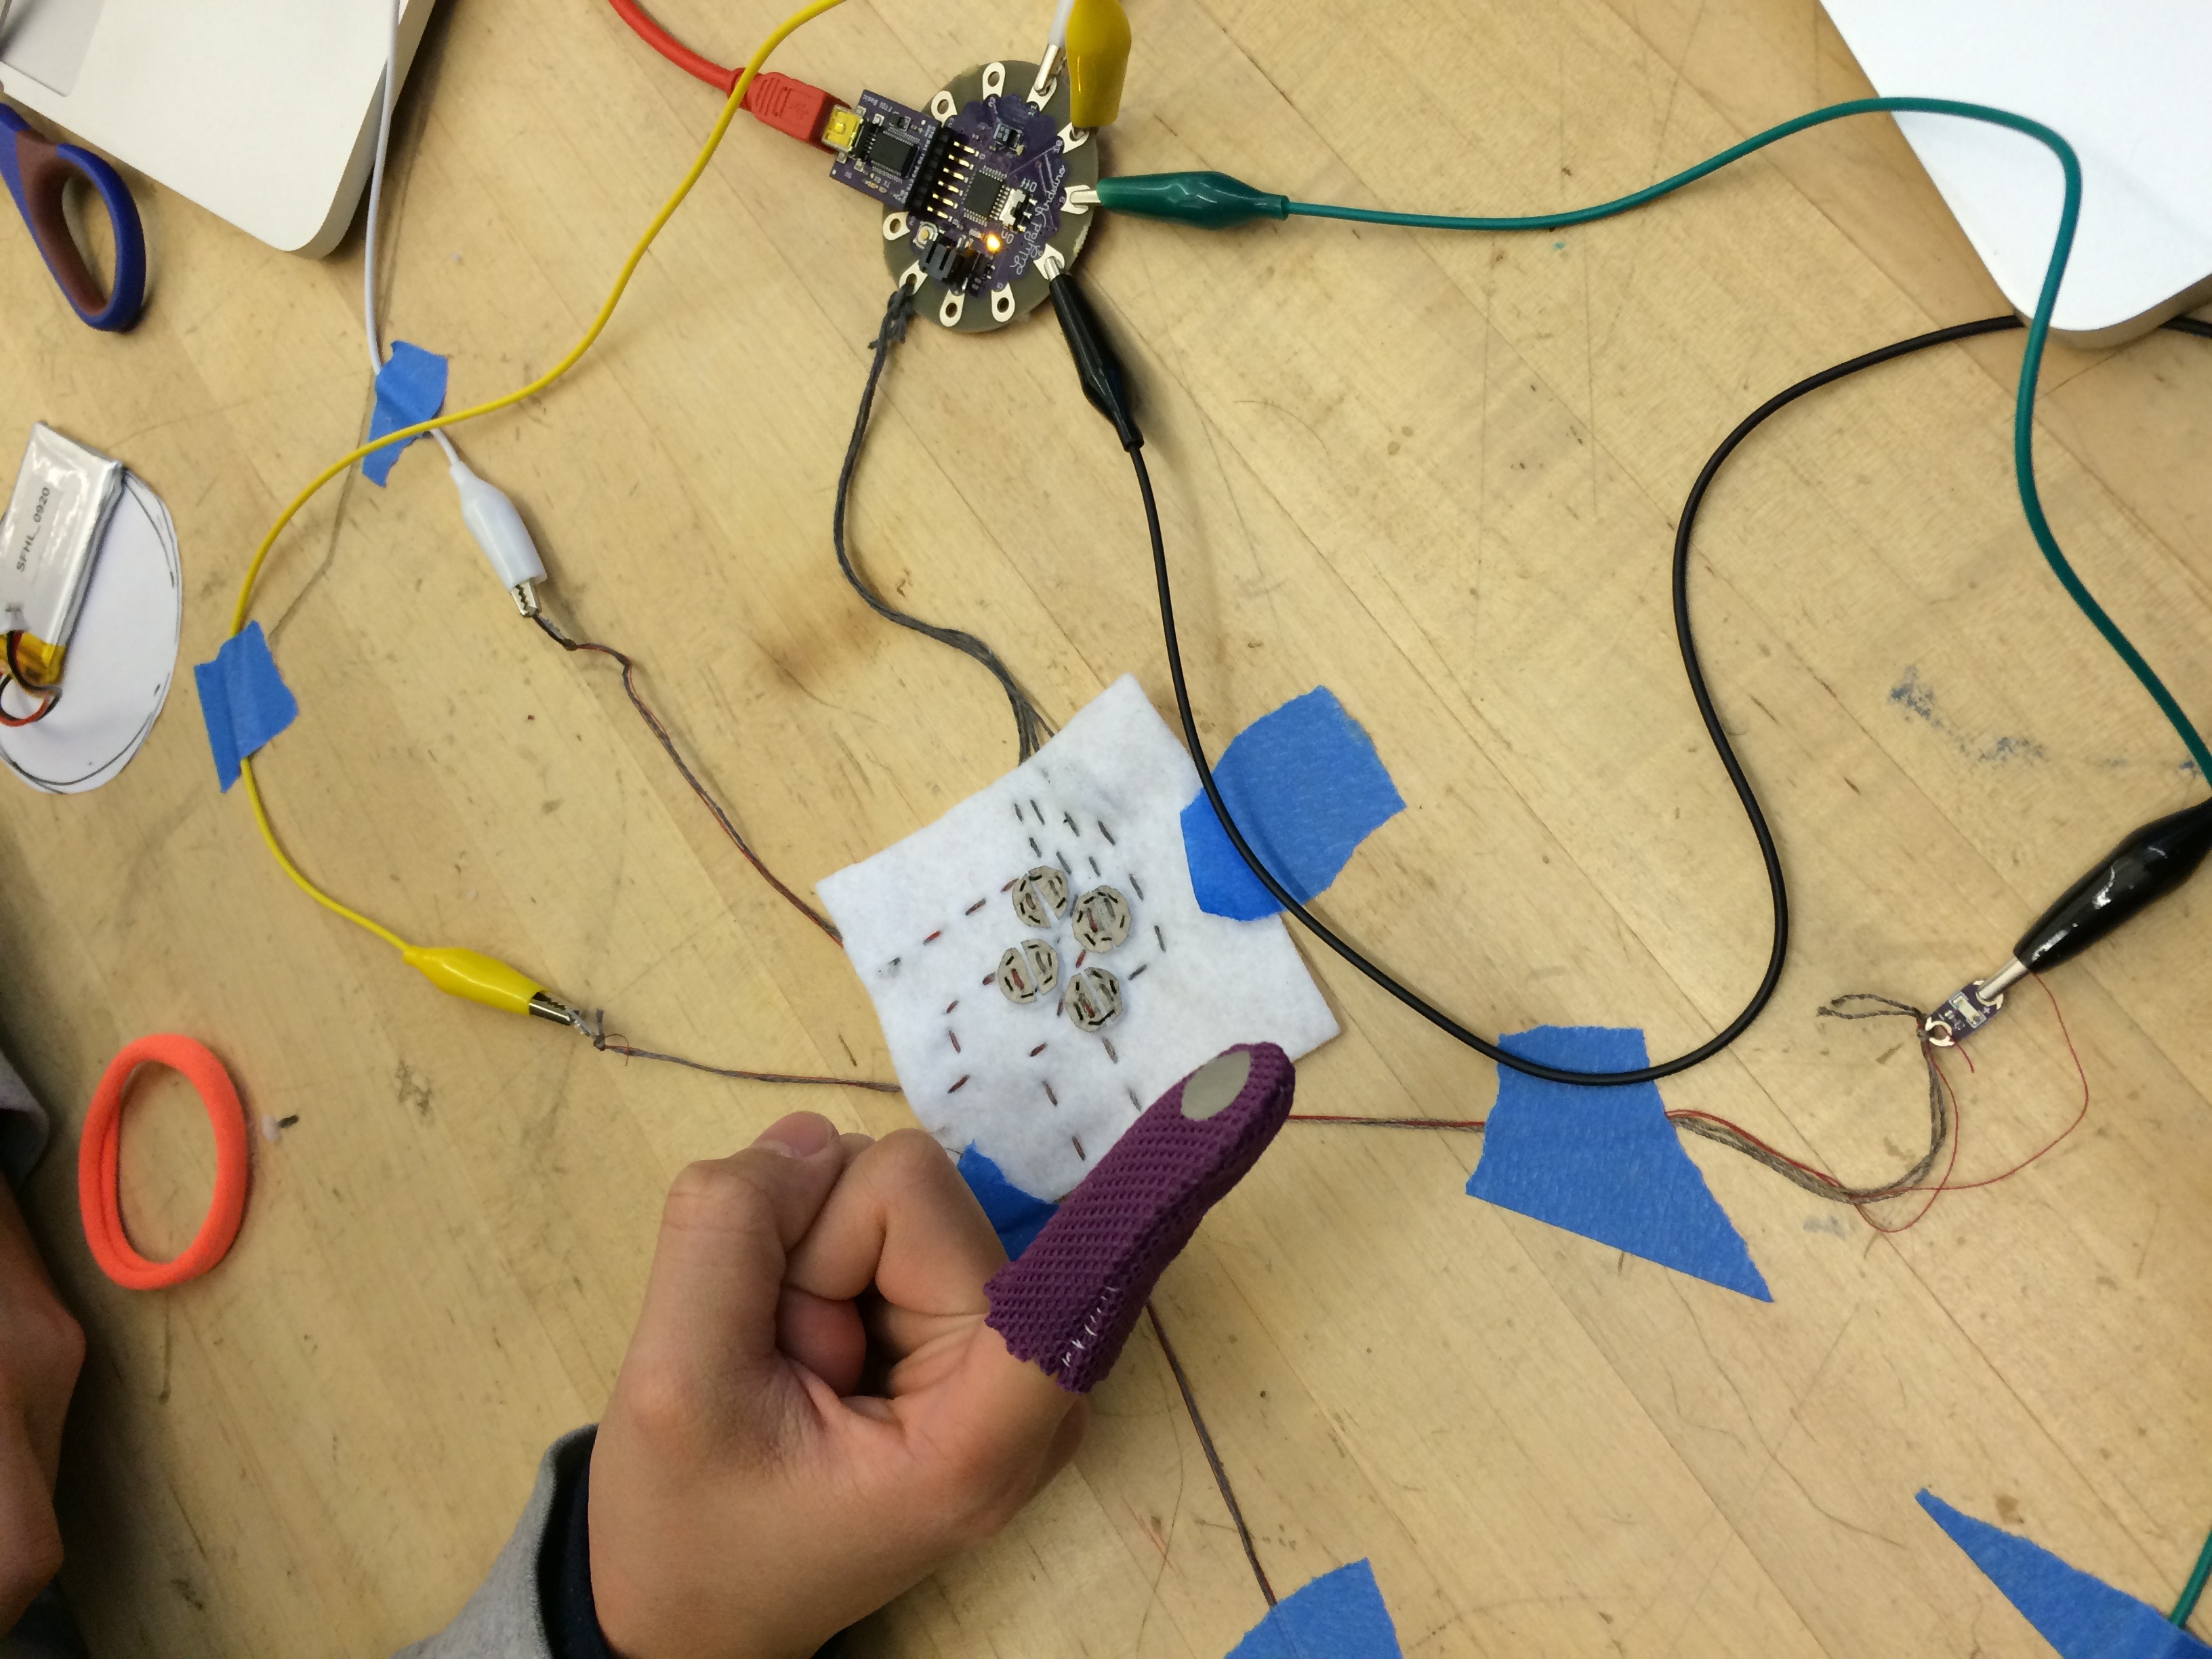
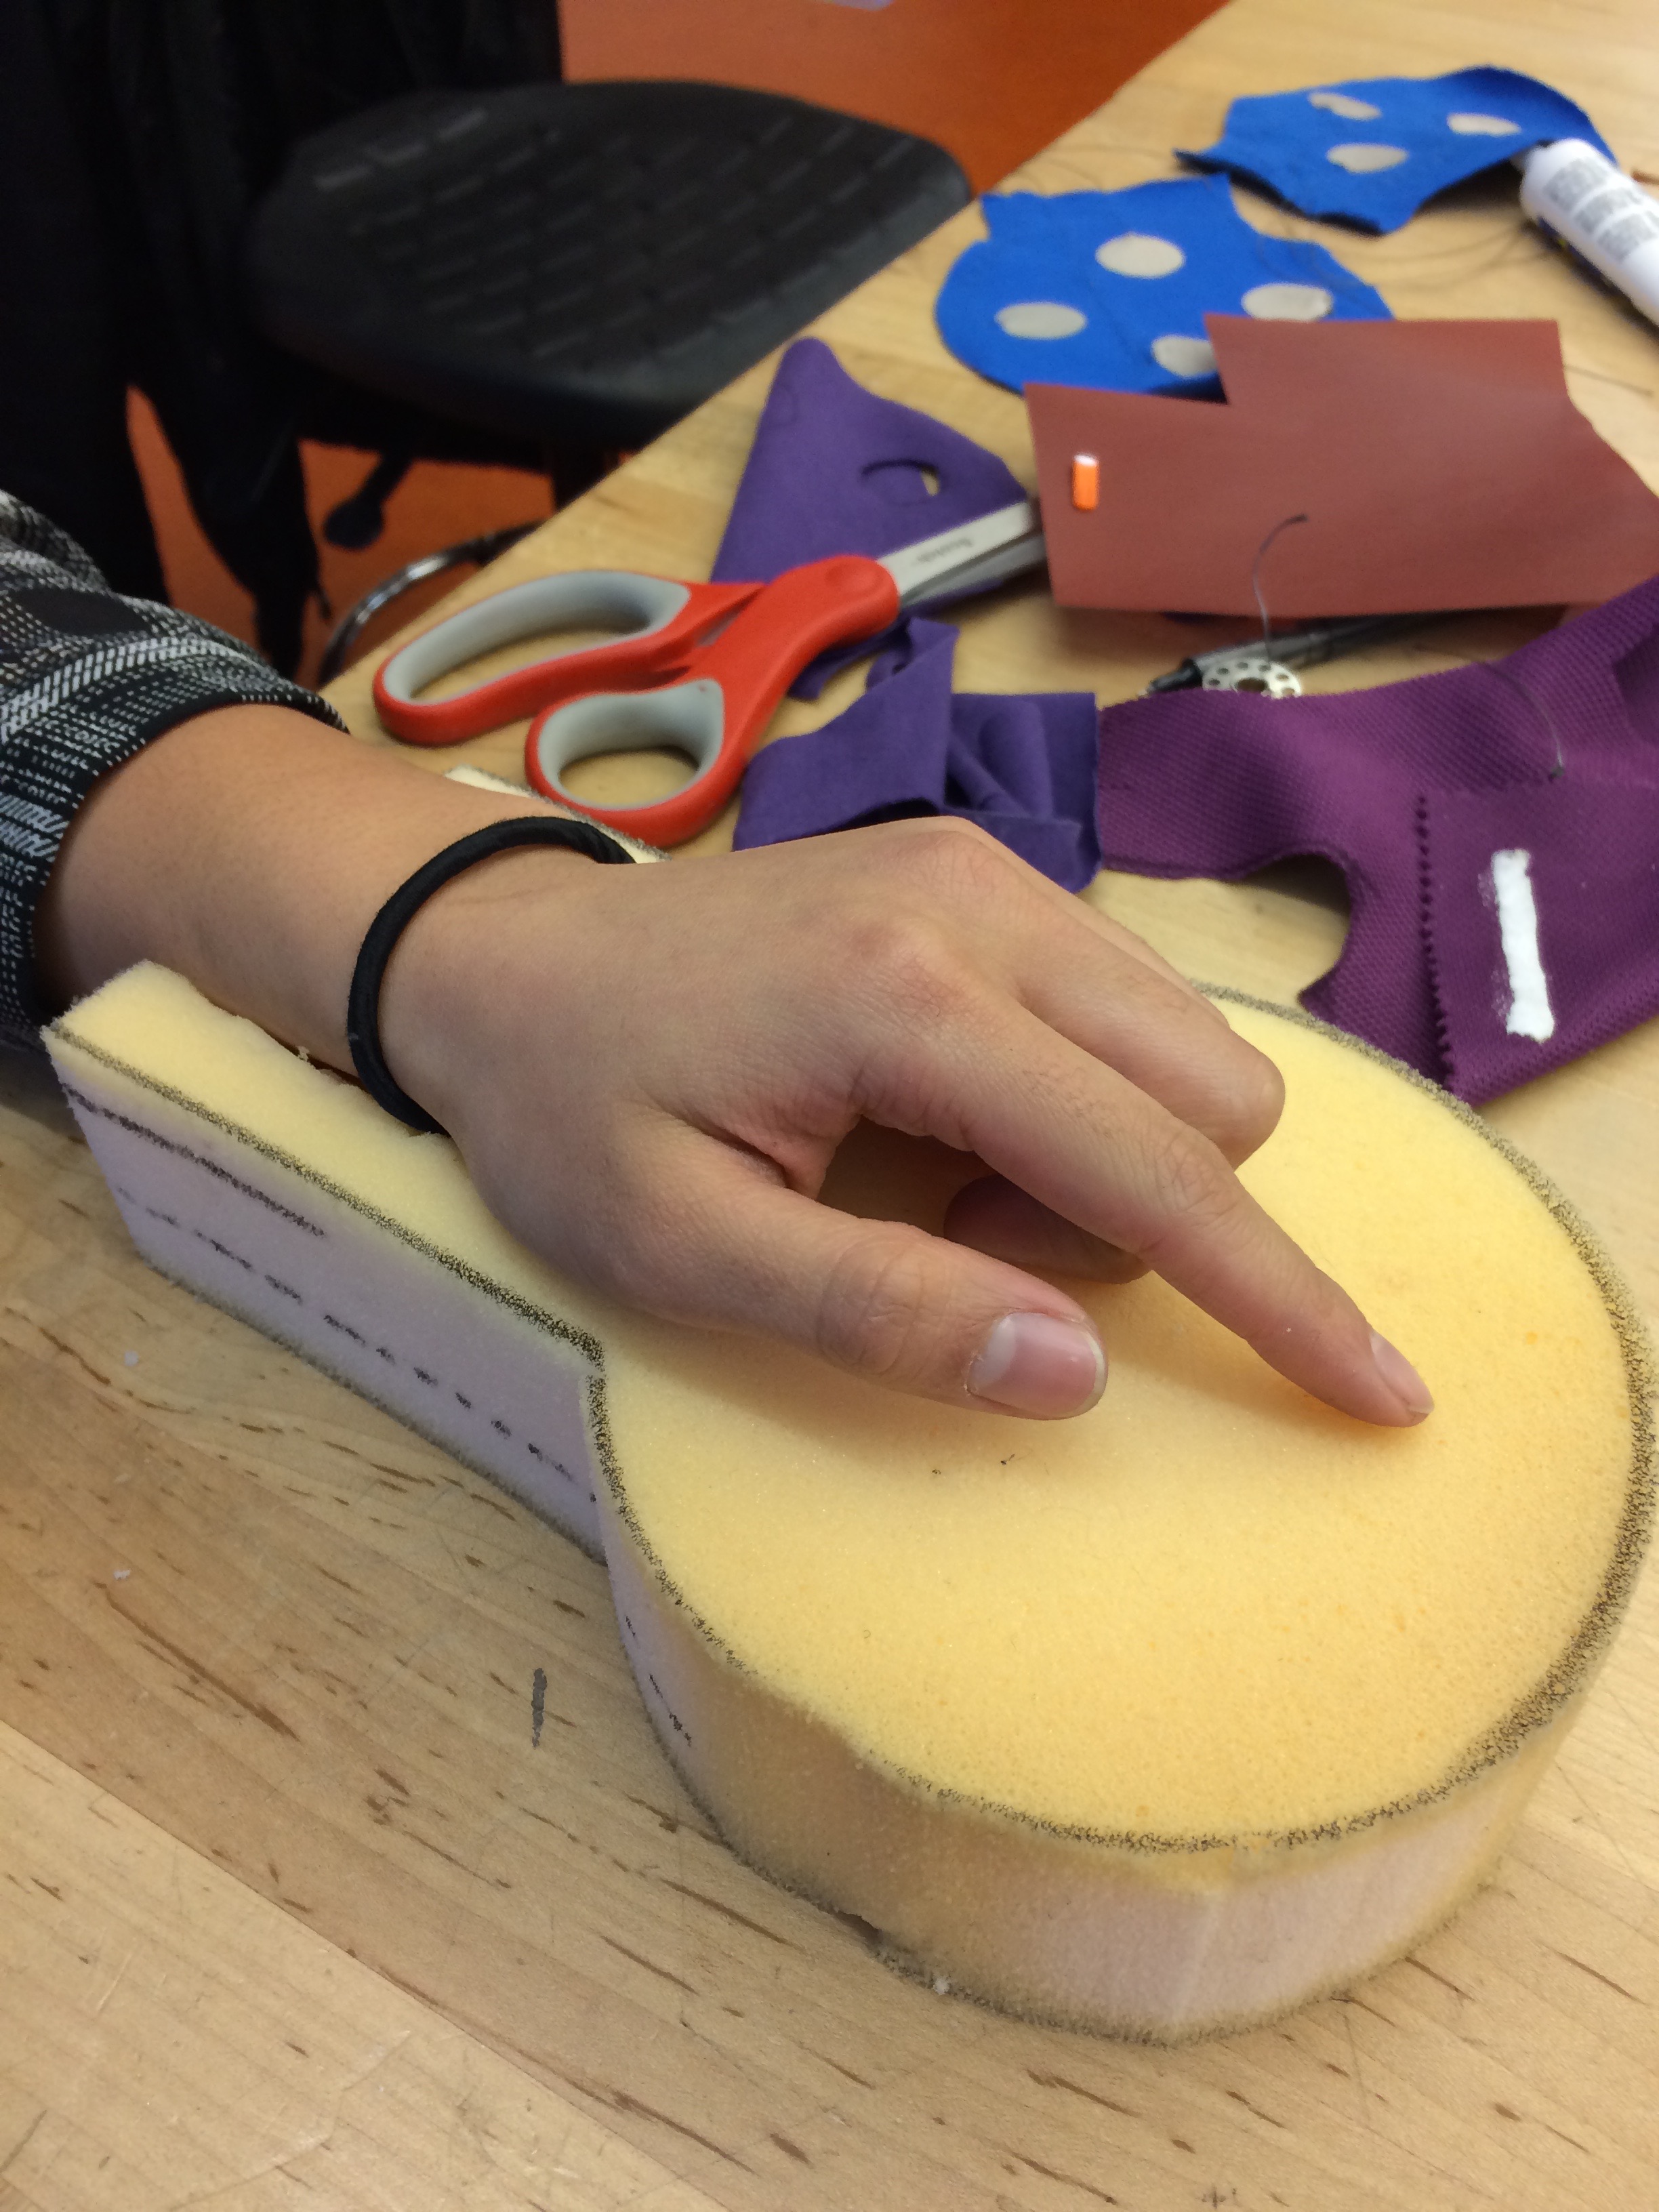
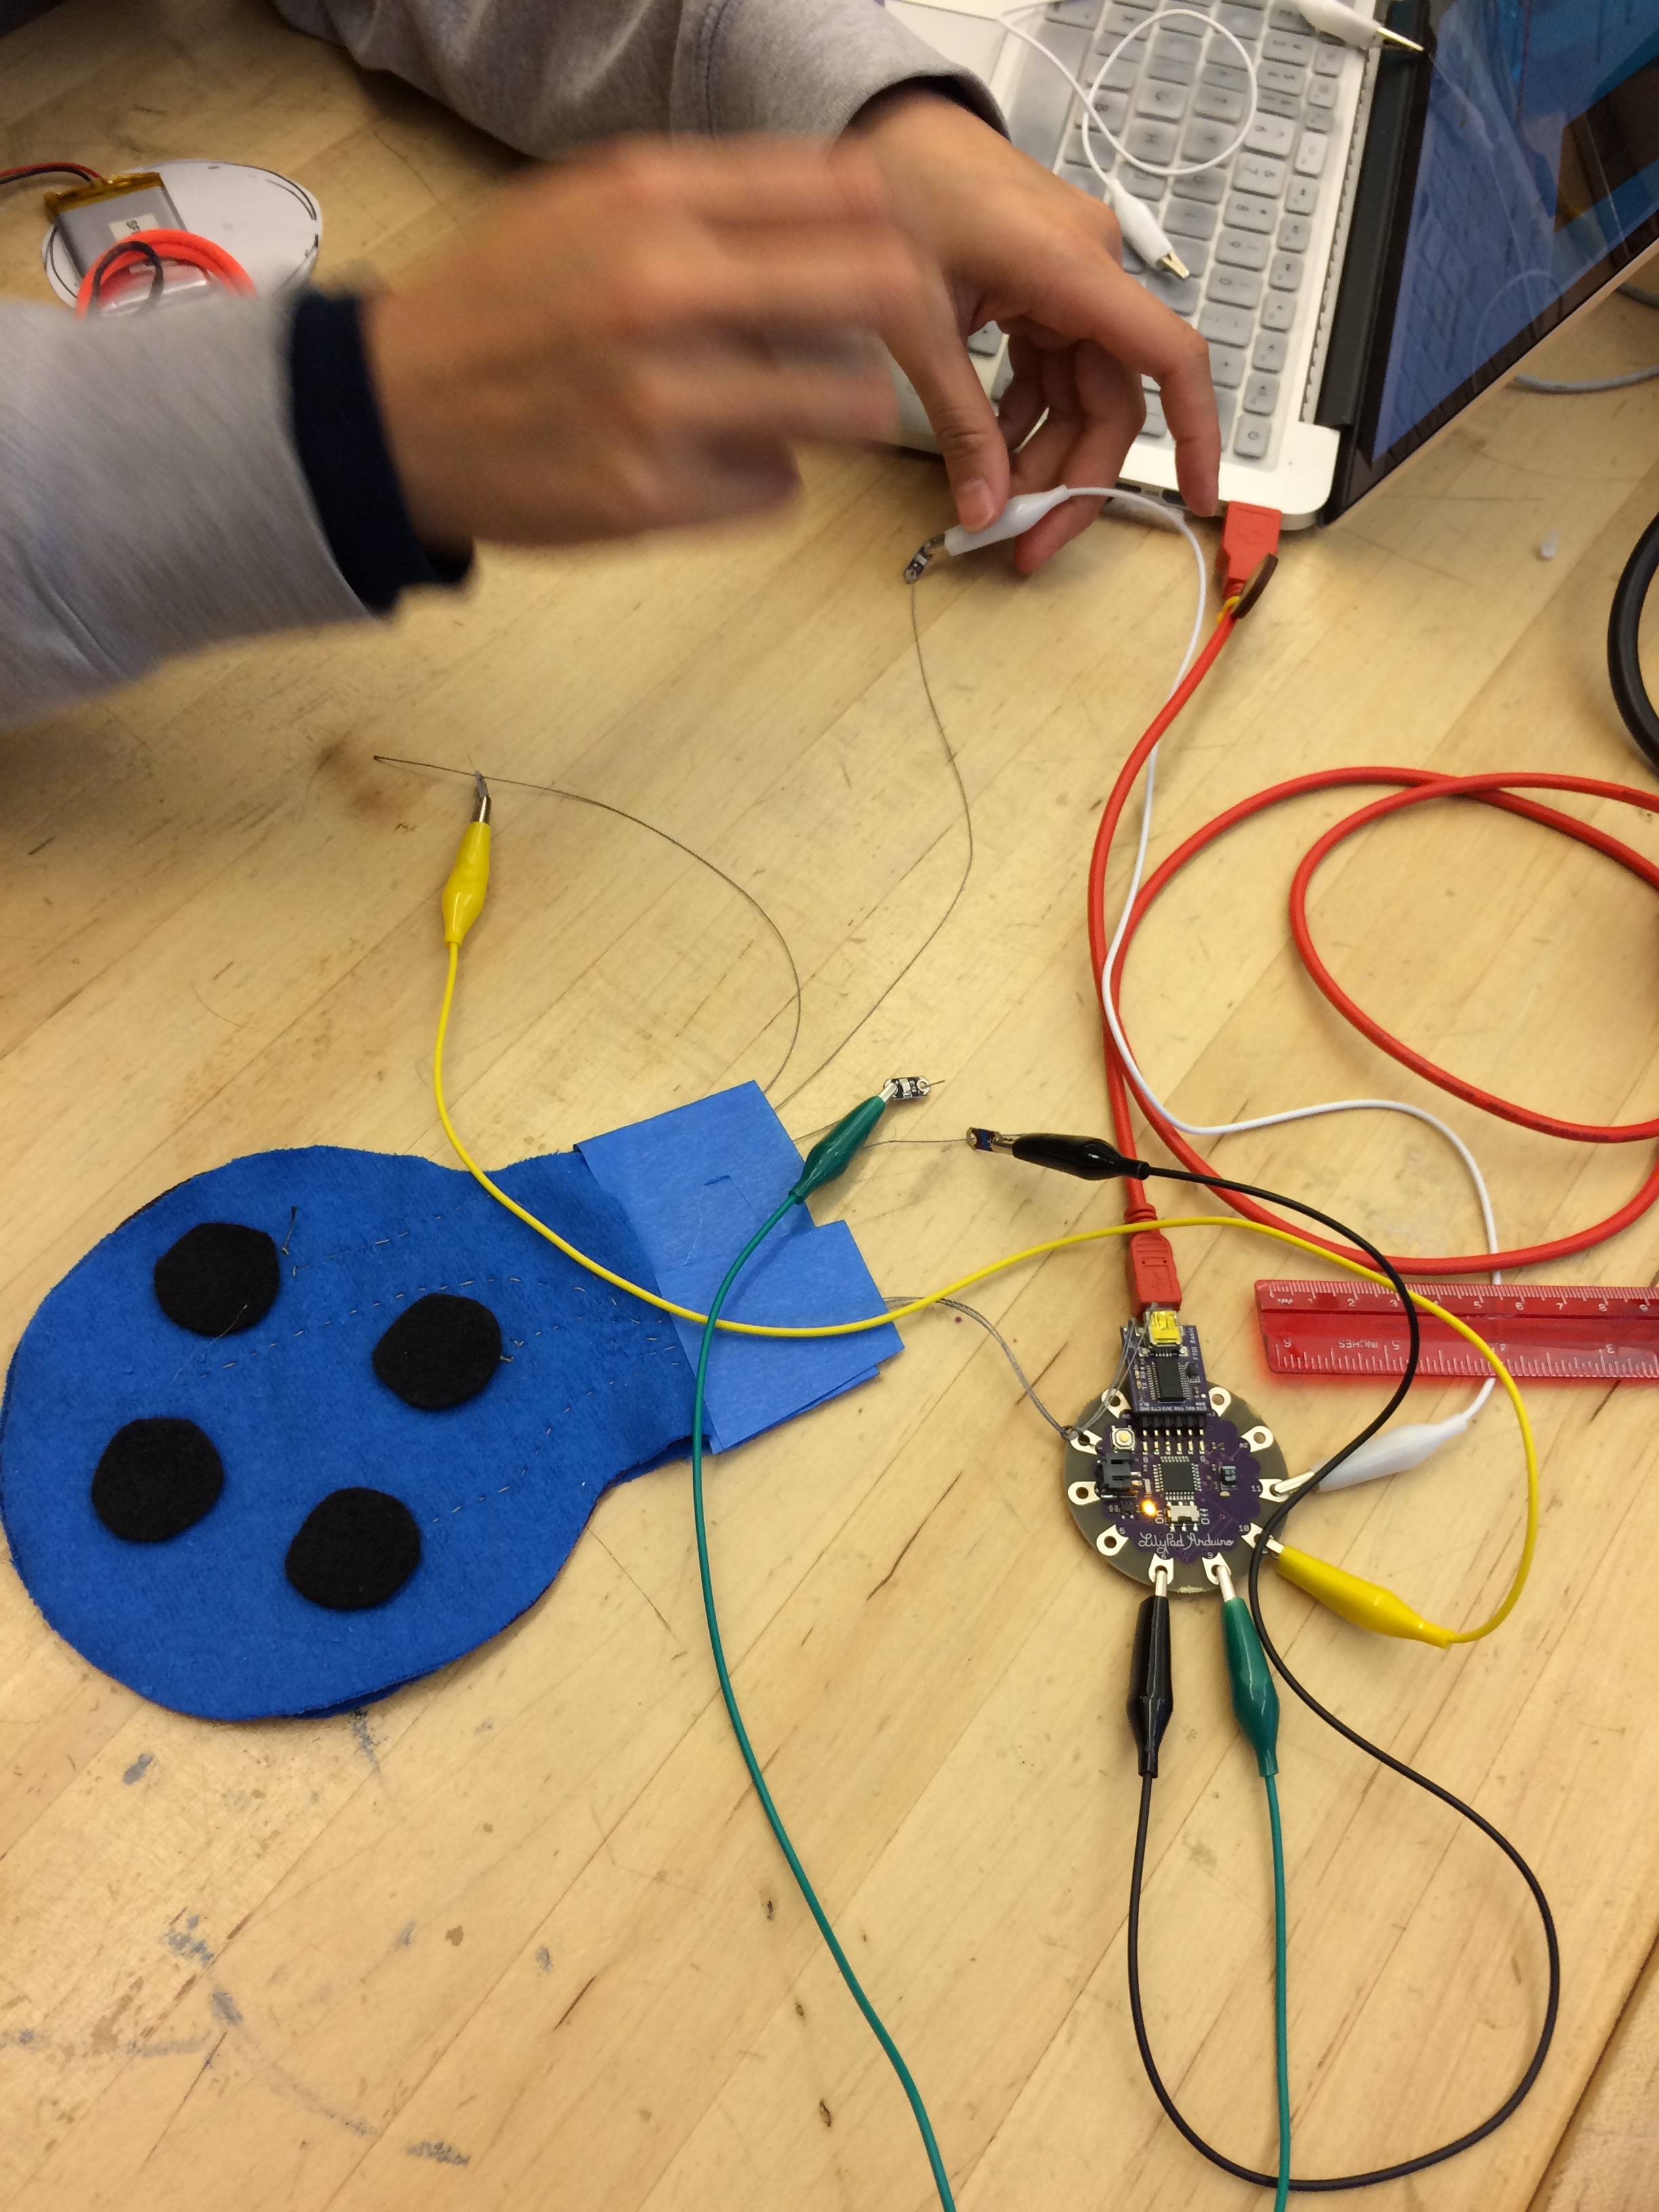
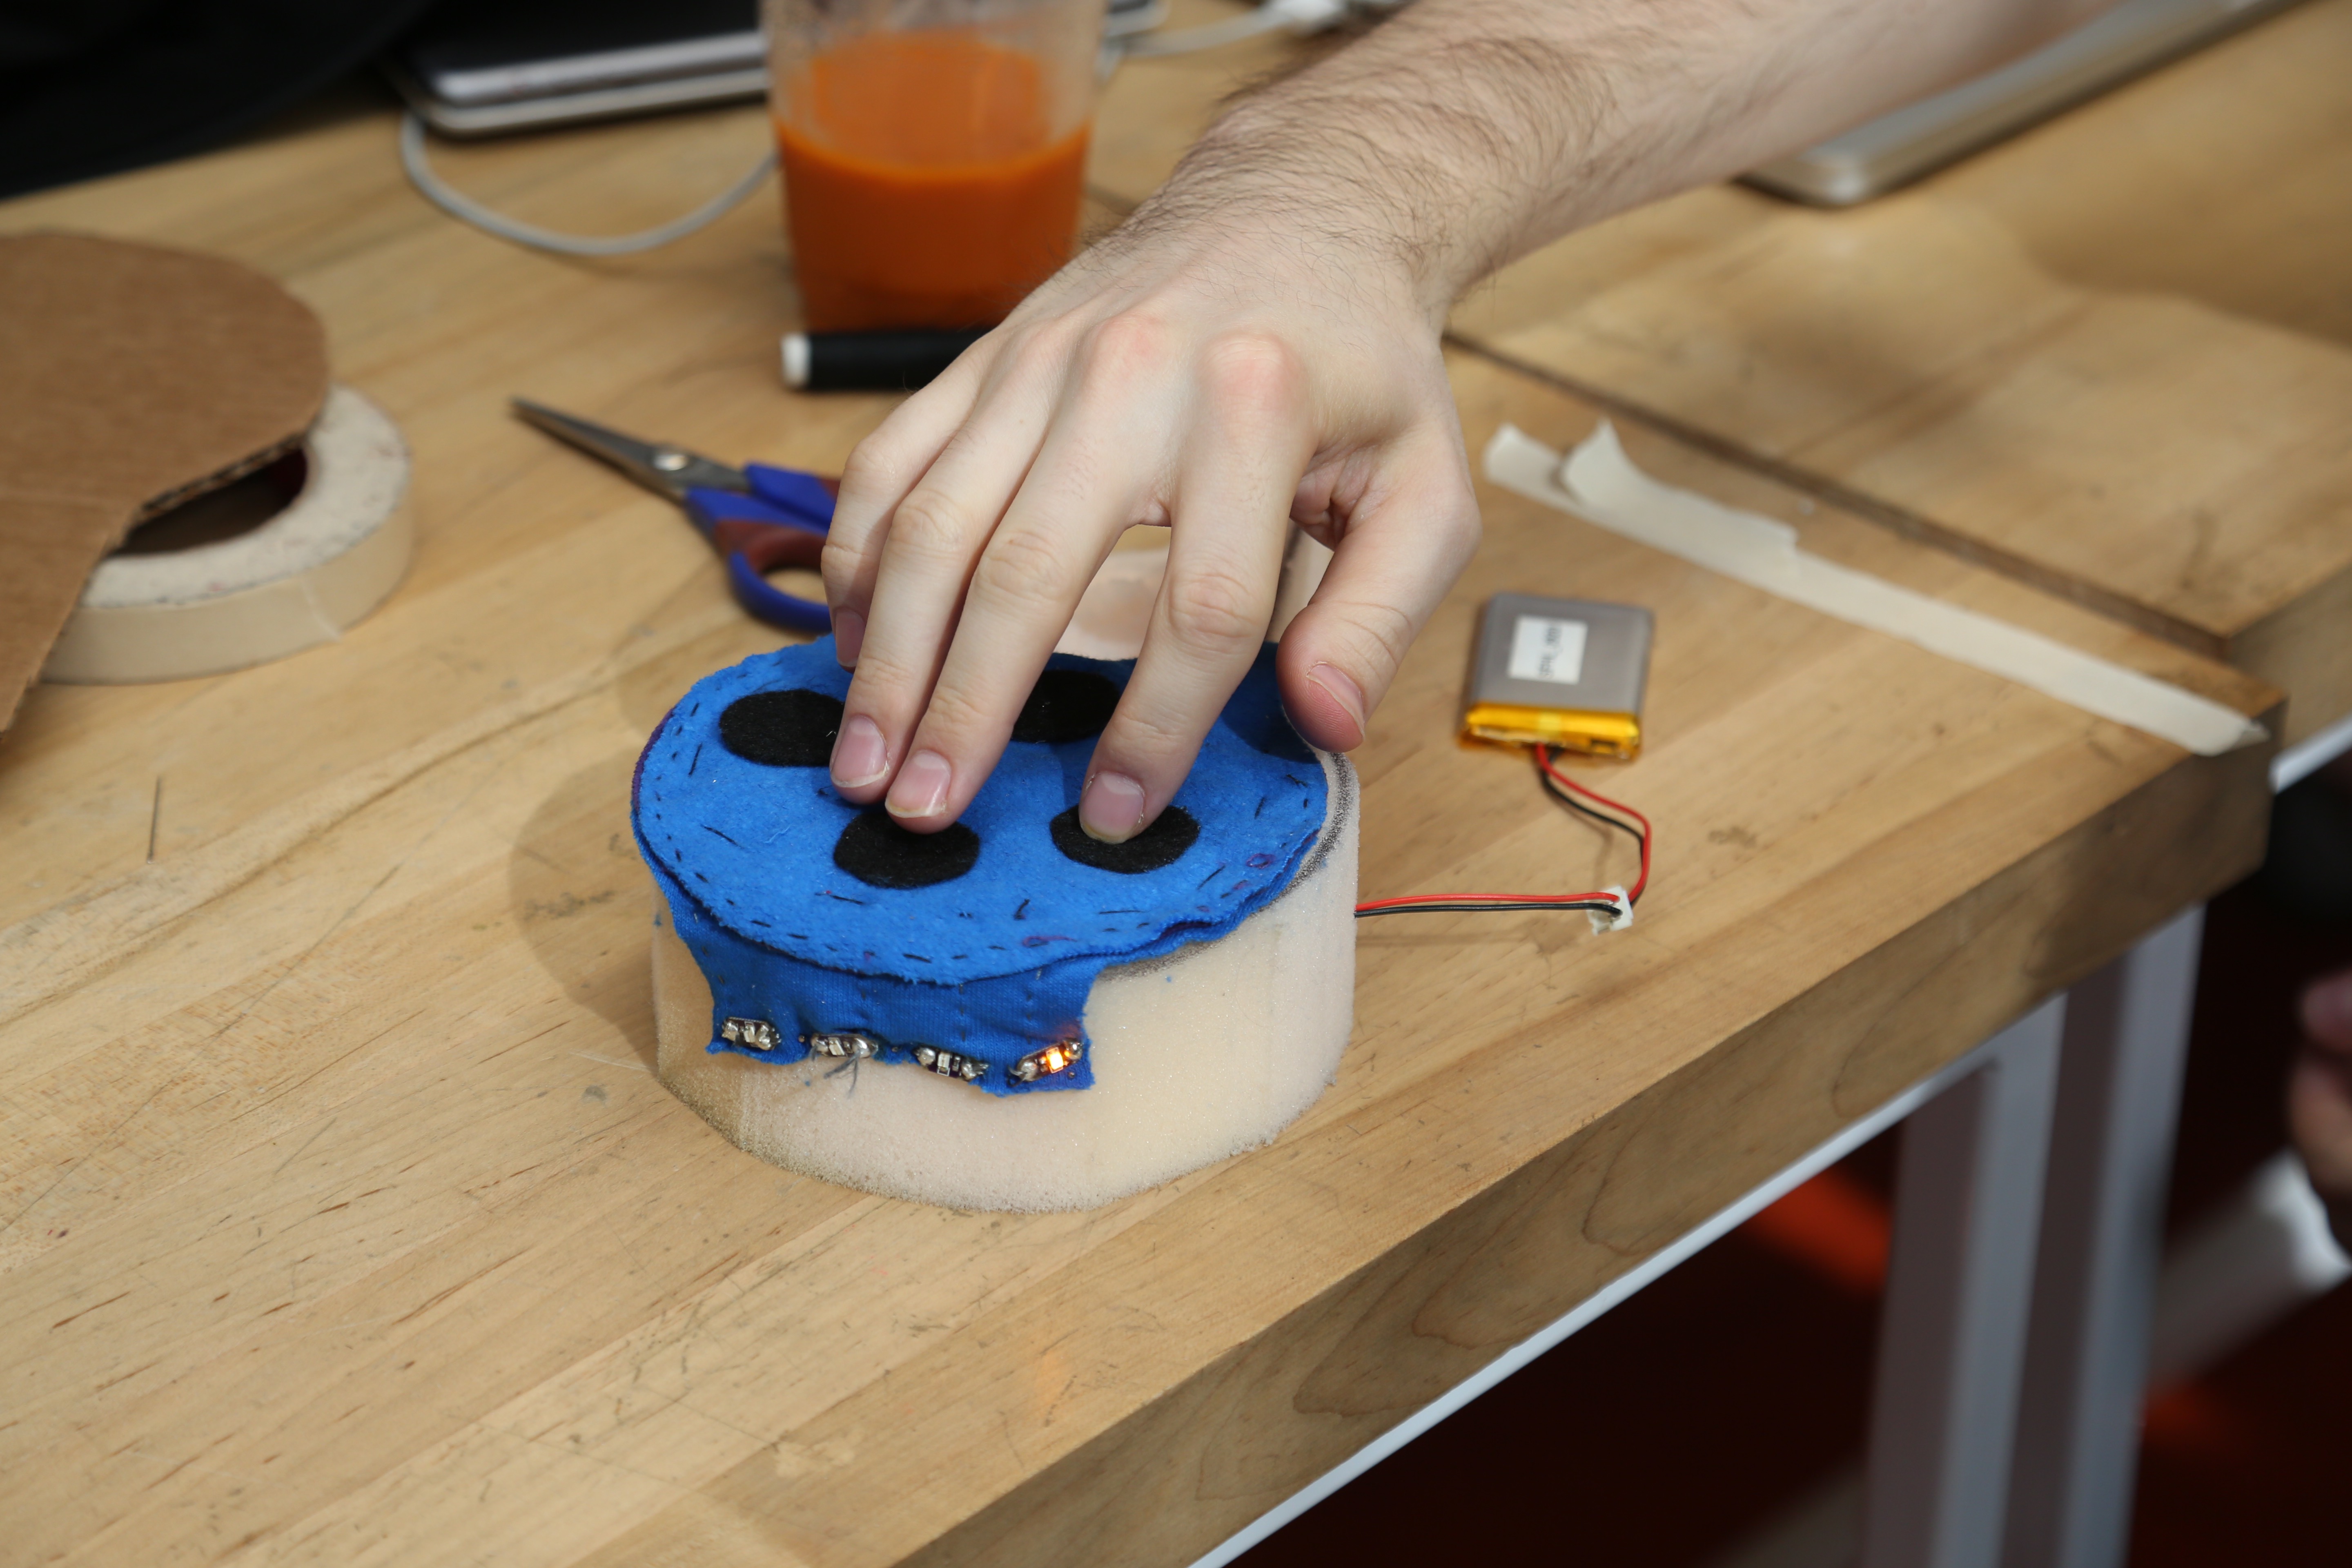
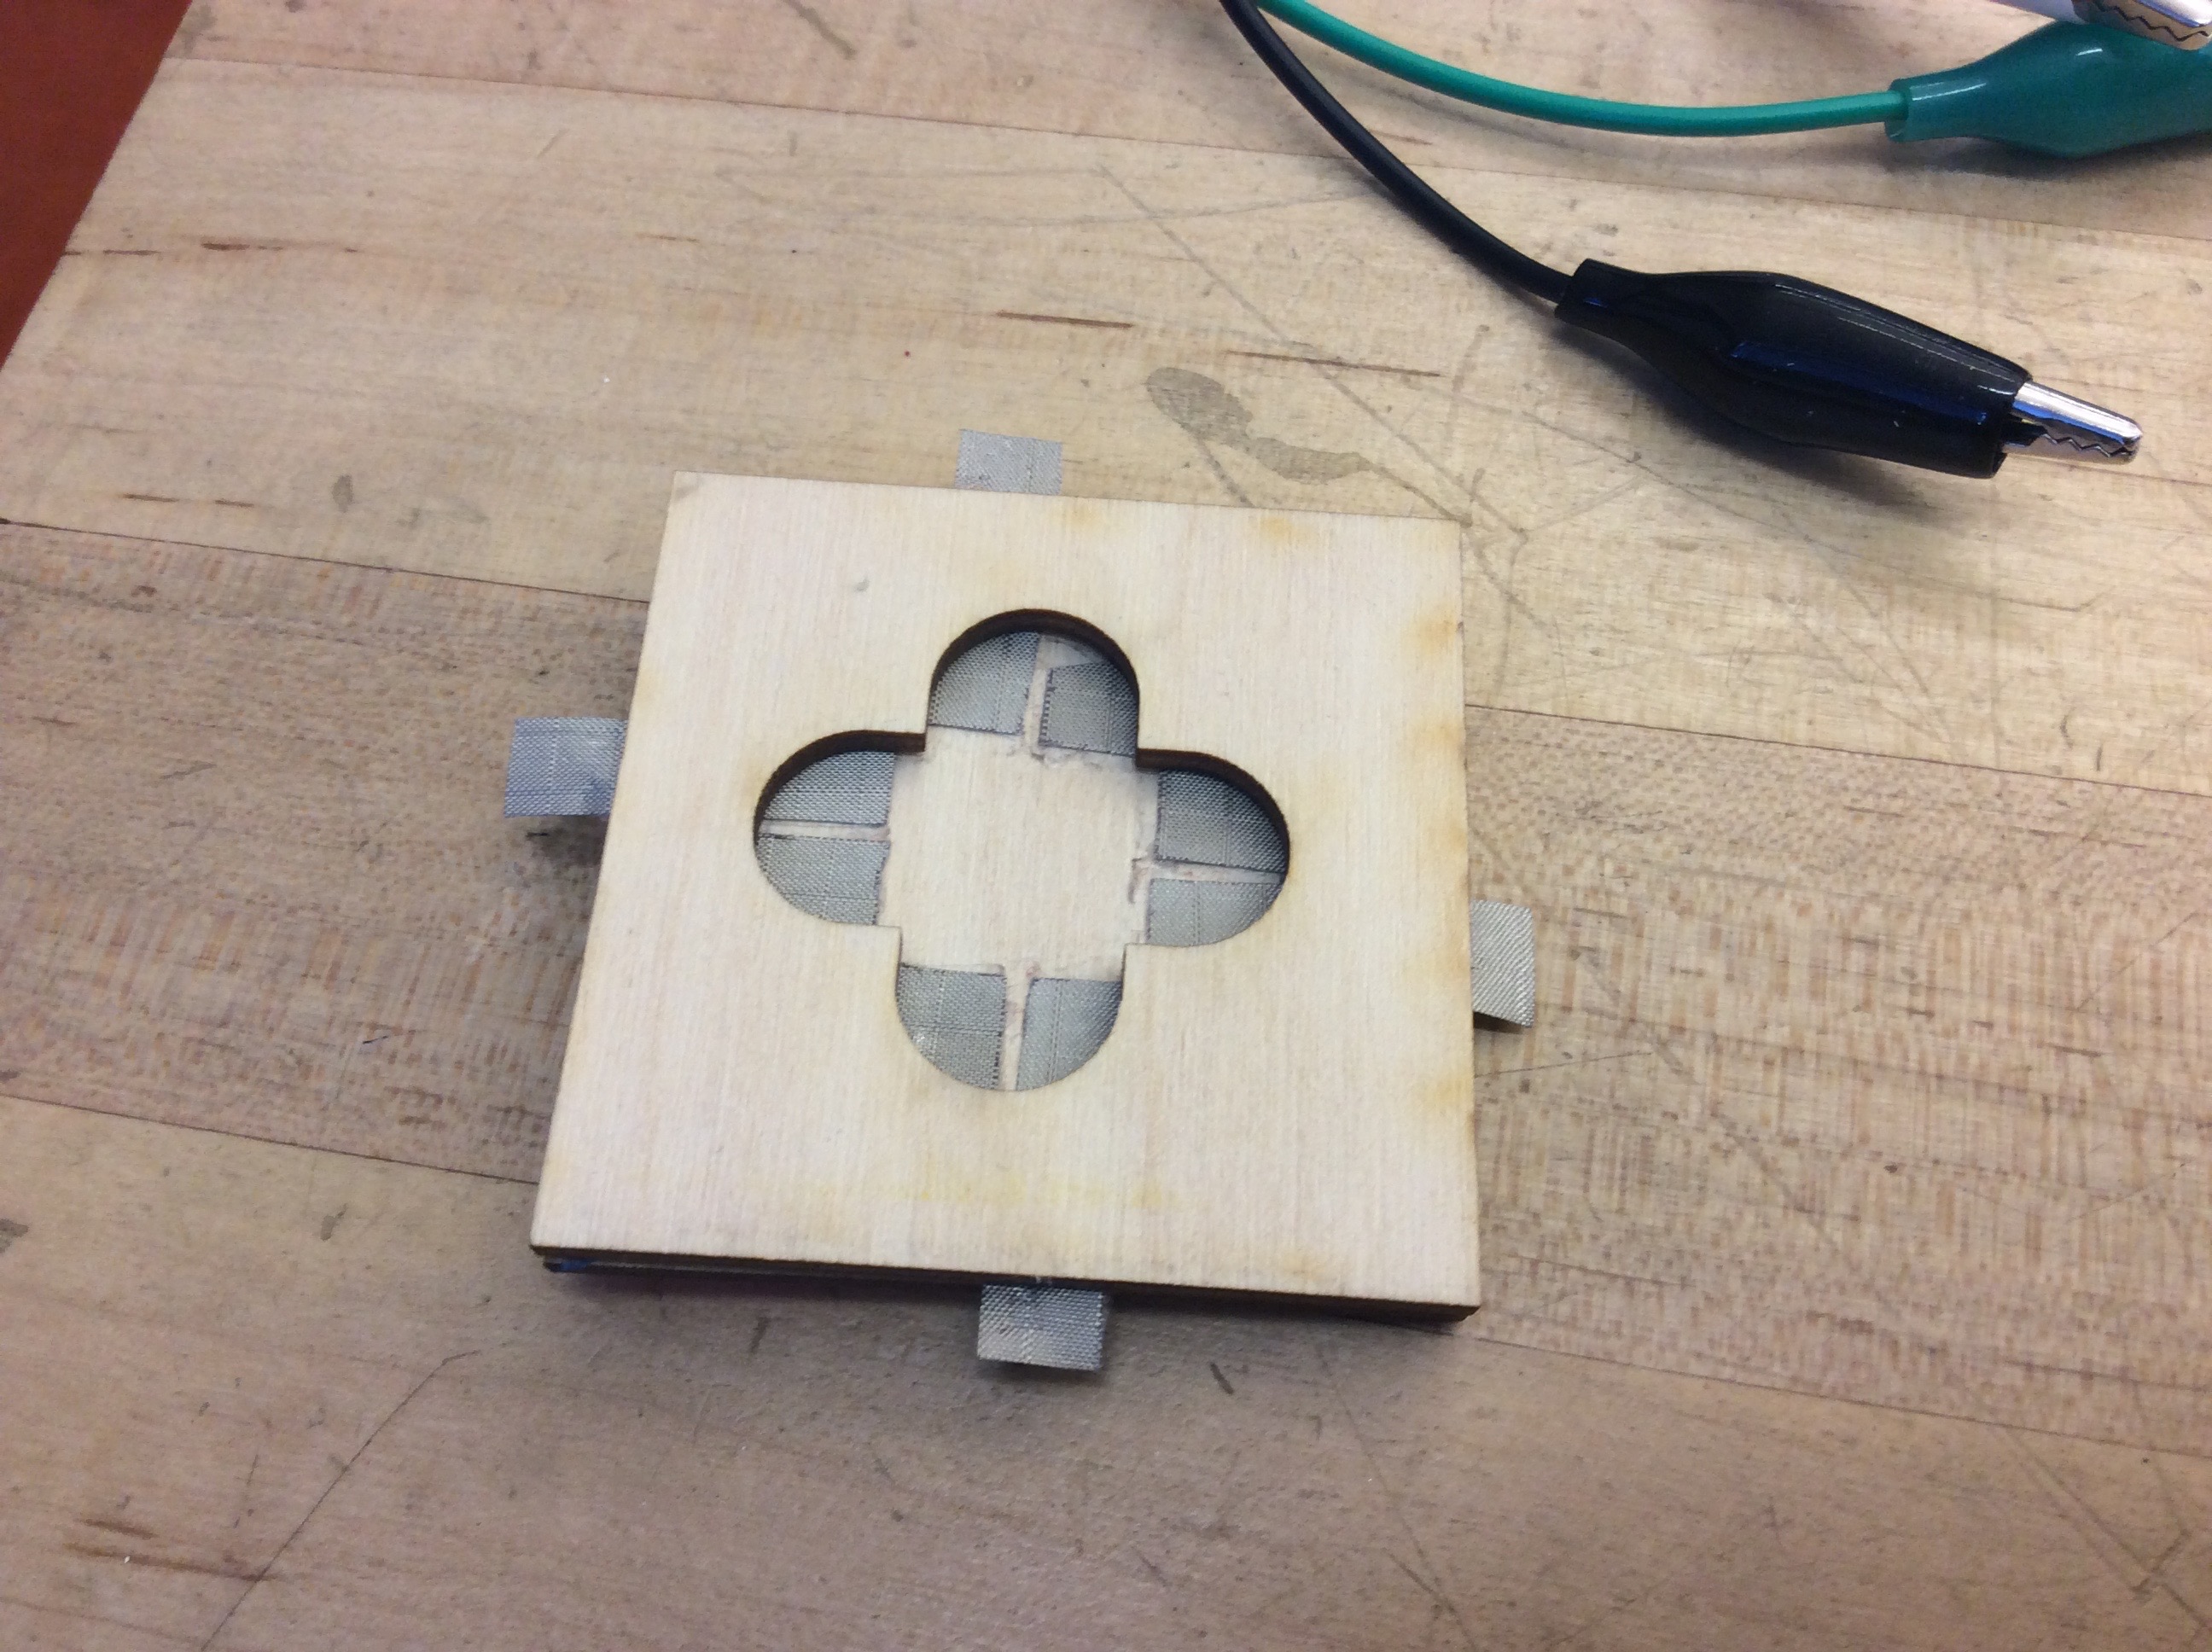
For our first round of prototyping we wanted to focus on the Sara’s ability to communicate using an interface other than writing, so that it could potentially be used to trigger soundbites or navigate other software that may be more useful than writing in the future. This lead us to creating 2 prototypes with a 4-button interface. One uses handmade soft pressure sensing to trigger lights, and the other uses a conductive sleeve for Sara’s finger so she can bridge simple circuits using buttons made from conductive fabric. Another component of our prototypes was a foam platform we created with the idea that it could have a strap added to hold her wrist in place without her mother’s assistance.
Notes & concept sketches:
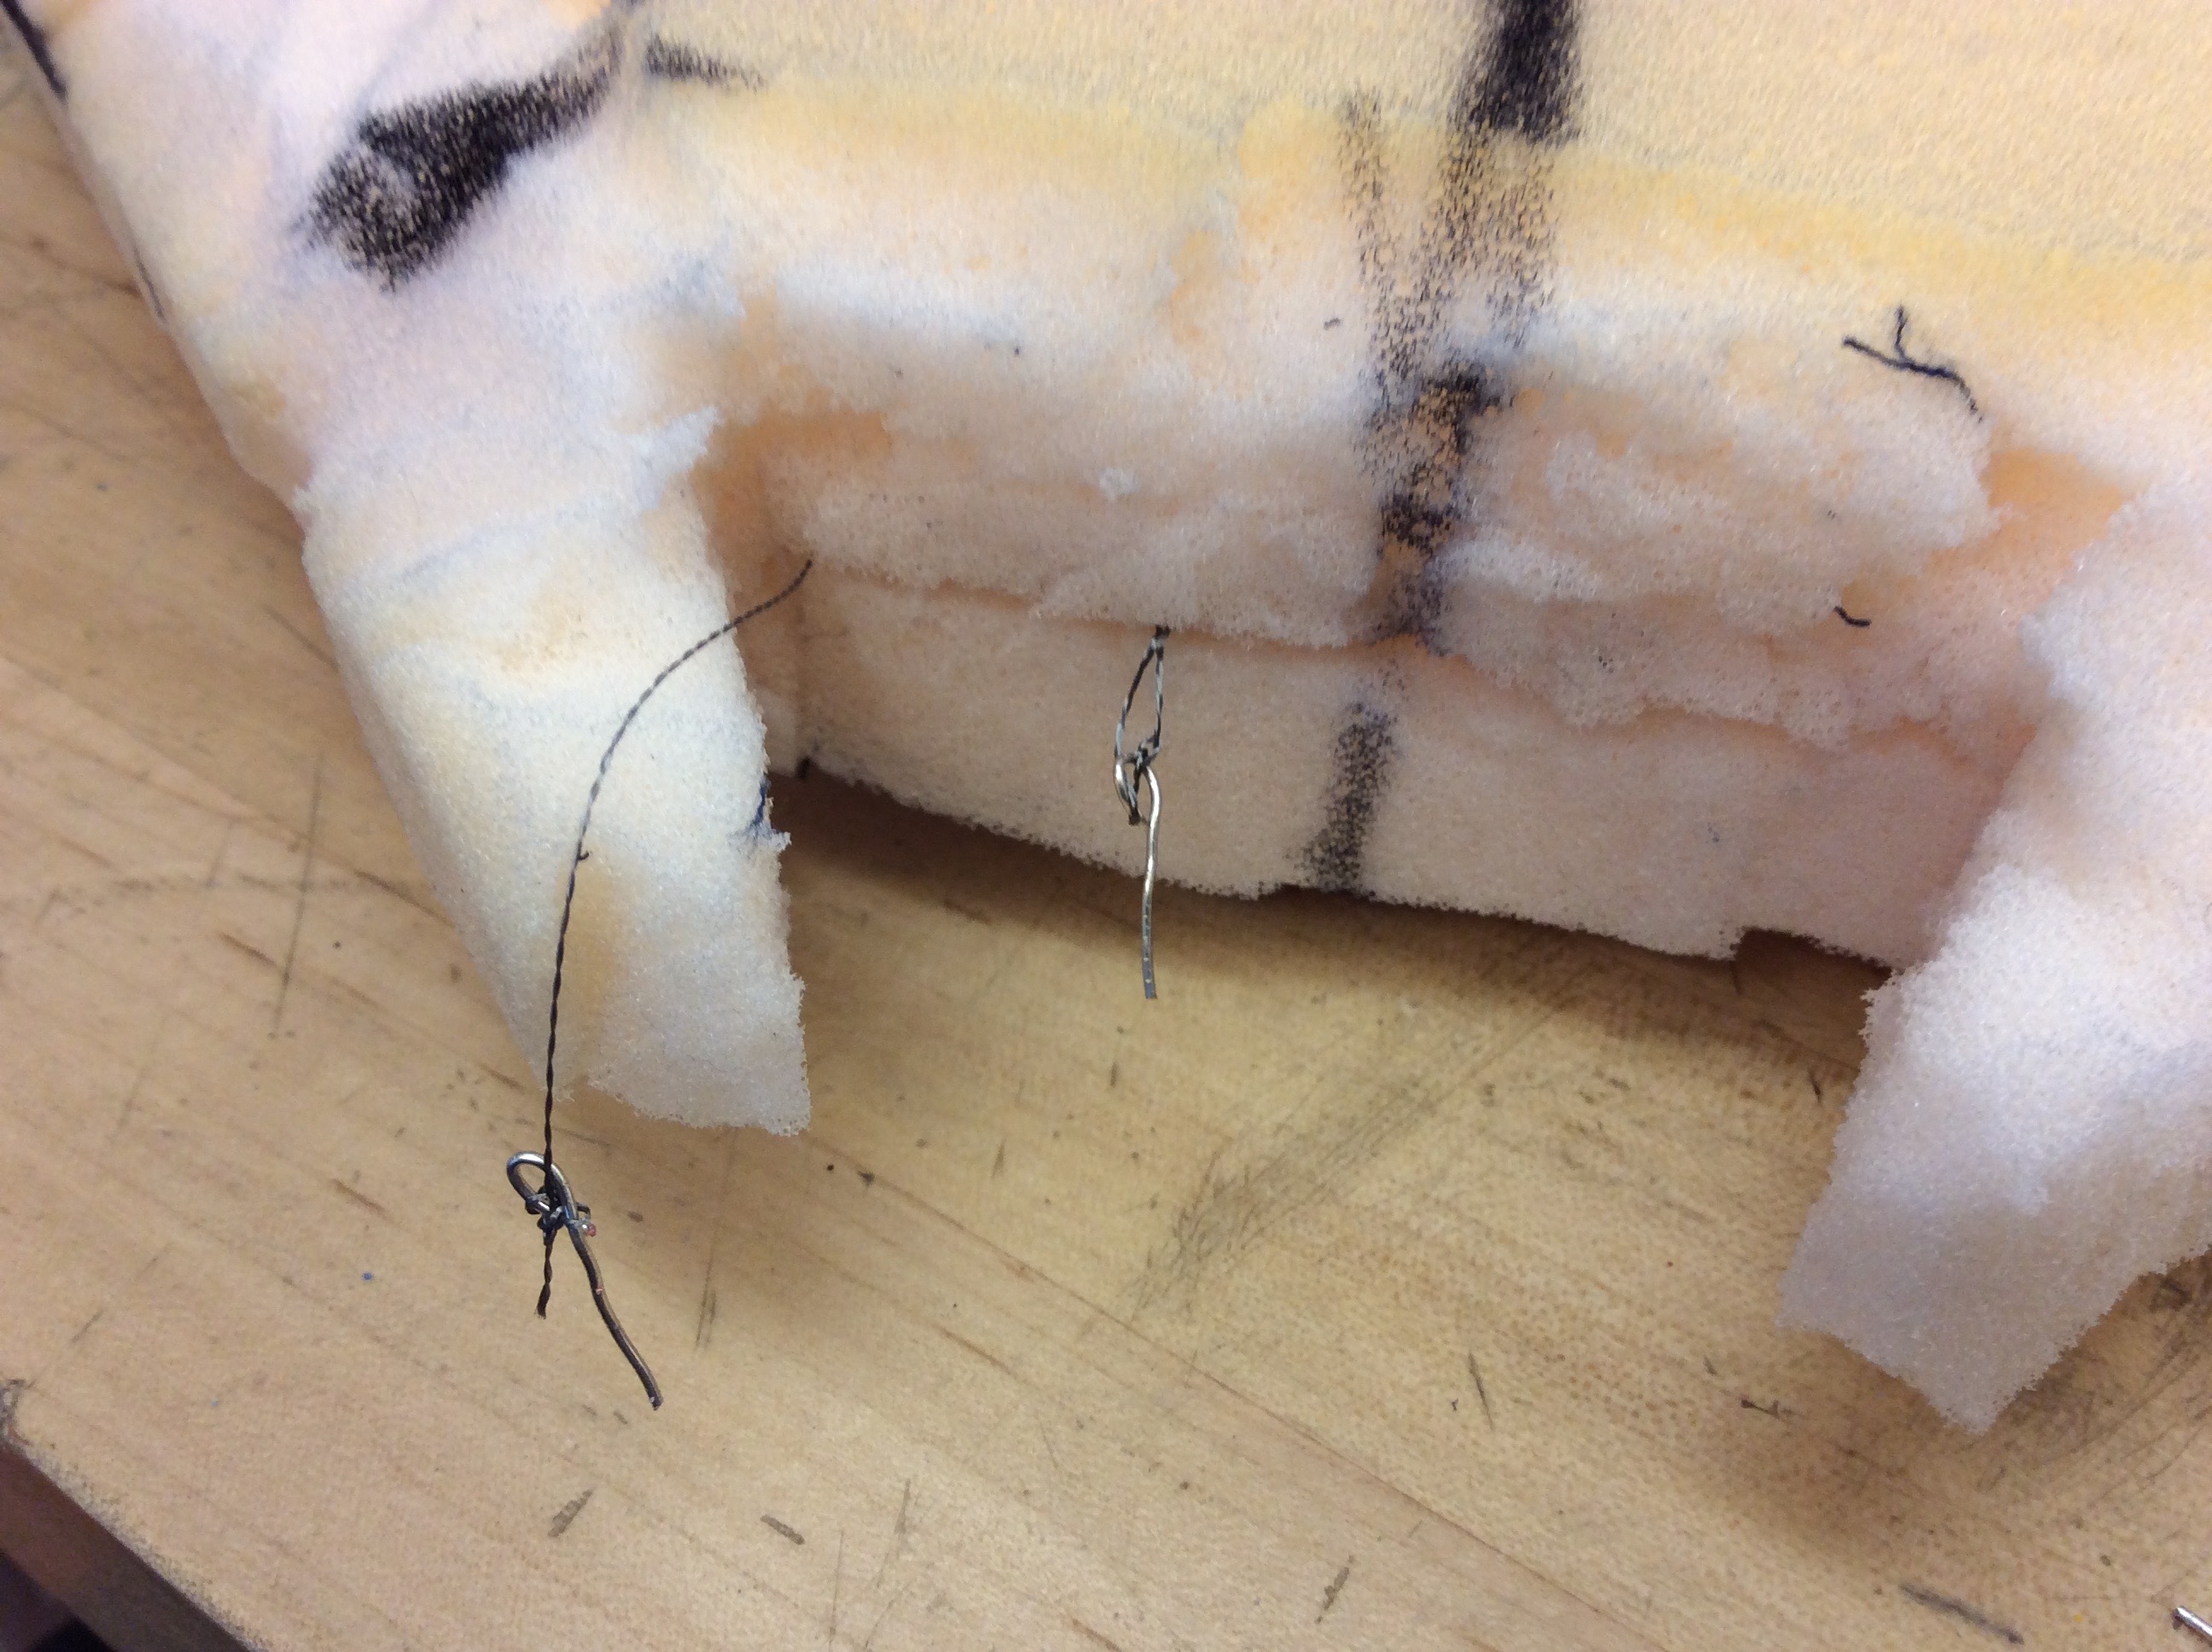
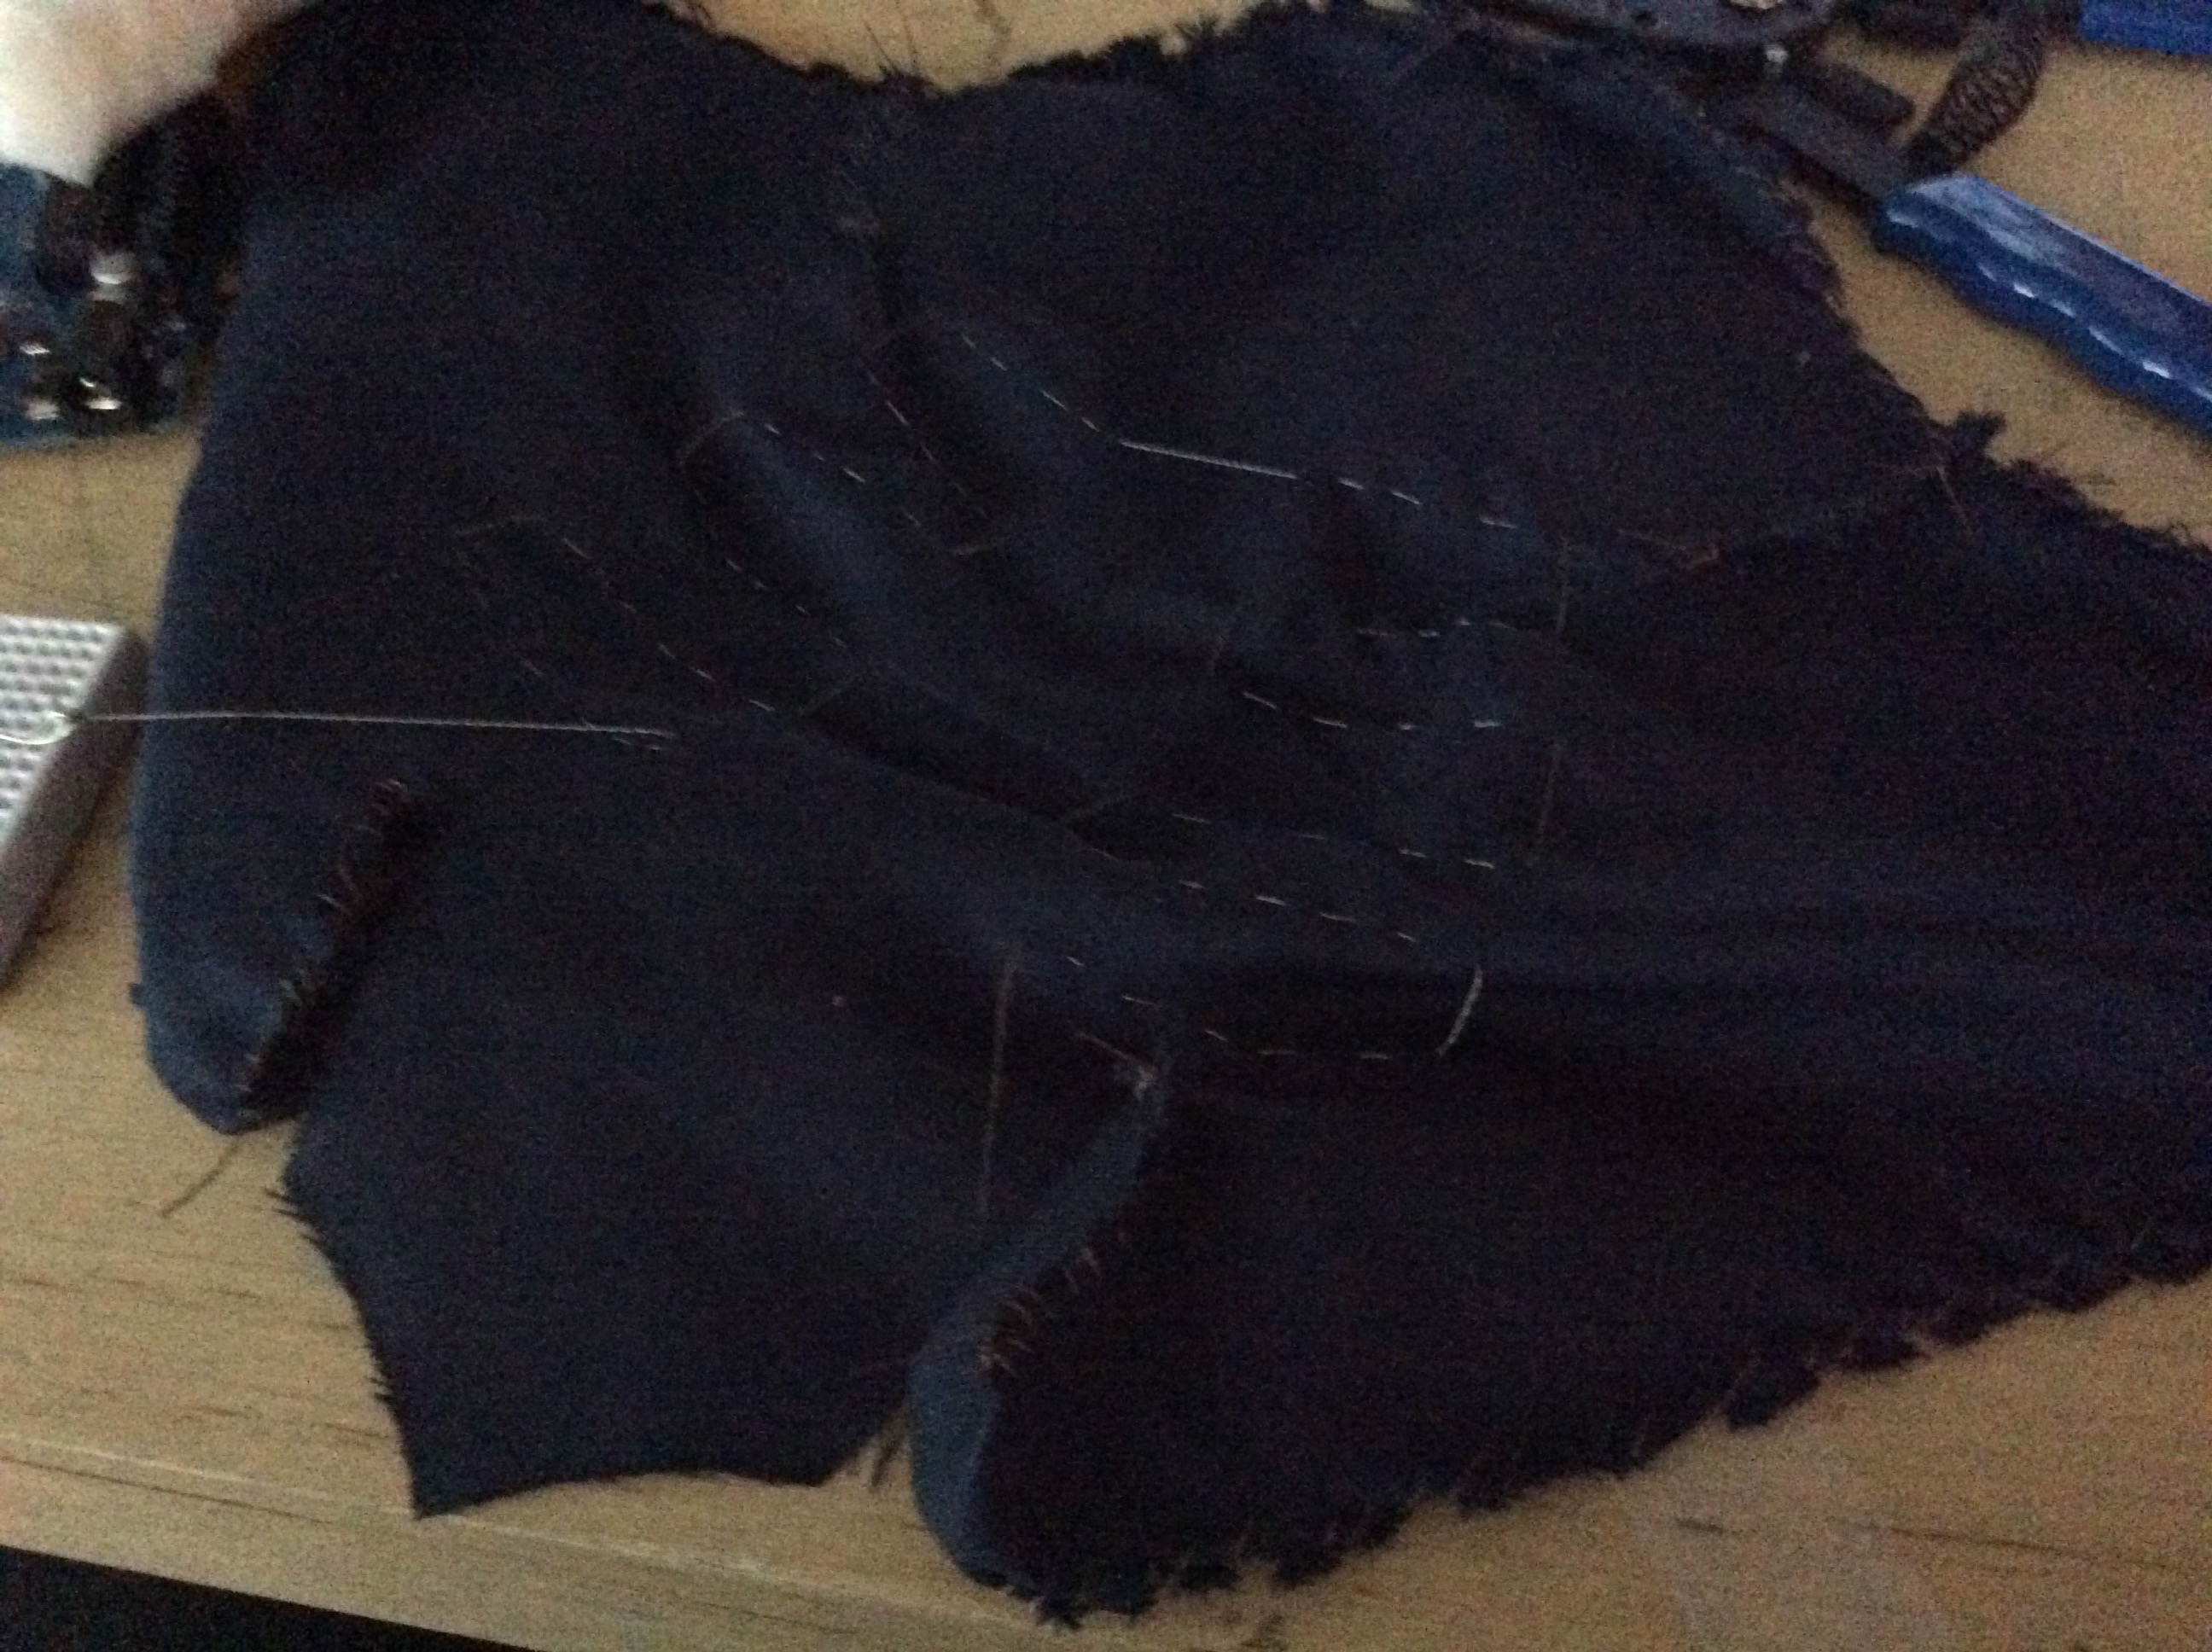
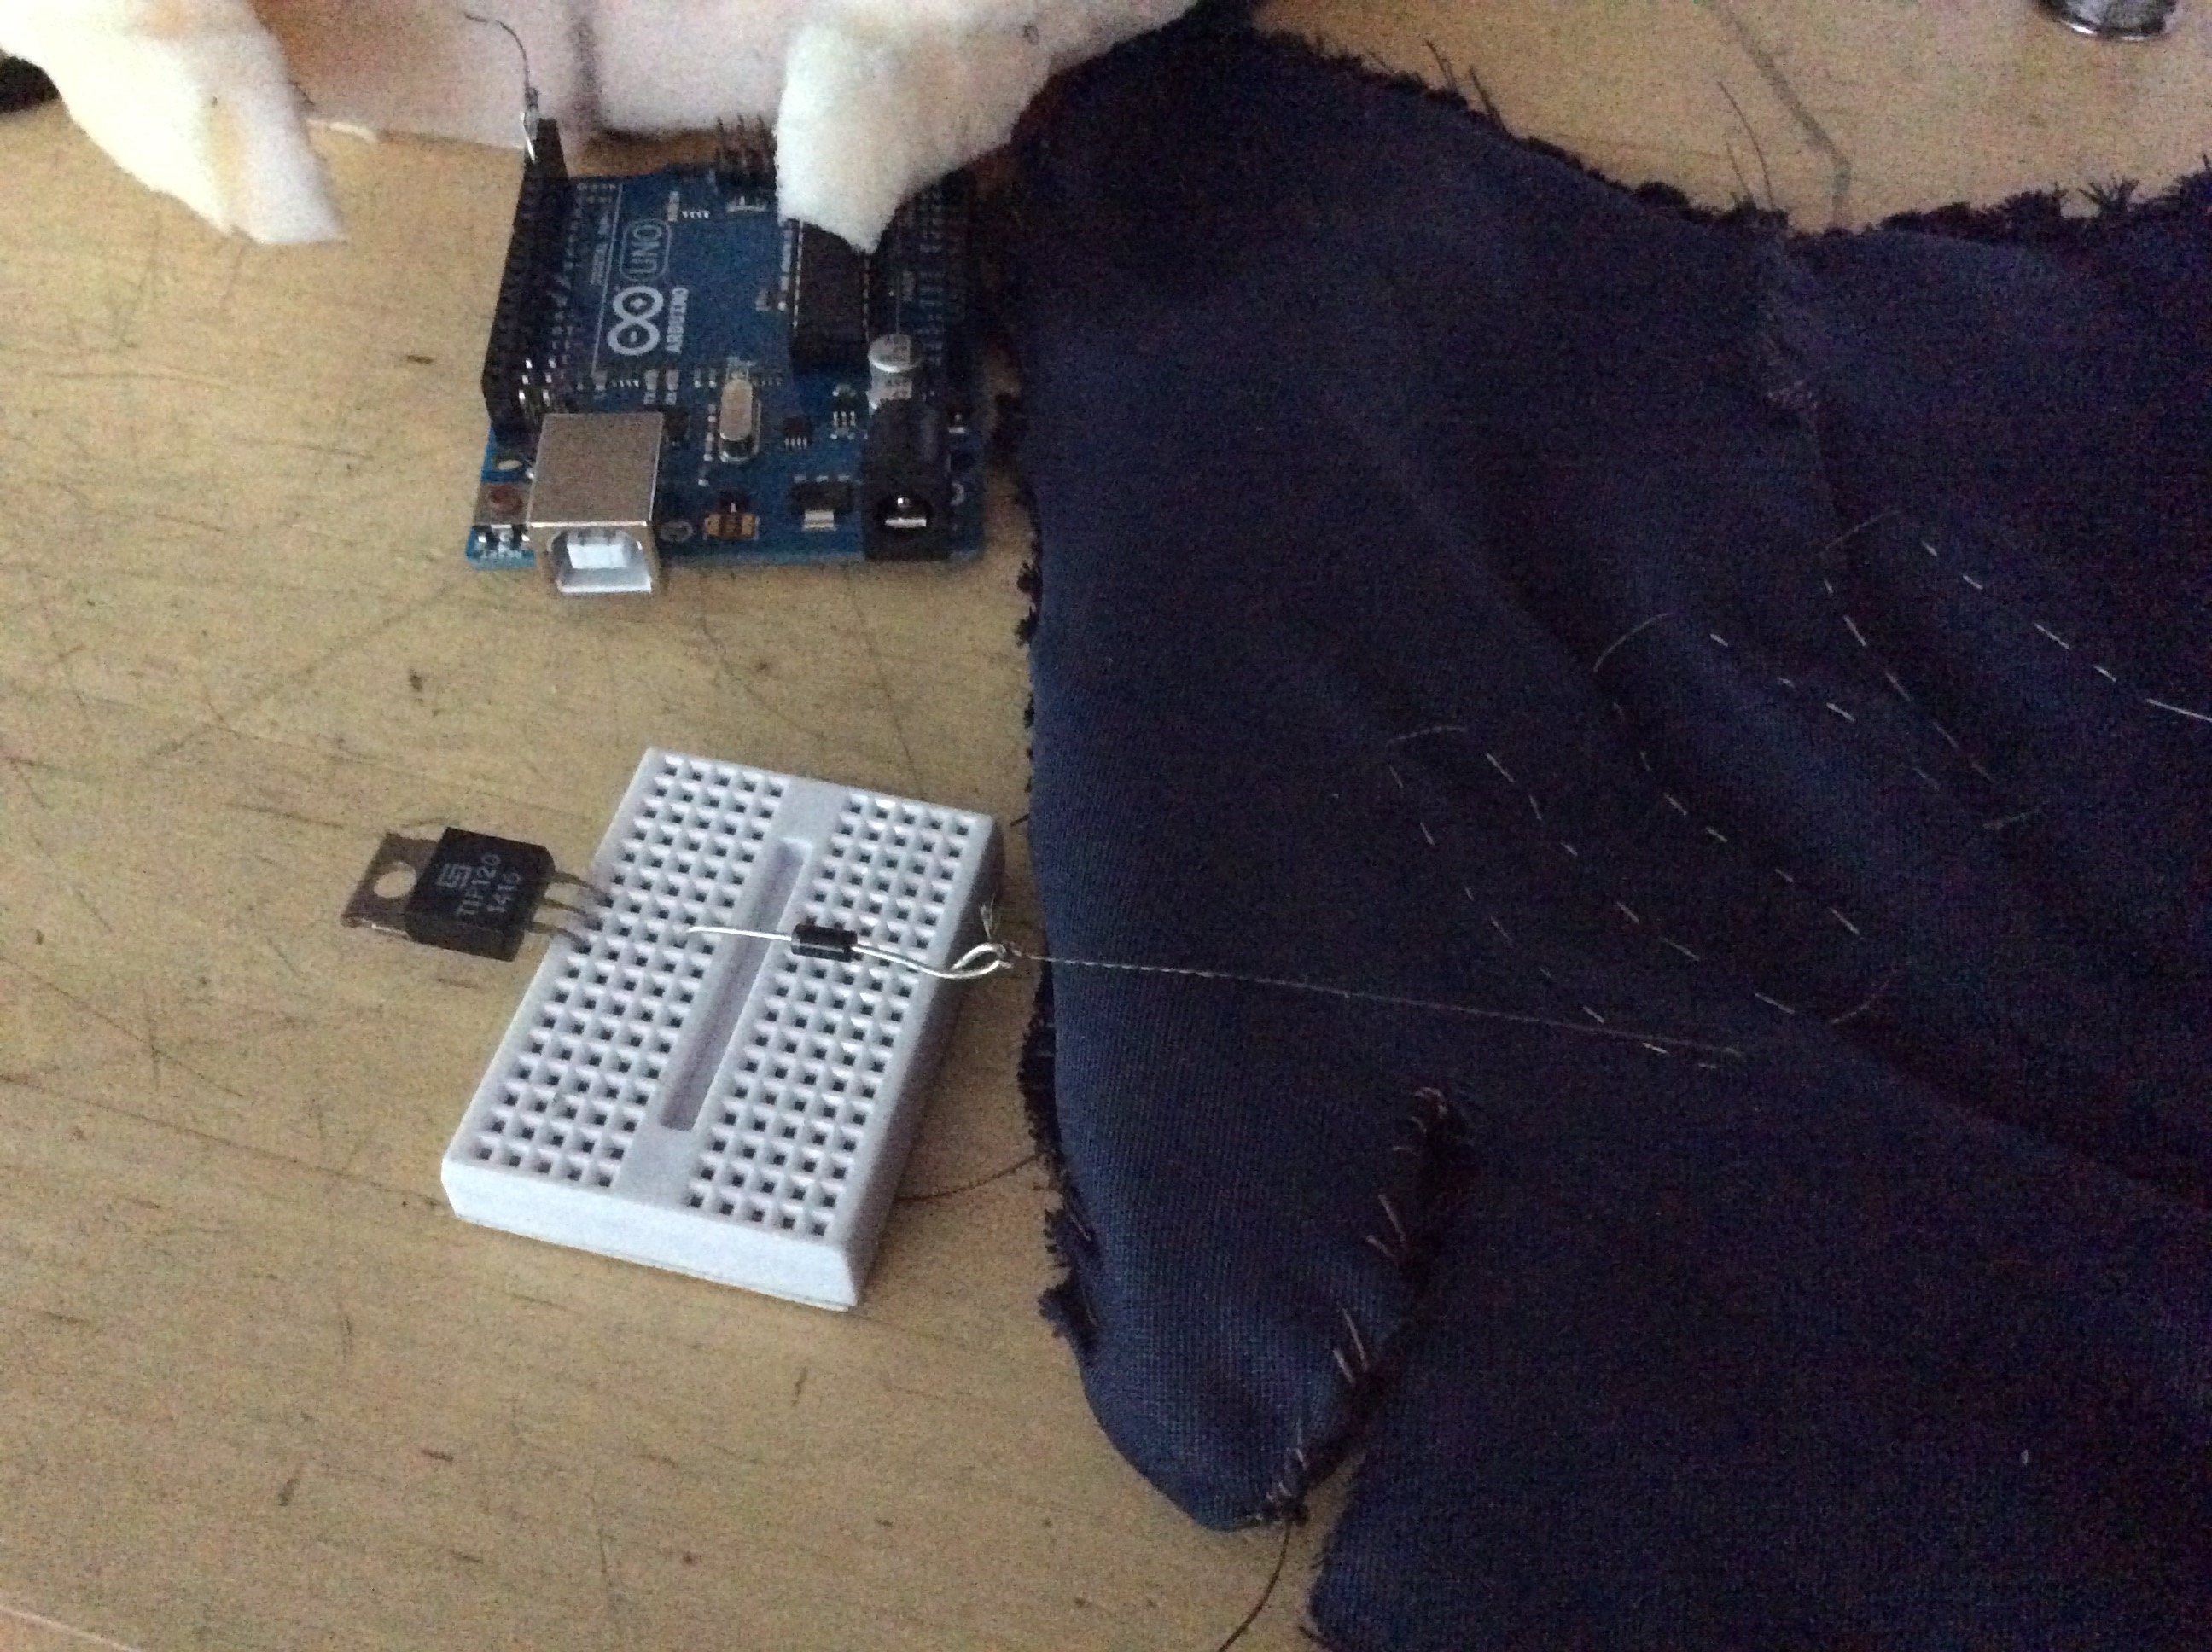
Process pics:


Sara’s Glove: Prototype 1 Feedback
Prototype questions:
1: Can she comfortably and consistently use the buttons?
2: Is the foam arm rest comfortable and in the right position?
3: Are there any preferred positions for the arm rest to be in?
What we learned:
-The buttons are too far apart for Sara to use.
-Pressure sensitive buttons are unreliable for Sara to use.
-The arm-rest is too big
-There’s too big of a gap between Sara’s hand and the buttons.
Next Steps:
-Replace LEDs with soundbites
-Develop more ergonomic options
-Design smaller interface
-Look into strapping Sara’s hand down.
Dynamic Textile
Concept description:
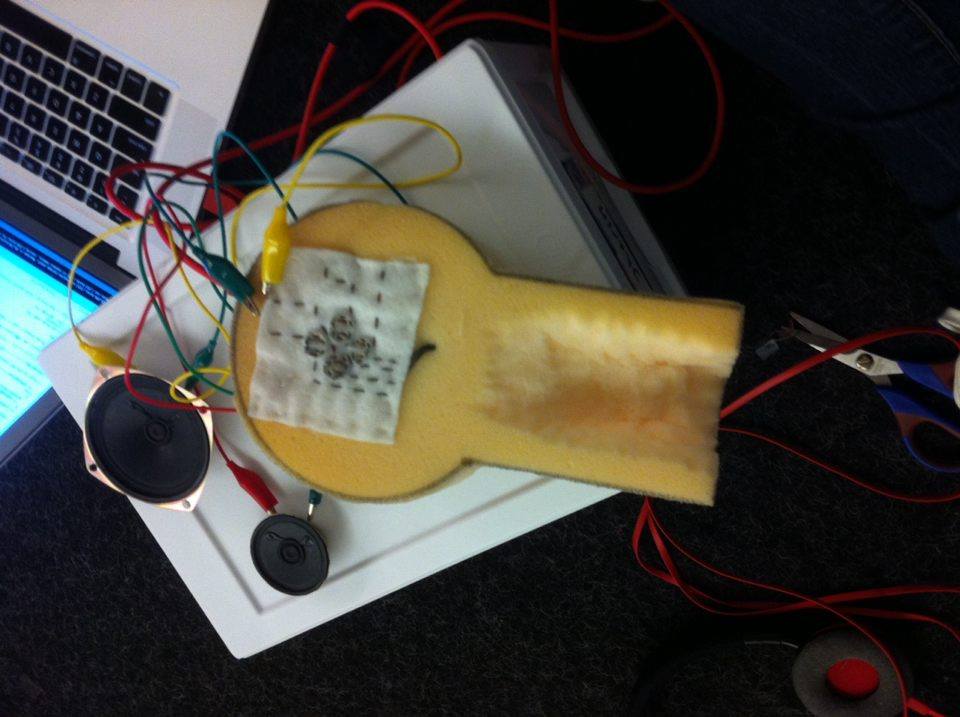
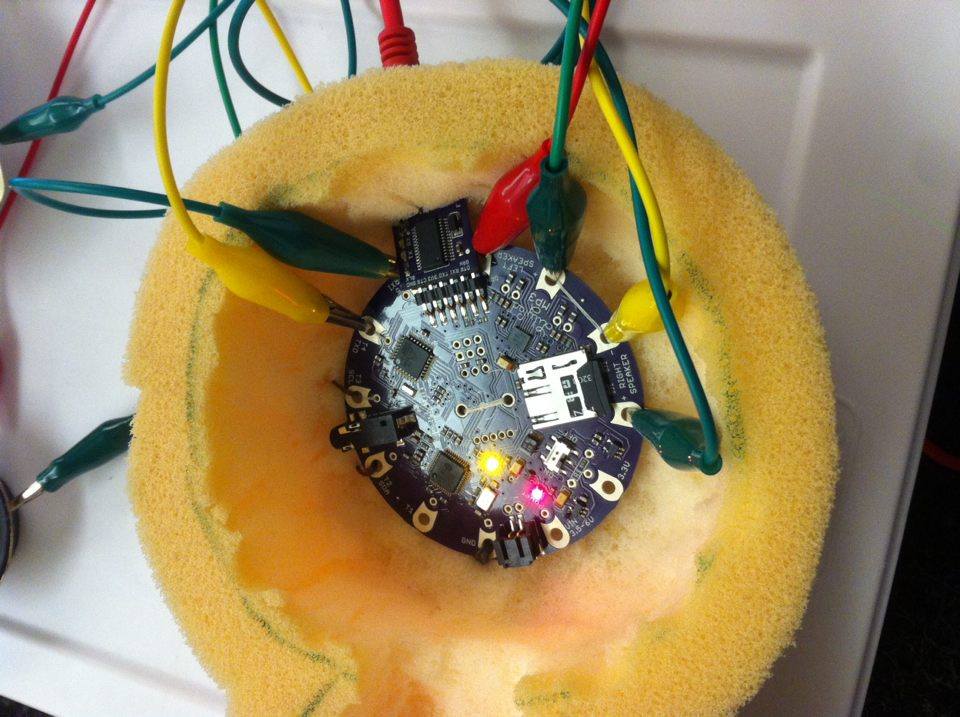
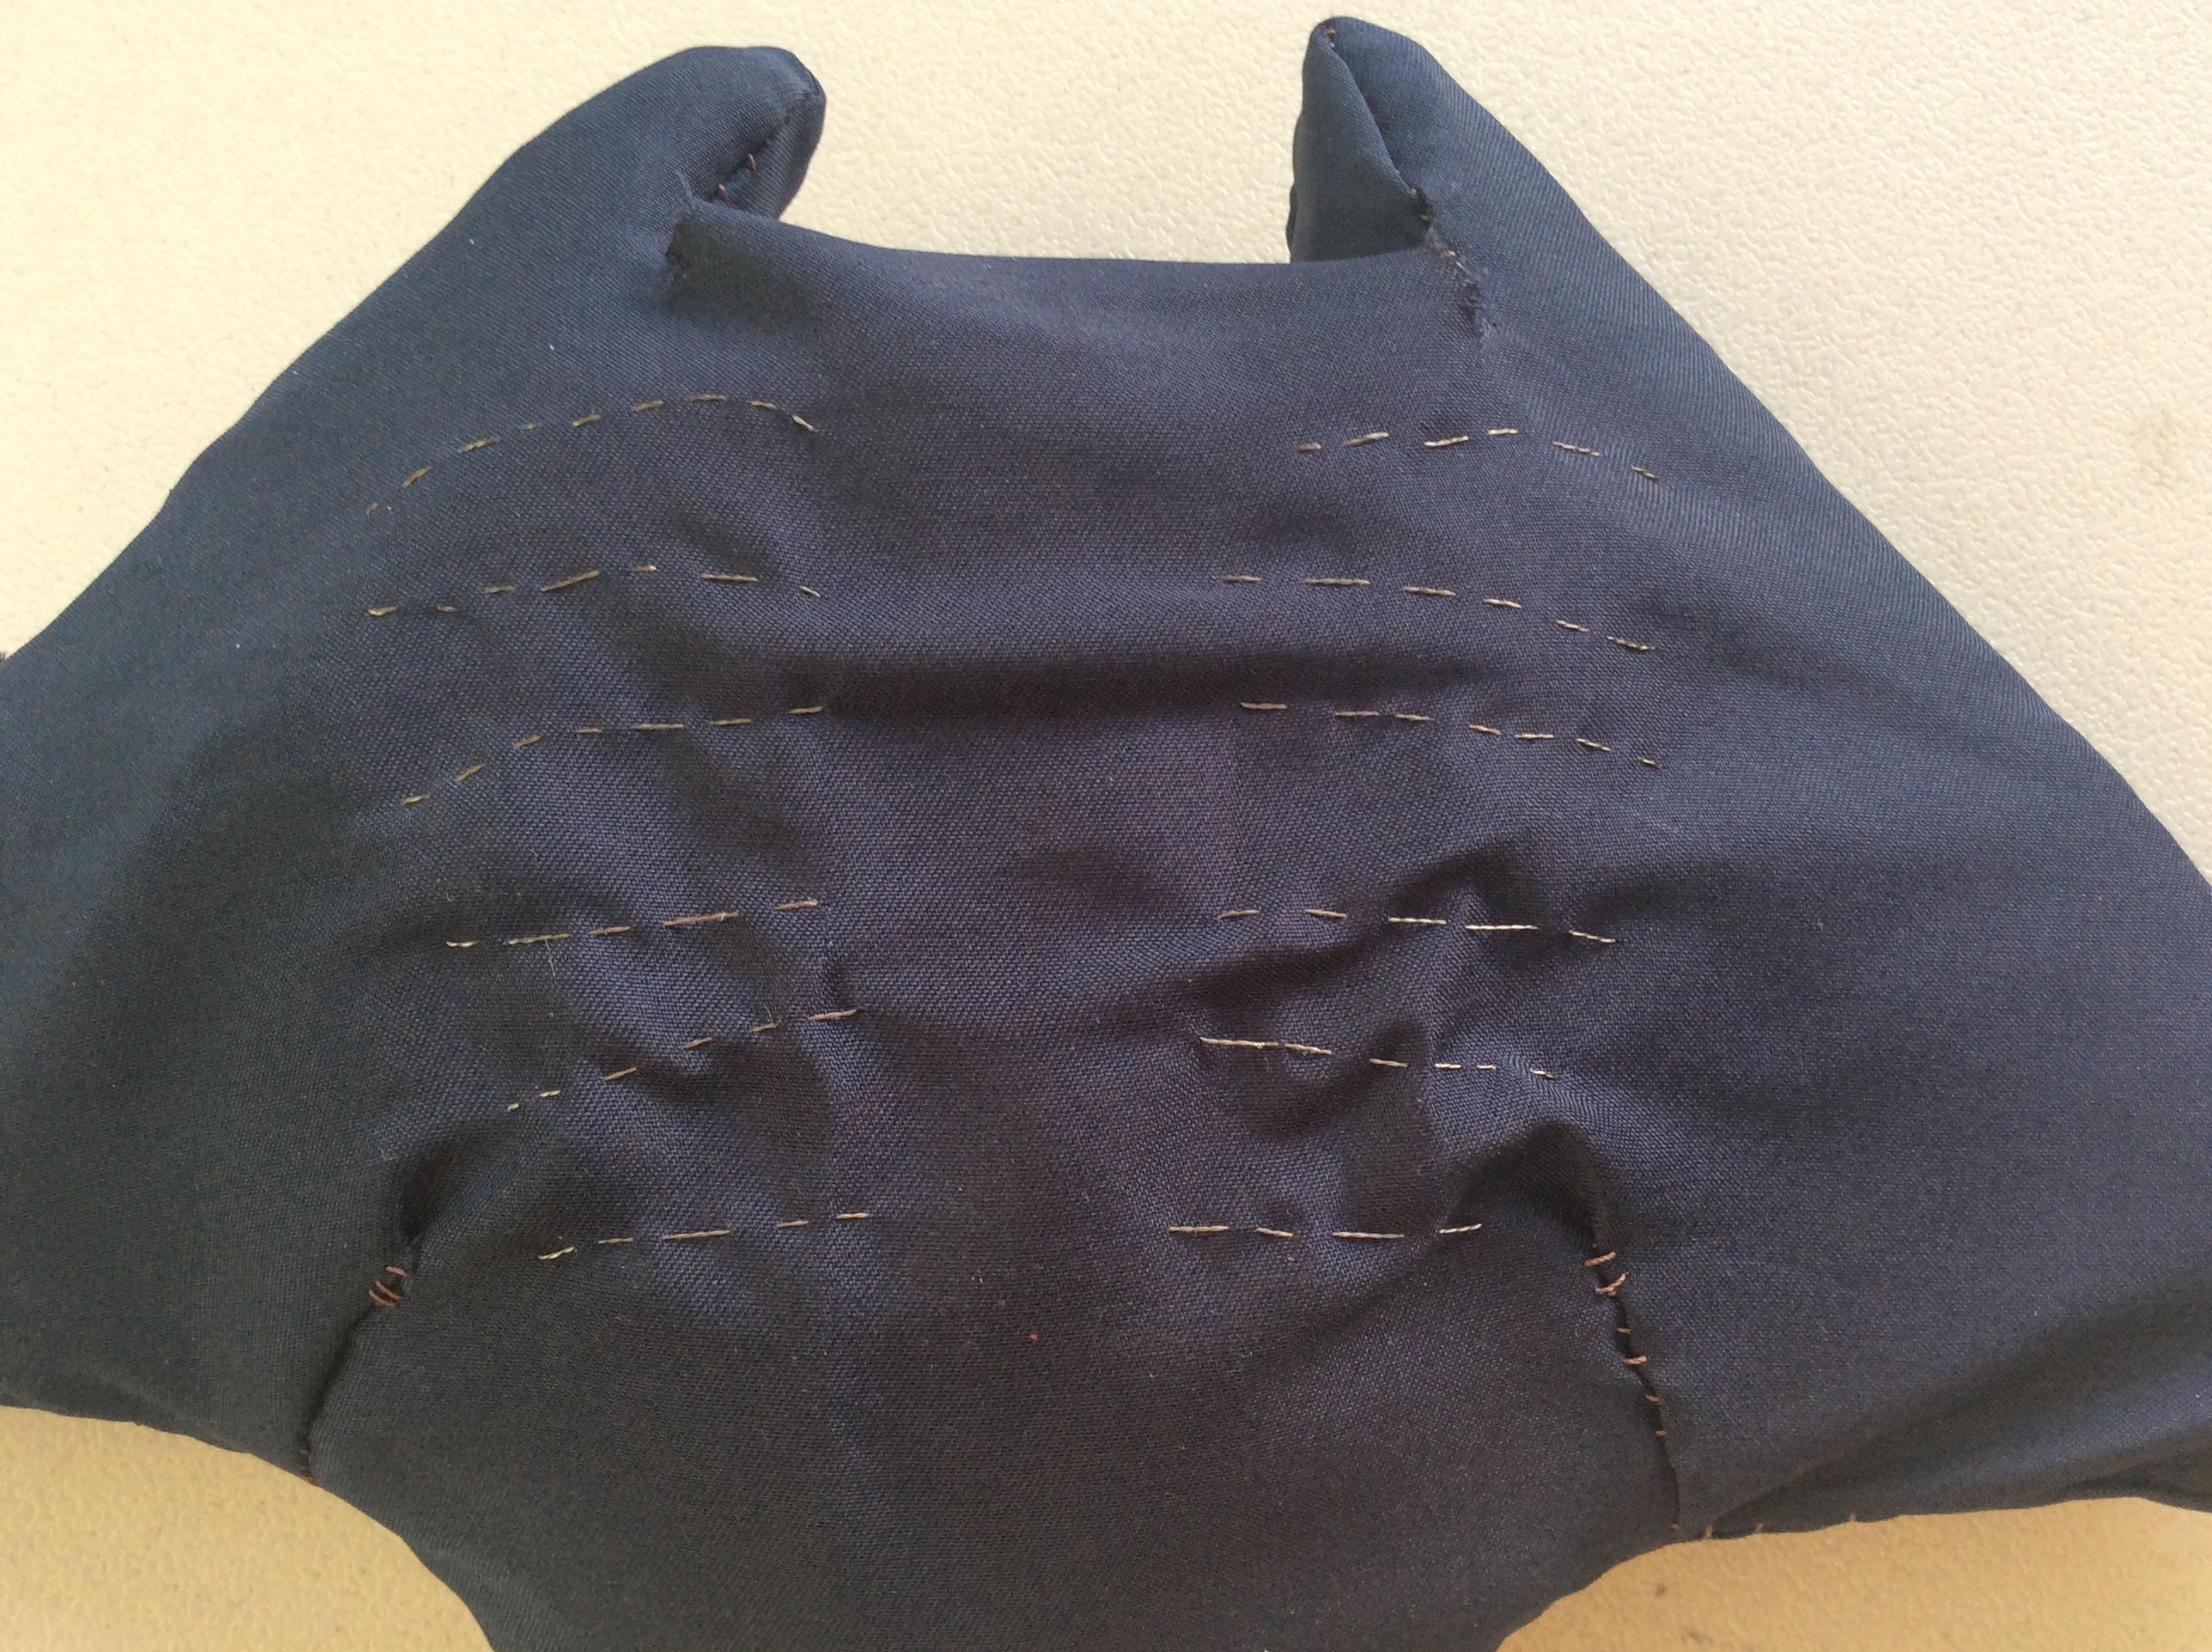
For my dynamic textile, I was inspired by virtual pets and artificial life and wanted to combine this with soft electronics as well as techniques I’ve learned from my experience designing and fabricating puppets as a step towards a sort of analog virtual pet/toy. I wanted to simulate body heat and a heartbeat with electronics embedded in a foam/fabric “body”.
Concept sketches:

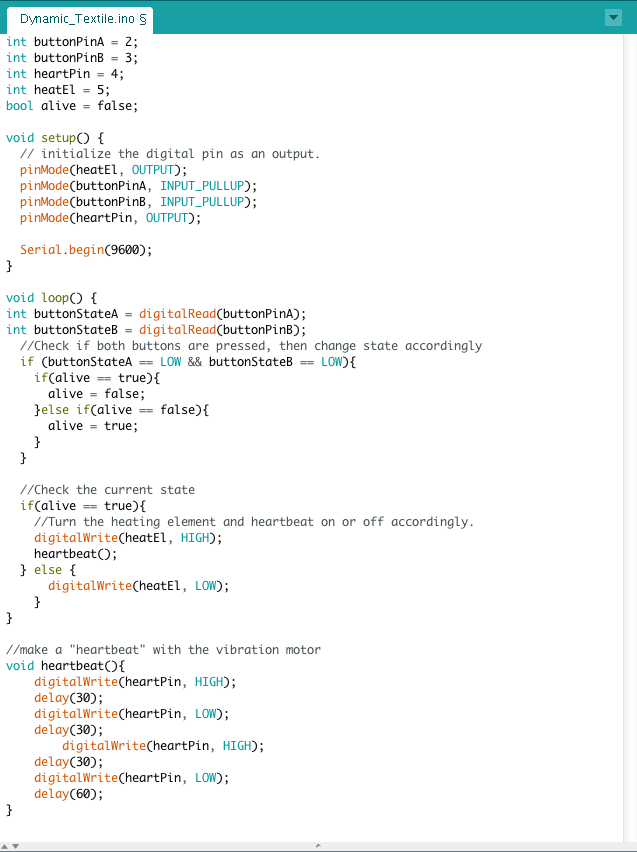
Circuit diagram & code:

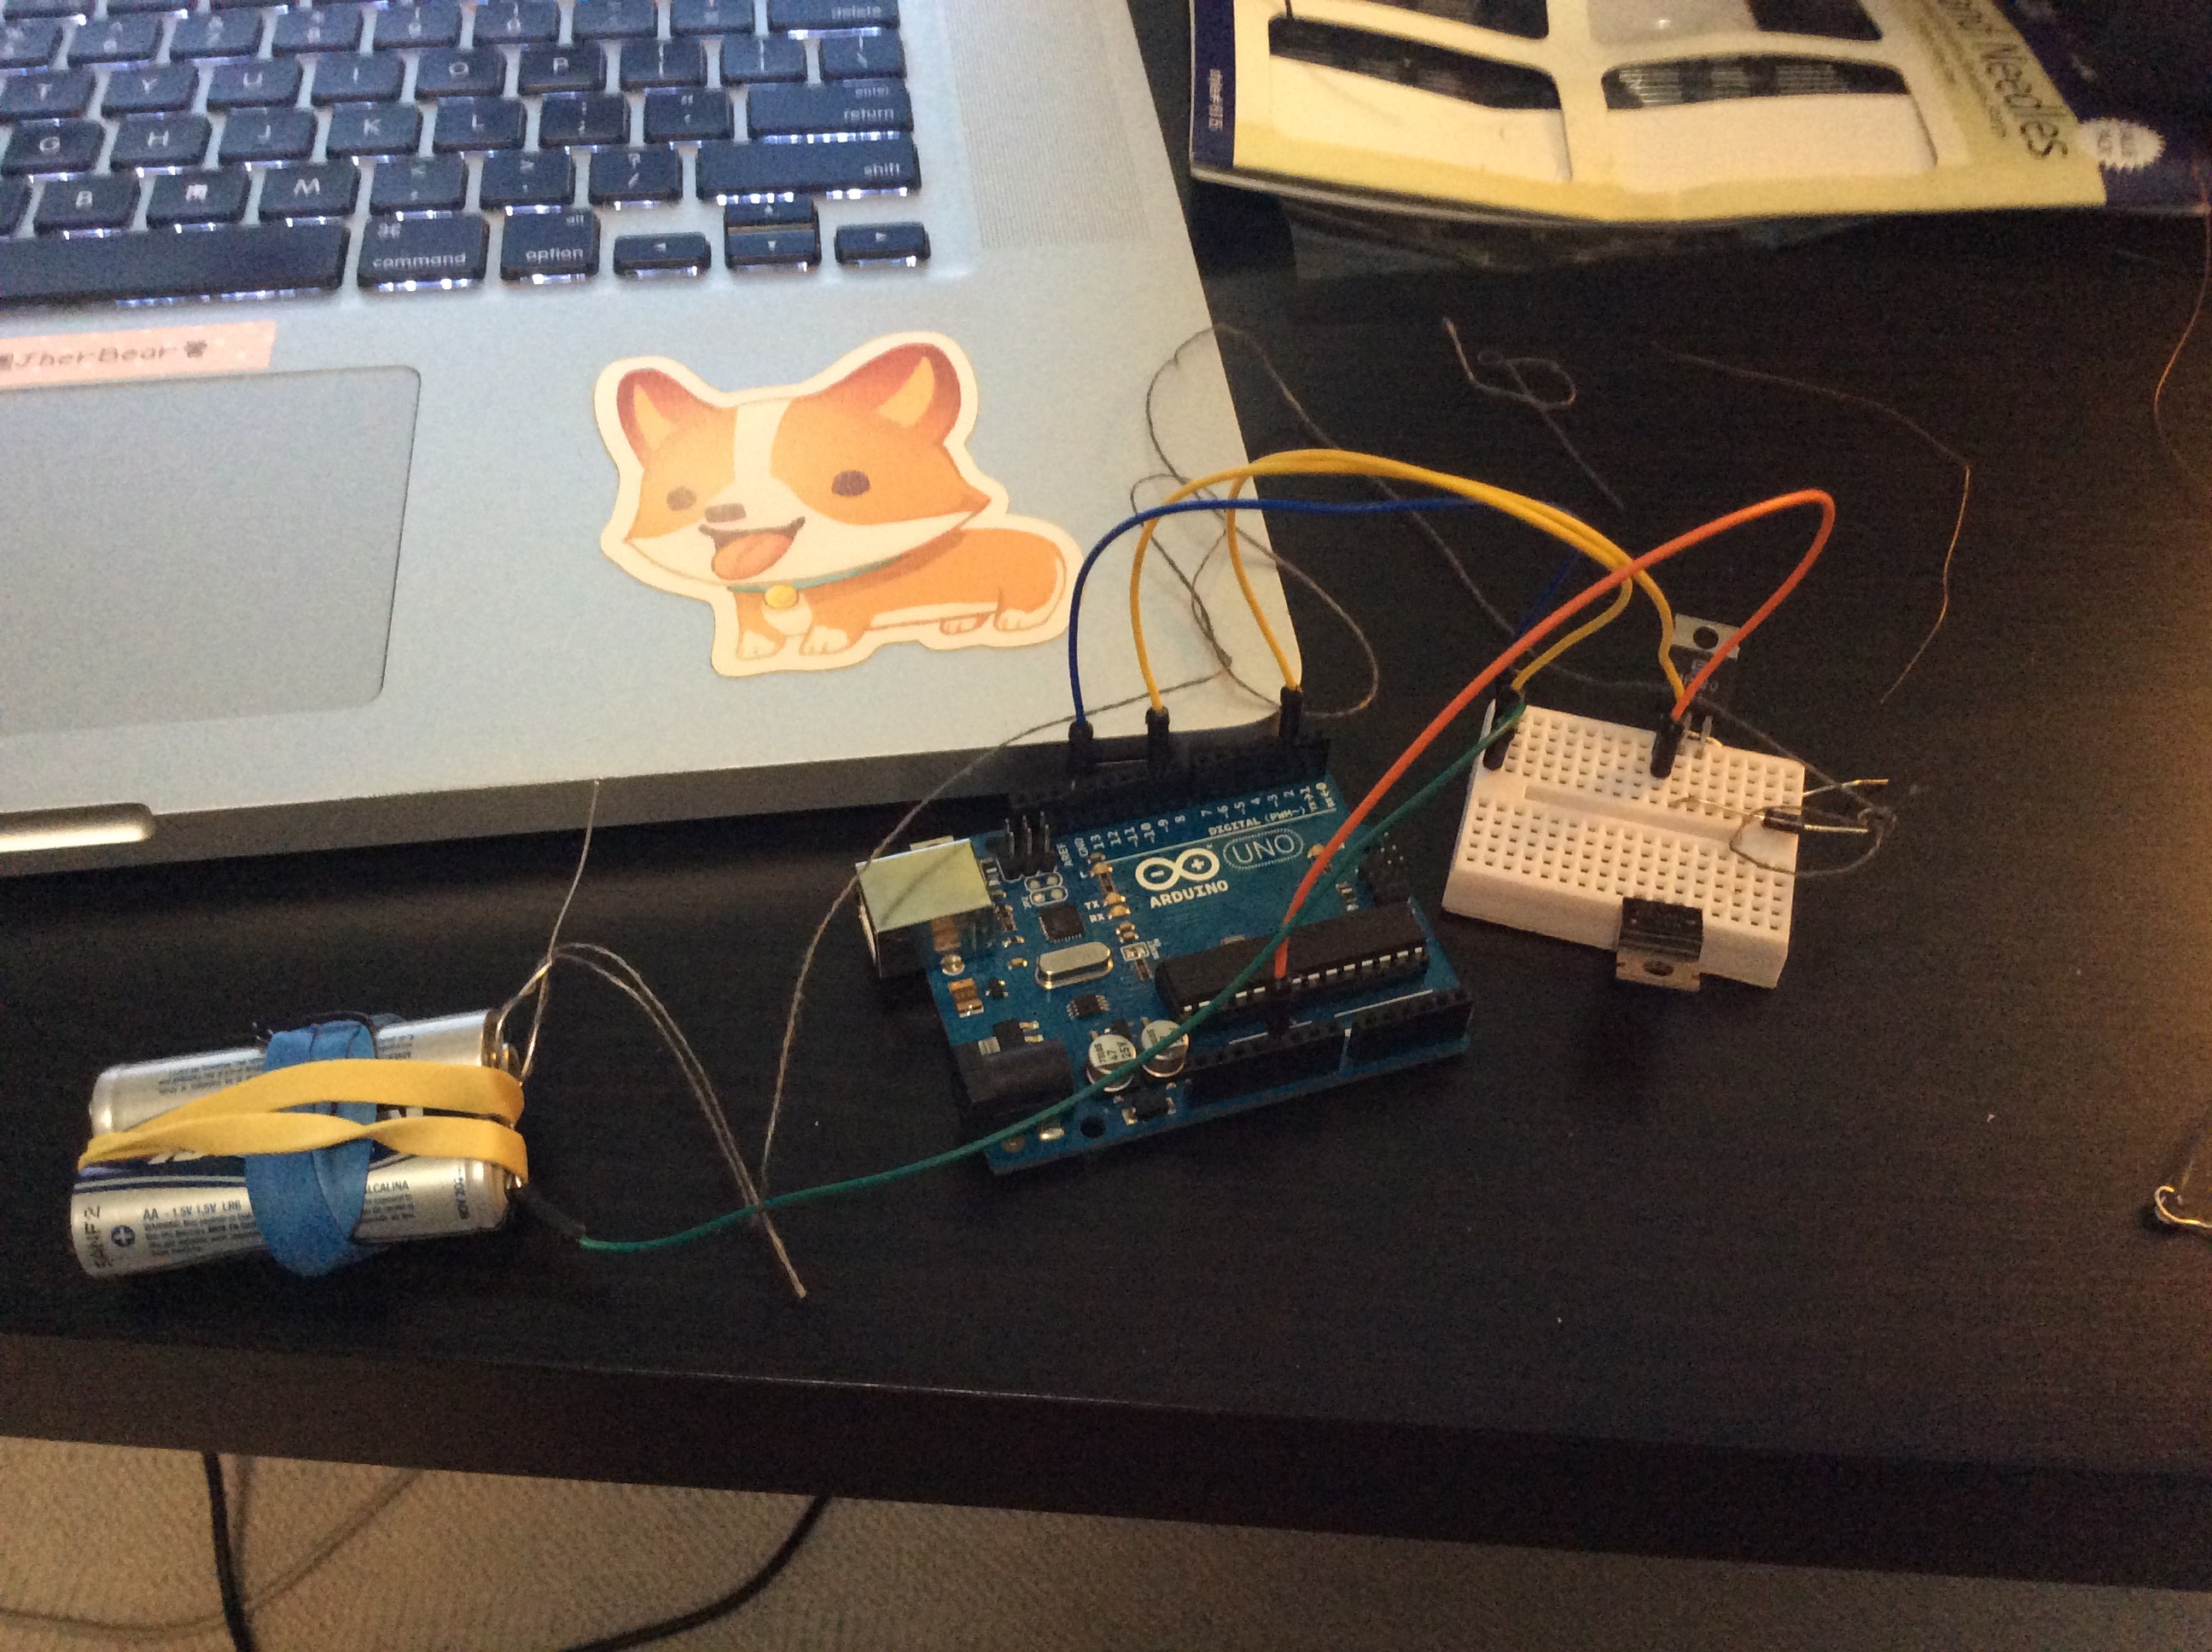
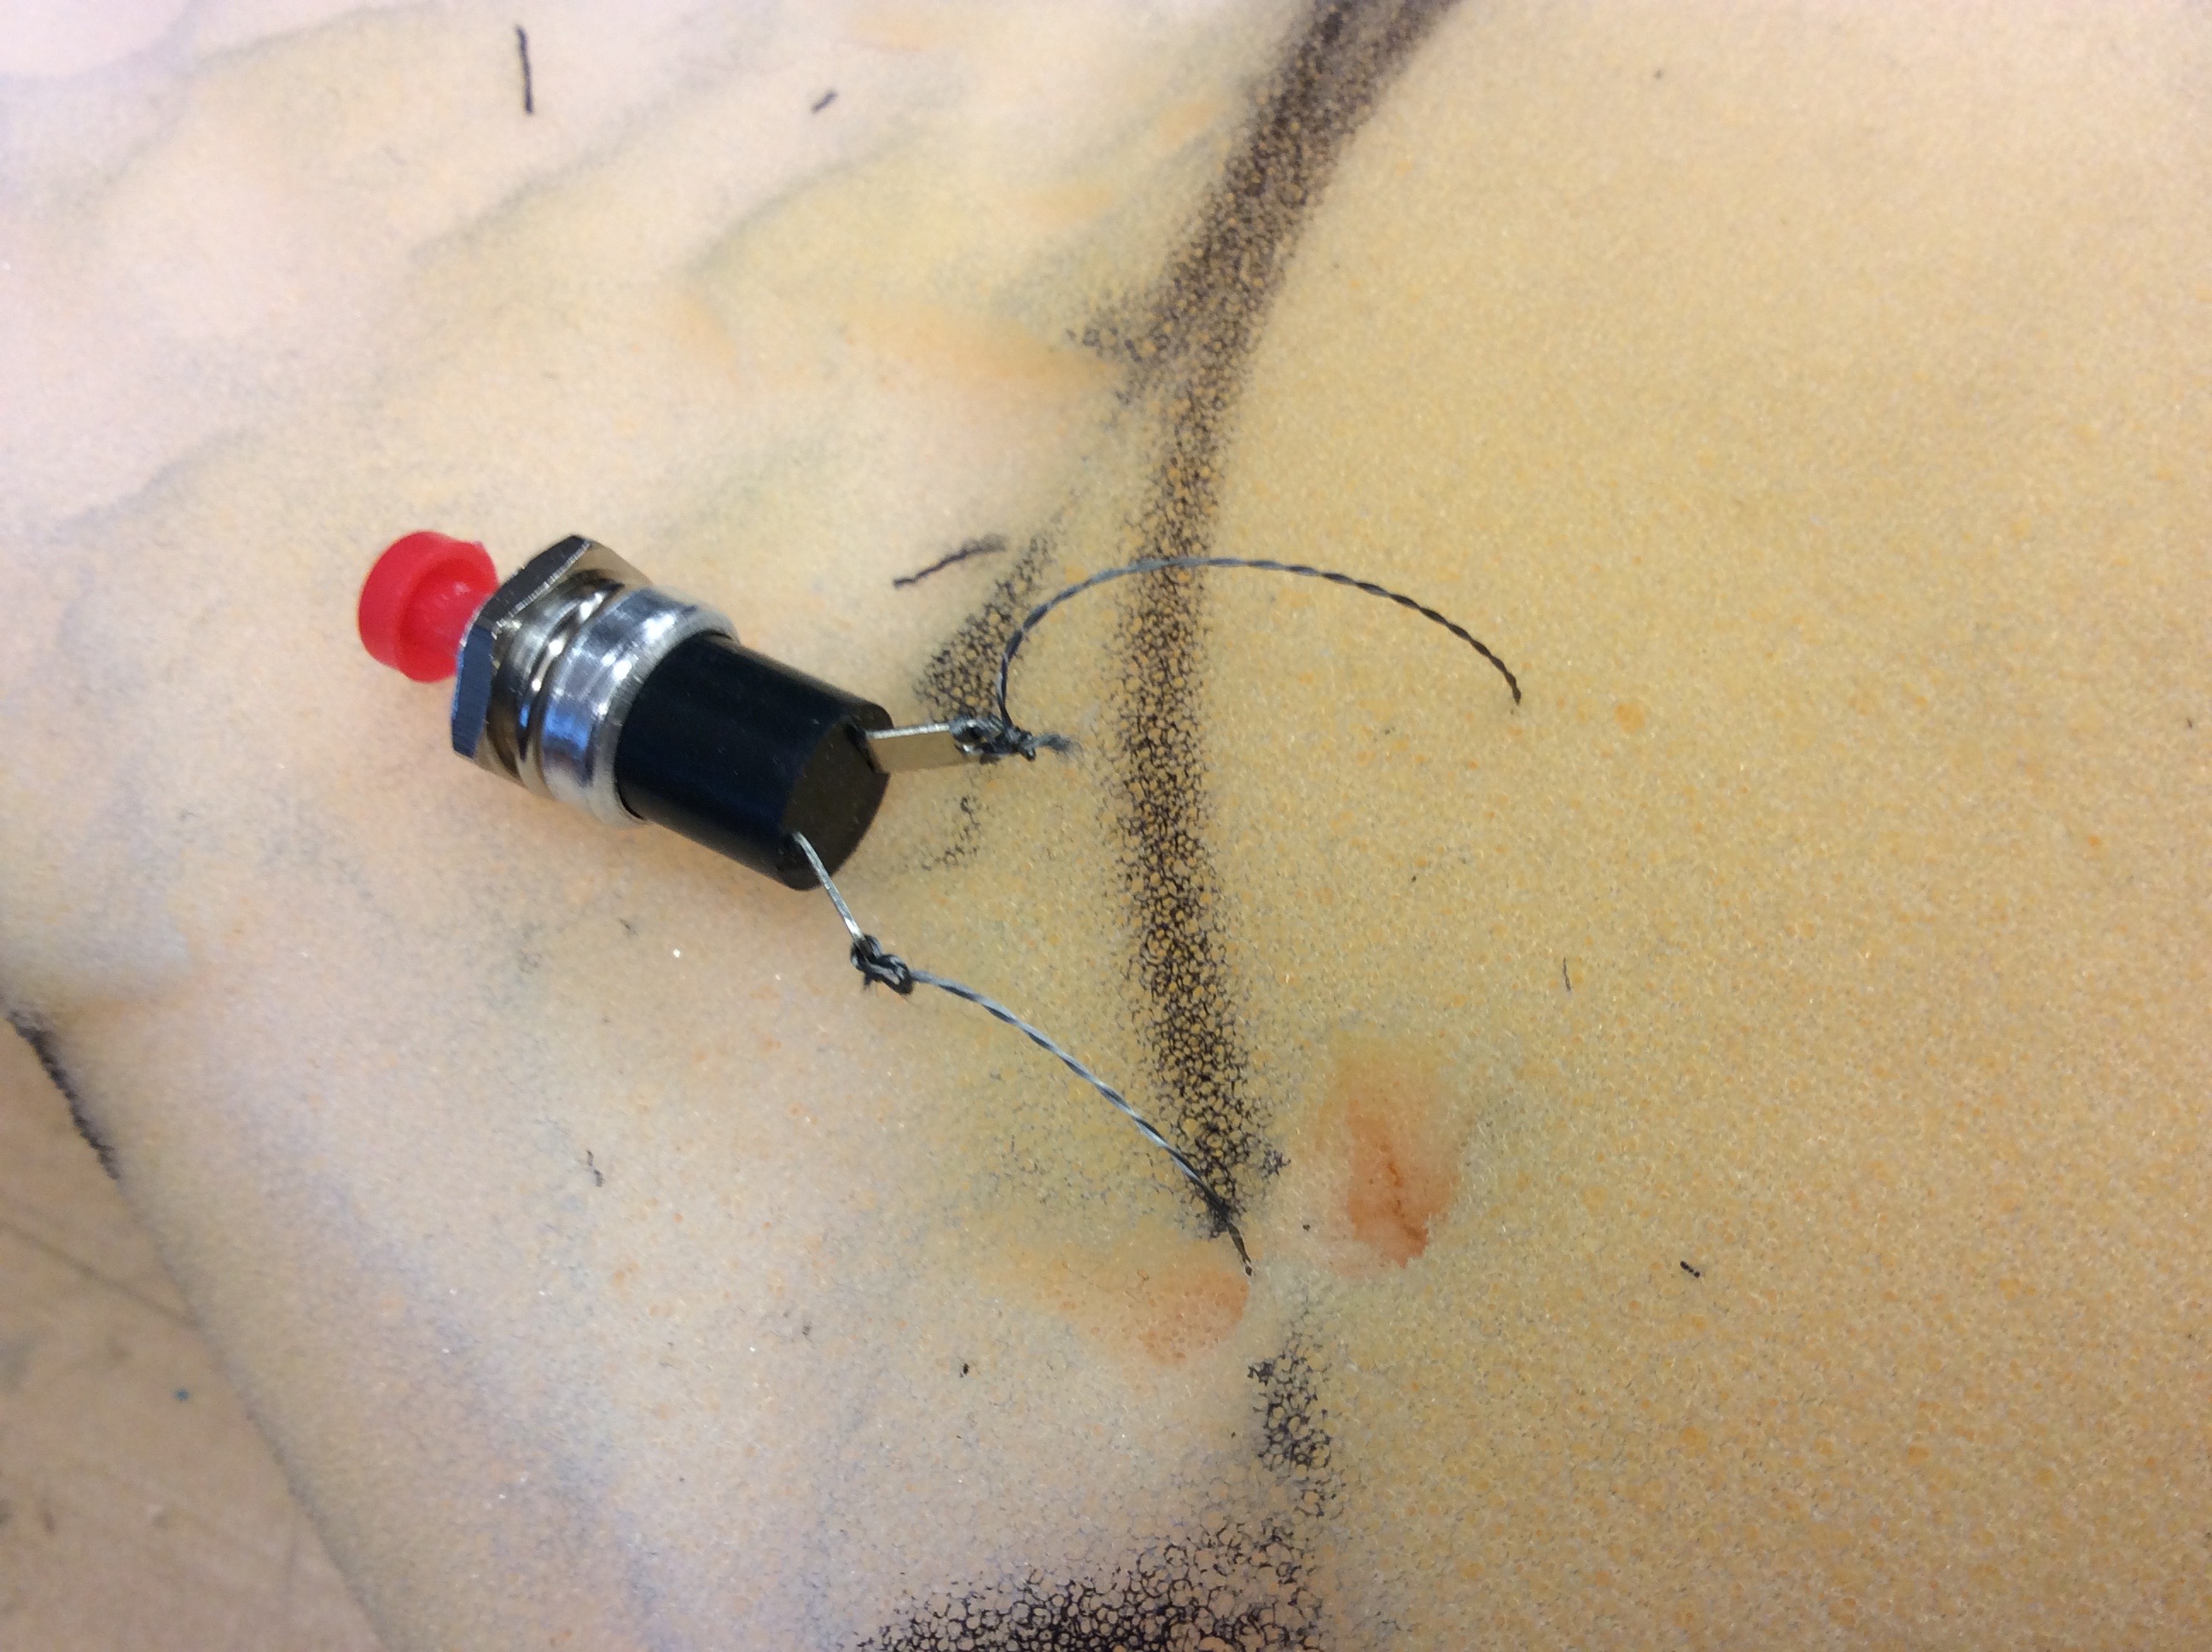
Photos:


Sara’s glove: Prototype 2
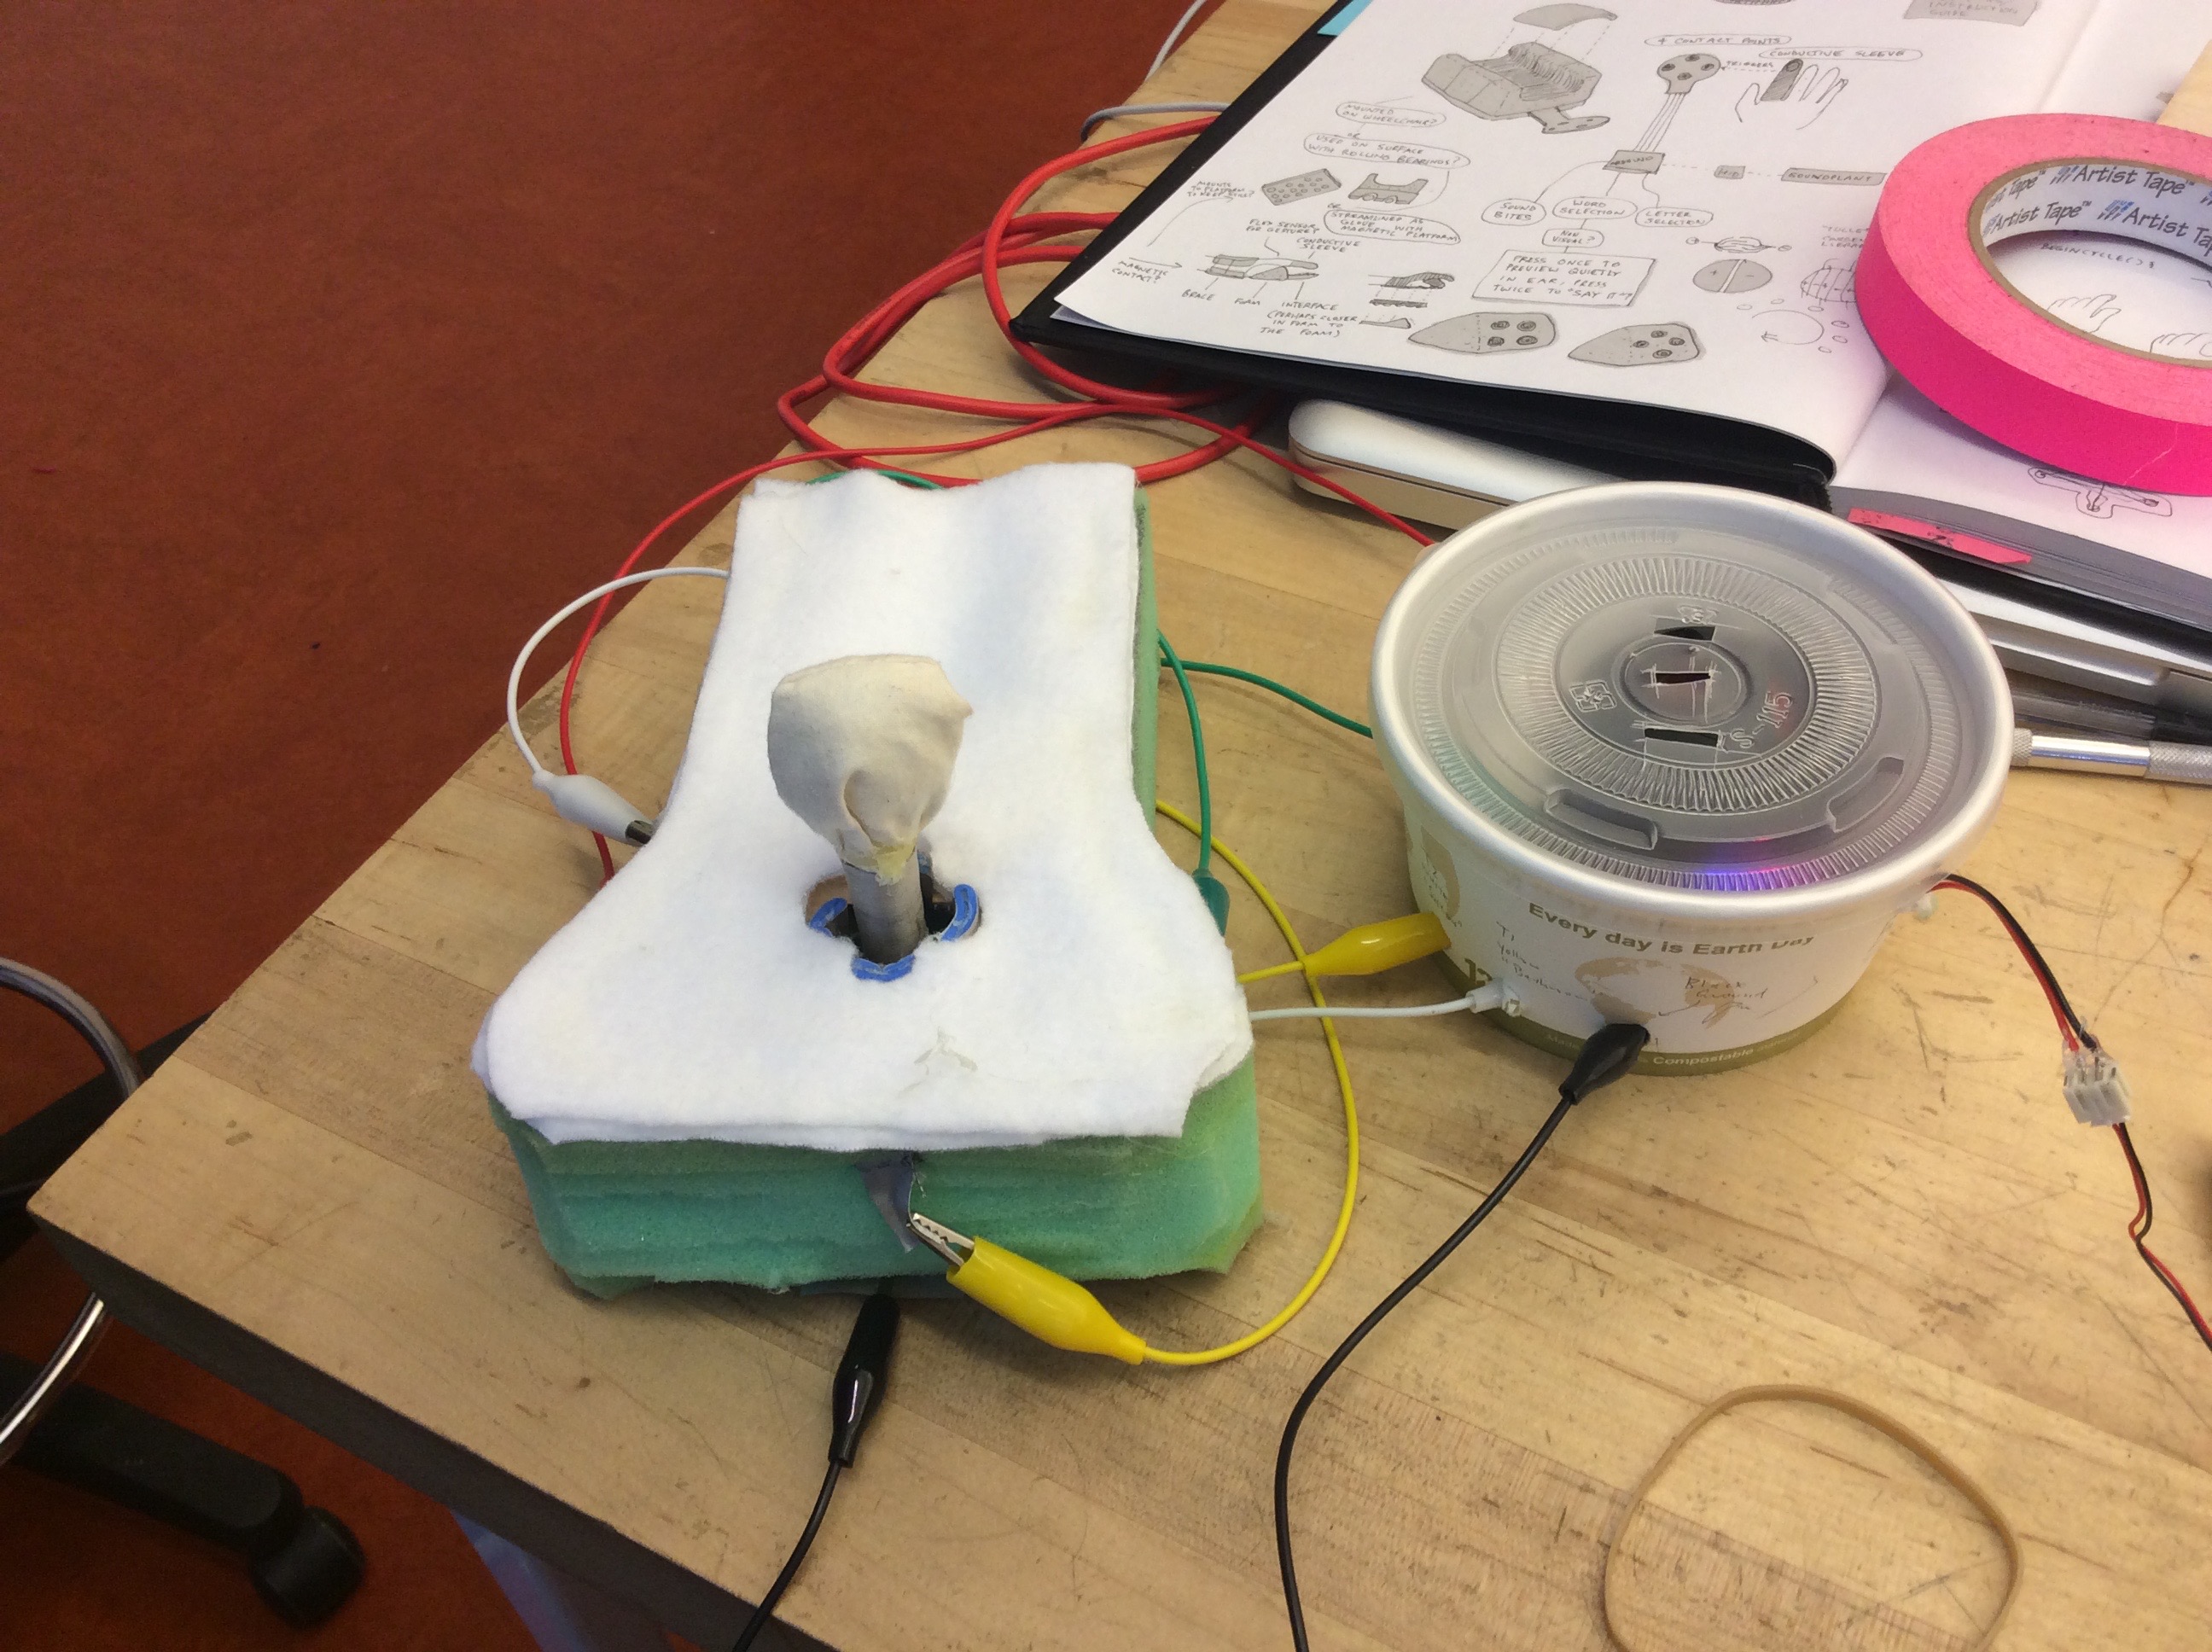
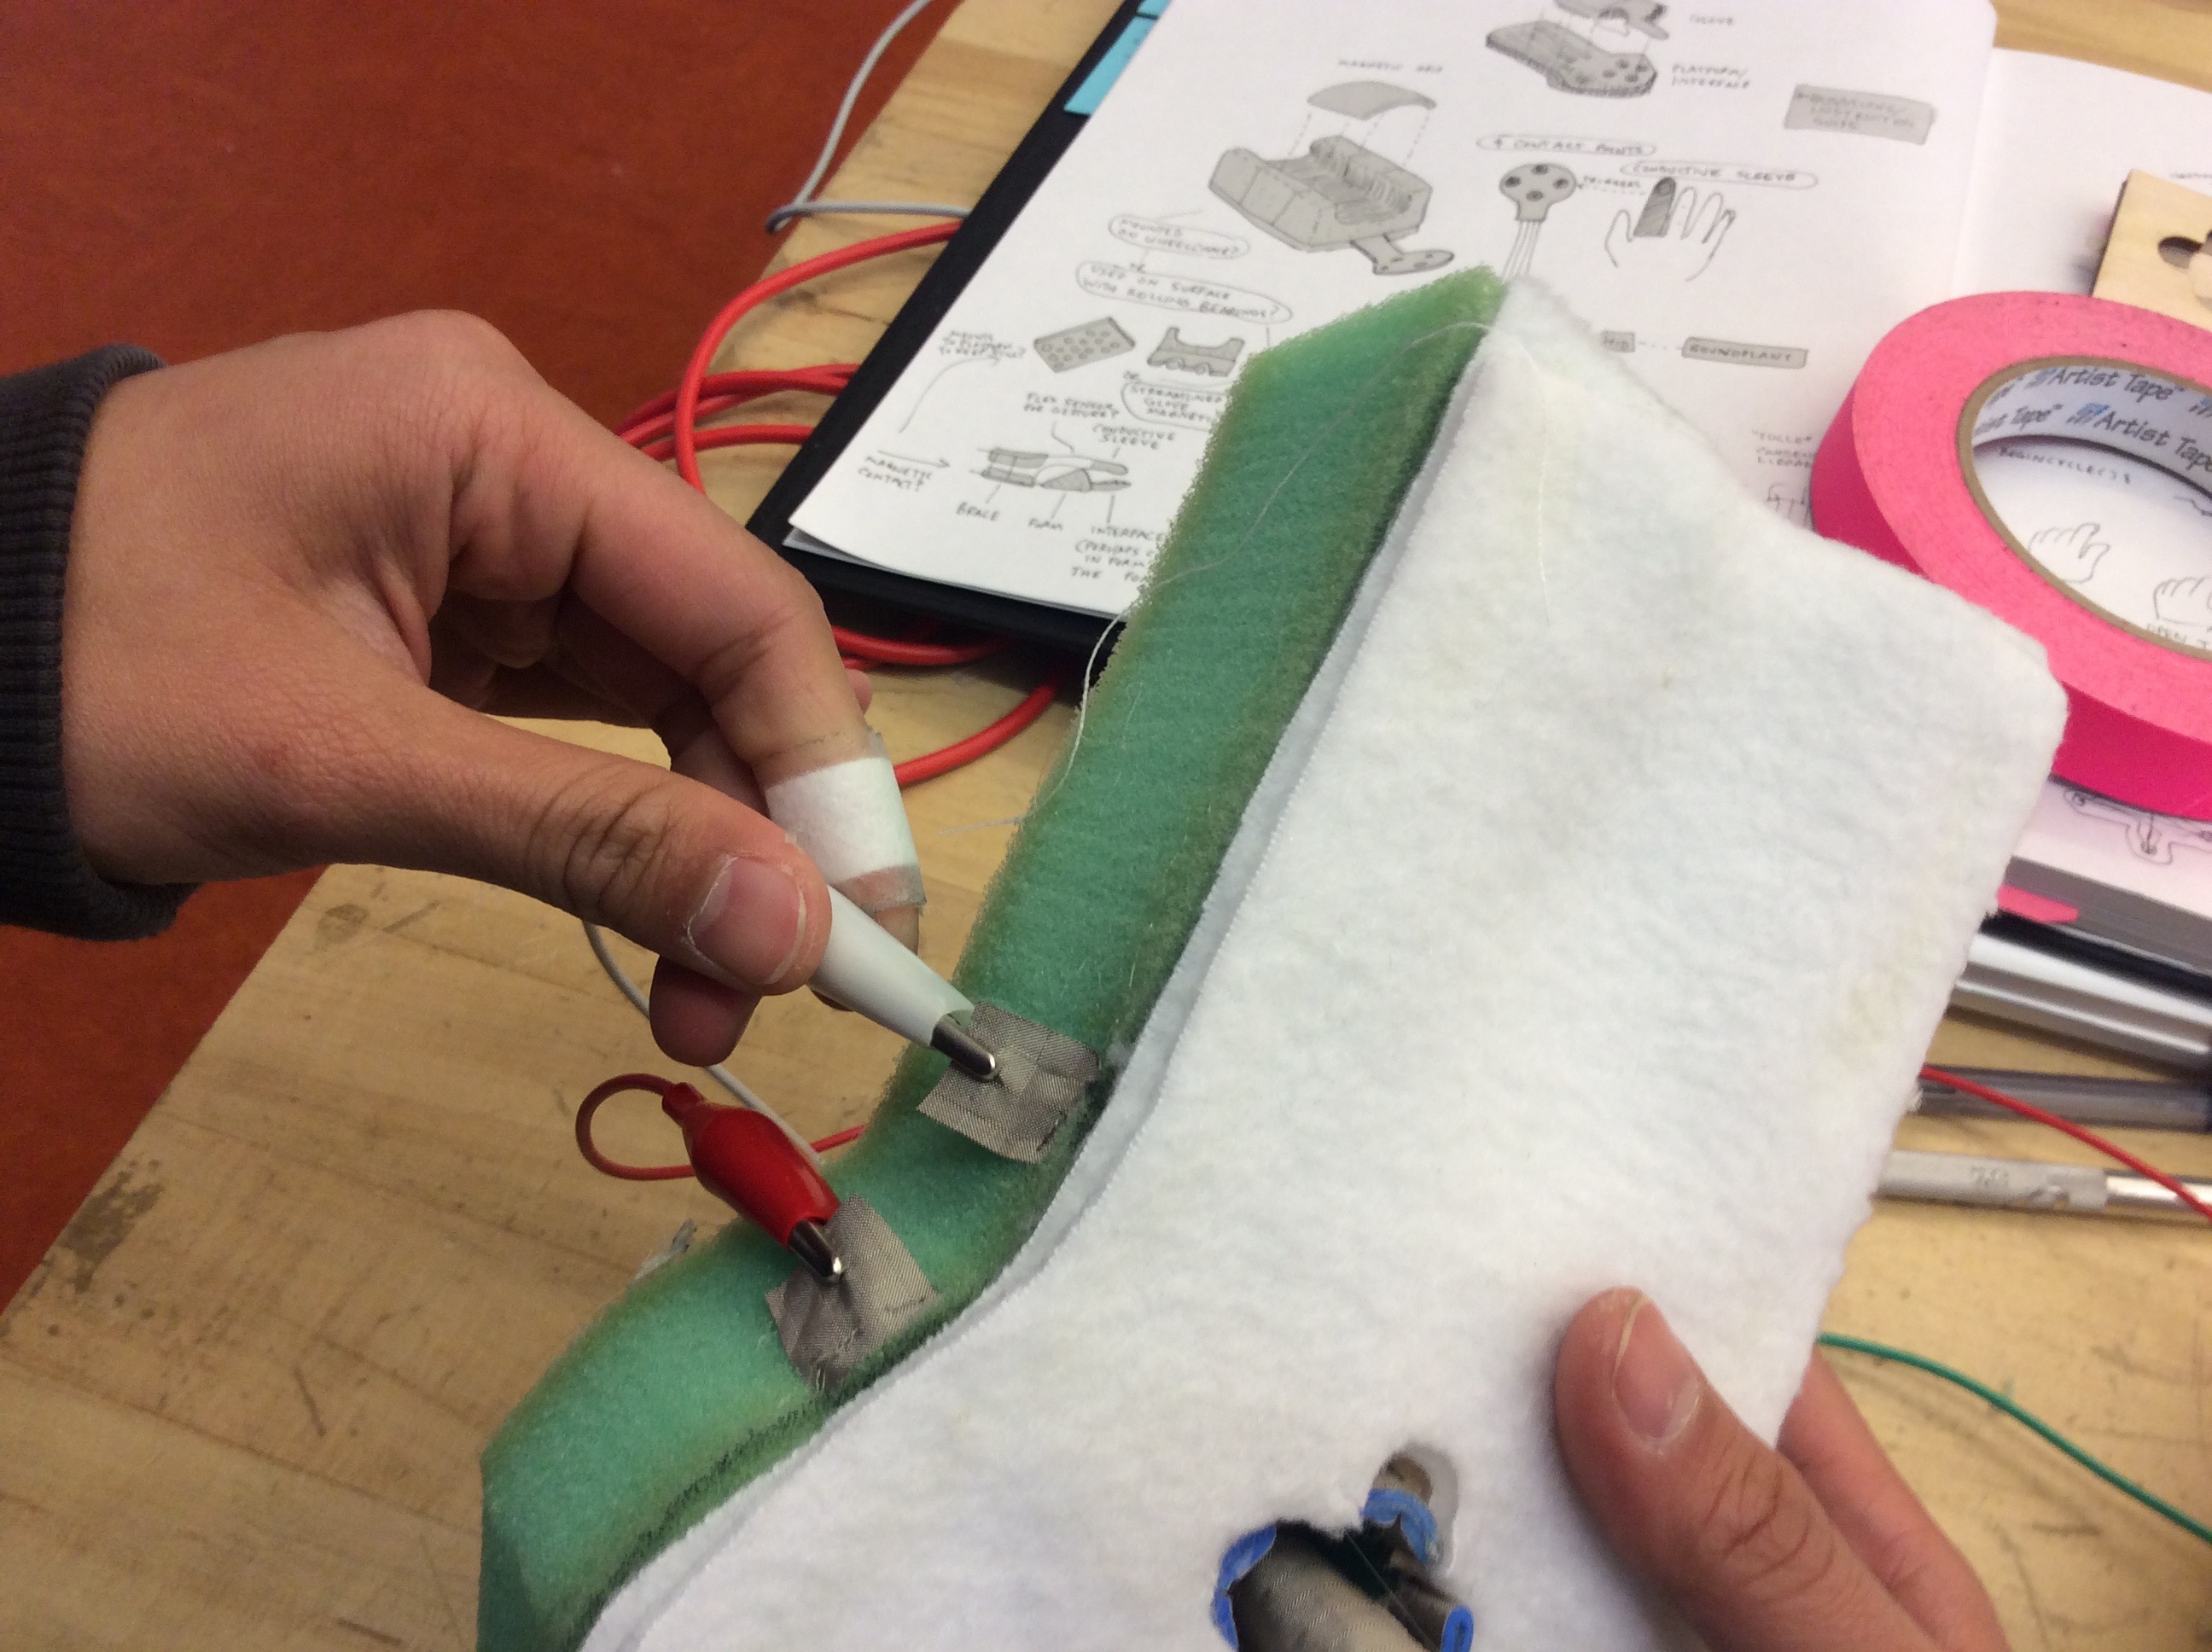
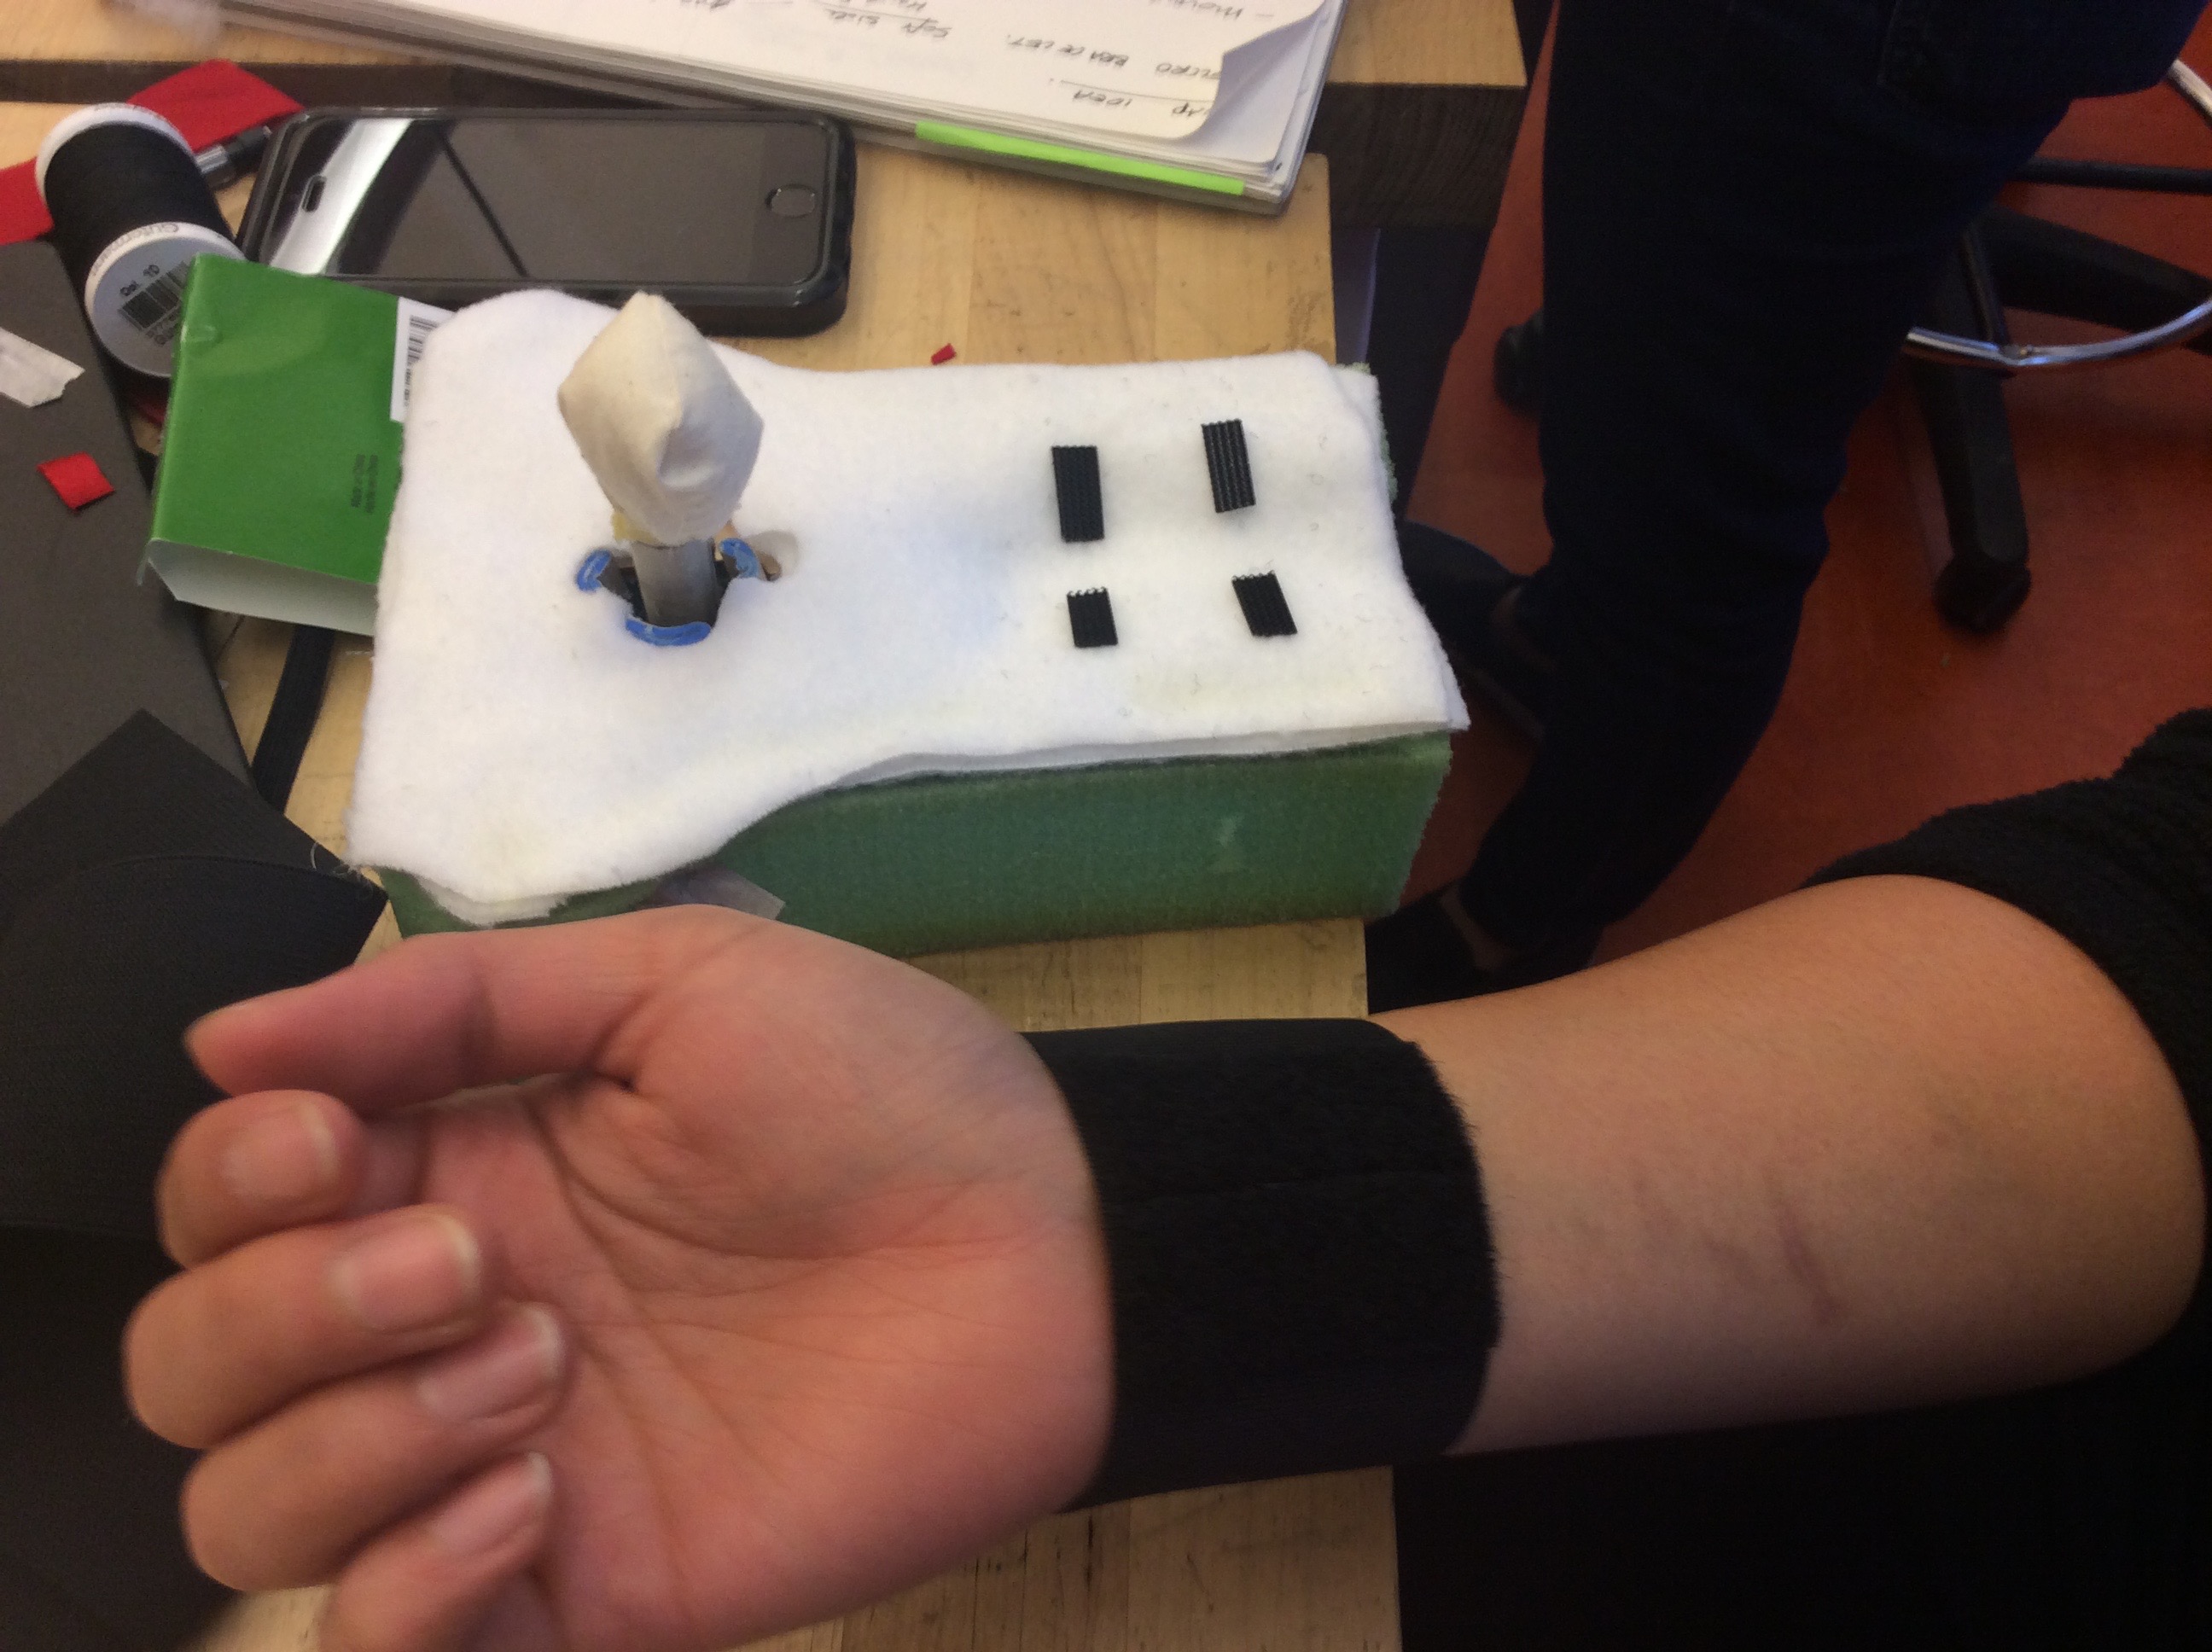
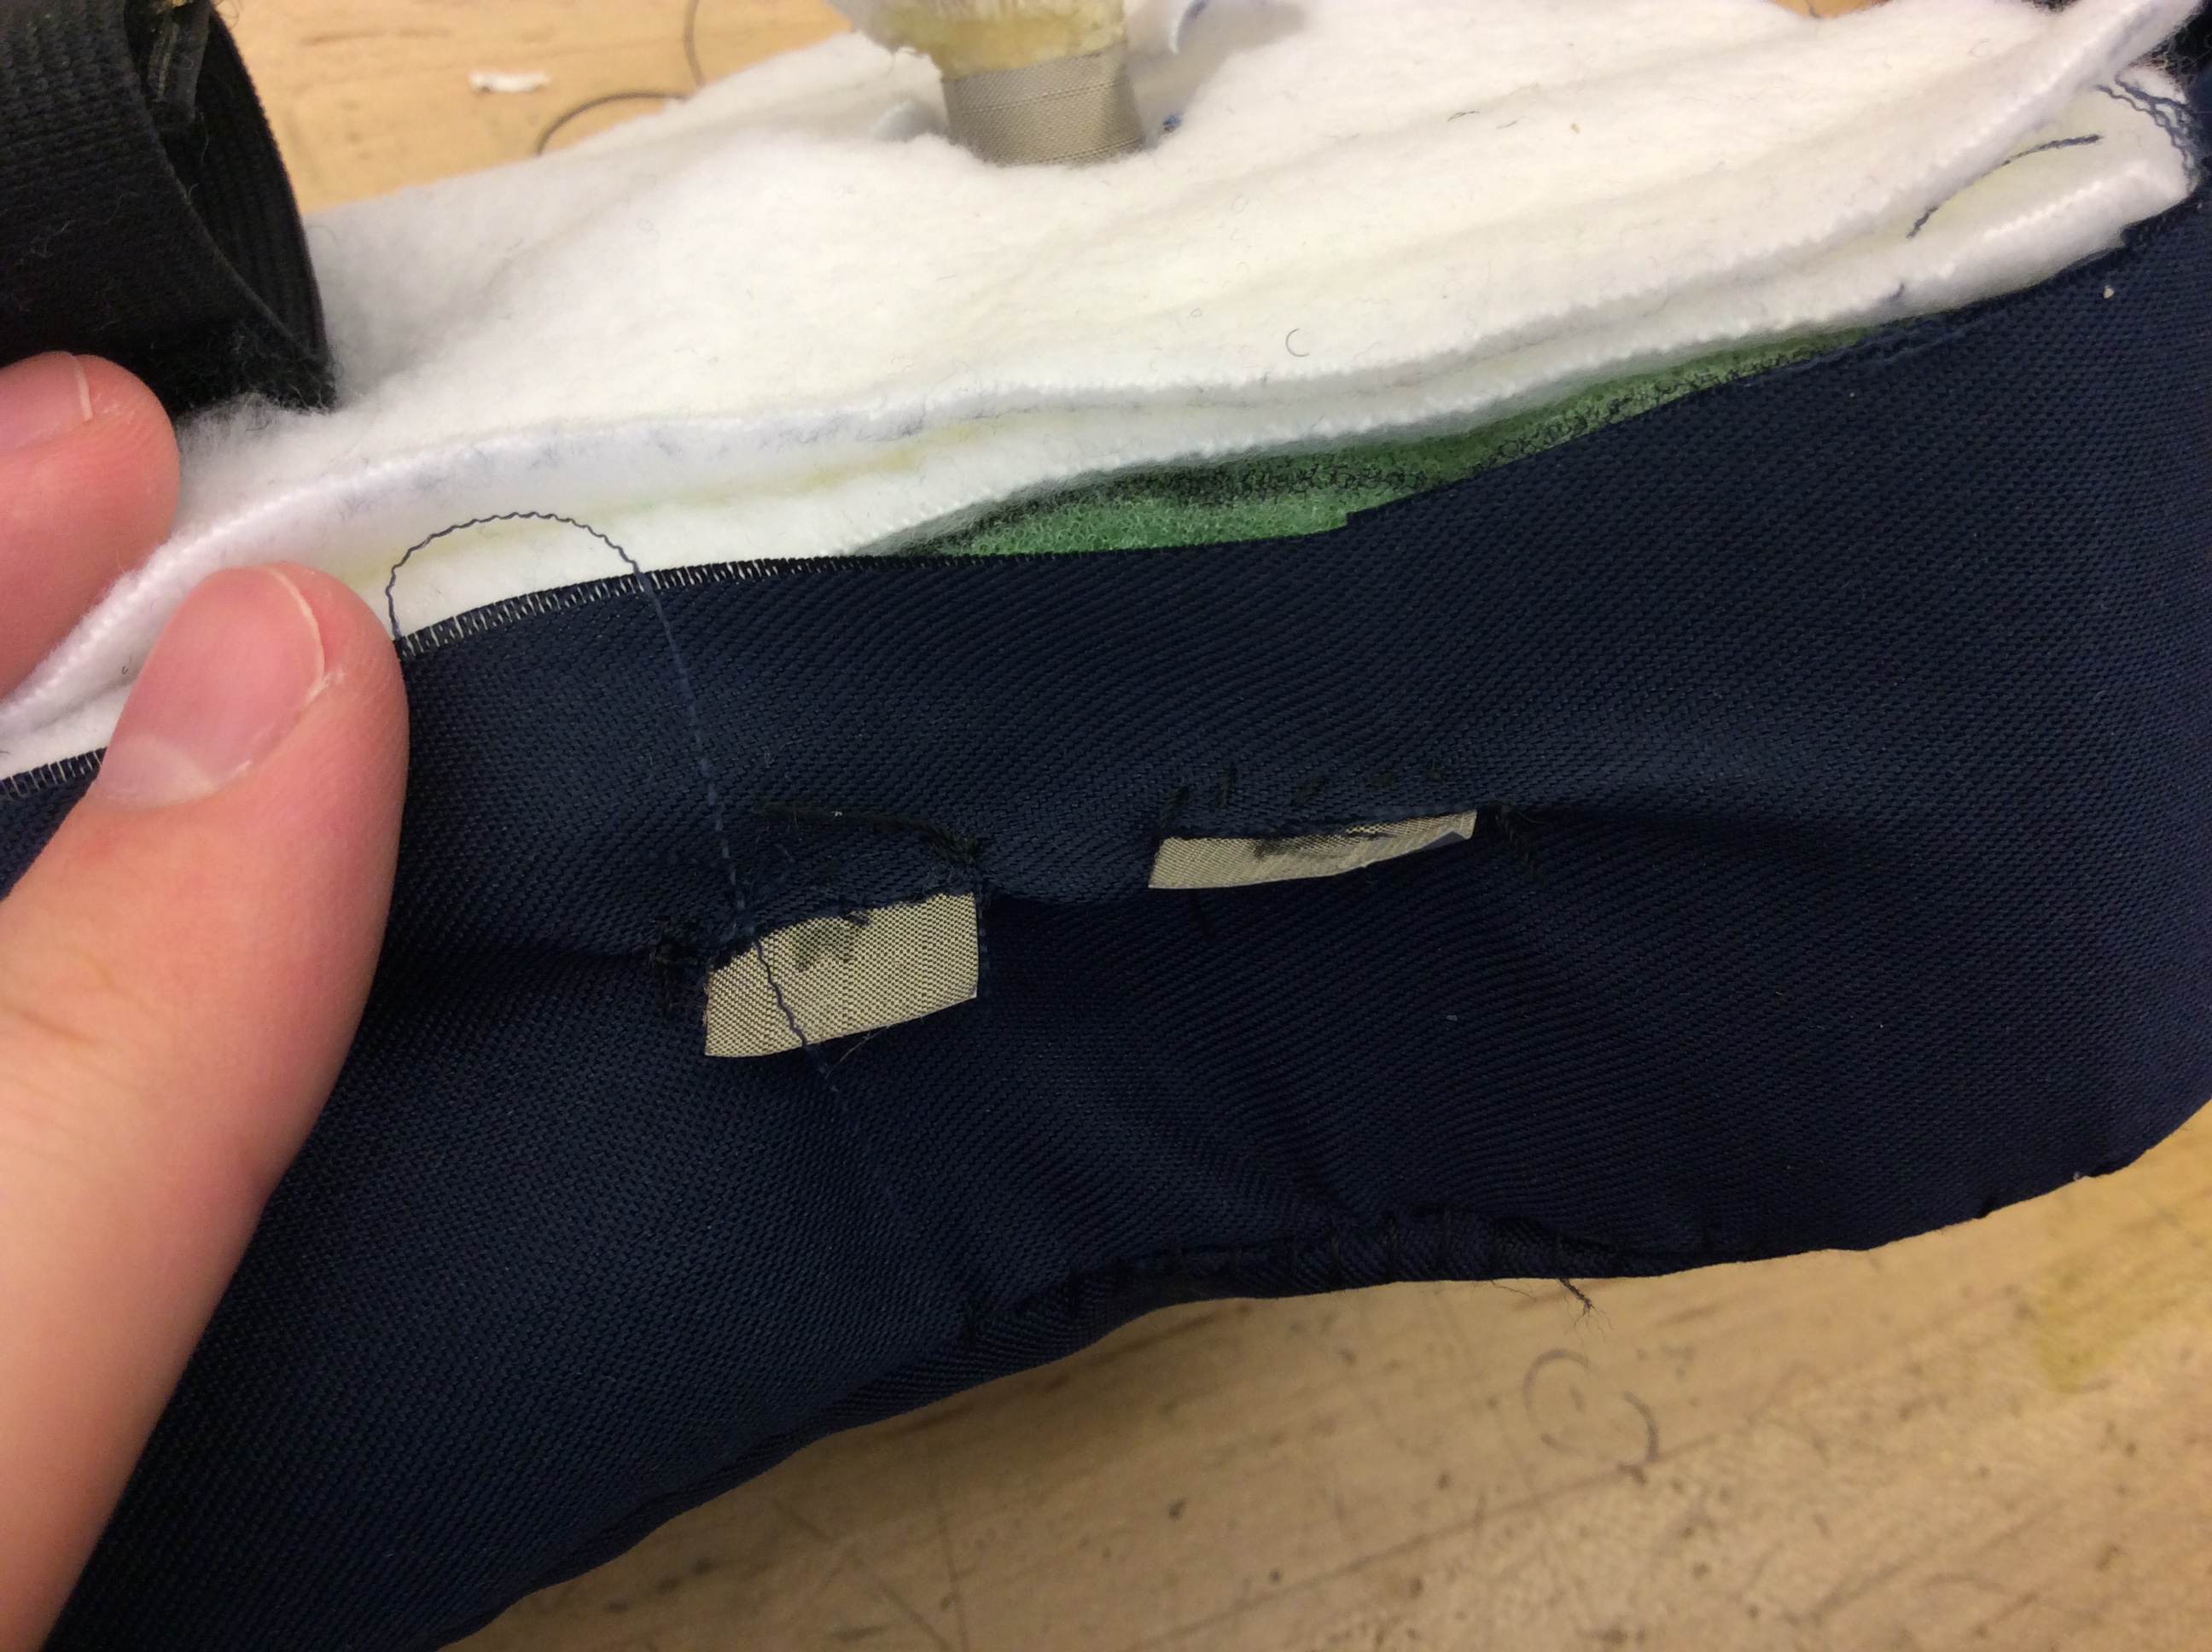
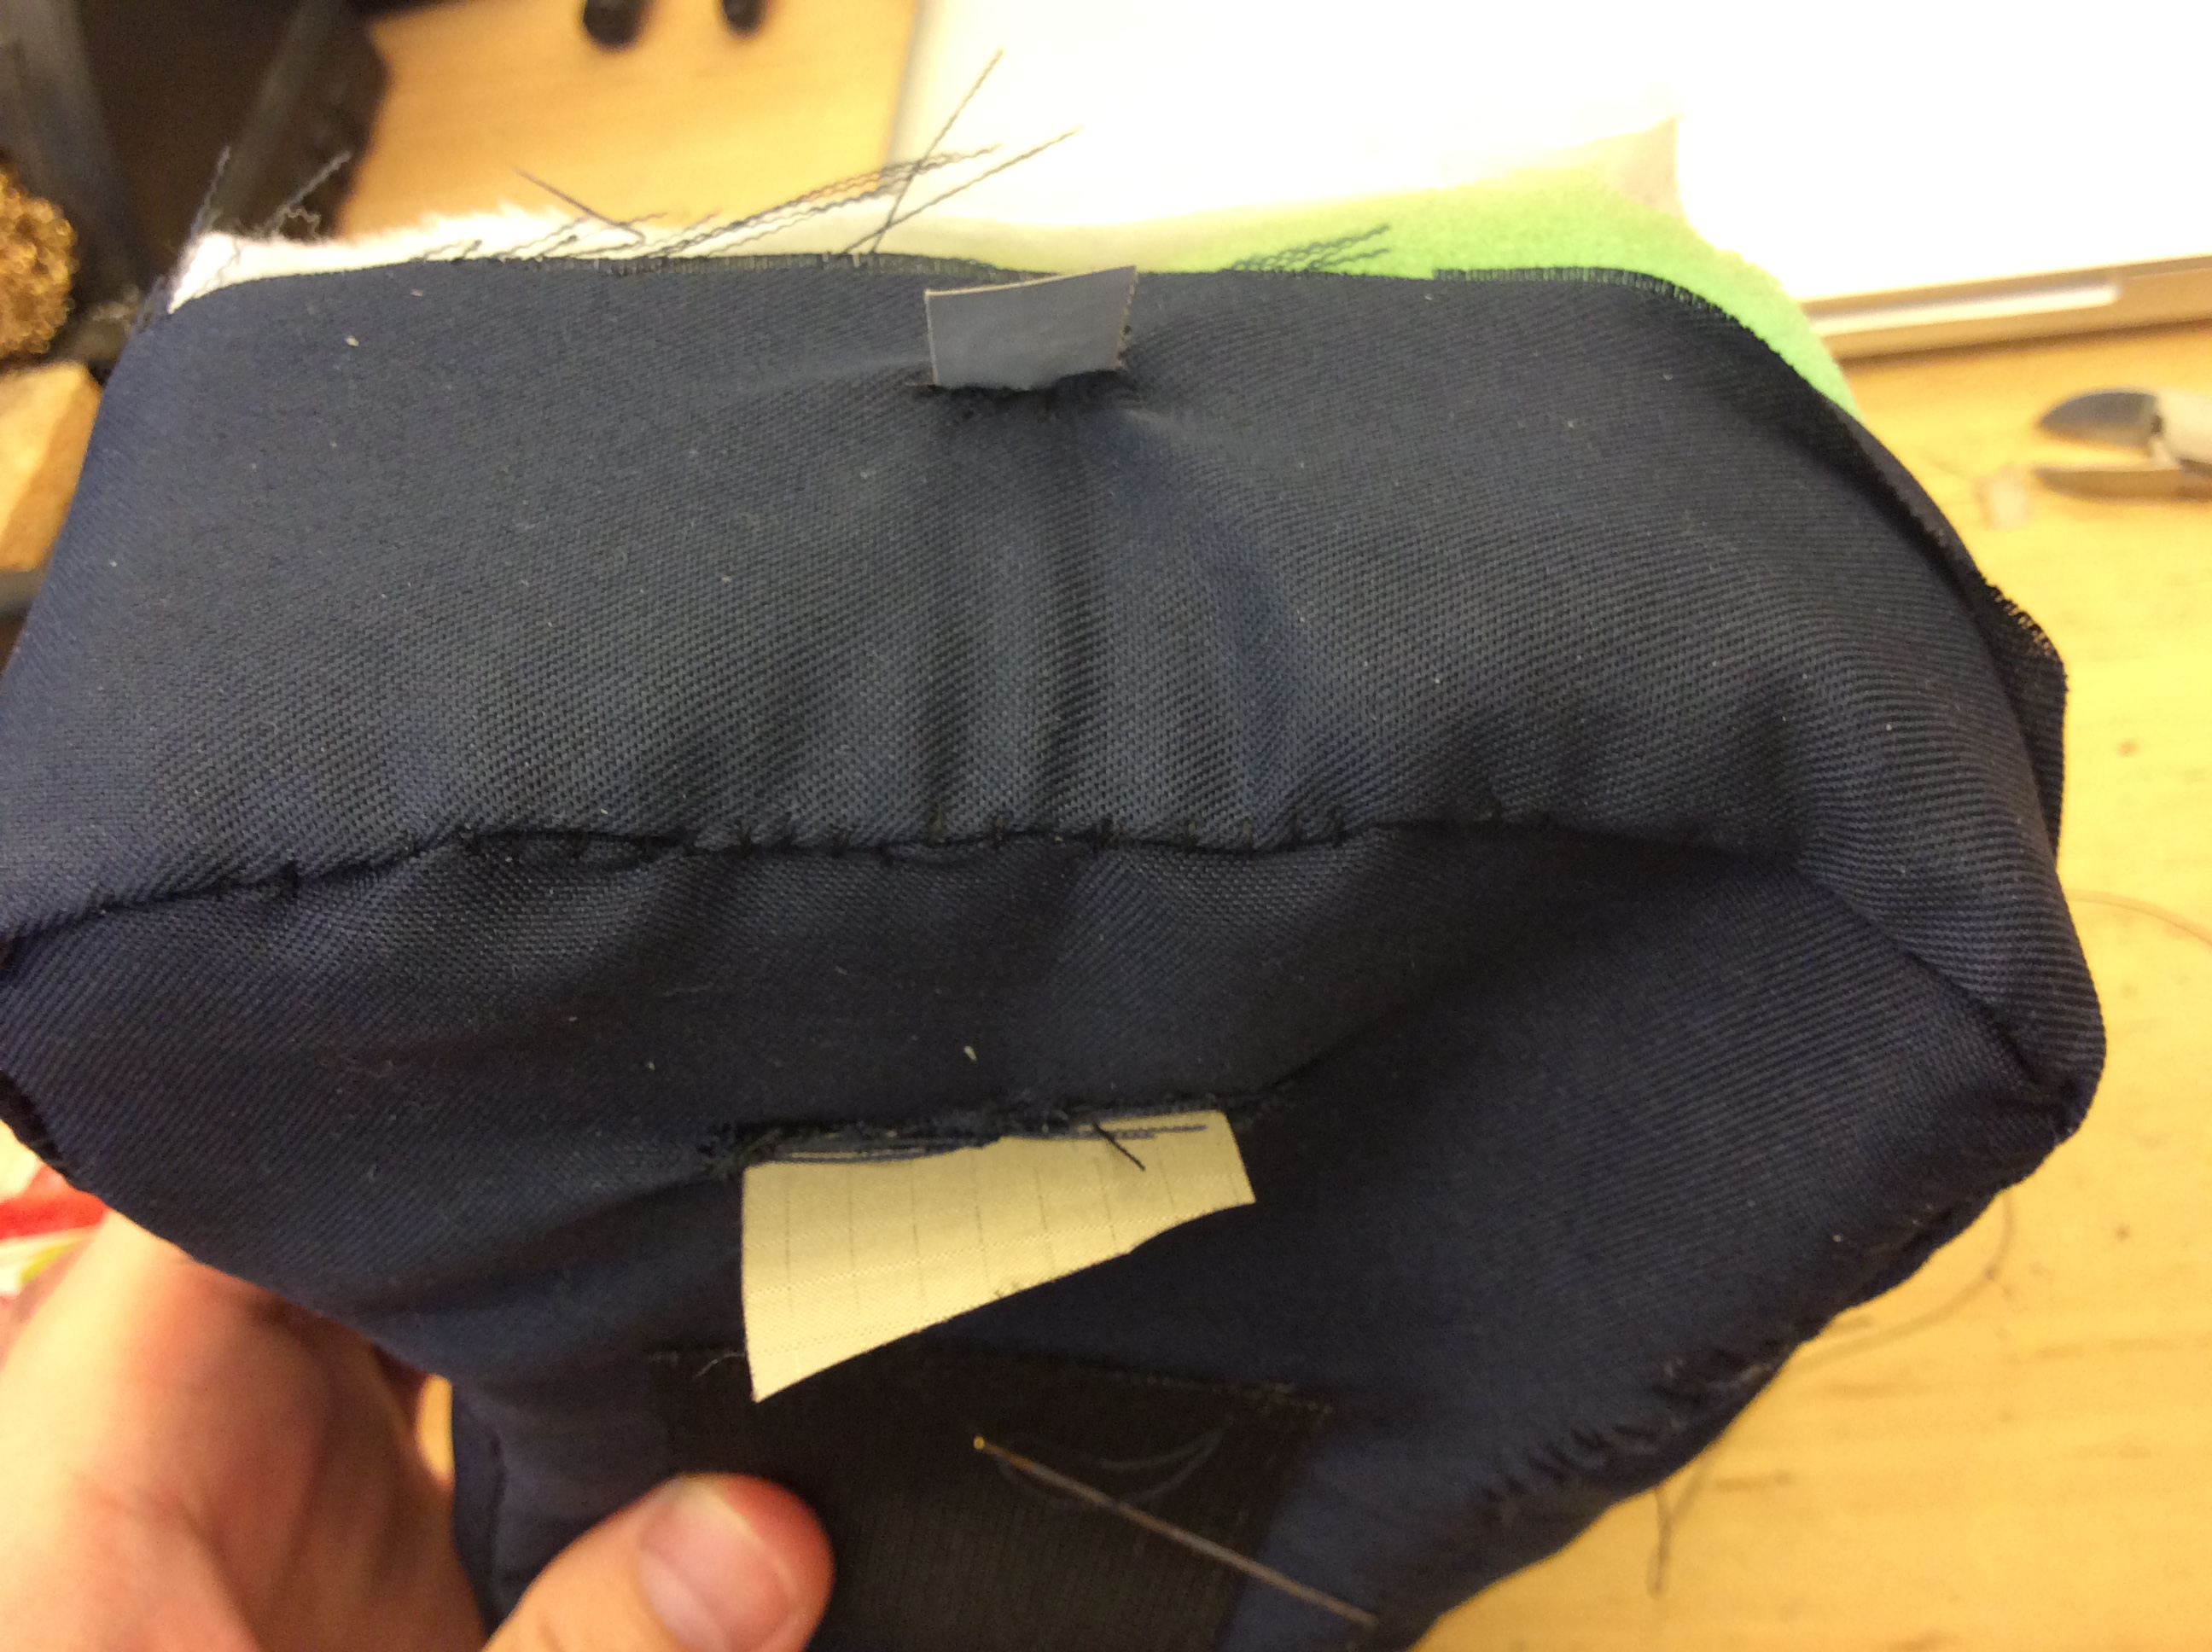
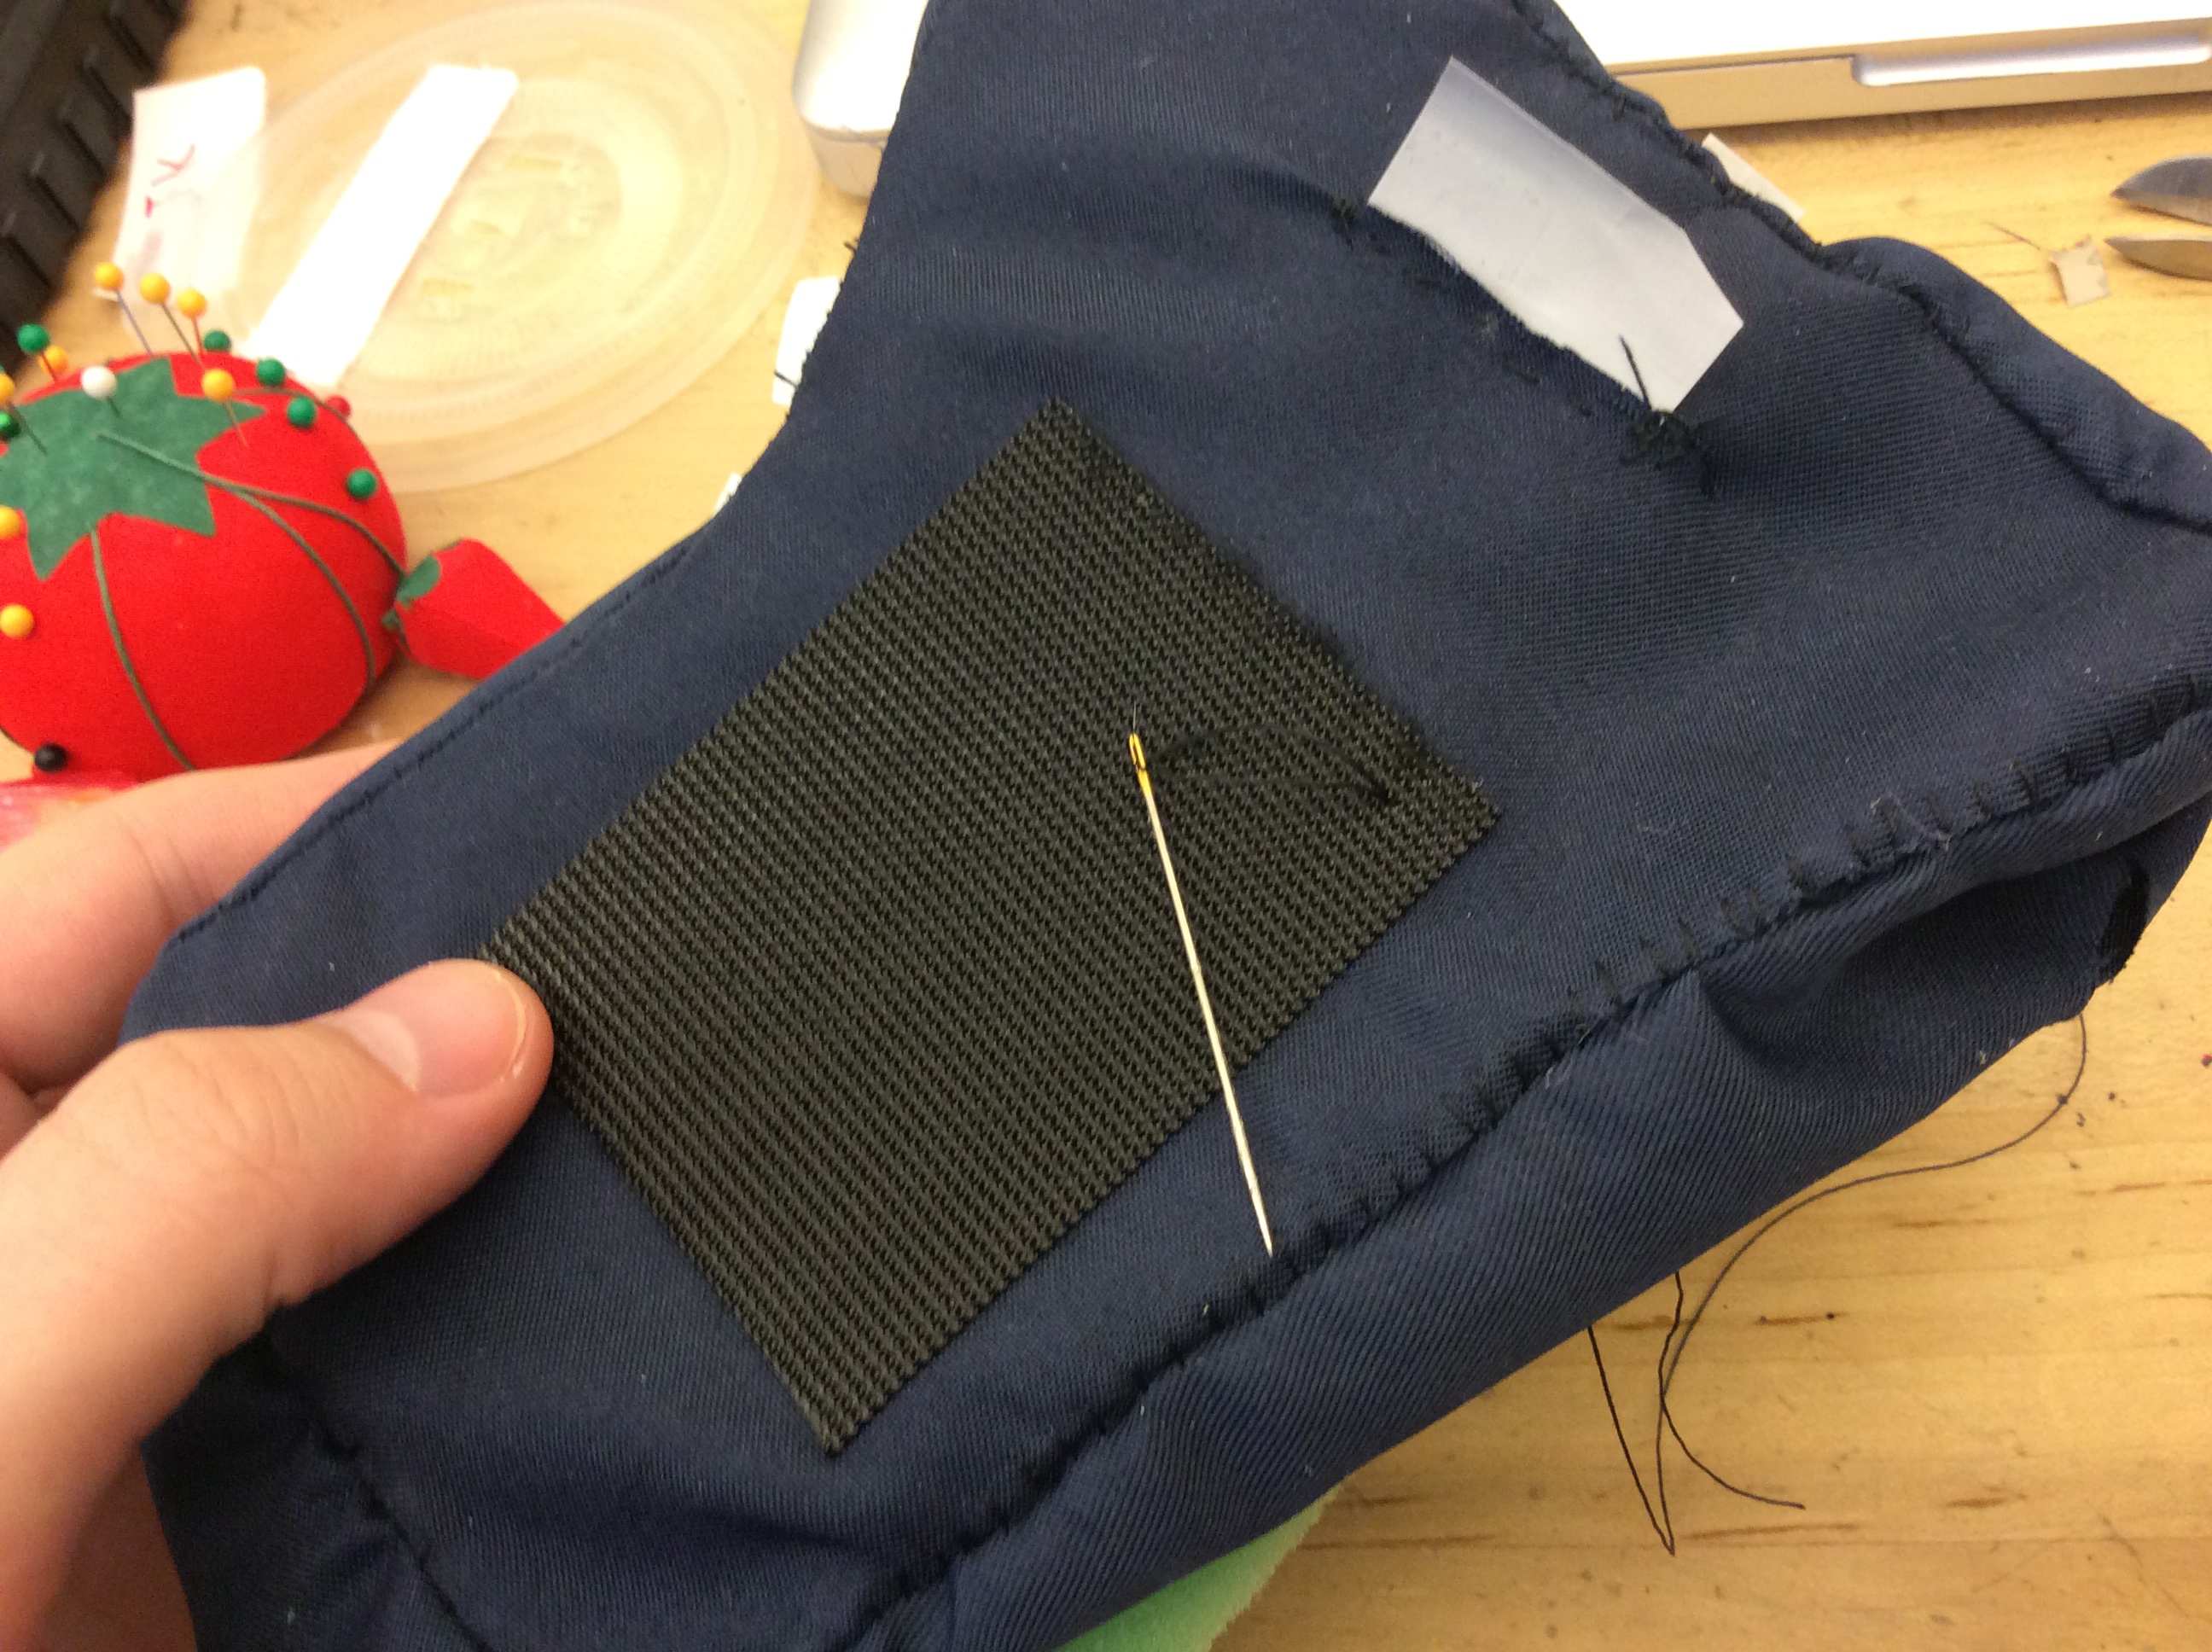
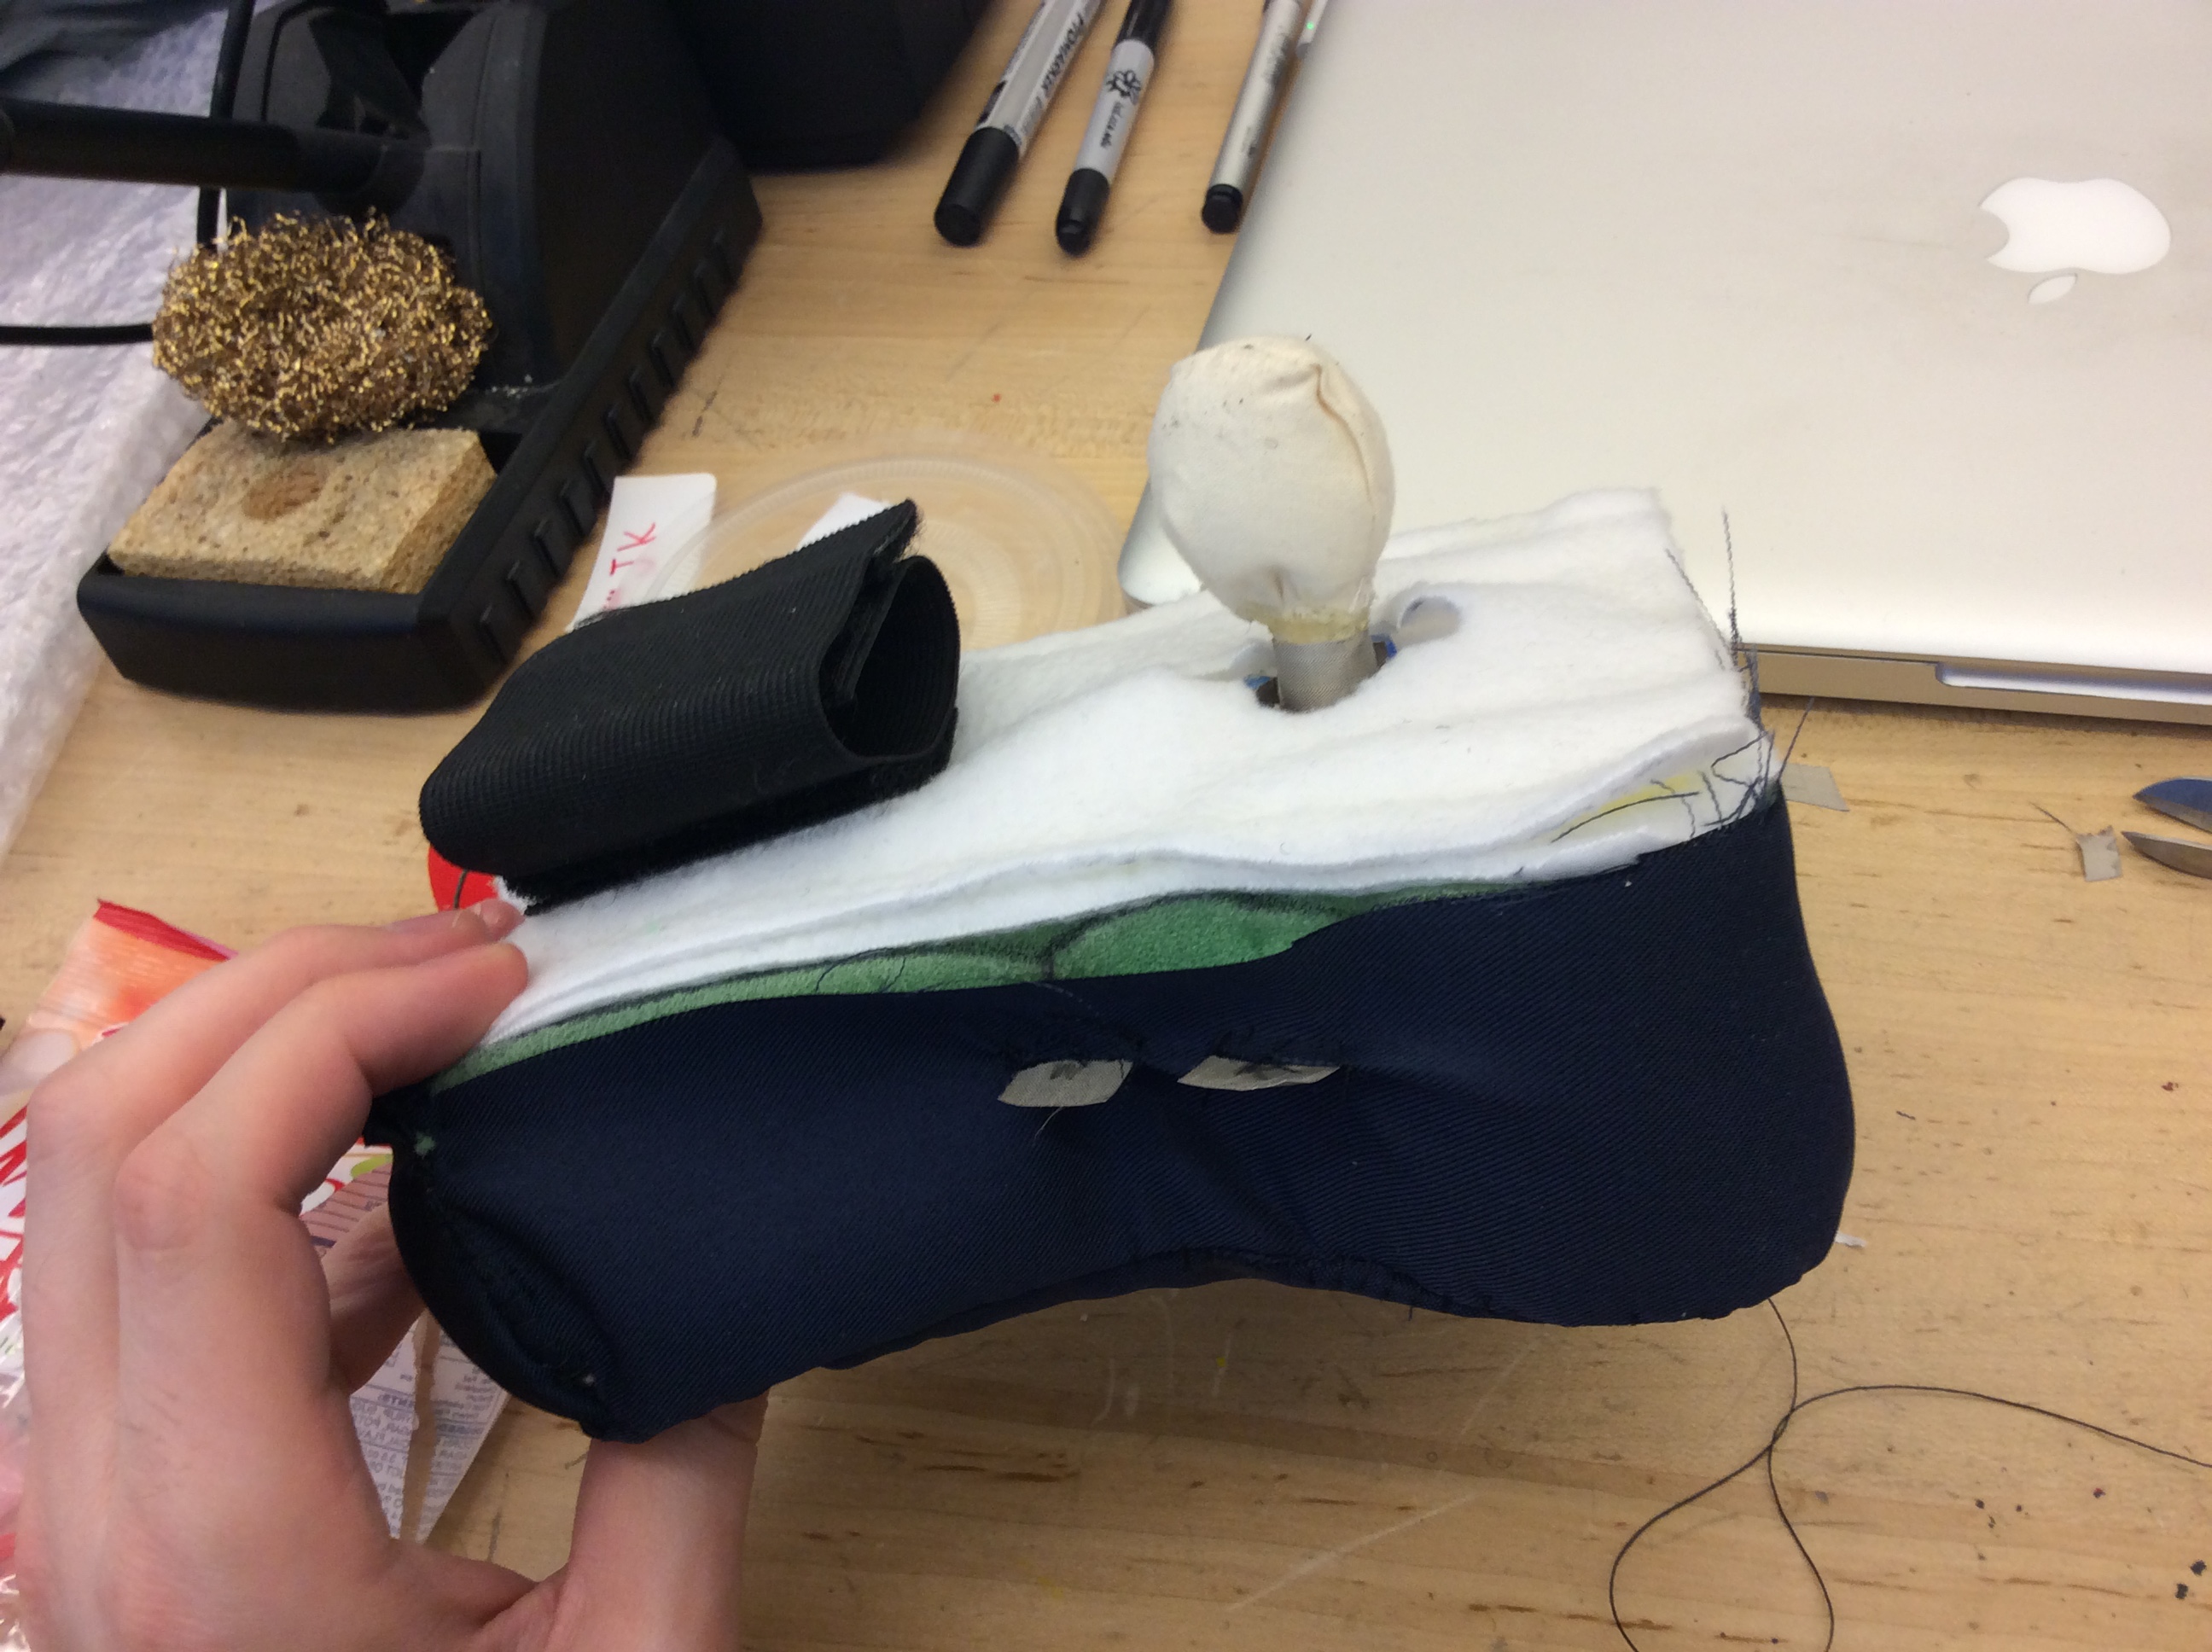
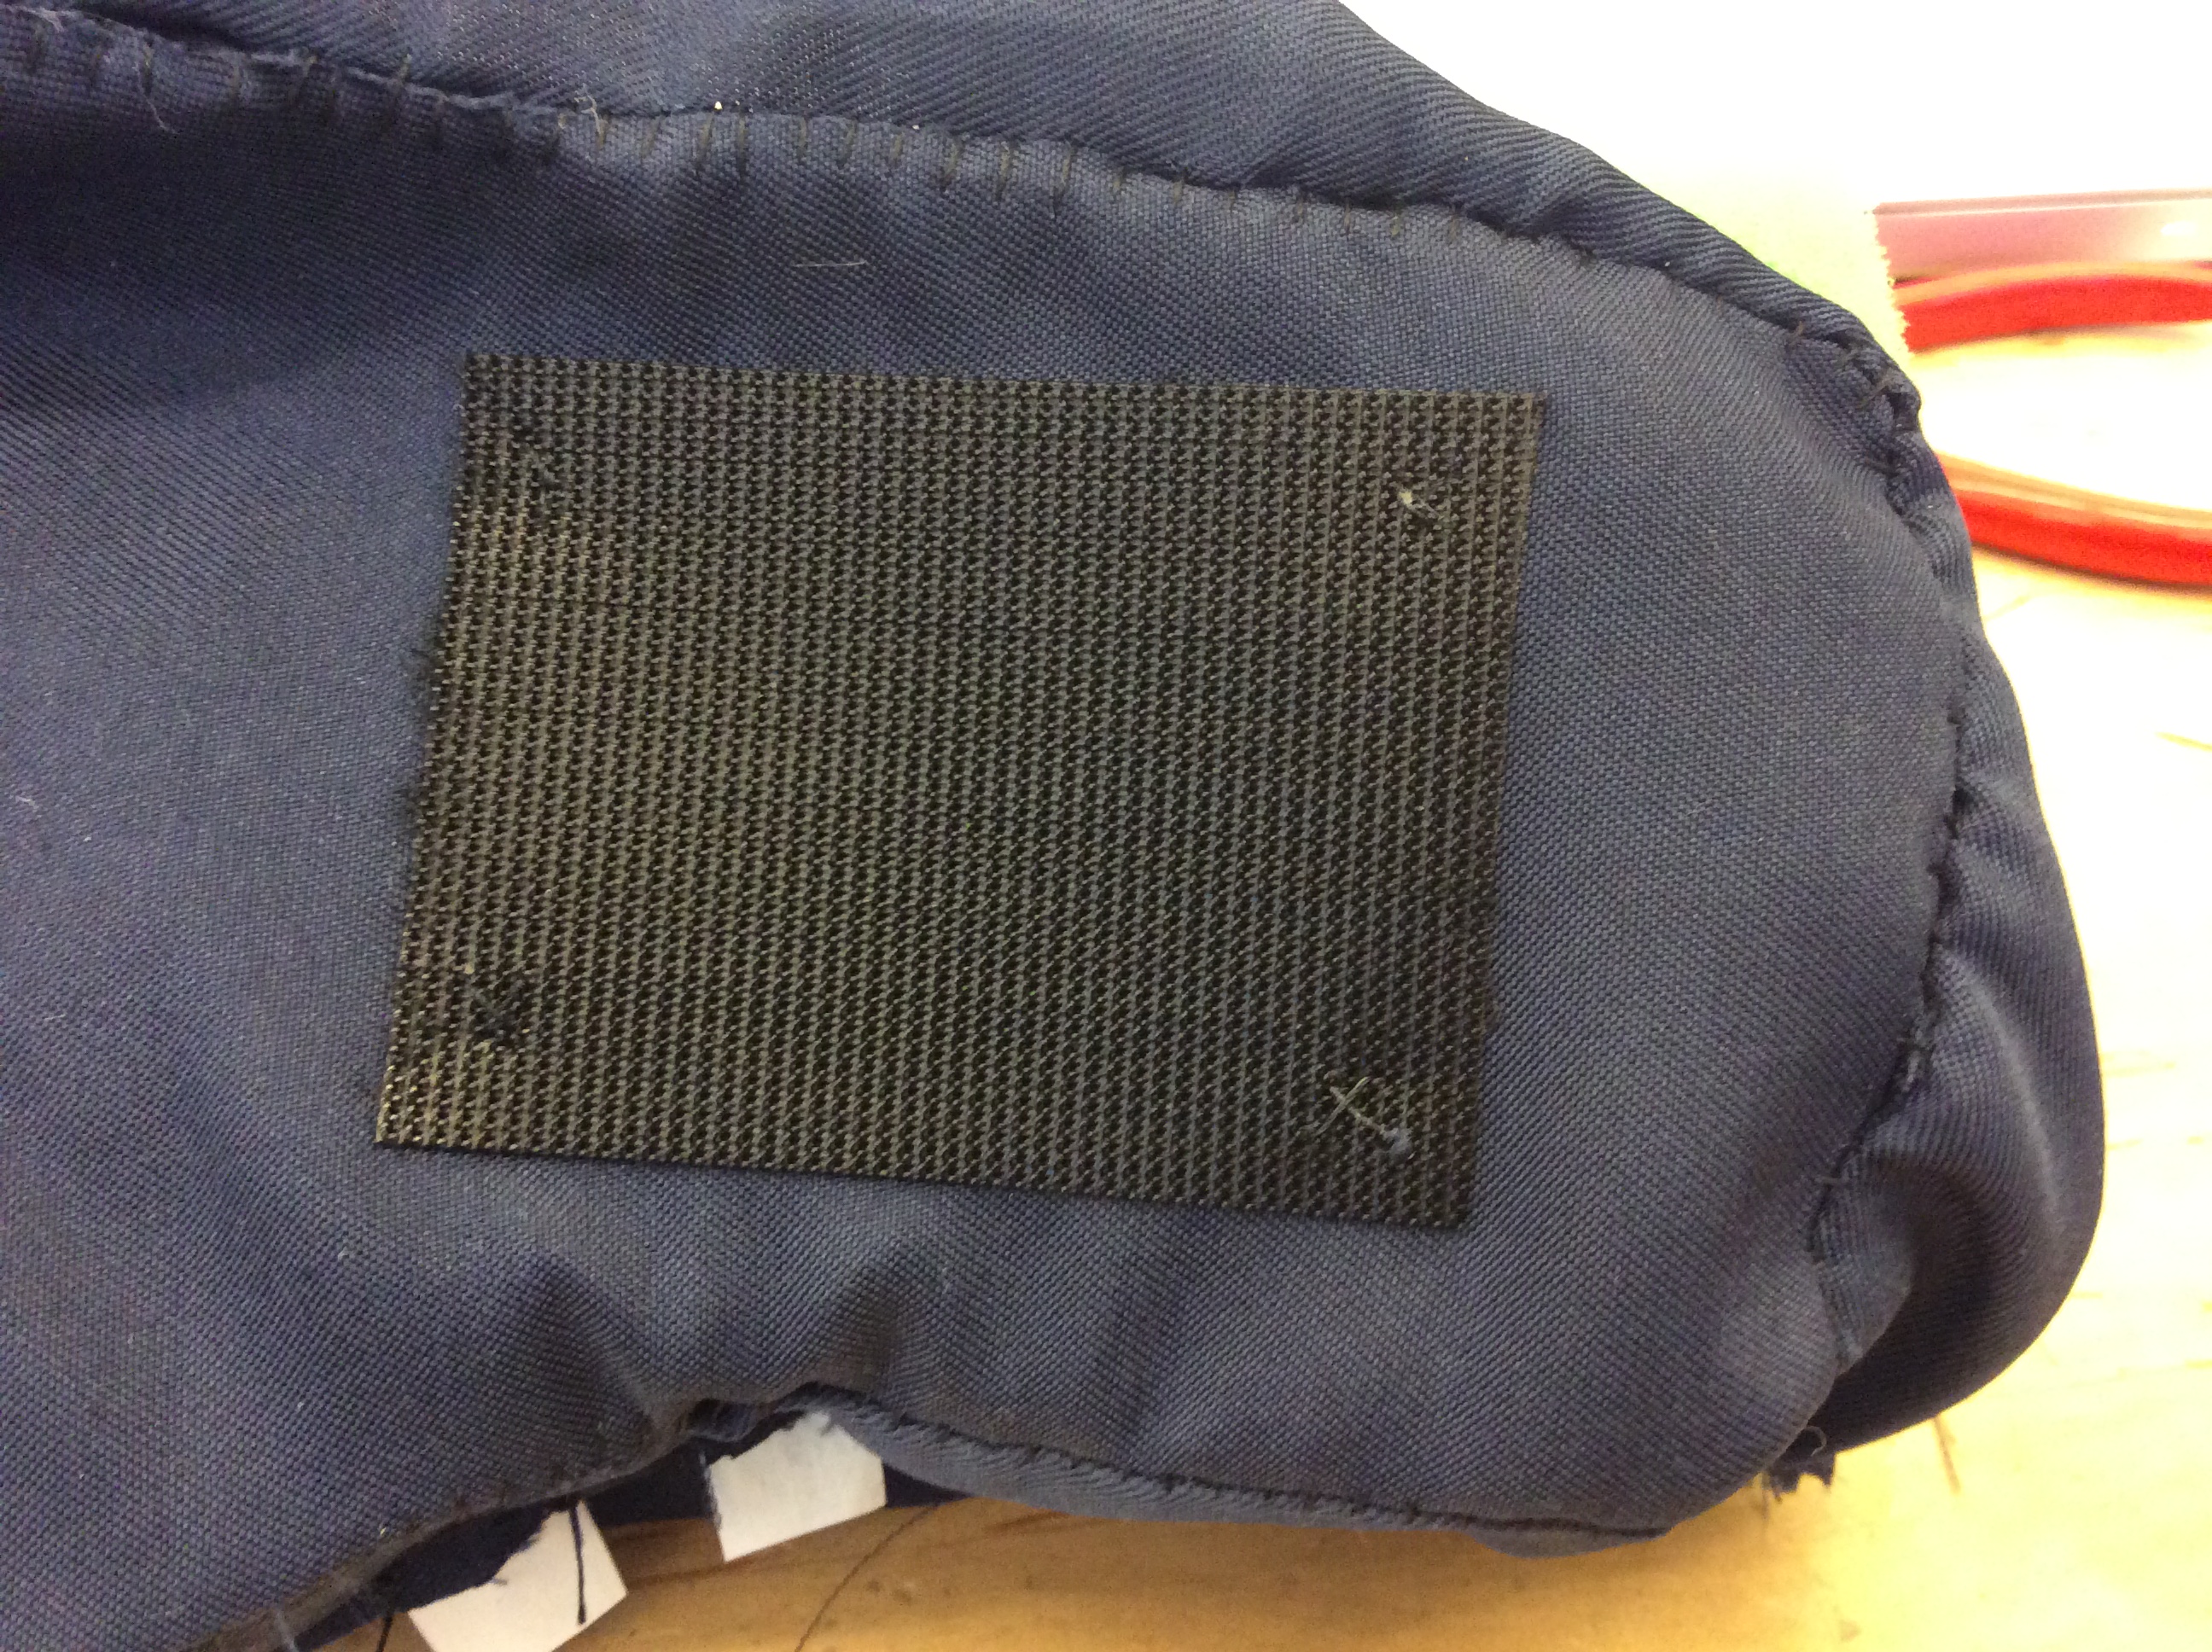
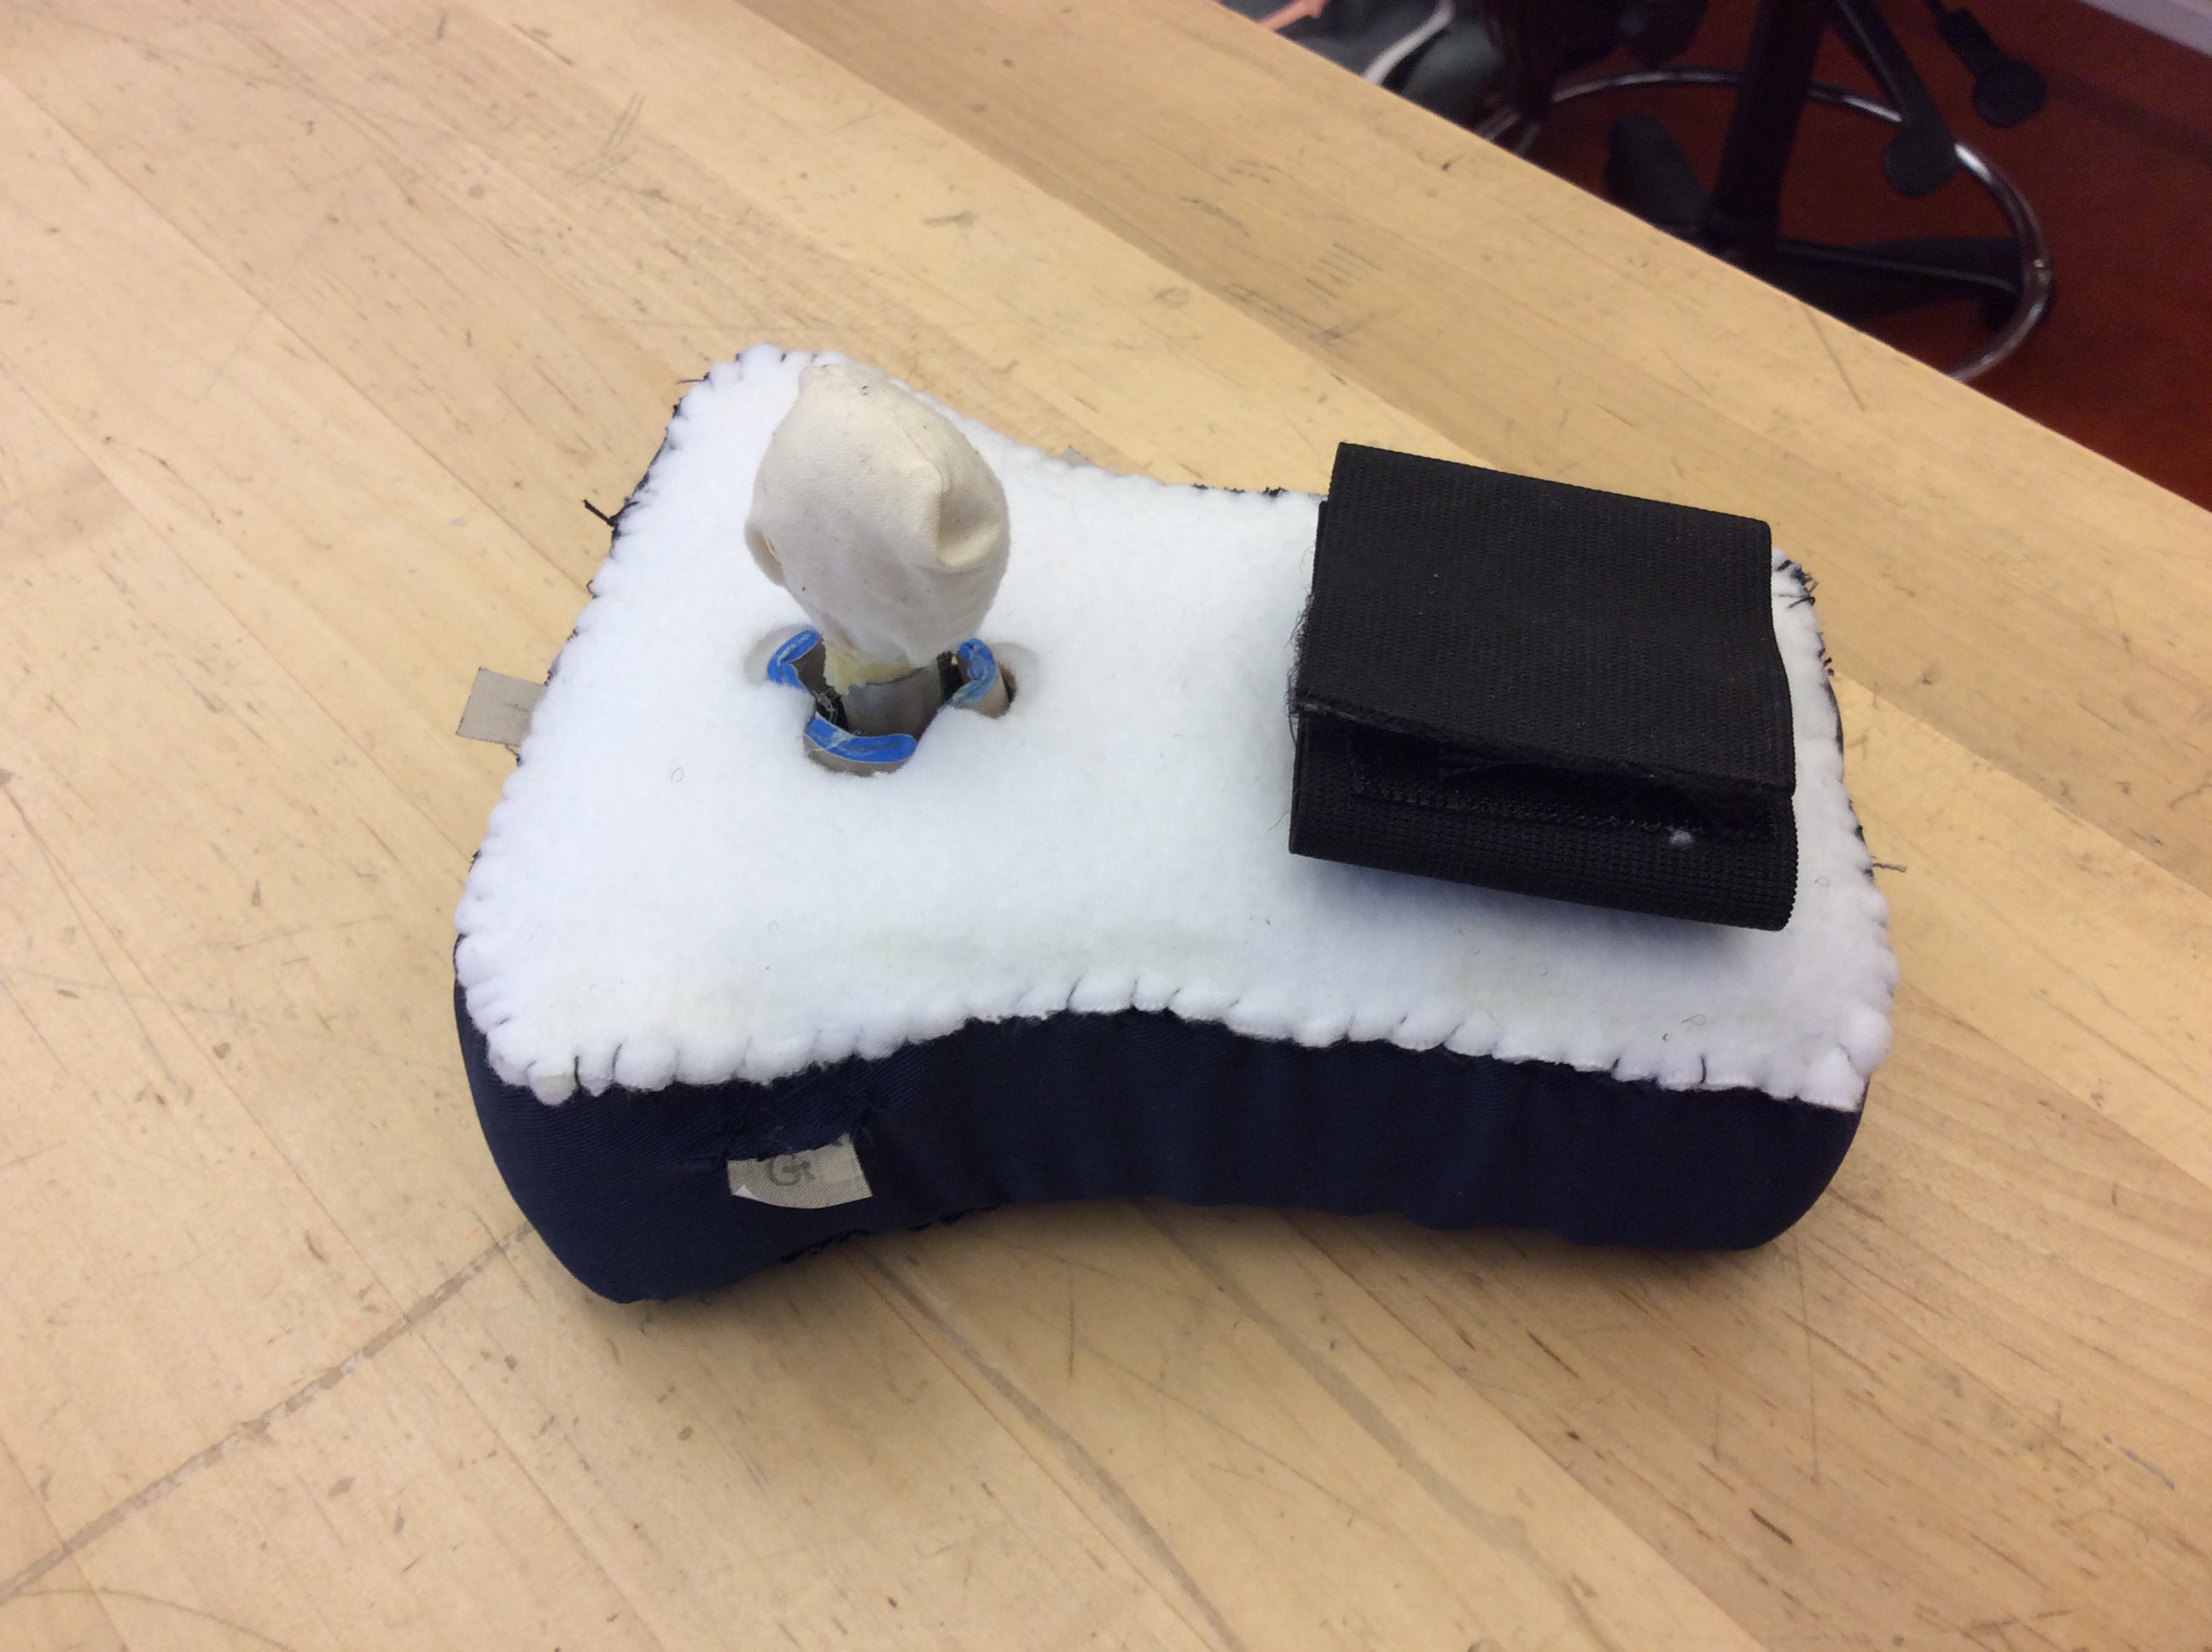
For this round of prototyping we implemented soundbite triggers and created 2 separate prototypes to explore 2 new methods of potential input. The first input method we explored was a joystick on a soft foam mount with a velcro wrist-strap. The second input method was a wood panel with small conductive fabric buttons that are triggered with a stylus which relies on cruder inputs than trying to create letters.
Notes & concept sketches:

Process pics:

Prototype questions:
Prototype A: (joystick)
1: Does the strap help Sara use the joystick?
2: how is her hand positioned when using it?
3: Can she move the joystick enough to trigger multiple sounds?
Prototype B: (stylus + panel)
1: Is Sara able to trigger the sounds using the stylus?
2: Is the stylus too thick or too thin?
3: Is there a preferred position or angle for the panel?
What we learned:
We learned that Prototype A showed potential. Sara was able to move the joystick around, but because the prototype wasn’t mounted down to anything, it moved around while sara was using it. We also learned that Prototype B could potentially be a good form as a digital interface, rather than analog. This lead us to focusing just on Prototype A, since it showed the most promise without getting outside of the scope of the project.
Next Steps:
-Implement a method for mounting Prototype A to a surface so that it’s still while Sara is using it.
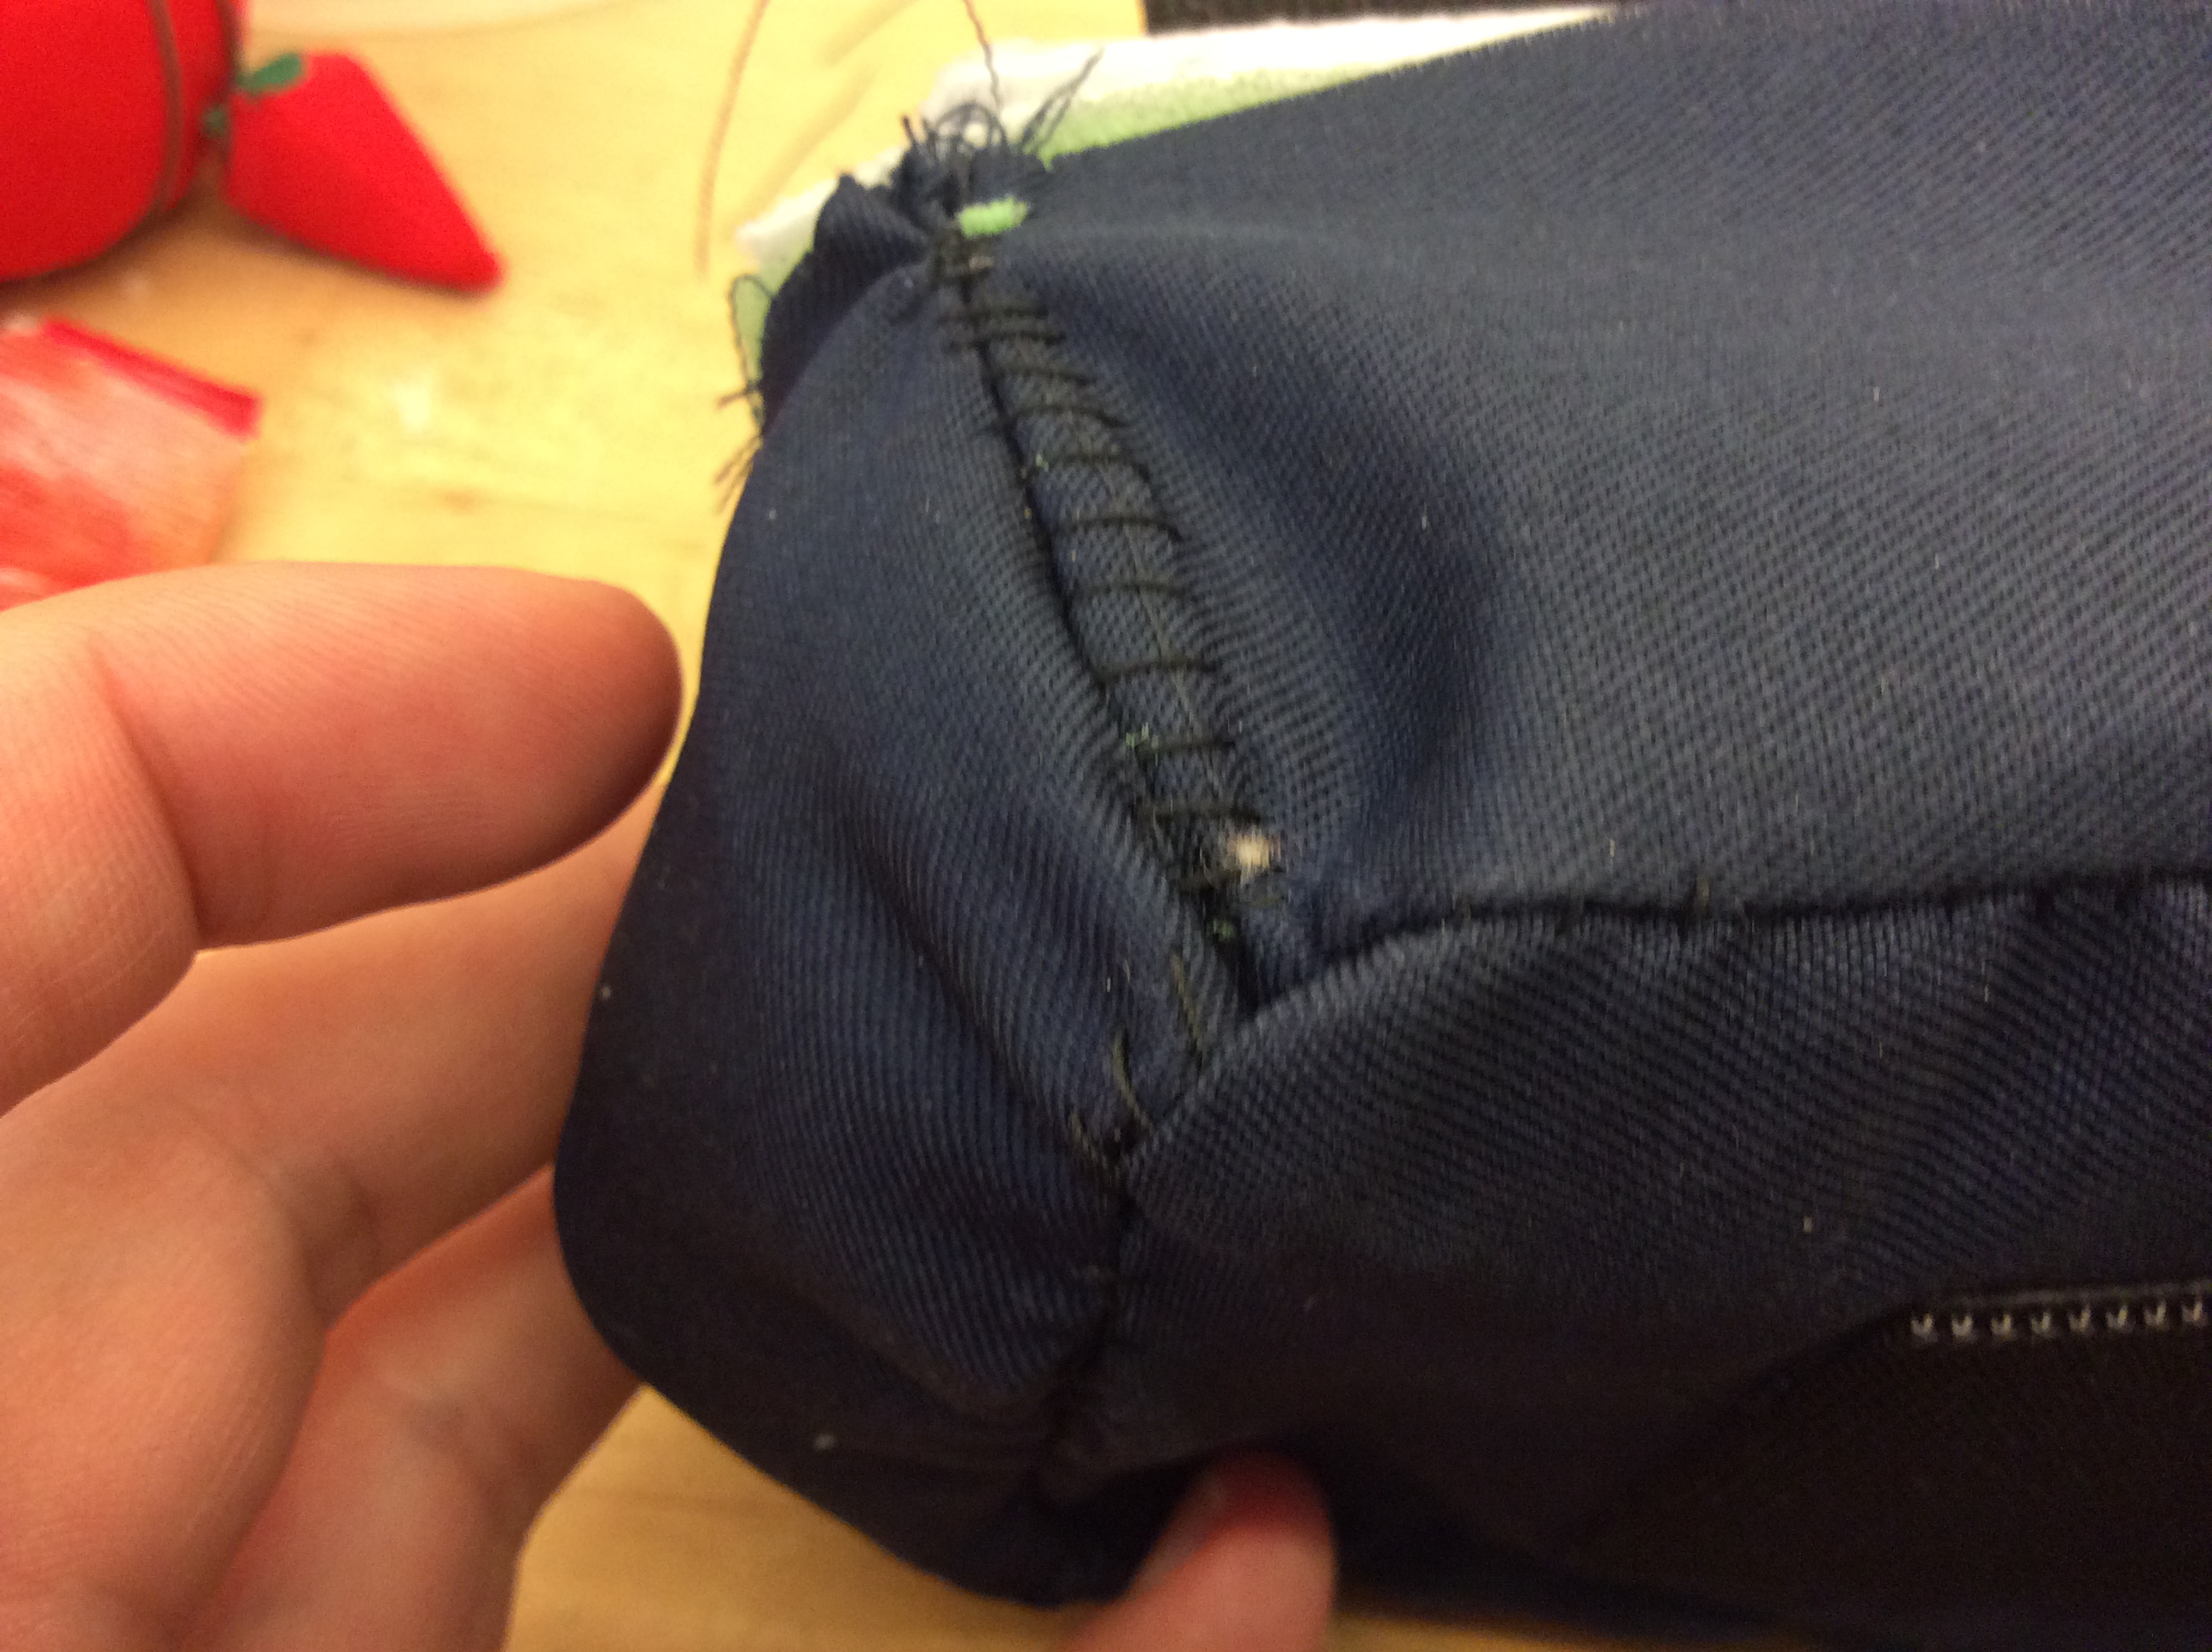
-Create a fabric skin to cover up the more fragile foam and electronics.
Refinements:

Technique Report
For the technique report, I created an instructable on making sewable patterns from any 3d shape, using upholstery foam. This method is valuable for patterning more complex shapes that are difficult to figure out on paper. Technique applications include making: garments, plush toys, puppets, furniture, props, etc…. The instructable can be found here:
http://www.instructables.com/id/Make-a-Sewable-Pattern-of-Any-3D-Shape/