Key : 🔹 discussion 🔸 lecture ⚡ demo/activity 🍕 lunch
🔸 Rapid prototyping
- tools
- techniques
- show and tell of swatch examples and material library
🍕 lunch
⚡ Prototype building
H.W. finish 1st prototype and questions for Sara’s family to answer on video for feedback on prototype design.
—————–
Prototyping is a process of discovery. You will find yourself in different phases of a process, but always moving forward as you test prototypes. Below are a few phases that will help guide you through your prototyping process.
Phase 1 : Muslin and Paper Proto
Use materials that are accessible, cheap and can be marked on while building. This is where you start your physical sketches.
Have Arduino and your components ready for testing. Circuit can be on alligator leads, move to wire and female and male headers if the leads come unclipped often.
Test:
- size and shape of fabric pattern
- component placement testing
- test sensors and switches on body
Drawing out ideas for sensor and button placement as well as what my pattern may look like.

Fitting pattern using leather. Nothing really behaves like leather, so it ended up being important to prototype with it from the start.
Phase 2 : Introducing Real Materials
In this stage, the basics of your circuit should be working, or a proof of concept circuit that represents your bigger idea.
Test:
- final placement and trace of components (taping or velcroing circuit on)
- what conductive and neutral materials will go into your final. Testing on swatches is good for this.
- strain relief and reinforcements
- start to fine tune interactivity of circuit
Testing handmade sensor or small swatch.
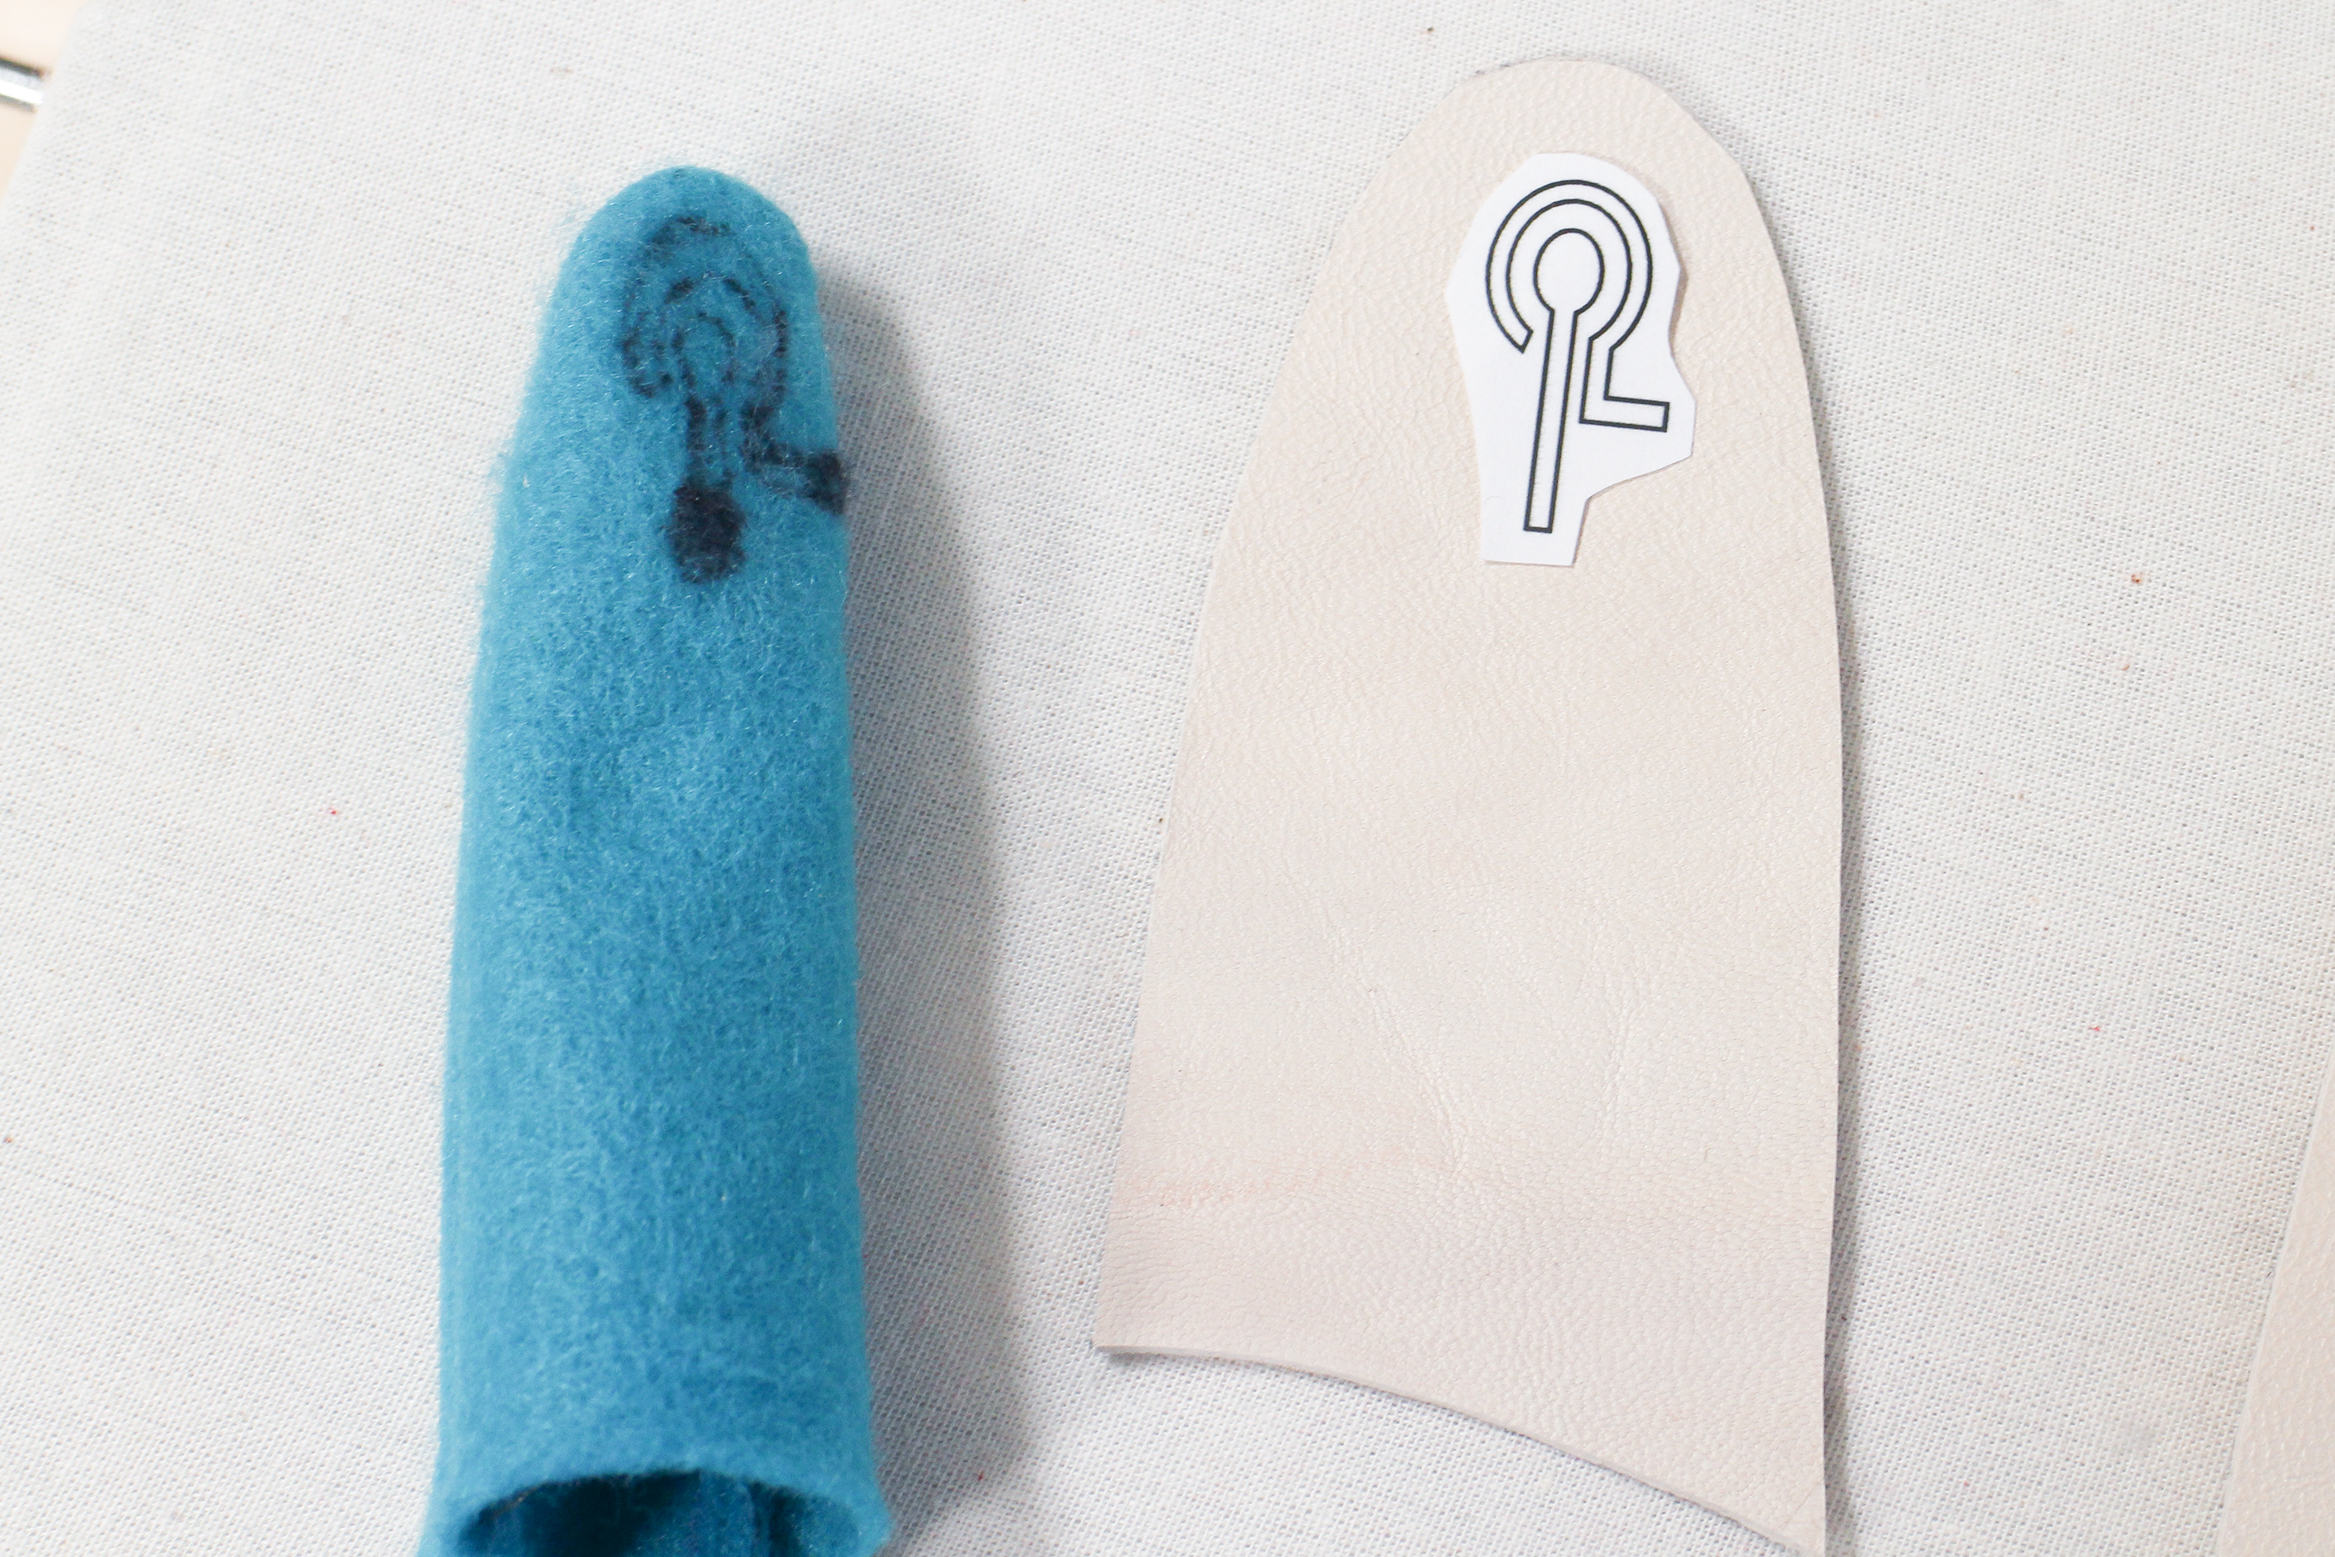
Transferring placement idea from muslin proto to real materials to test further.
Testing finger tip switch with real materials.
Phase 3 : Integration
By this phase, you should have the circuit laid out on your project and working as you want it to. This is where the circuit gets integrated with the fabric and design. I recommend making as many parts of the circuit removable. The battery is a must, but using connectors for other components or even making the whole circuit removable can be beneficial. Make your plan and start integrating.
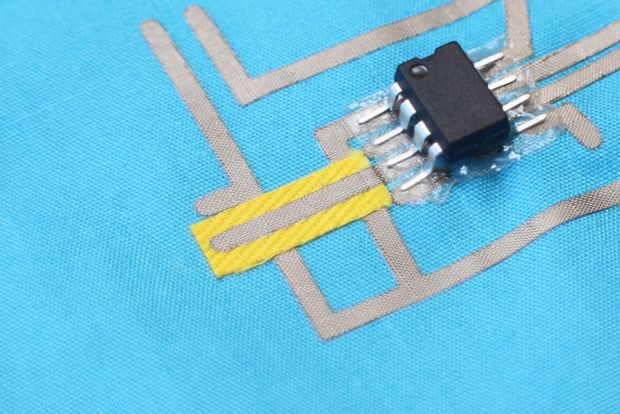
Some examples of integration are using existing seams of a garment to run wires across for strength. Insulating any soft circuitry with iron-on fabric or embroidery.
The materials you are using are the final materials, with the final pattern of your design.
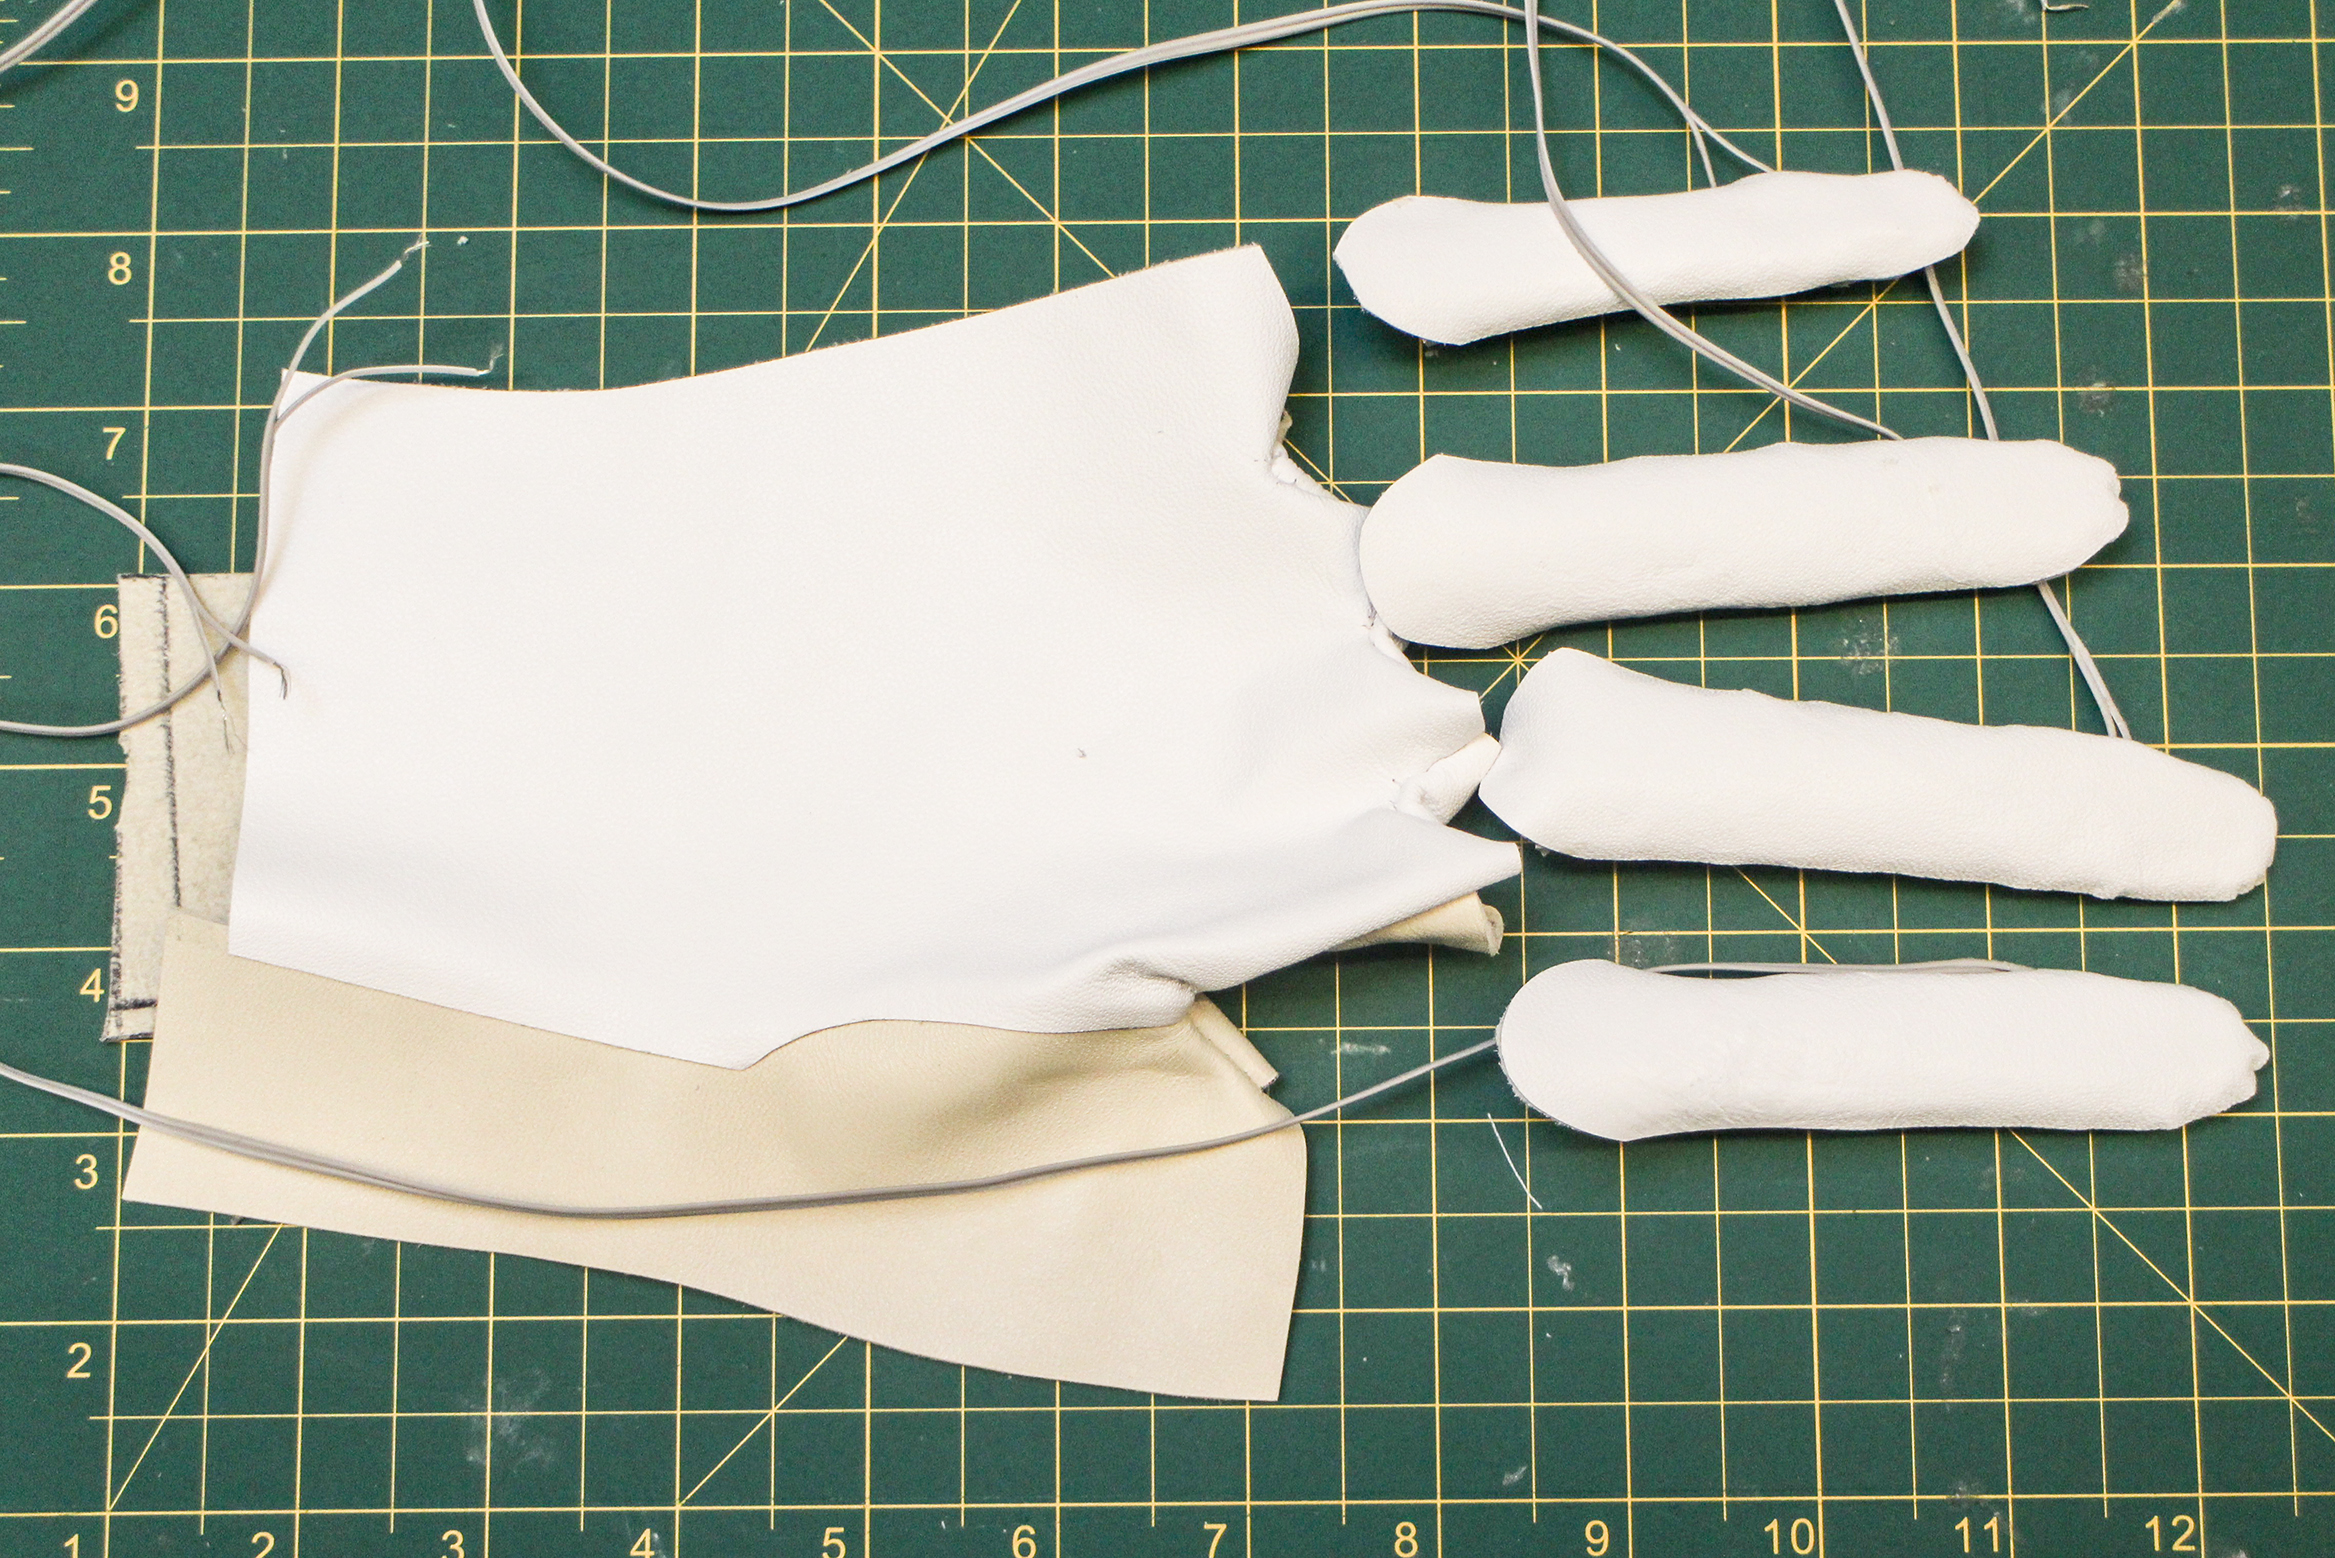
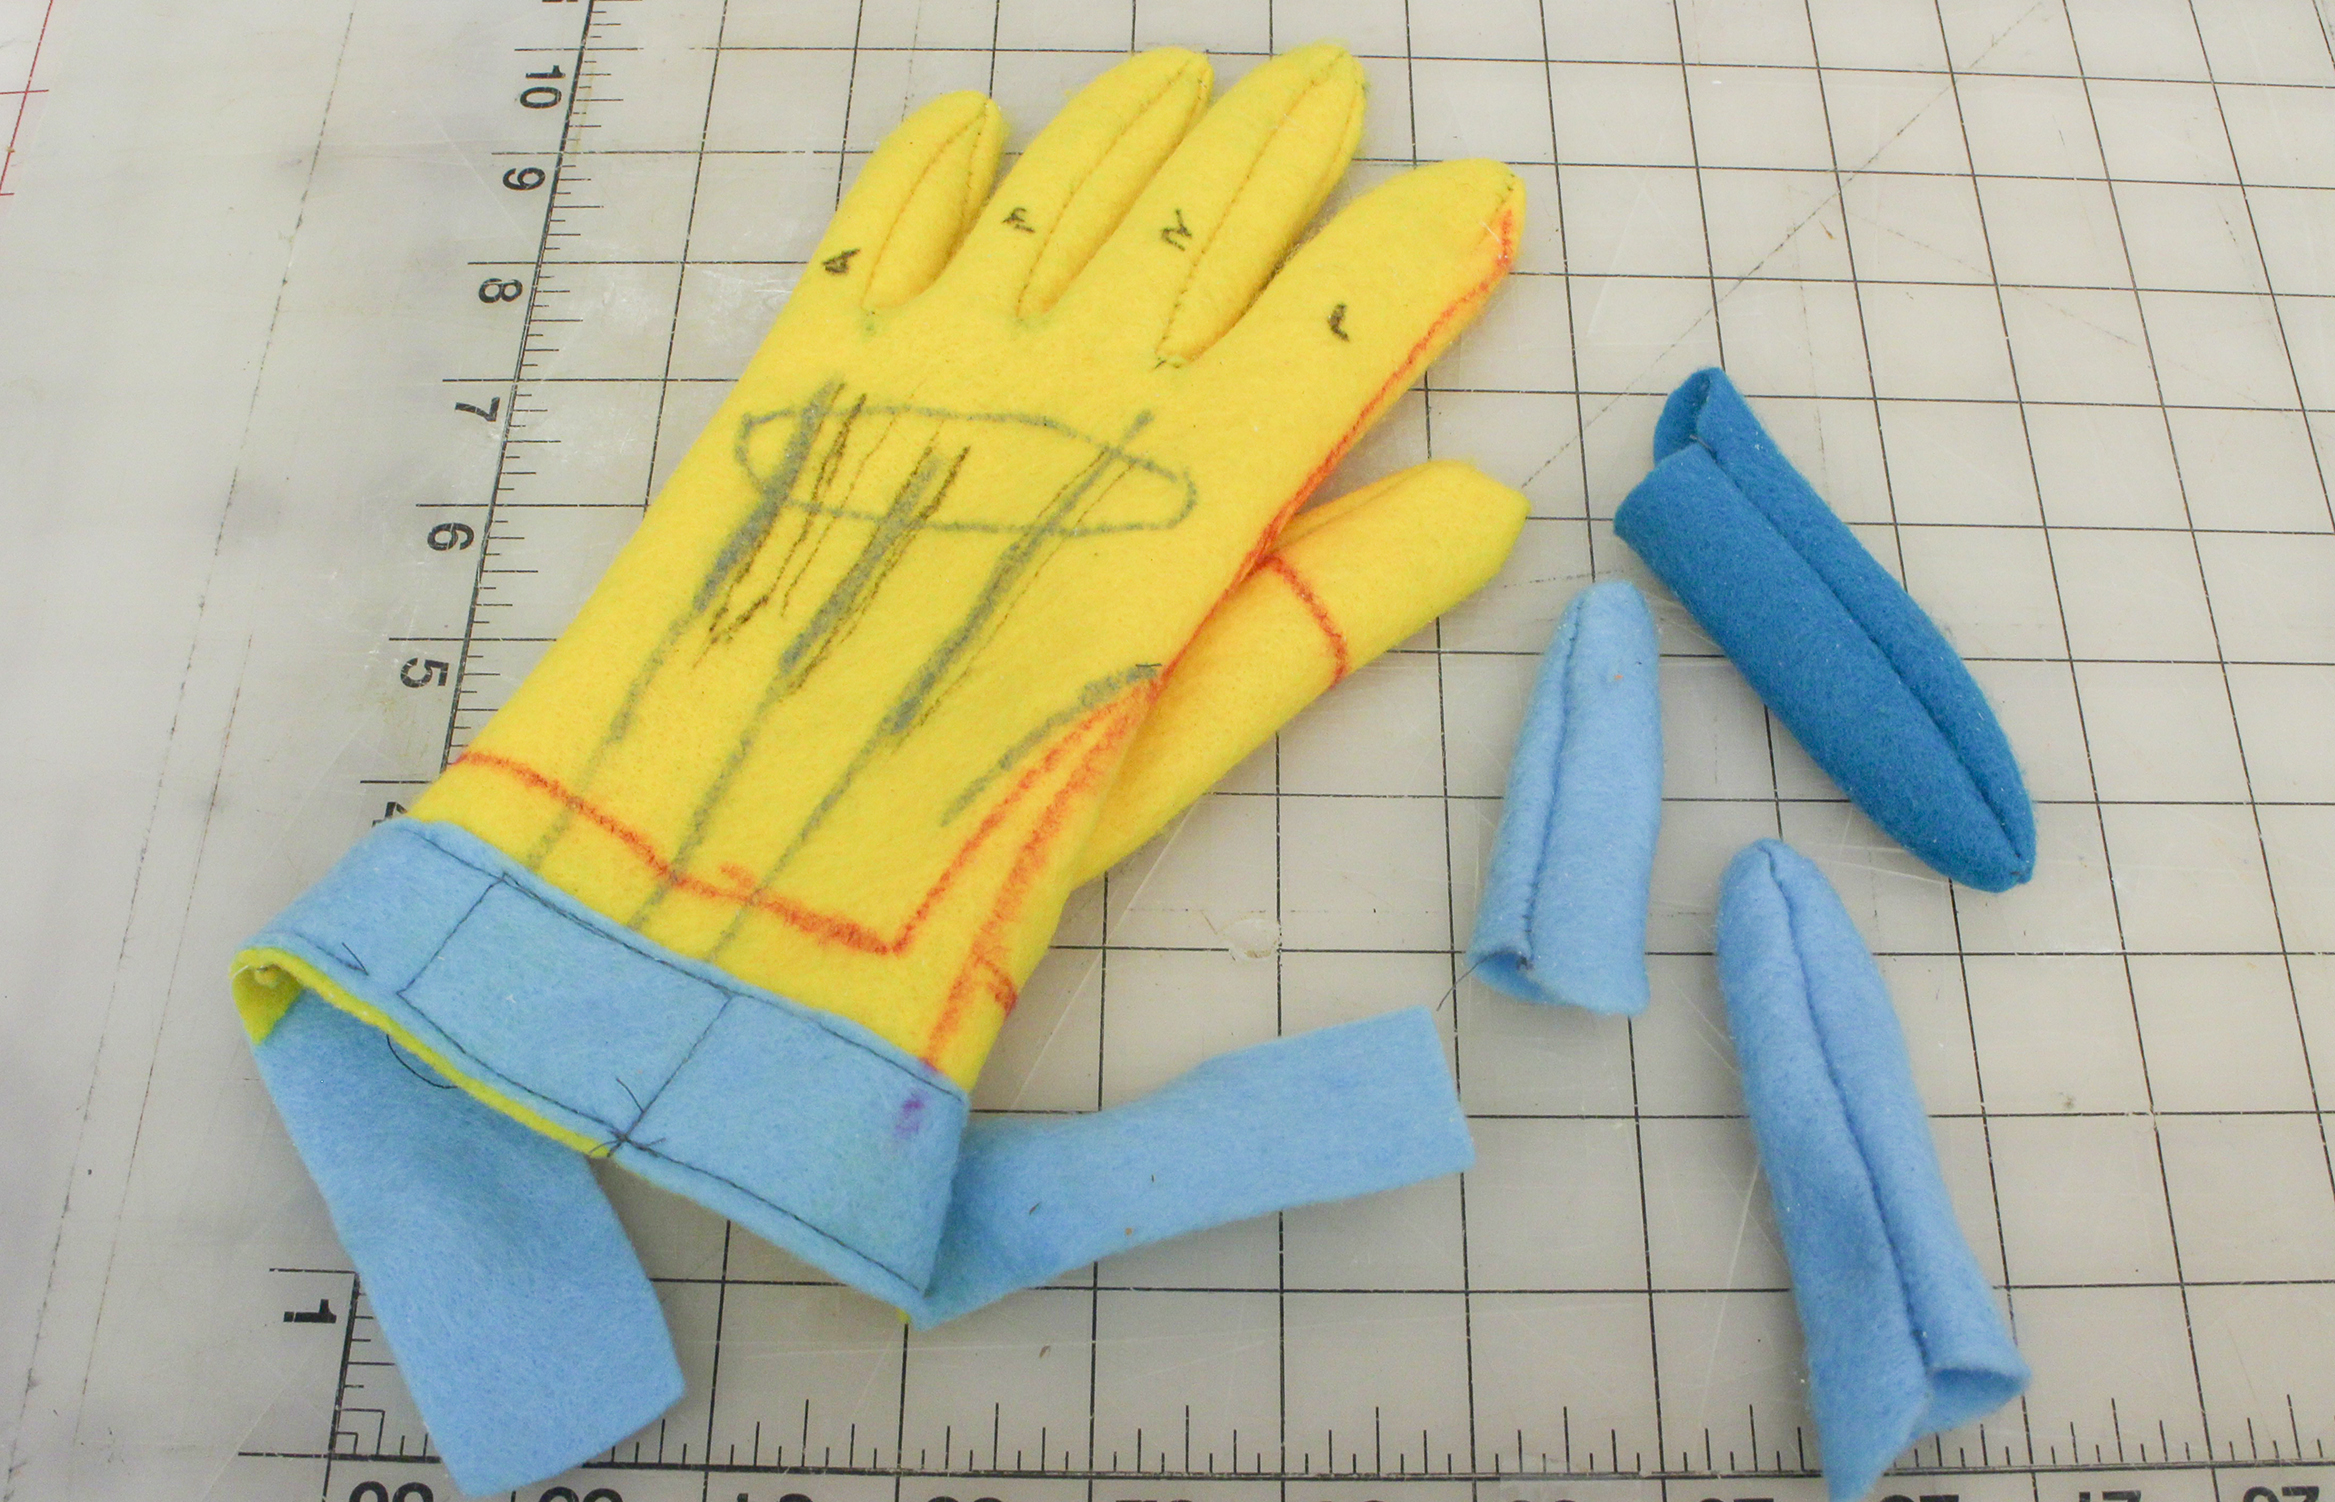
Final pattern cut from final materials and starting to sew.
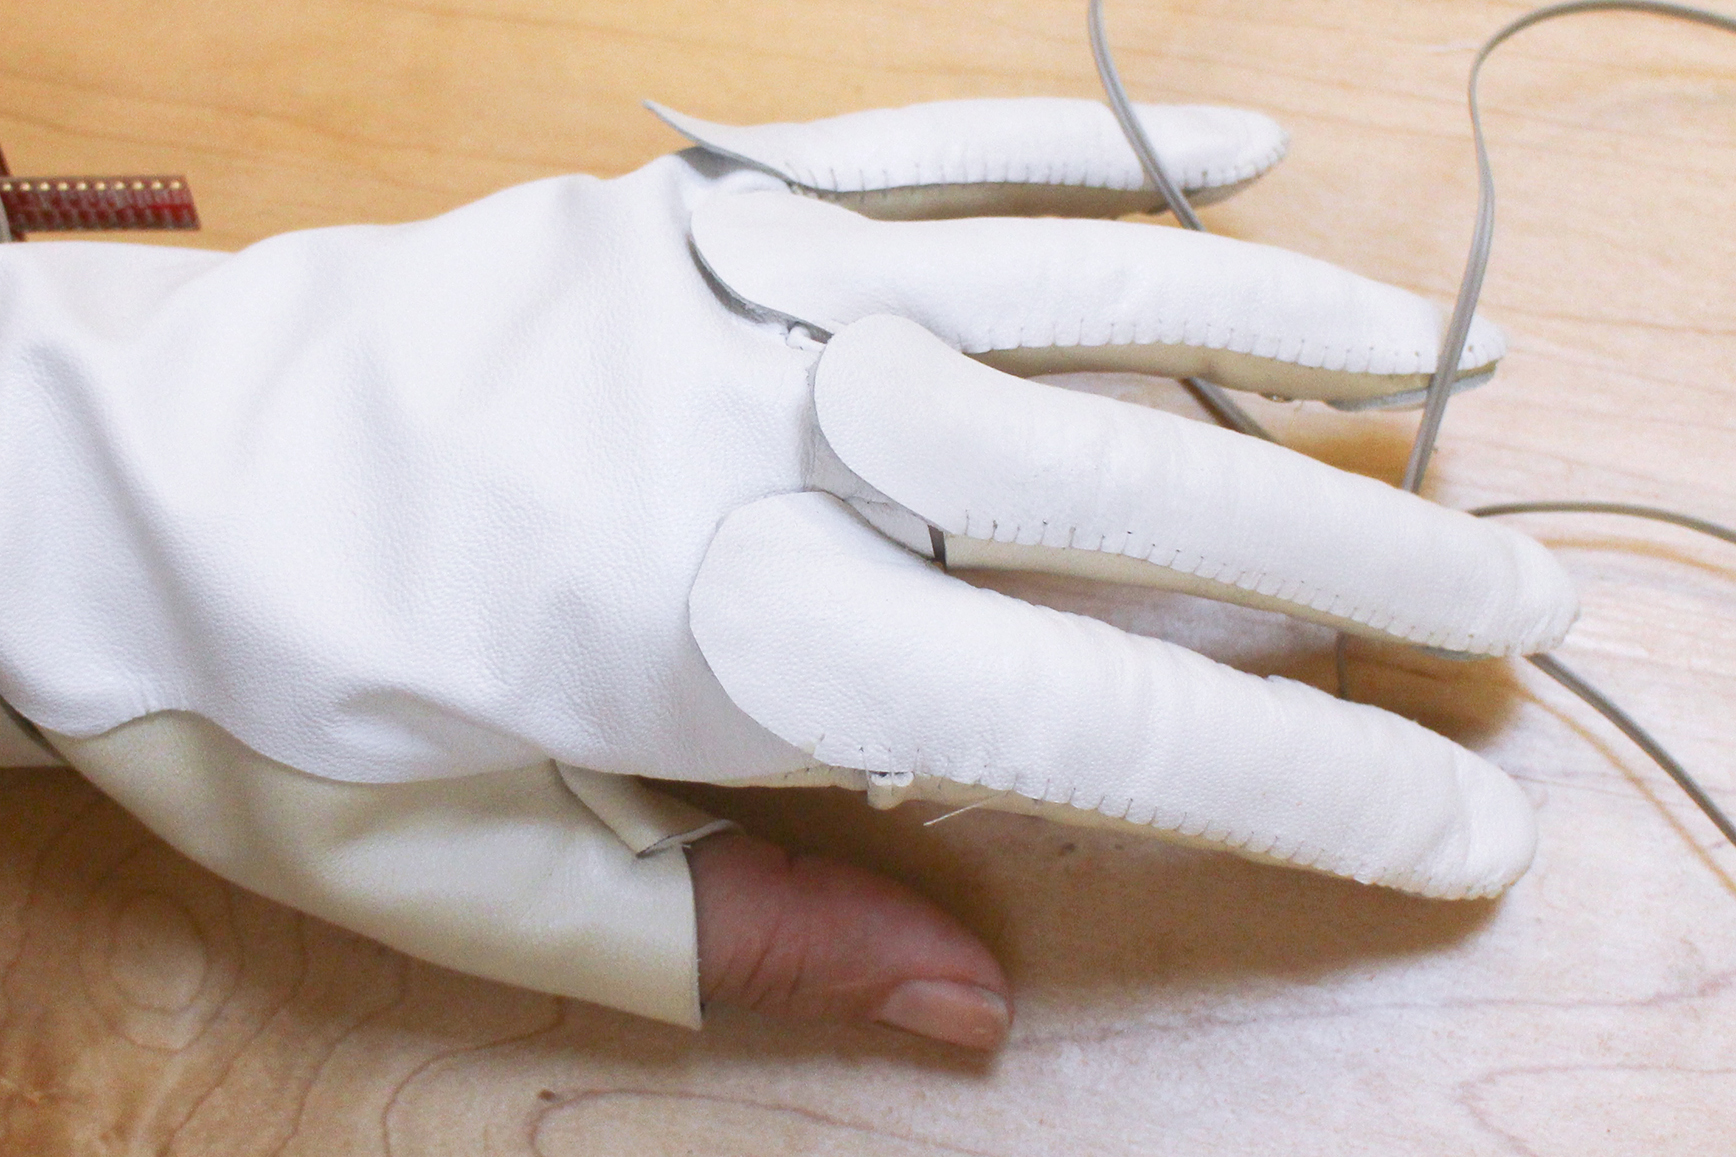
Trying on, keeping fingers modular in case I need to swap one out for a redo. Fingertip switches are wired up so I can test them through the building process.
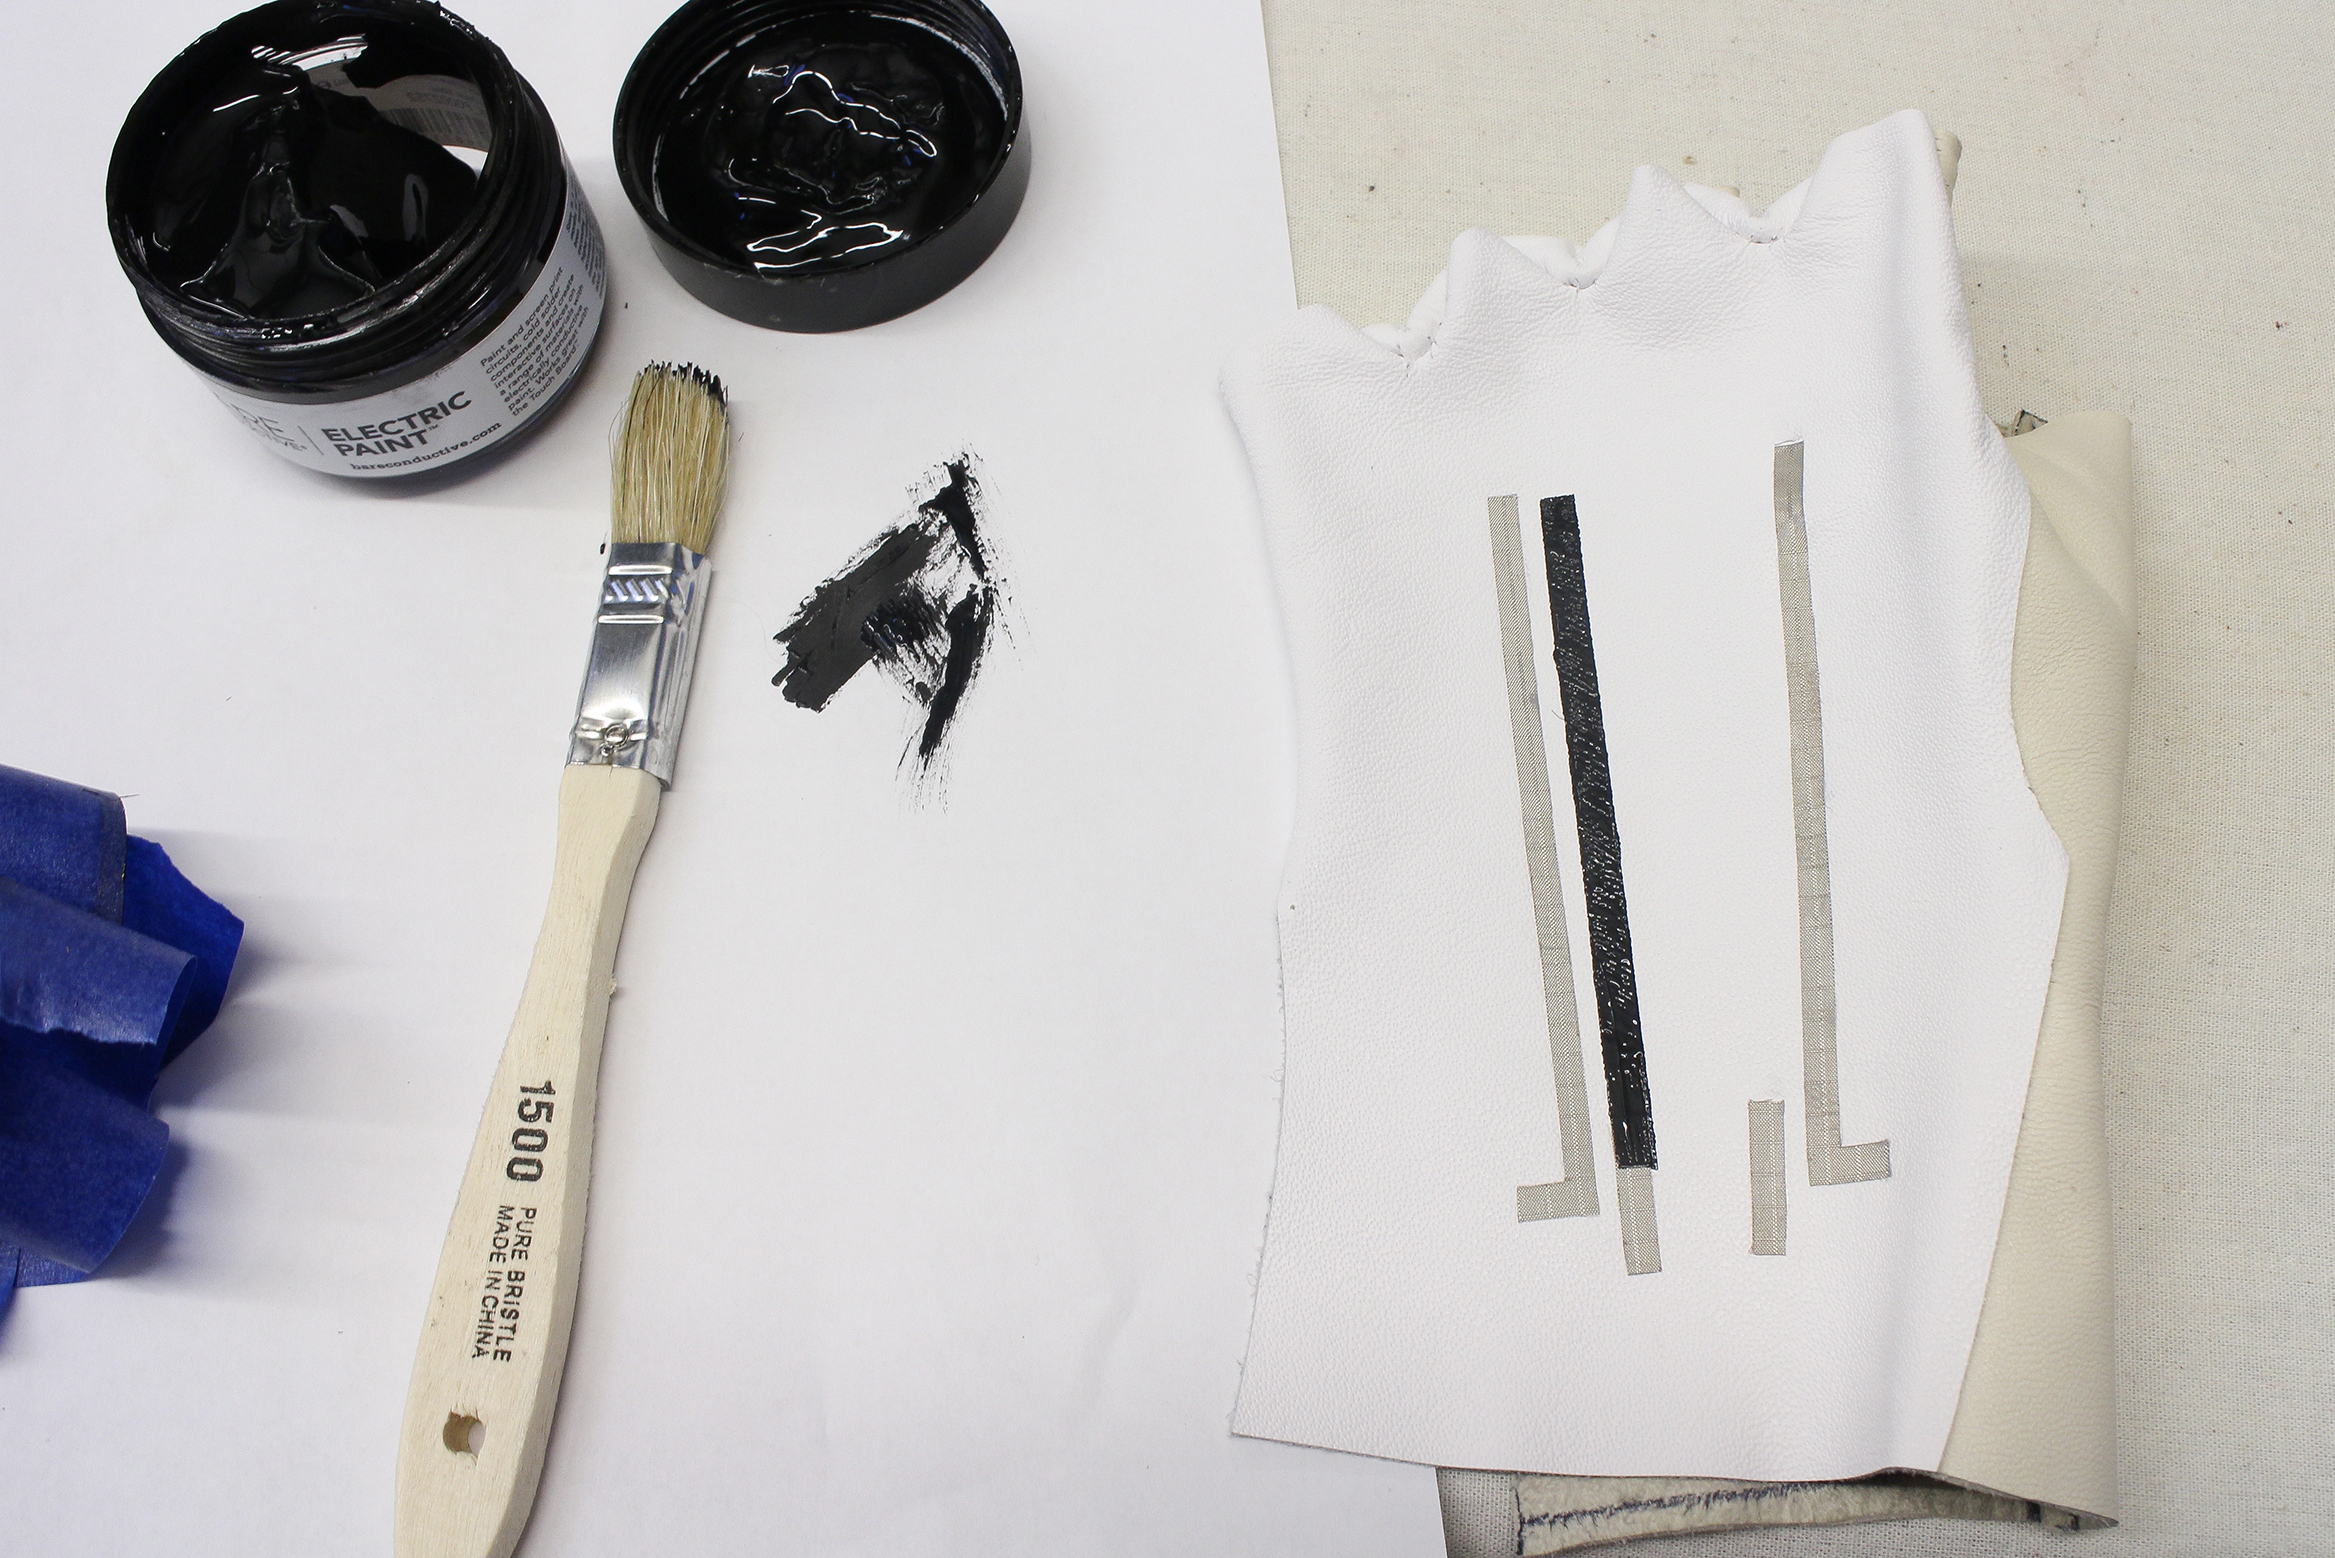
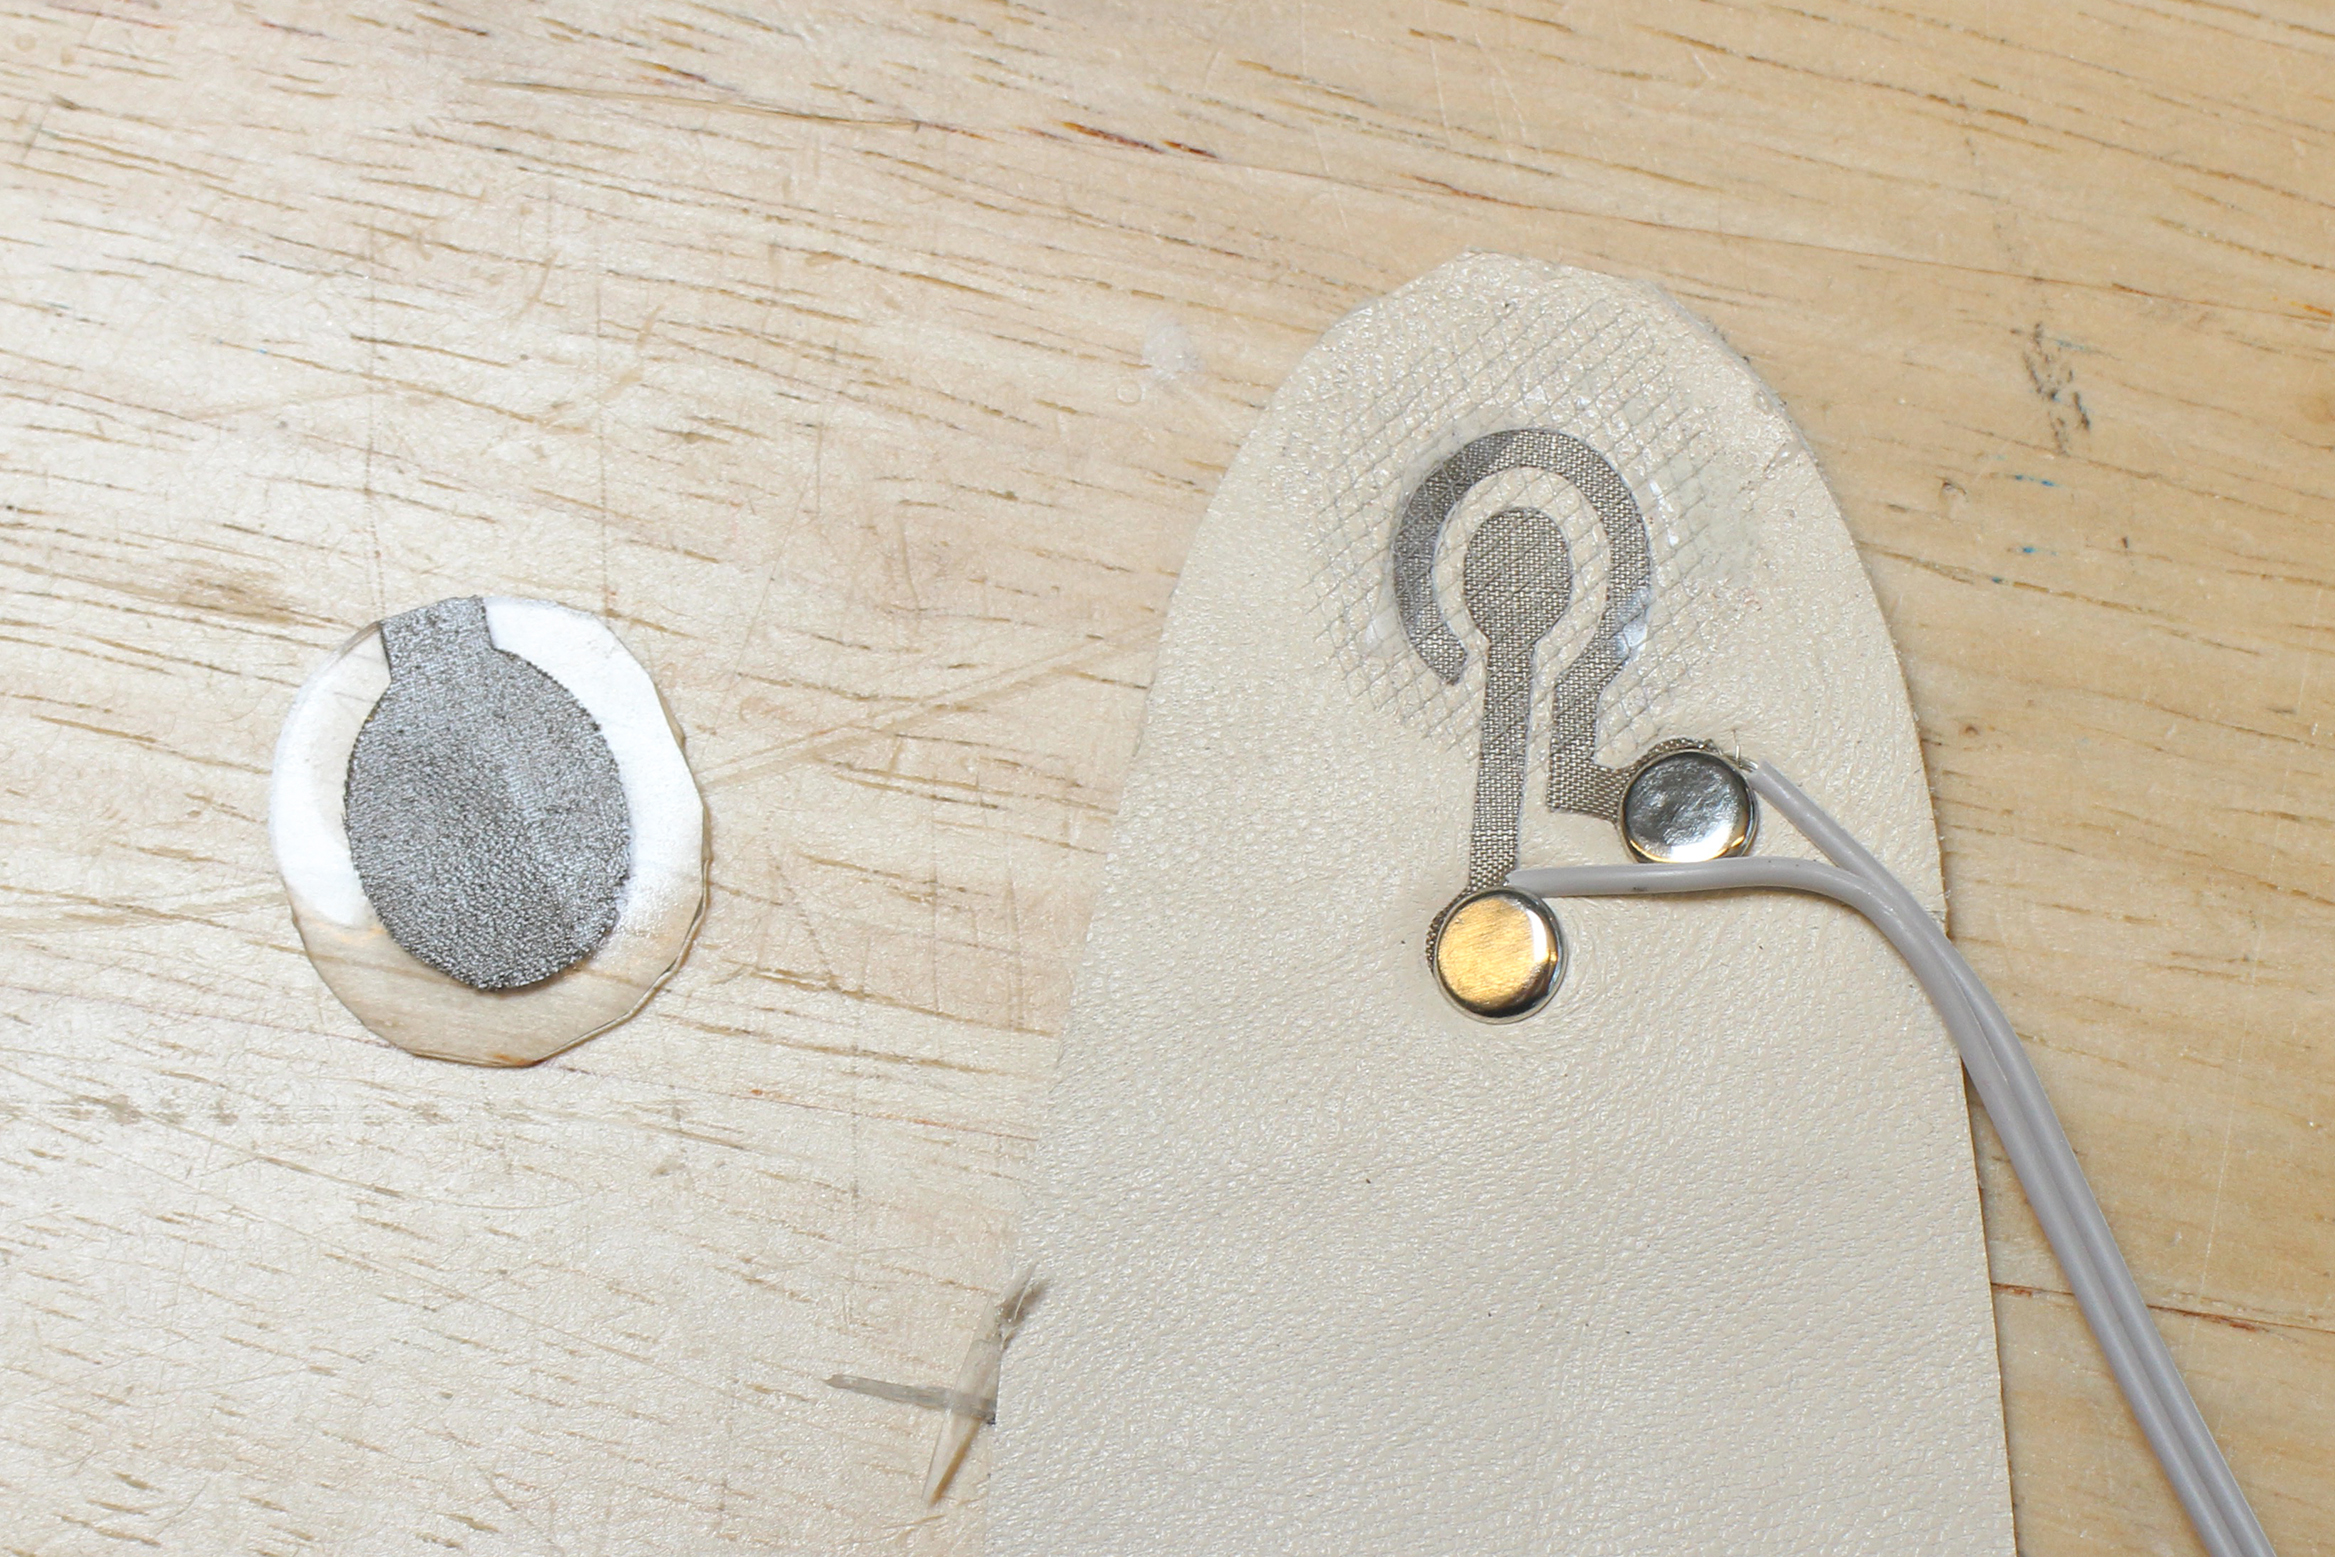
Creating final handmade sensors.
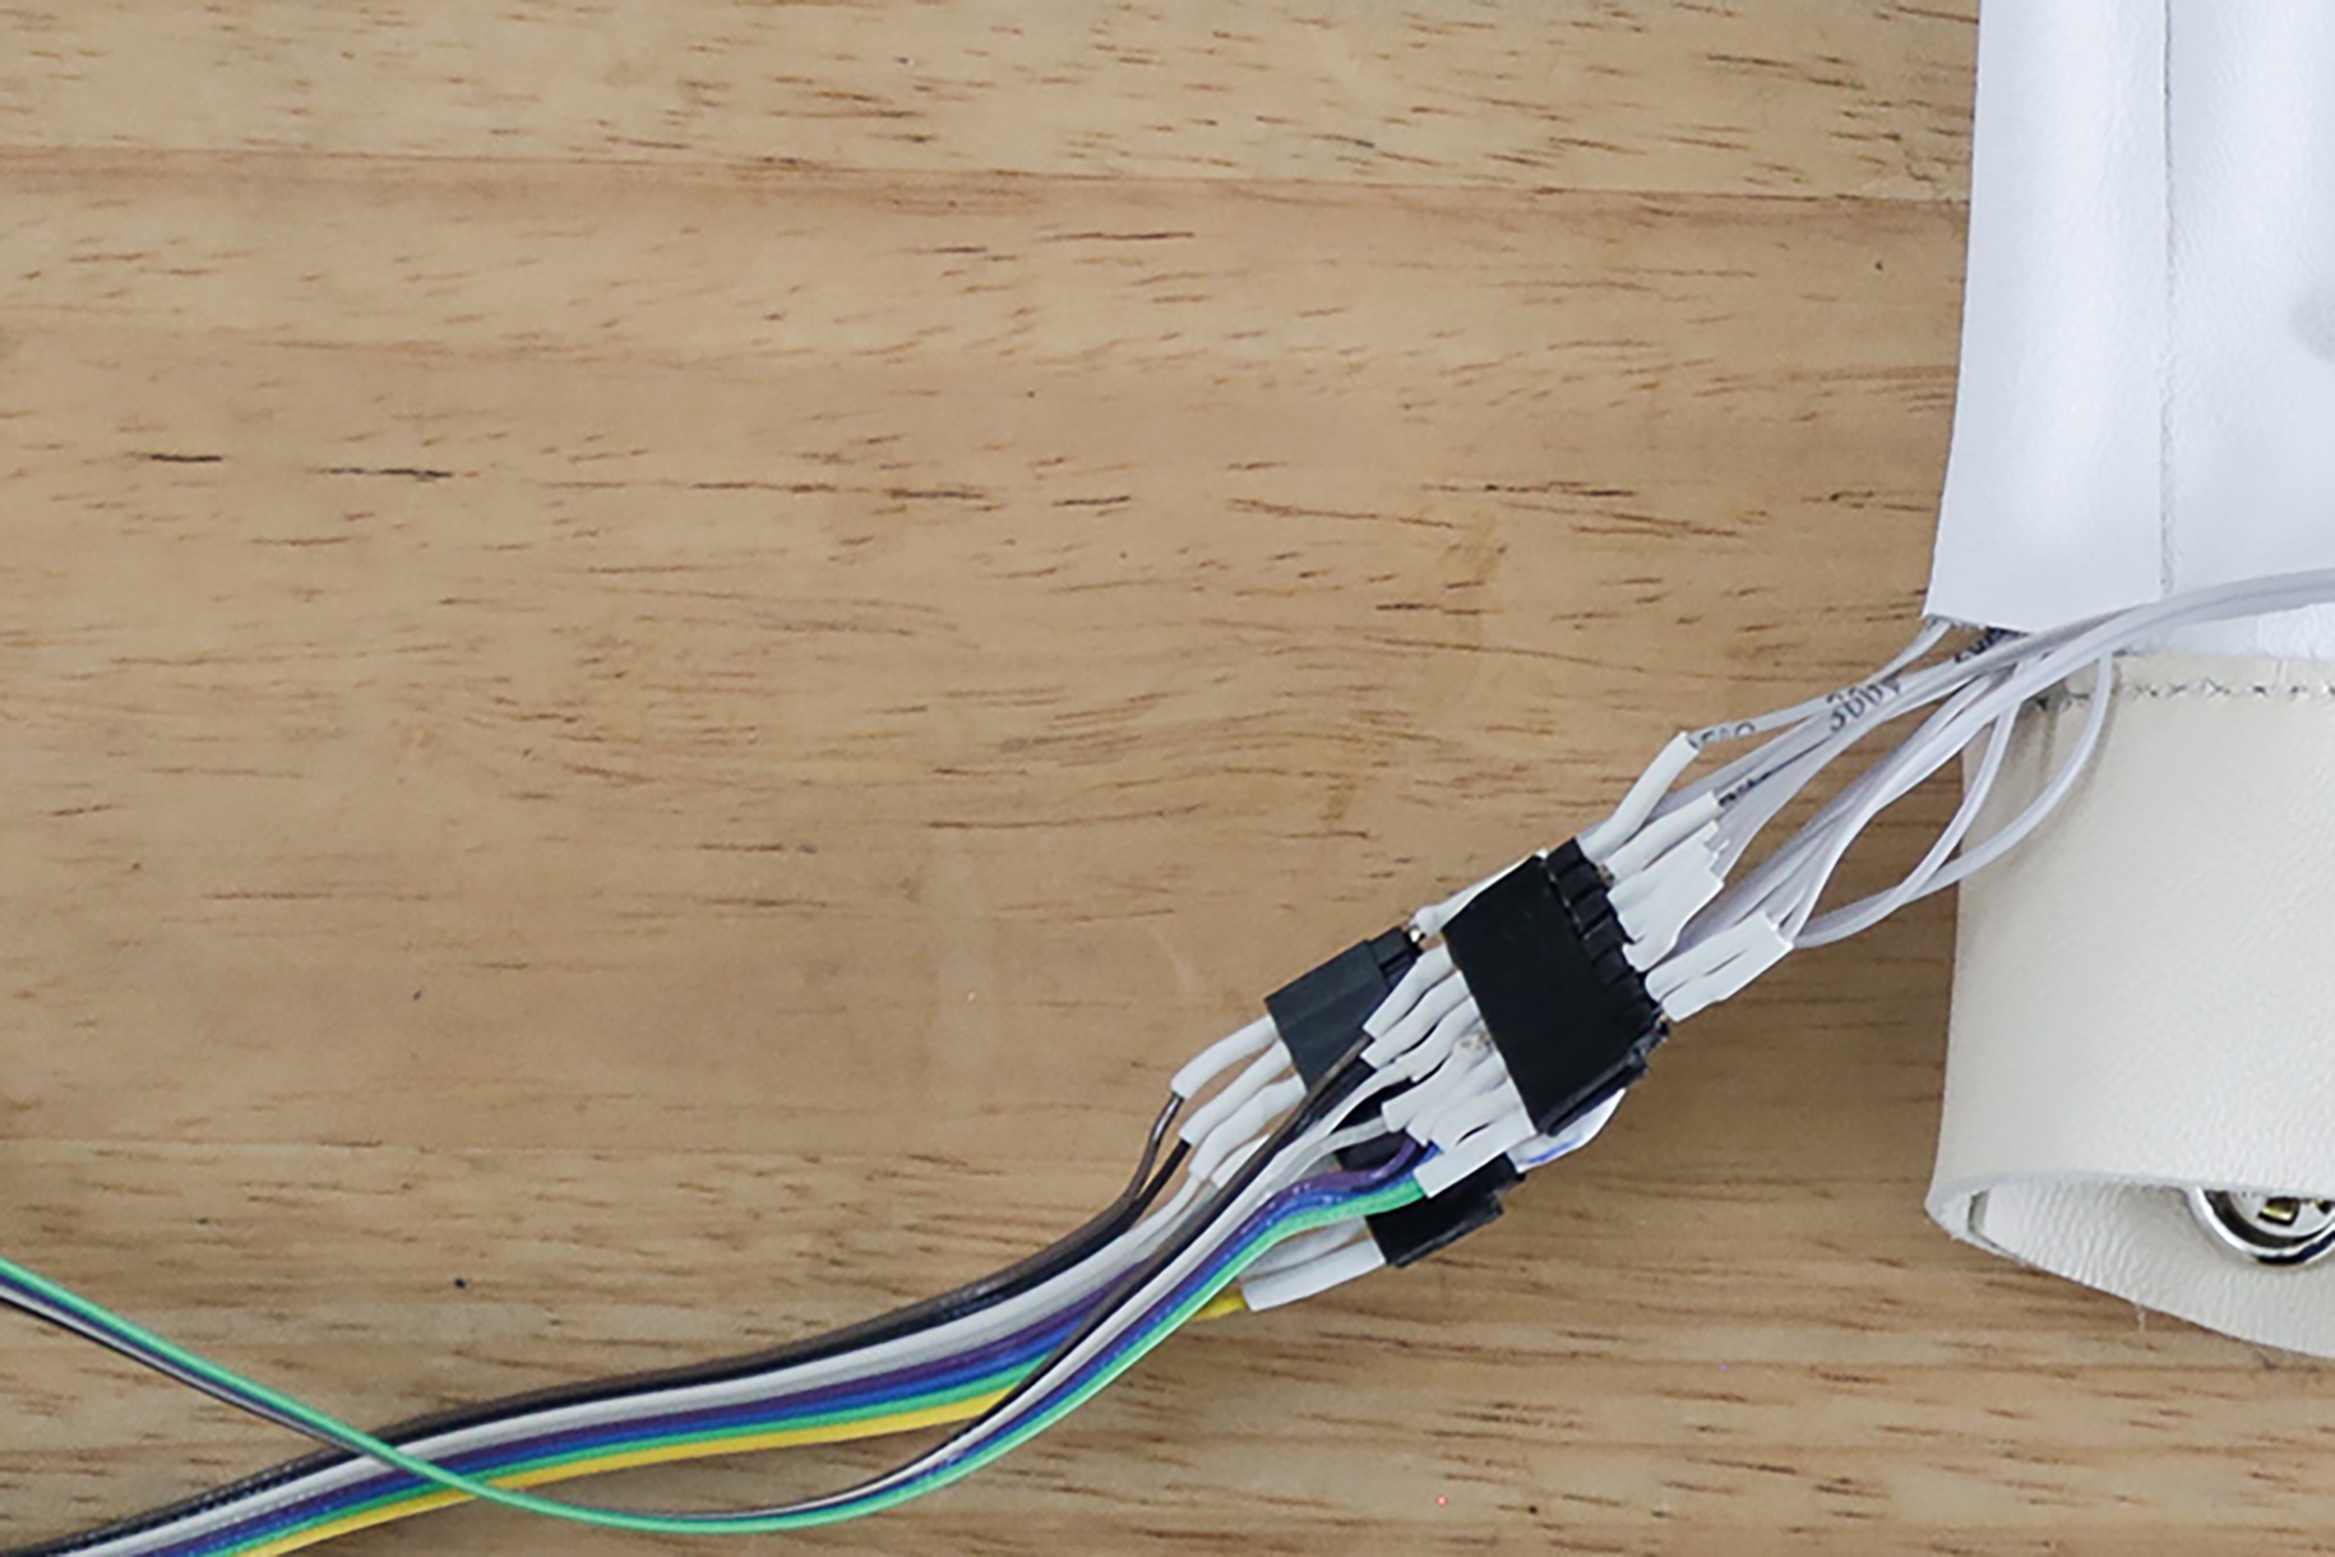
Male and female headers used as connectors between the sensors on the glove and the microcontroller.
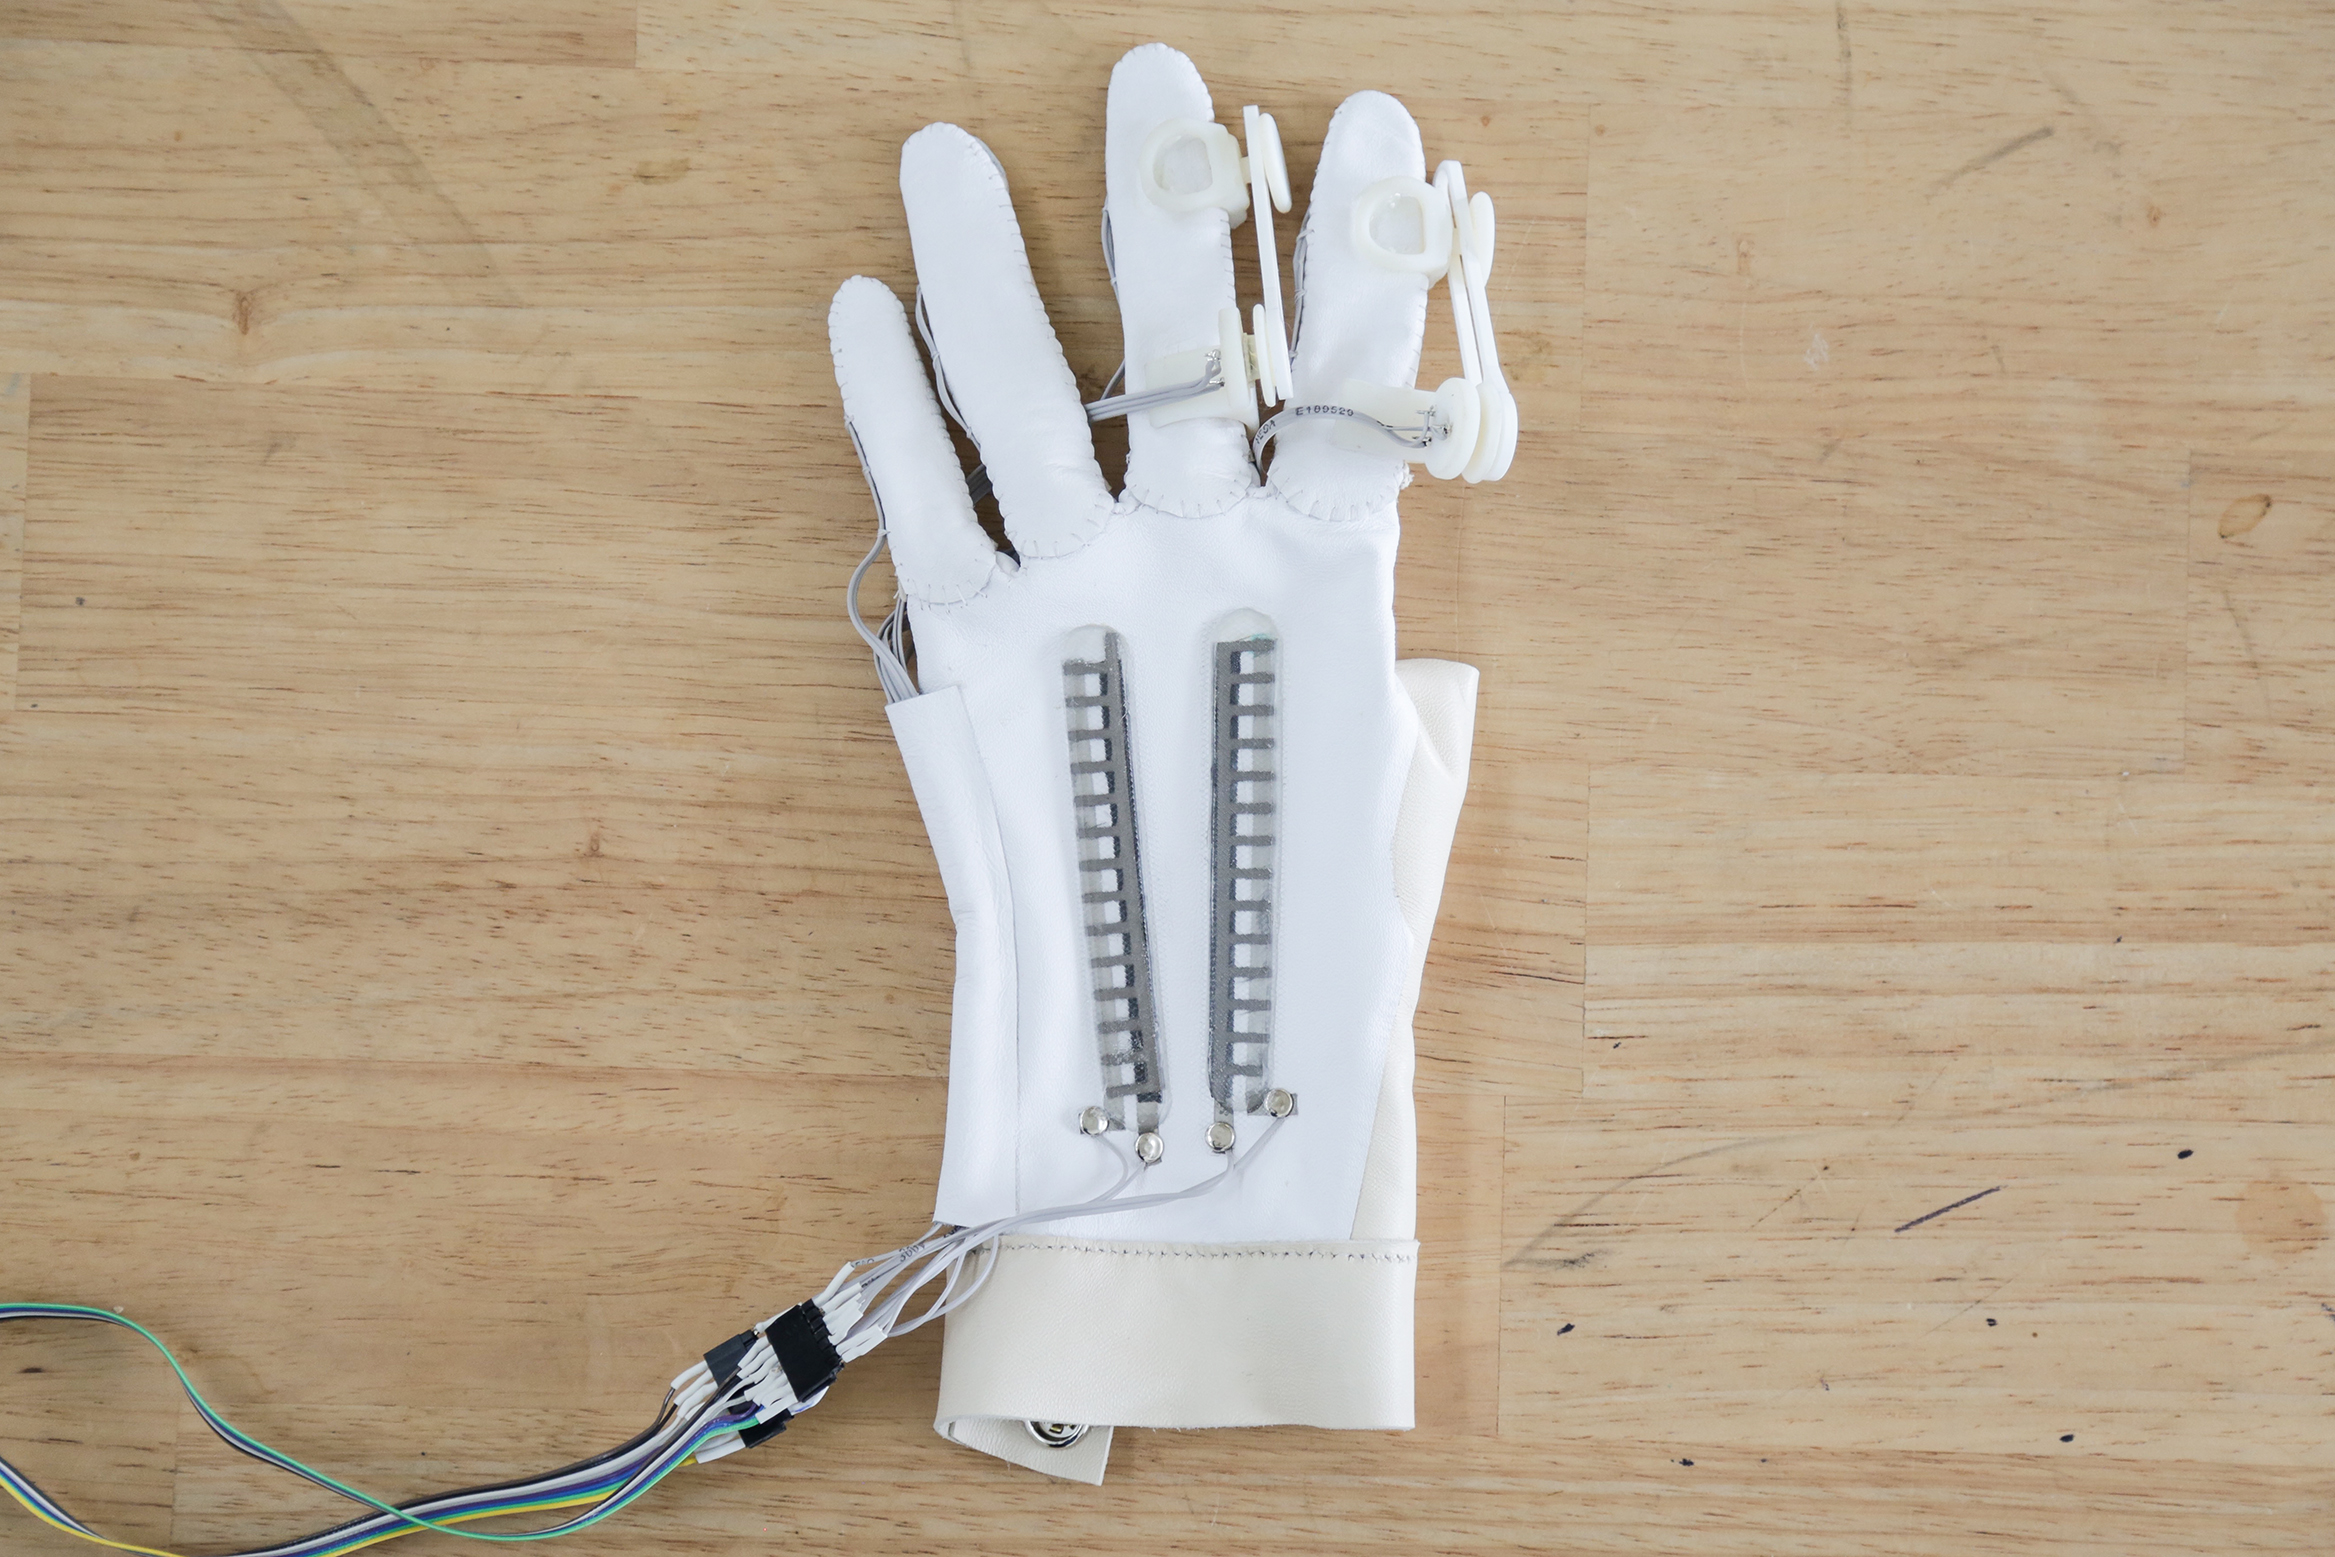
Final glove in progress. The microcontroller and battery still need to be attached!
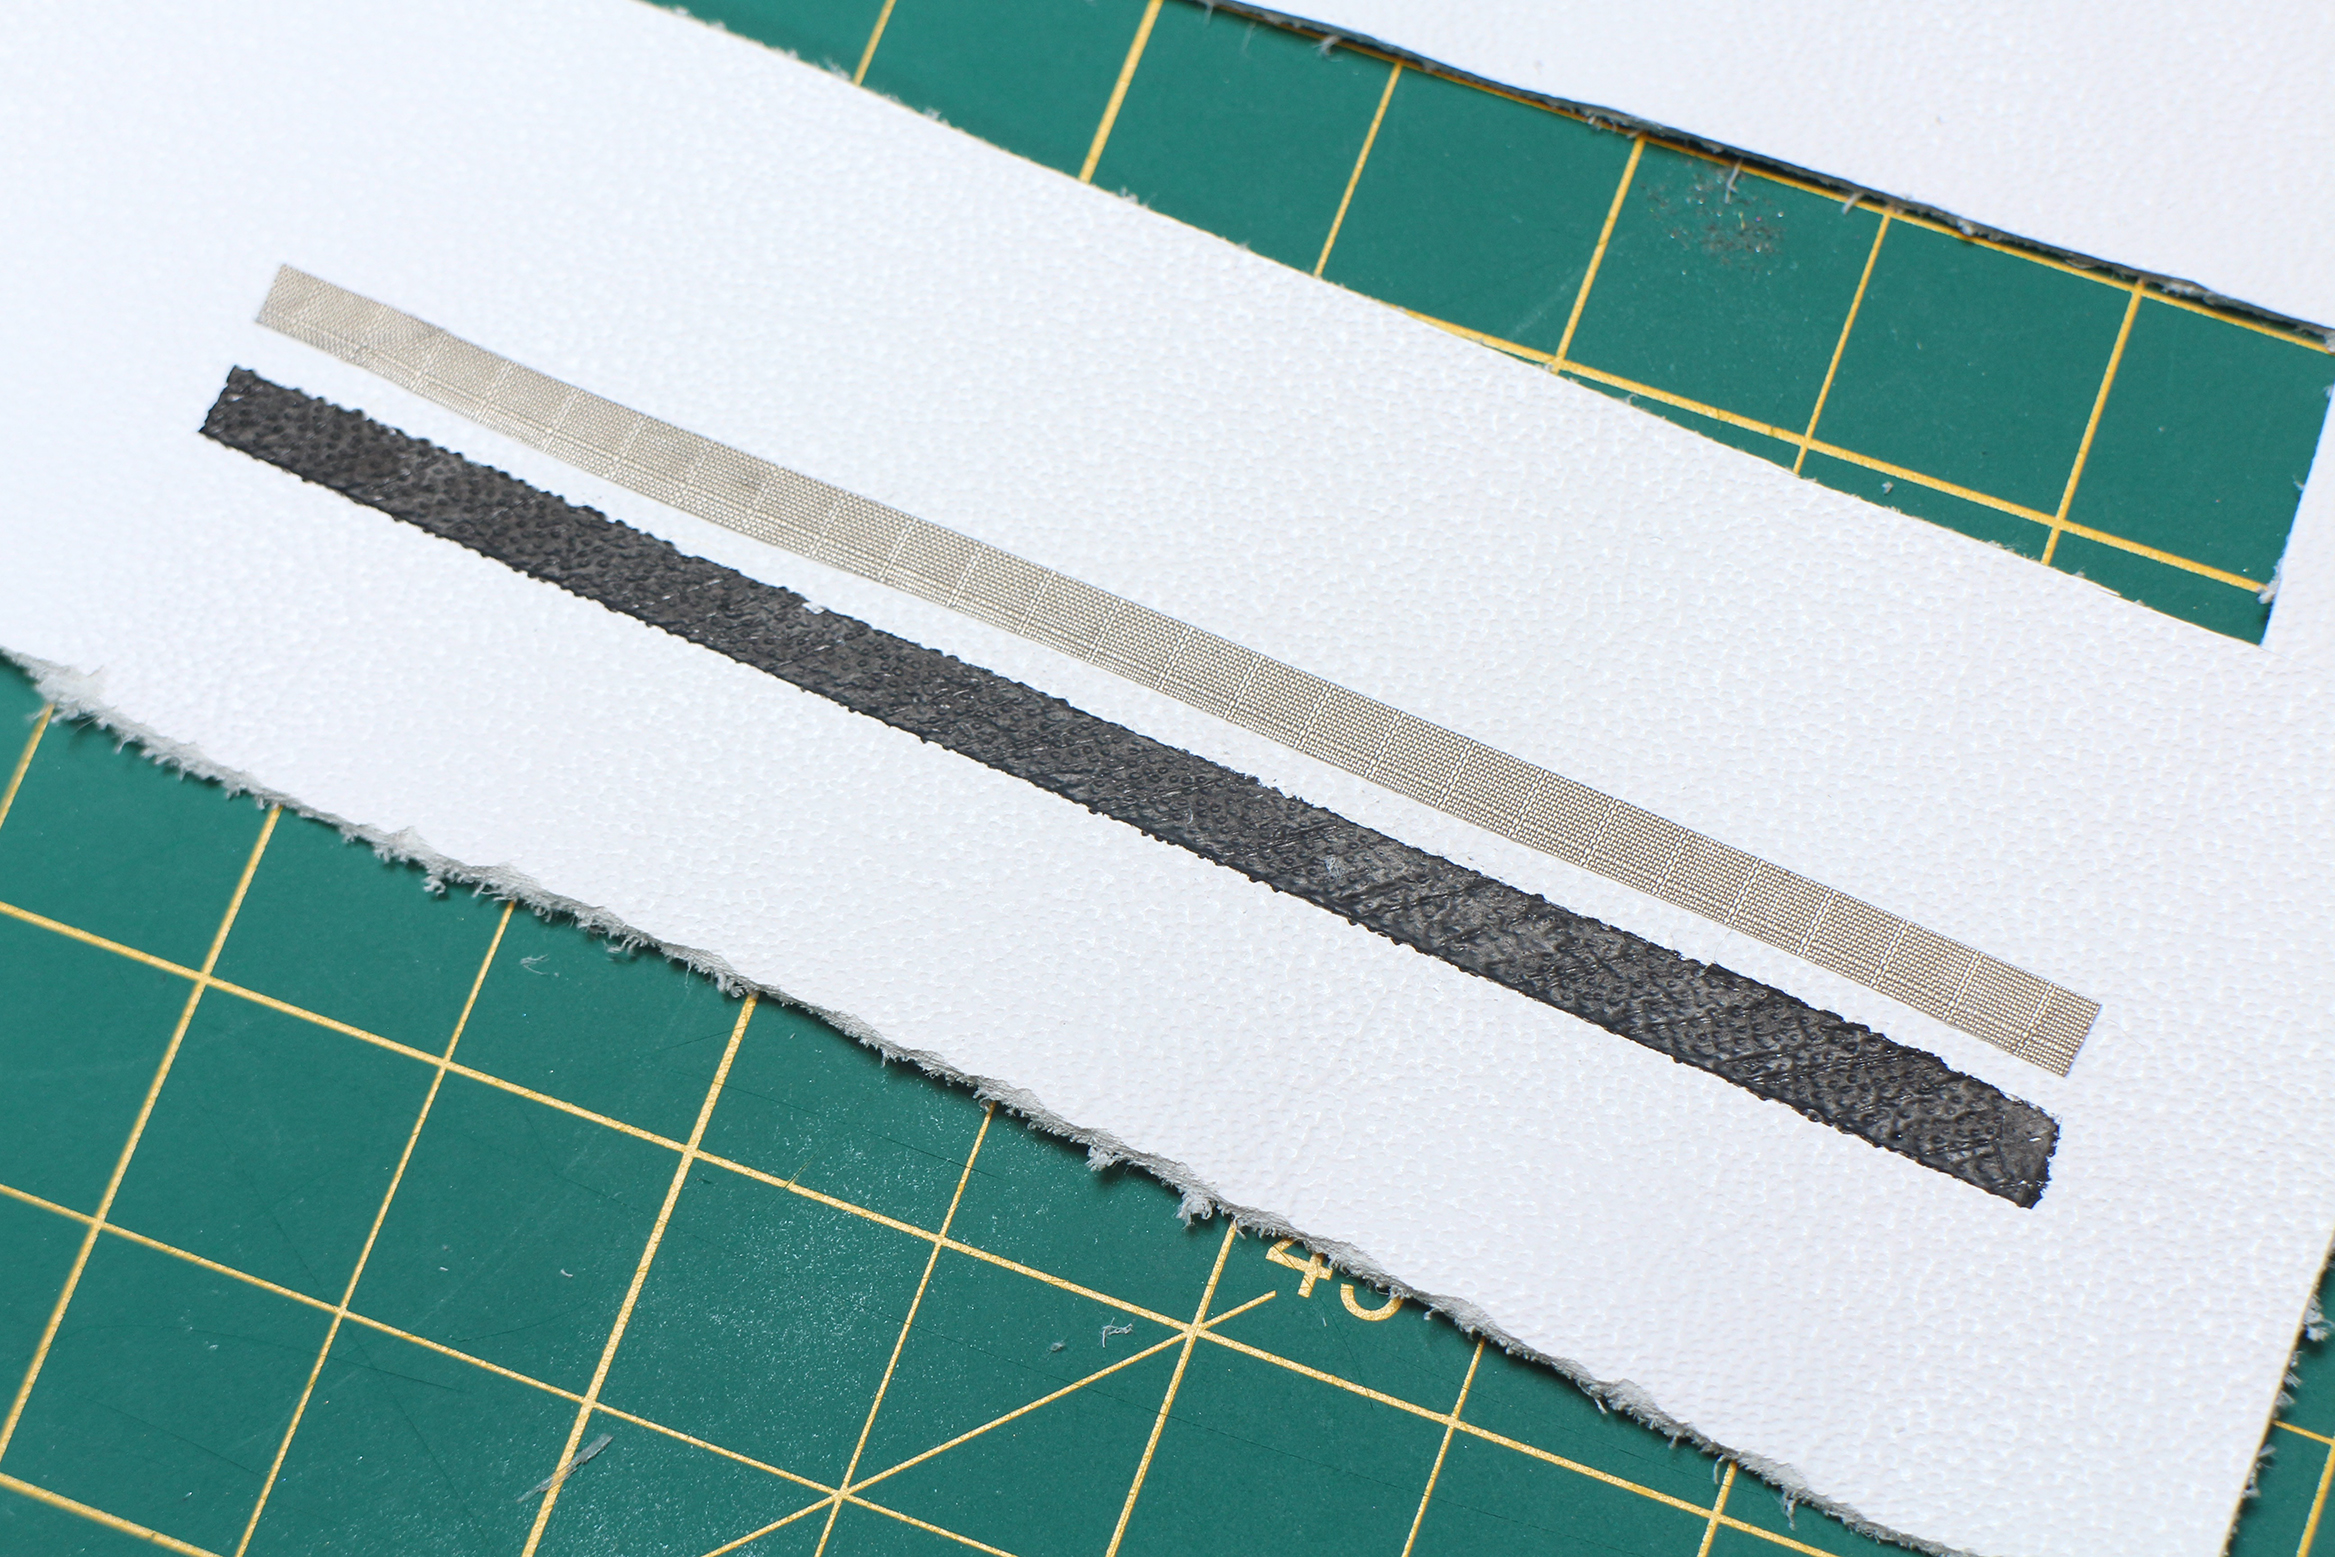
Gallery of Materials and Techniques
Stretchy circuit using stretch and woven conductive fabric.
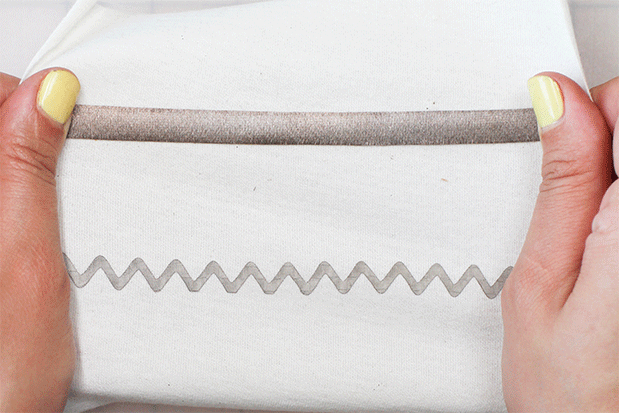
Different traces made with conductive fabric.
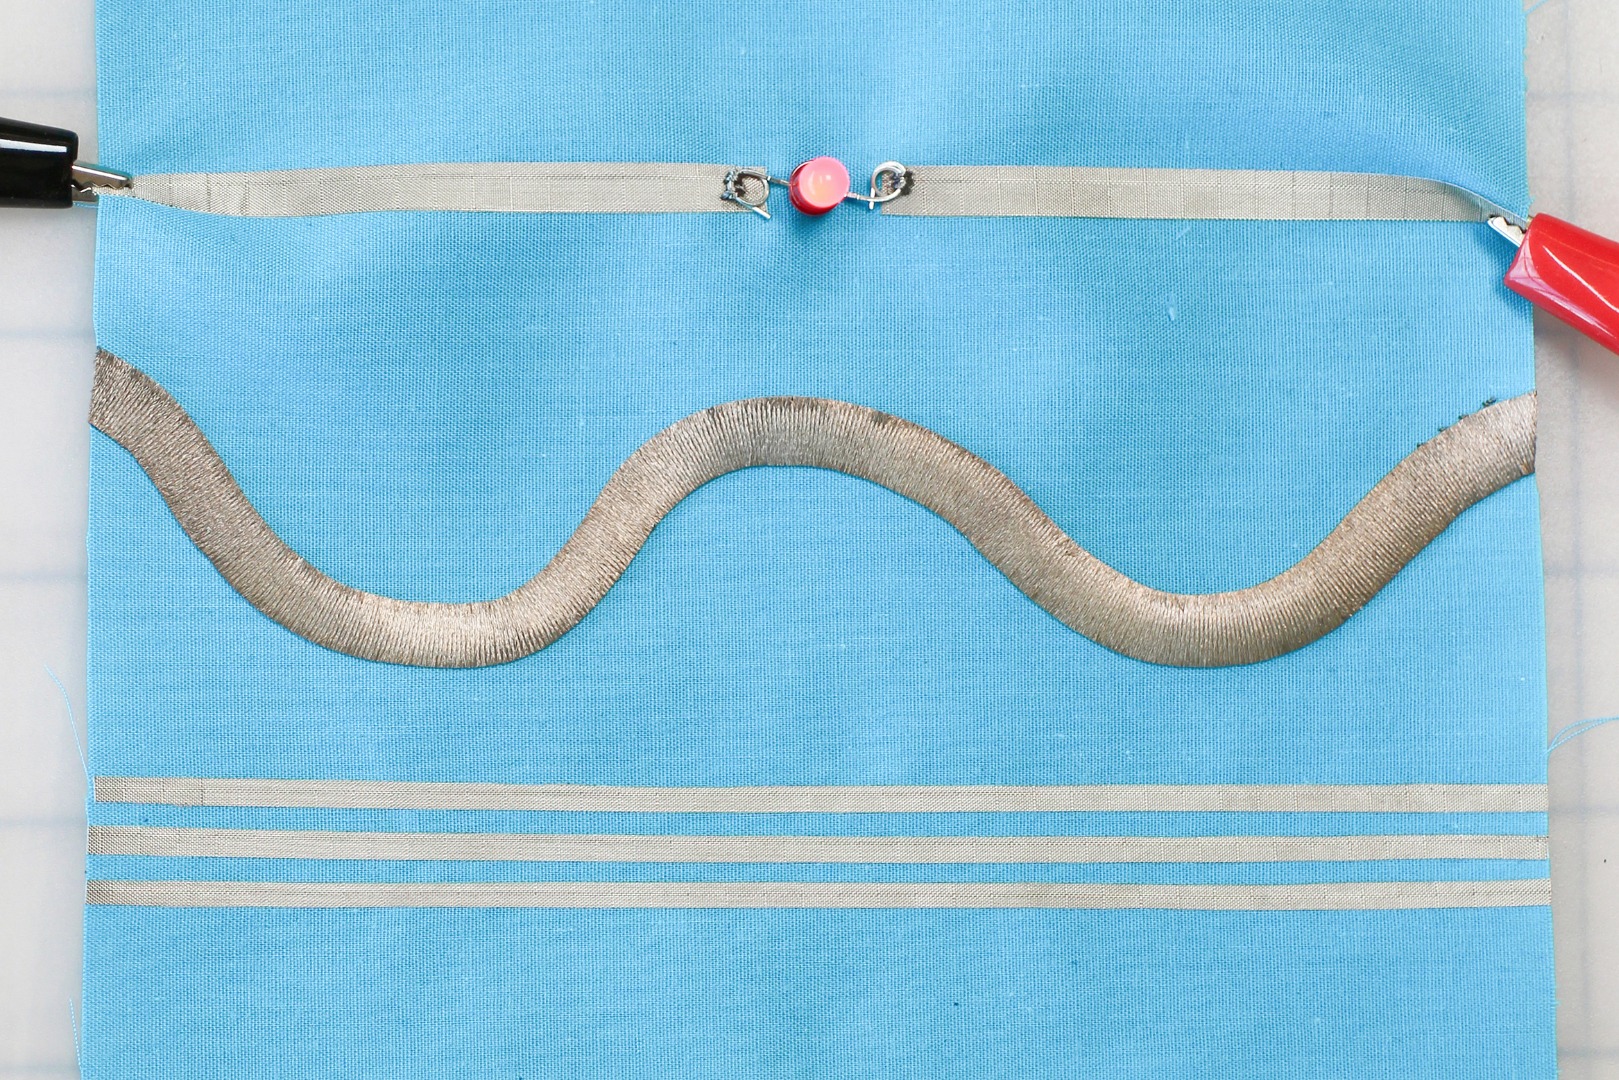
Making a bridge over conductive traces.
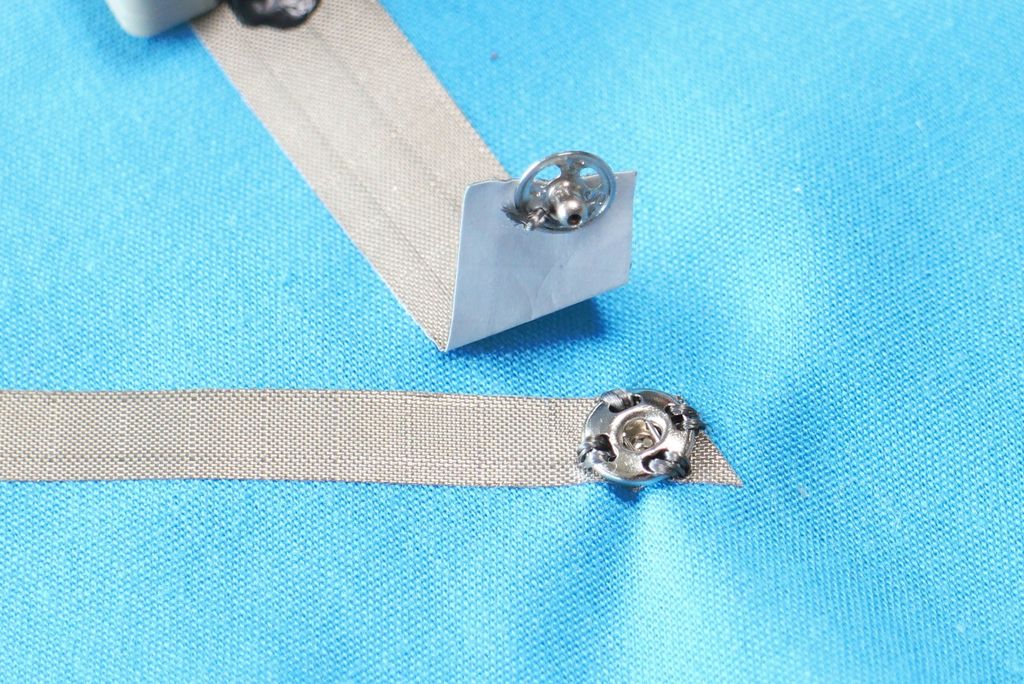
A snap can be a connector or a switch when building circuits.